How to Draw a Trash Can
Embarking on the path of learning how to draw a trash can may seem unusual, but it’s a delightful challenge that I have simplified for my readers. I designed this lesson to make the process of drawing everyday objects straightforward and enjoyable, breaking down a common item into easy steps.
How to Draw a Trash Can: Basic Information
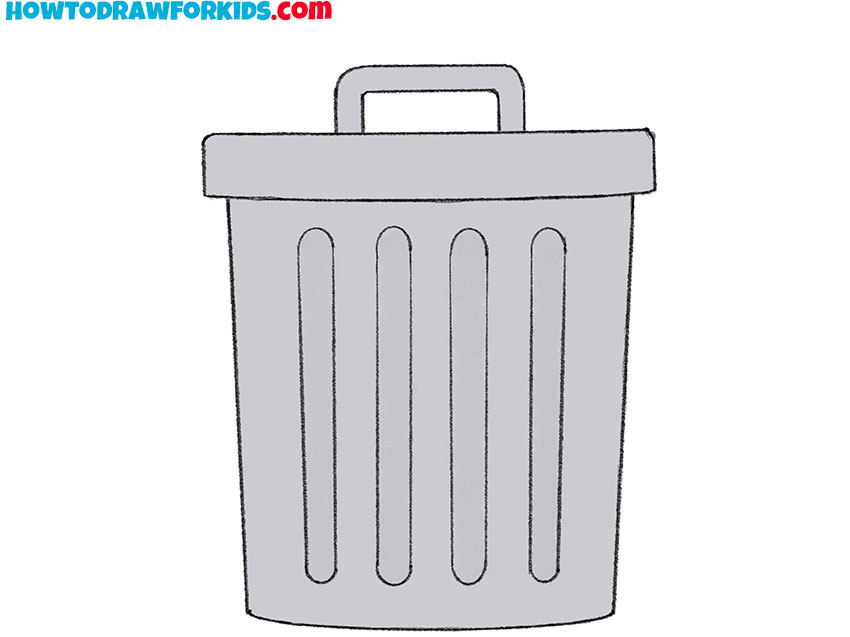
Today, I’ll show you how to draw a trash can, focusing on turning simple shapes into something functional and recognizably mundane. This lesson was crafted by me, tailored to assist my readers in mastering a simple technique to draw a trash can. You’ll learn to see the beauty in everyday objects, capturing them on paper.
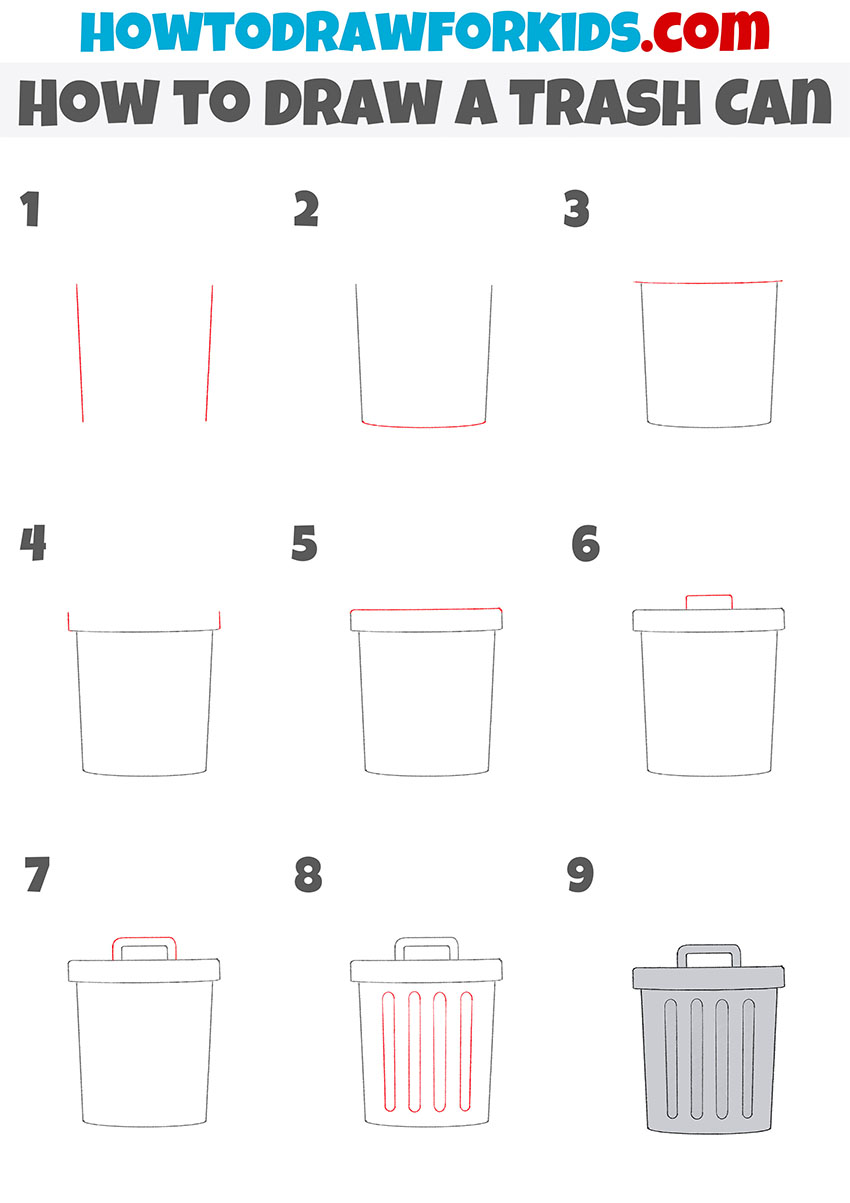
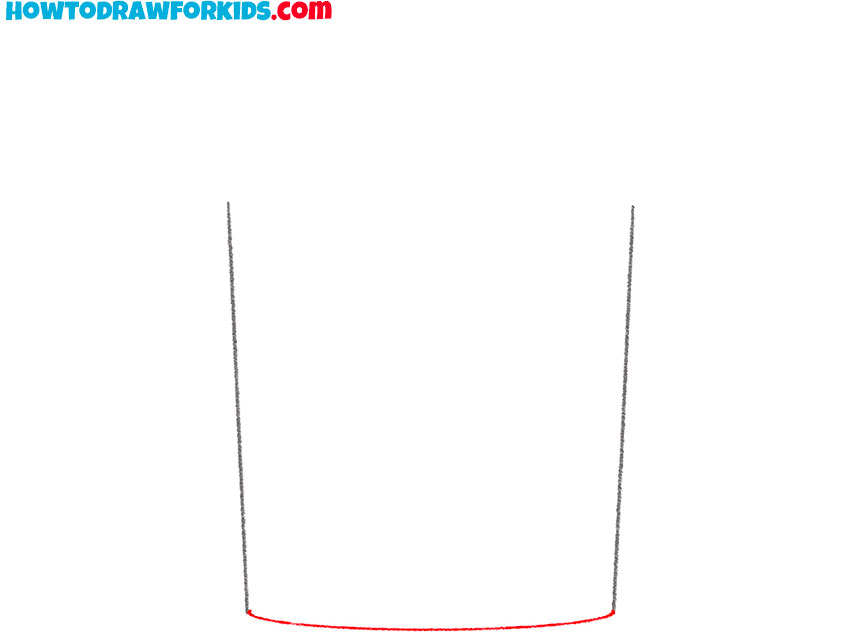
The illustration we’re tackling is not just any trash can; it’s a study in form and perspective. By starting with two parallel lines and joining them with a curved base, we create the illusion of a three-dimensional object. This method provides a solid foundation that can be built upon with each successive step.
As we conclude, it’s important to reflect on the process as you sketch a trash can. This tutorial encapsulates the essence of everyday objects, translating them into a simple series of lines and shapes that anyone can follow. It’s not just about creating art; it’s about observing the world with an artist’s eye and replicating its elements with ease.
Trash Can Drawing Tutorial
Materials
- Pencil
- Paper
- Eraser
- Coloring supplies
Time needed: 25 minutes
How to Draw a Trash Can
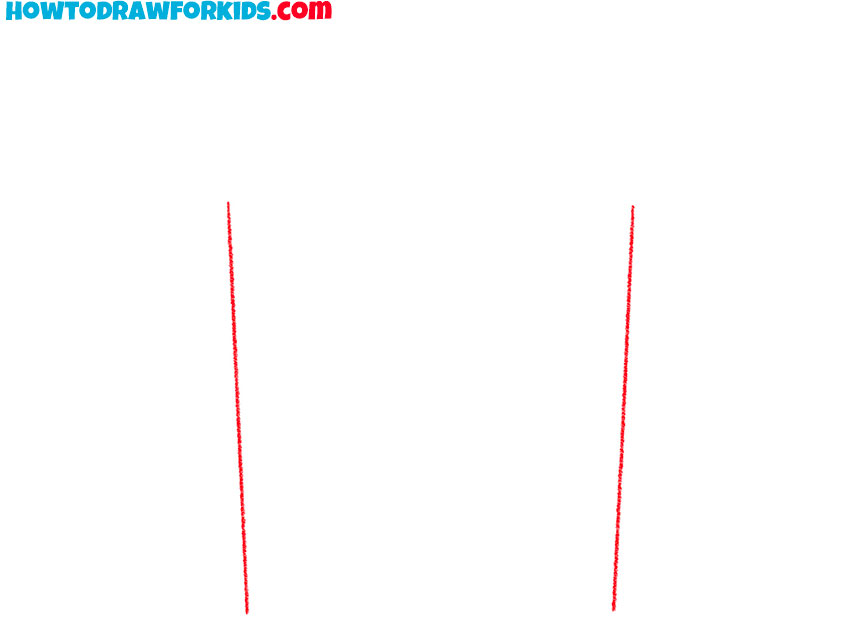
- Draw the sides.
Determine the dimensions of the trash can and draw two straight lines.
- Depict the bottom of the trash can.
At the bottom, draw one horizontal line that connects the side faces.
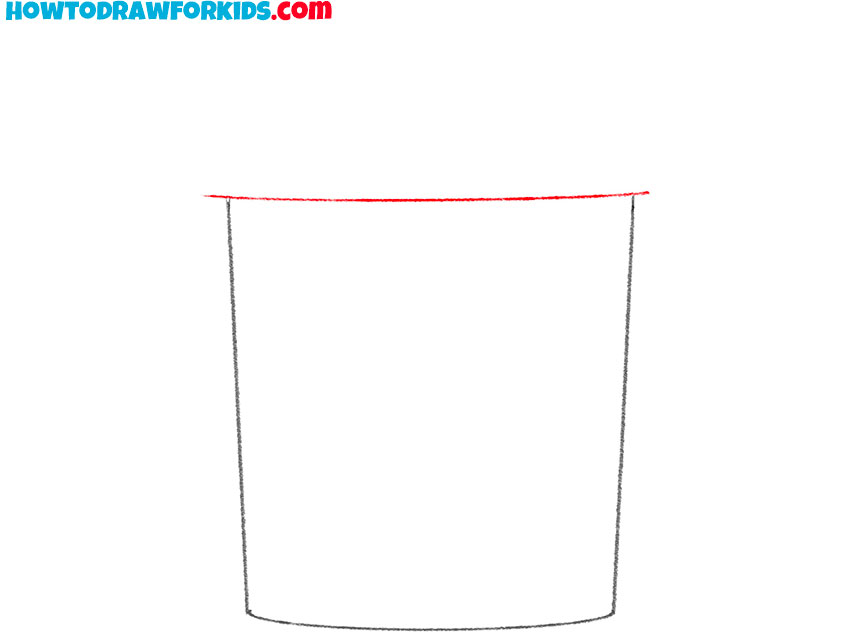
- Sketch out the top.
Draw a horizontal line at the top.
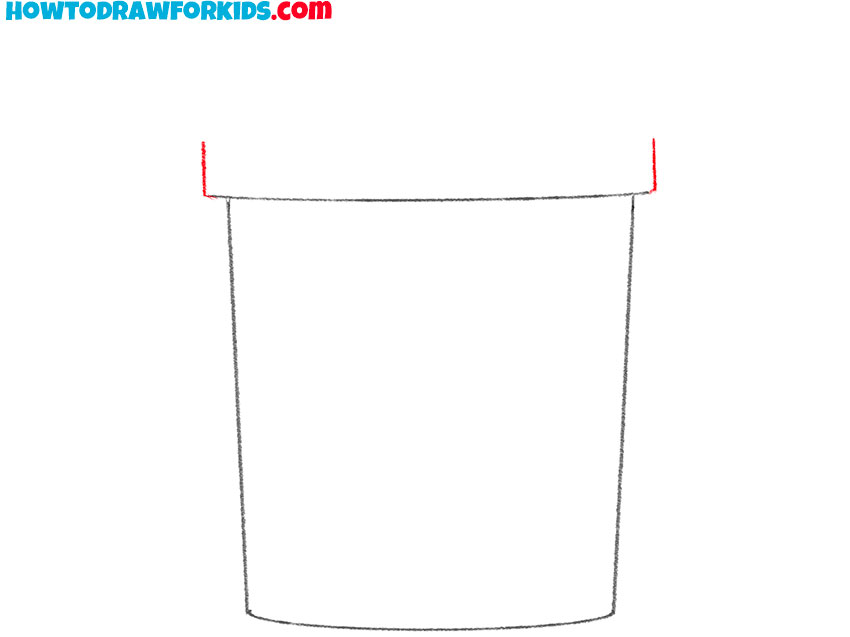
- Add the sides of the lid.
Sketch out short vertical lines on each side.
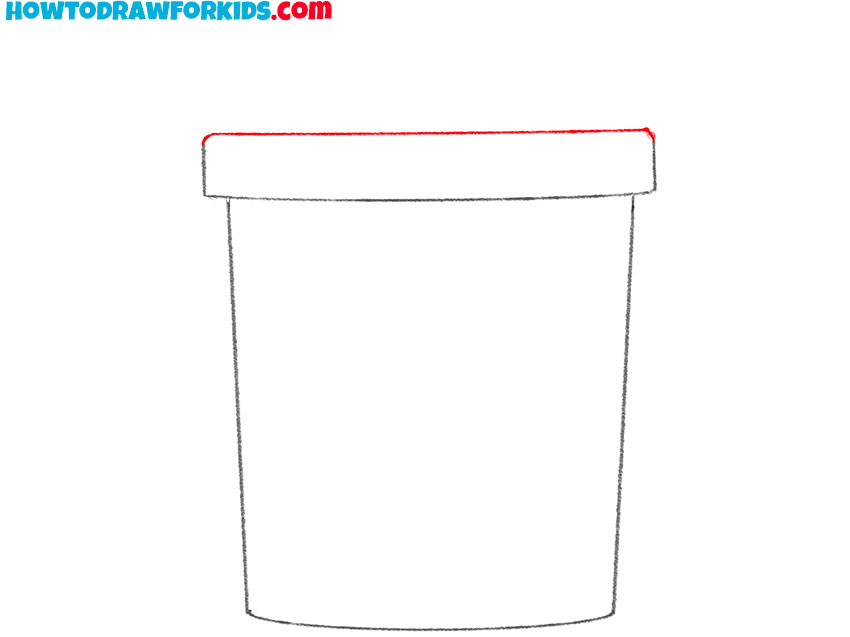
- Depict the top of the lid.
Draw a straight line at the top.
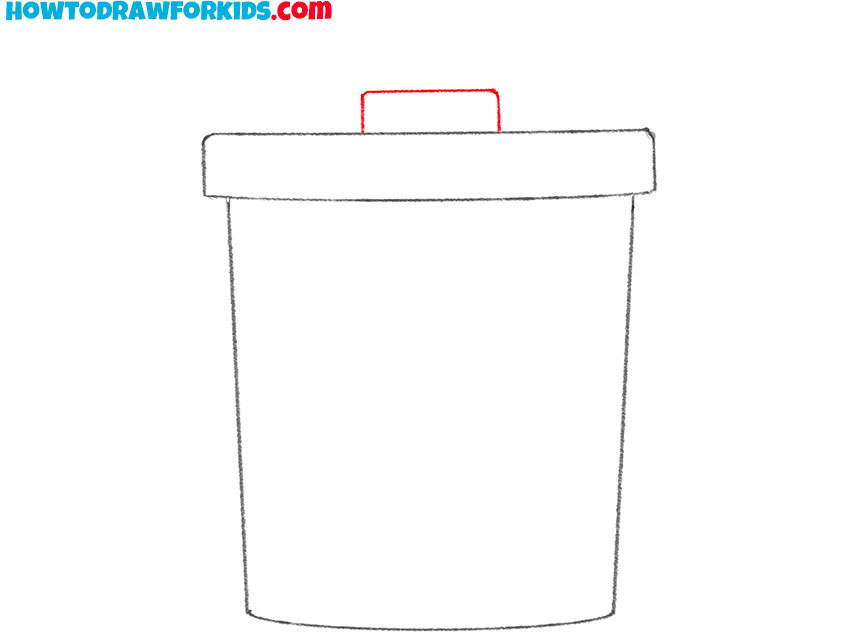
- Draw the handle on the lid.
Add the small rectangle in the center of the lid.
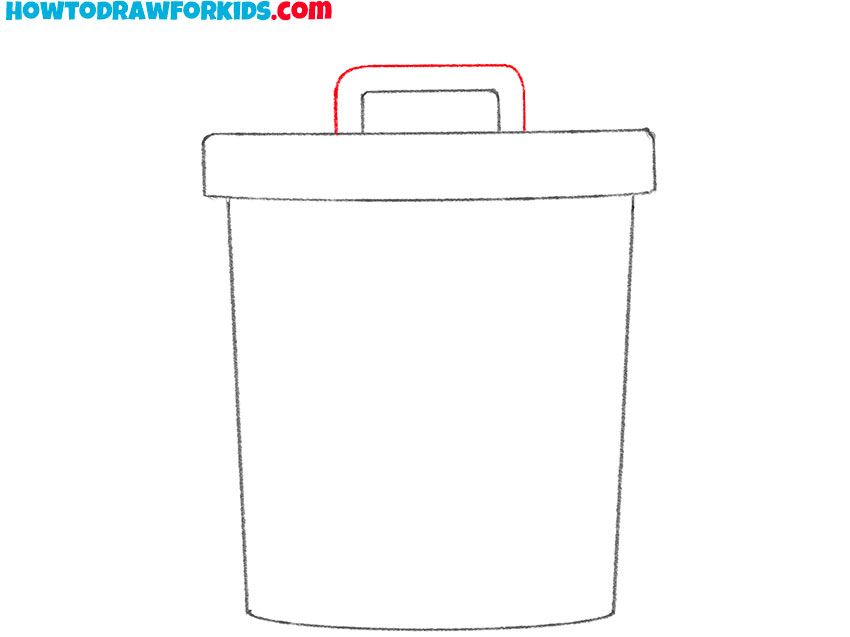
- Add details.
Continue drawing the handle of the trash can lid
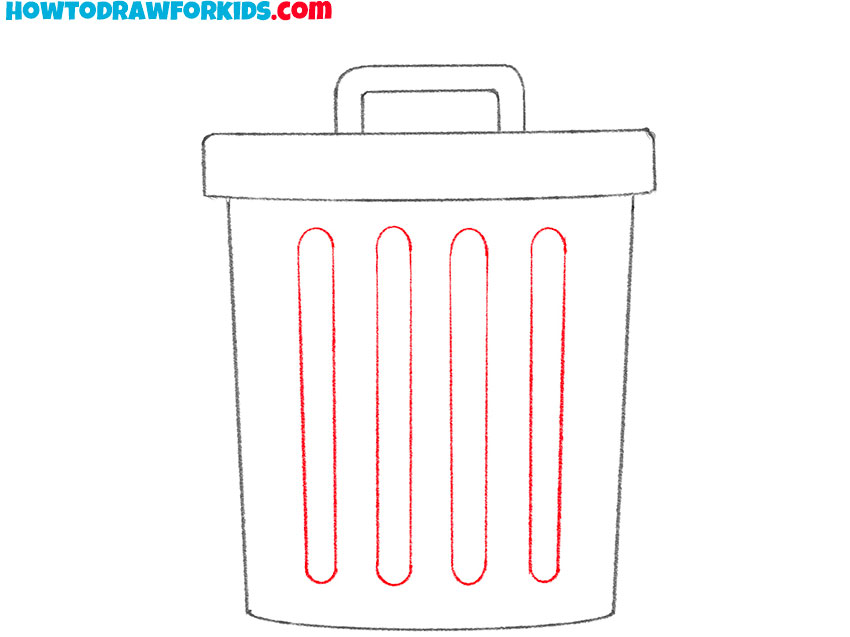
- Add more details.
Draw embossed stripes on the surface of the trash can.
- Color the drawing.
Usually, trash cans are gray. But if you want, you can choose a different color.

Additional Content
To enhance your learning experience beyond this lesson, I’ve crafted a free, easy-to-follow PDF guide. This condensed version of the tutorial captures the essential steps to draw a trash can and is ideal for quick reference. It’s tailored to be an offline resource, so you can enjoy learning to draw, no matter where you are, with or without internet access.
This downloadable PDF is not just a guide; it’s a tool that encourages continuous practice. Having recognized the value of convenience in learning, I designed it so you can print it out or keep it on your favorite device. This way, you can practice drawing a trash can whenever you have a spare moment, truly making the most of your time.
I believe that art should be accessible to everyone, which is why the PDF is complimentary. It’s a testament to my commitment to spread the joy of drawing. Just click, download, and start practicing how to depict a trash can, ensuring that your artistic journey is uninterrupted and always within reach.
Alternative Drawing Technique
In my dedication to nurturing your artistic skills, I’ve taken the extra step to create an alternative drawing technique for a trash can. This additional method is included to provide you with a broader set of skills and to add variety to your practice sessions.
By exploring this technique, you will gain the flexibility to approach drawing a trash can from different artistic angles. More practice means better skills, and with these varied techniques at your disposal, you’ll be equipped to tackle even more complex subjects in the future.
How to Draw a Trash Can: More Practice
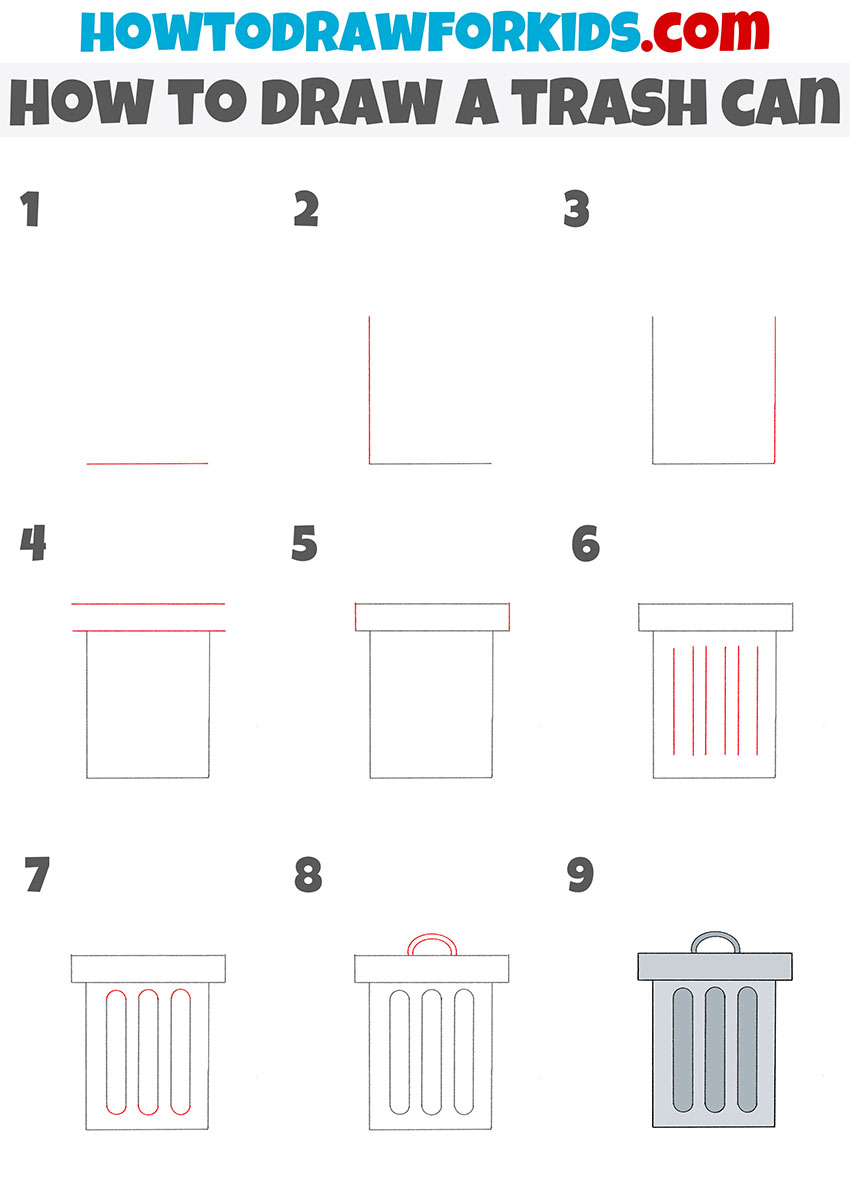
This lesson on drawing a trash can is streamlined for simplicity, starting with basic vertical and horizontal lines to form the primary shape. By reducing the number of initial lines, the method becomes more accessible, quickly establishing the can’s structure.
We then add essential features like the lid and handle with elementary shapes, using rectangles and half-circles. This approach keeps the process from being daunting, enabling a clear path for young learners to follow.
The final detailing with vertical lines to suggest the can’s ribbing is minimal yet effective. This gives the drawing dimension and a finished look without adding complexity, making it easier for students to achieve a recognizable representation of a trash can.
Advanced Tips to Perfect Your Trash Can Sketches
As we wrap up this drawing lesson, you’ve learned the fundamental steps to create a recognizable trash can. But as with any artistic endeavor, there’s always room to enhance your technique and add personal flair. Here are some tips and tricks to help you refine your drawings and make the most of this lesson:
- Start Lightly: Begin with light strokes for the initial shapes. This makes it easier to correct any mistakes and allows you to define the structure without committing too heavily at the start.
- Steady Lines: Use a ruler or a straight edge for the sides of the trash can if you want crisp, straight lines. It can add precision, especially helpful for younger artists.
- Curves and Circles: For the curved elements like the handles, you can trace around objects or use a compass to maintain uniformity and shape.
- Shading Techniques: Experiment with different shading techniques like cross-hatching or stippling on the sides of the trash can to give it a textured look and a three-dimensional feel.
- Practice Makes Perfect: Keep practicing! Repetition is key to mastering the shapes and lines that come together to form objects.
Remember that these tips are not just for improving your ability to sketch a trash can; they are stepping stones to enhancing your overall drawing skills. Continue to draw with curiosity and patience, and watch as your artistic talents flourish.
Conclusion
Now that you’ve mastered how to depict a trash can, why not broaden your artistic horizons with the diverse tutorials available on my website? Whether you’re intrigued by the challenge of rendering a gorilla‘s powerful form or capturing the lightness of a feather, there’s a lesson for every interest.
Follow my social media profiles to ensure you never miss an update or a new piece of content. And if there’s a specific subject you’re eager to see turned into a lesson, don’t hesitate to drop a comment below. Your feedback is the compass that guides my content, helping me create tutorials that are truly beneficial to you.

