How to Draw a Unicorn Face
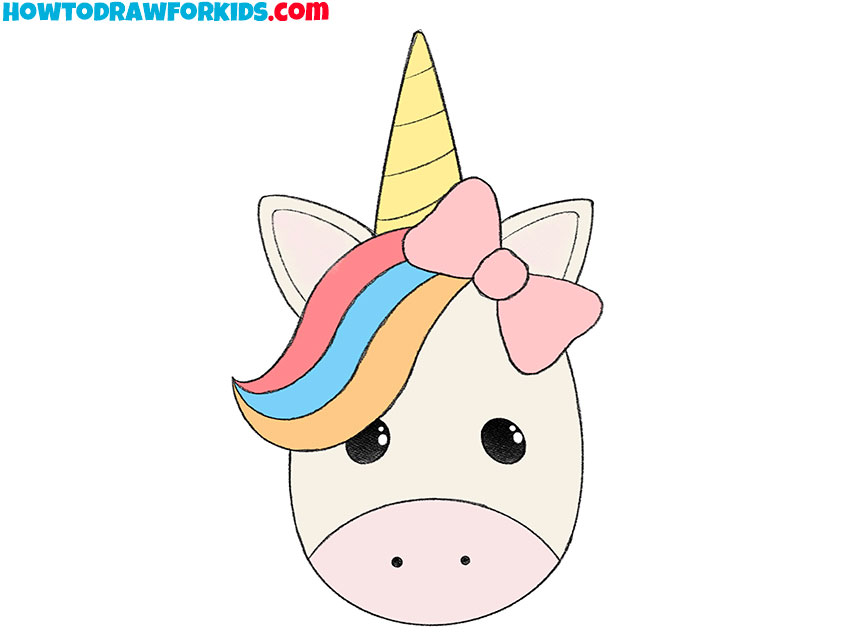
Welcome, creative explorers! Today we’re diving into a whimsical world with my guide on how to draw a unicorn face, a simple and delightful way to unlock your artistic potential. There’s a special kind of joy in drawing these mythical creatures, and I’ve tailored this lesson to help you capture that magic with ease and a dash of fun.
How to Draw a Unicorn Face: Basic Information
Hello, art enthusiasts and fantasy lovers! If you’ve ever been captivated by the mystical allure of unicorns, this guide on how to draw a unicorn face is crafted especially for you. In this session, I aim to transport you into a world where your pencil can dance across the page to create something truly magical.
The approach I’ve developed for you is straightforward, focusing on the unicorn‘s serene features that exude both tranquility and a sense of wonder. Pay special attention to the curve of the ears and the gentle eyes, as they are the soul of our unicorn’s character – capturing not only an image but the spirit of this celestial being.
As we progress, and you draw a unicorn face using my method, each line you sketch will contribute to bringing this mythical creature to life. The mane, the delicate nose, and, of course, the iconic spiraling horn – each element is a step in a dance of creation. With every mark, you’re not just drawing; you’re giving life to a creature that has frolicked through the dreams of countless generations.
Unicorn Face Drawing Tutorial
Materials
- Pencil
- Paper
- Eraser
- Coloring supplies
Time needed: 30 minutes
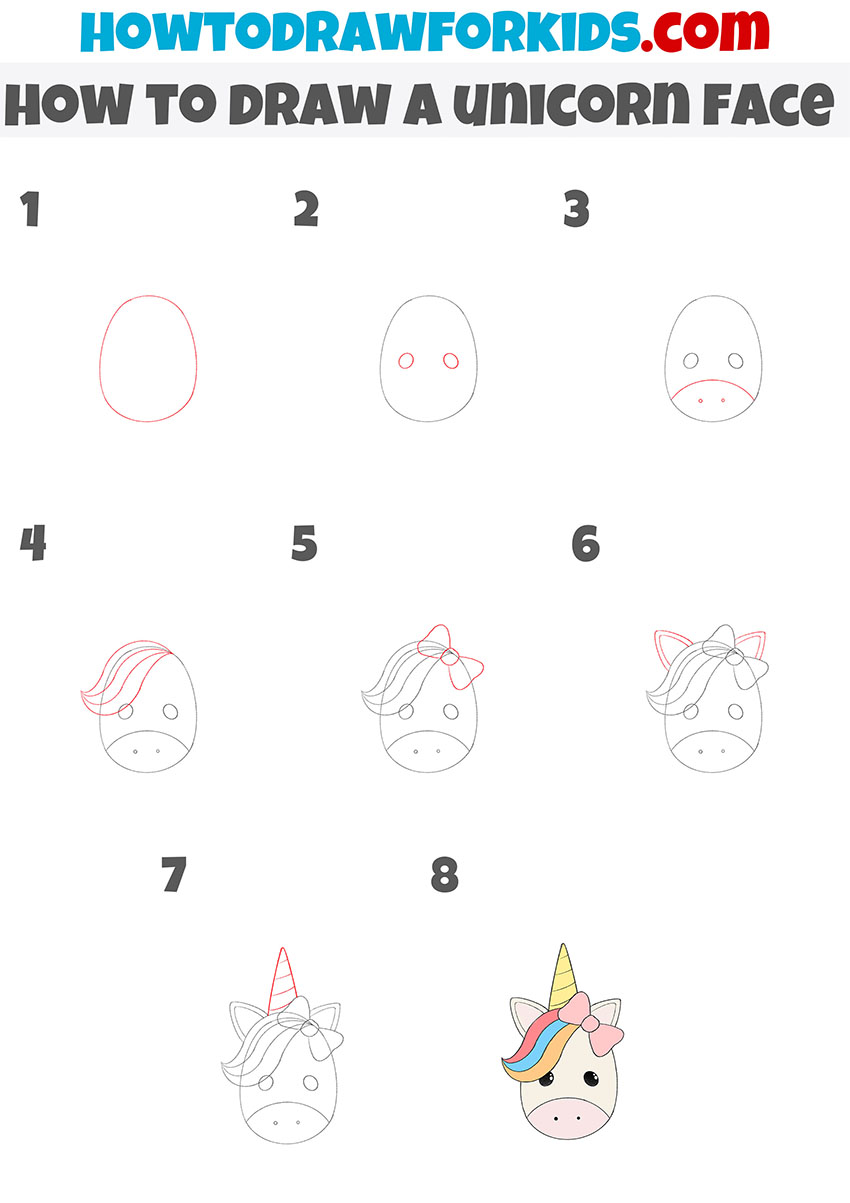
How to Draw a Unicorn Face Step by Step
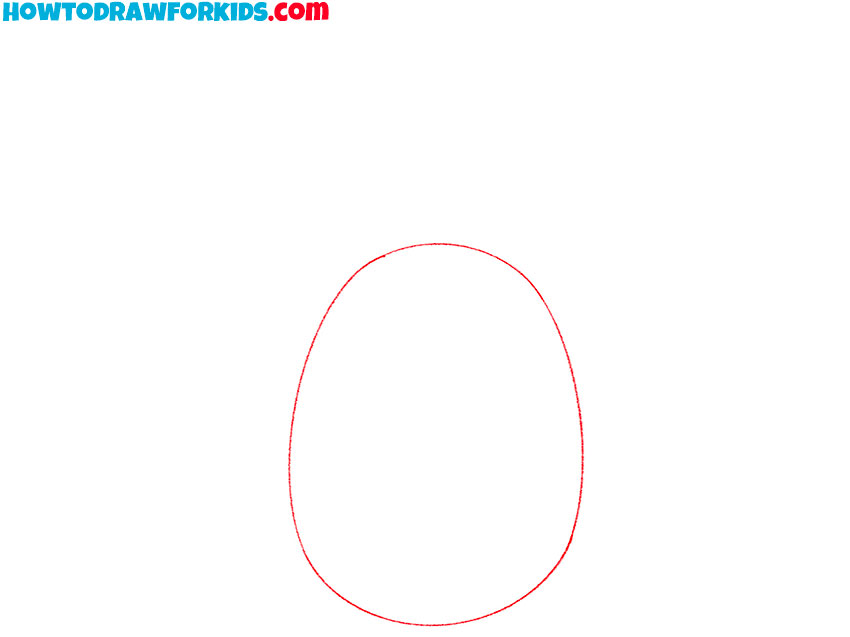
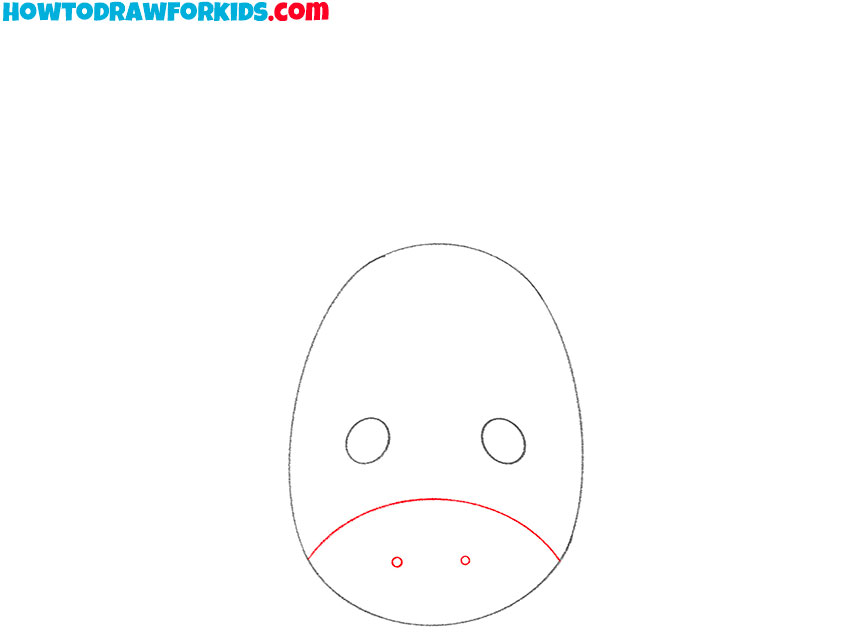
- Draw the outline of the face.
To do this, you need to draw an even oval.
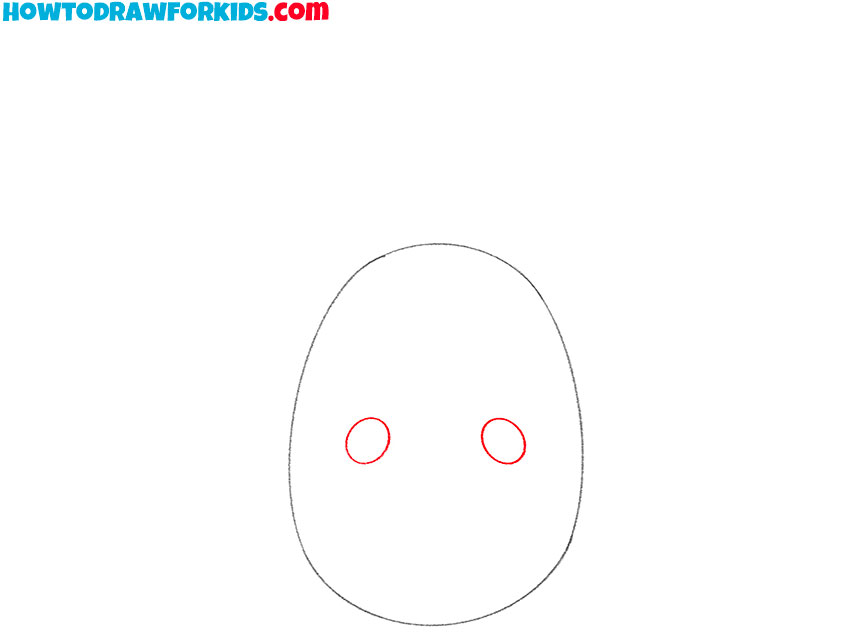
- Sketch out the eyes.
Approximately in the middle of the face, draw two small ovals.
- Depict the lower part of the face.
Draw a semicircular line and put two small circles to depict the nostrils.
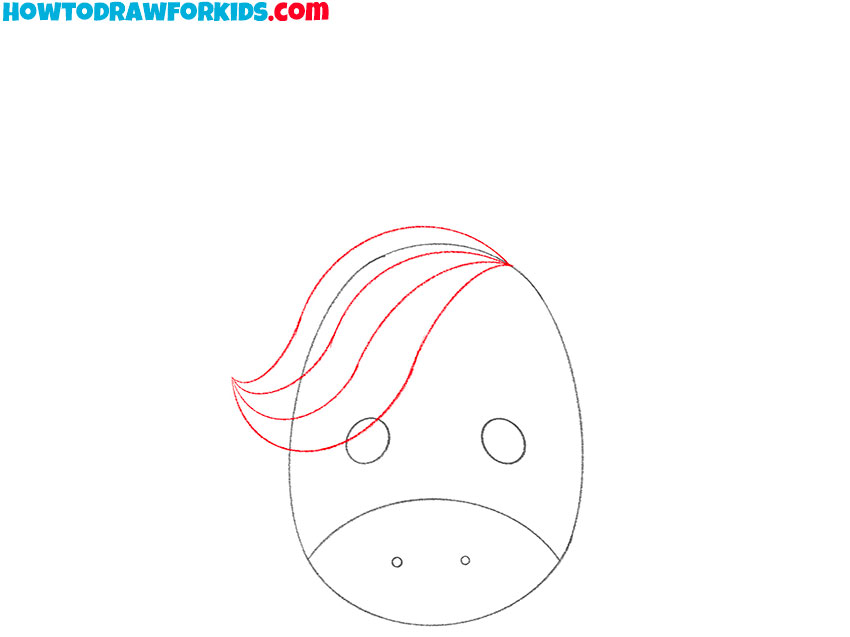
- Draw the hair.
From the top of the head, draw some smooth, curved lines to depict the strands of hair.
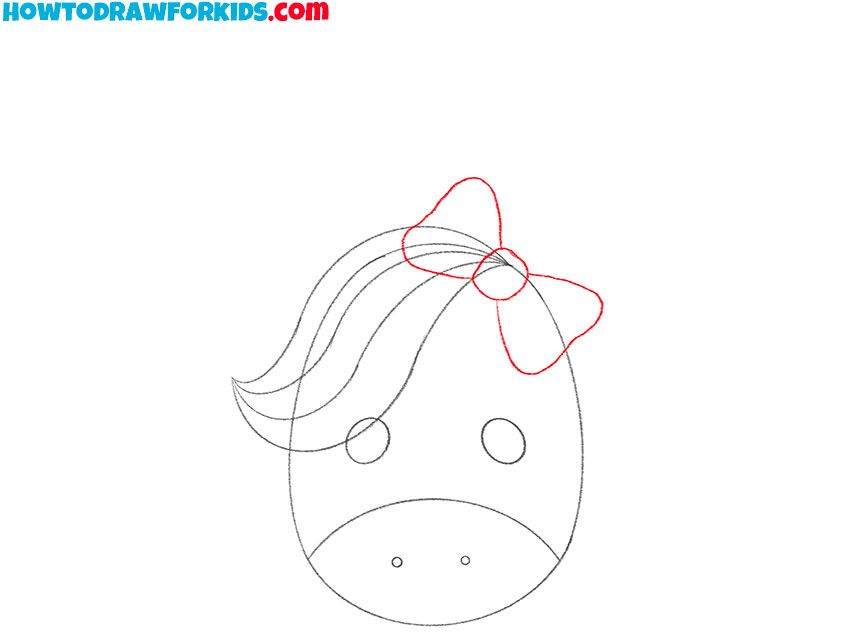
- Sketch out the bow.
On the head, draw the bow of the same shape and size as in the example.
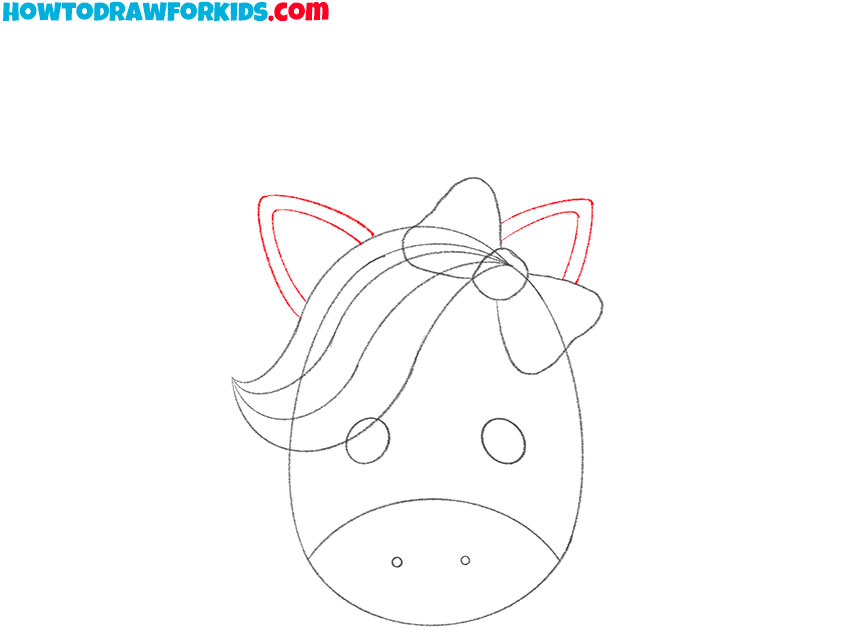
- Add the ears.
Using smooth lines draw two ears that are triangular in shape.
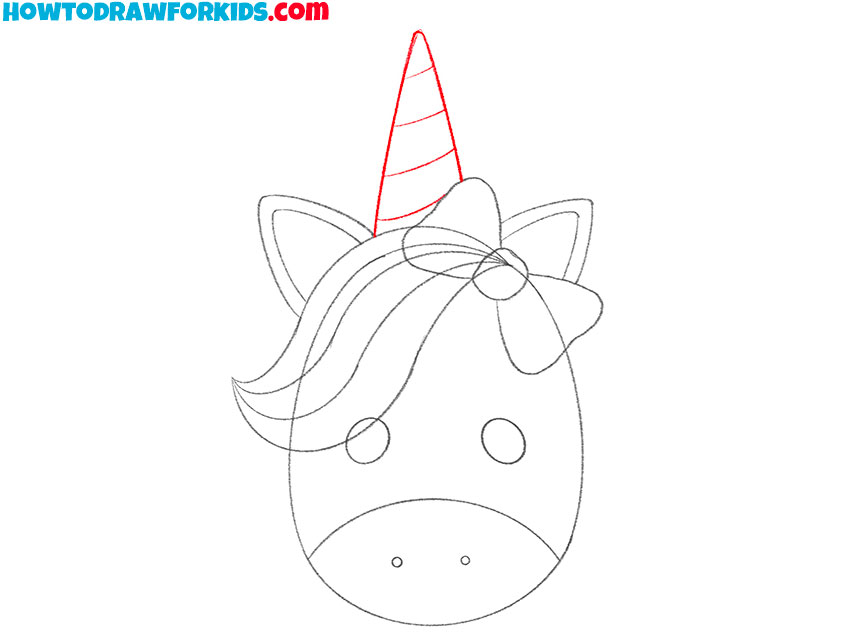
- Depict the horn.
From the crown, draw upward lines to depict the horn. Add a few thin lines to the horn.
- Color the unicorn face.
You will need several colors – yellow, beige, pink and blue.
Additional Content
To further enhance your artistic journey, I’ve also crafted a complimentary PDF guide for this lesson. It’s a condensed version of our drawing adventure, designed to be a handy companion that you can download and use, even when you’re offline. This special resource serves as your creative toolkit, waiting to be unfolded whenever inspiration strikes.
Inside the PDF, you’ll find additional materials tailored to refine your drawing skills once you’ve mastered the basics. It’s a collection of tips and tricks, thoughtfully compiled to elevate your technique and add depth to your artwork. Think of it as a secret ingredient to sprinkle over your newly acquired knowledge, enriching your drawing experience.
As you progress beyond the initial stages of learning to draw a unicorn face, this PDF will become an invaluable asset. It’s not about the steps you’ve already learned; it’s about going beyond, stretching your abilities, and discovering new horizons in your art. So, grab this guide and let it lead you to uncharted realms of creativity and skill.
Alternative Drawing Techniques
In addition to the main tutorial, I’ve developed several alternative techniques for drawing the unicorn face, providing you with a rich palette of styles to practice and perfect your artistic skills. These variations challenge you to explore different expressions, textures, and contours, each bringing a unique flair to your mythical creation.
These alternate methods are designed not just to diversify your portfolio but to deepen your understanding of form and fantasy. As you toggle between techniques, you’ll notice your hand becoming more confident and your imagination soaring to new heights, which is essential for any flourishing artist.
By engaging with these varied approaches, you’ll find your artistic abilities expanding as you adapt to new challenges. It’s a way to keep your creativity fresh and your drawing skills ever-growing. Dive into each style, and let them shape your journey as you evolve from a novice to a master of the majestic unicorn.
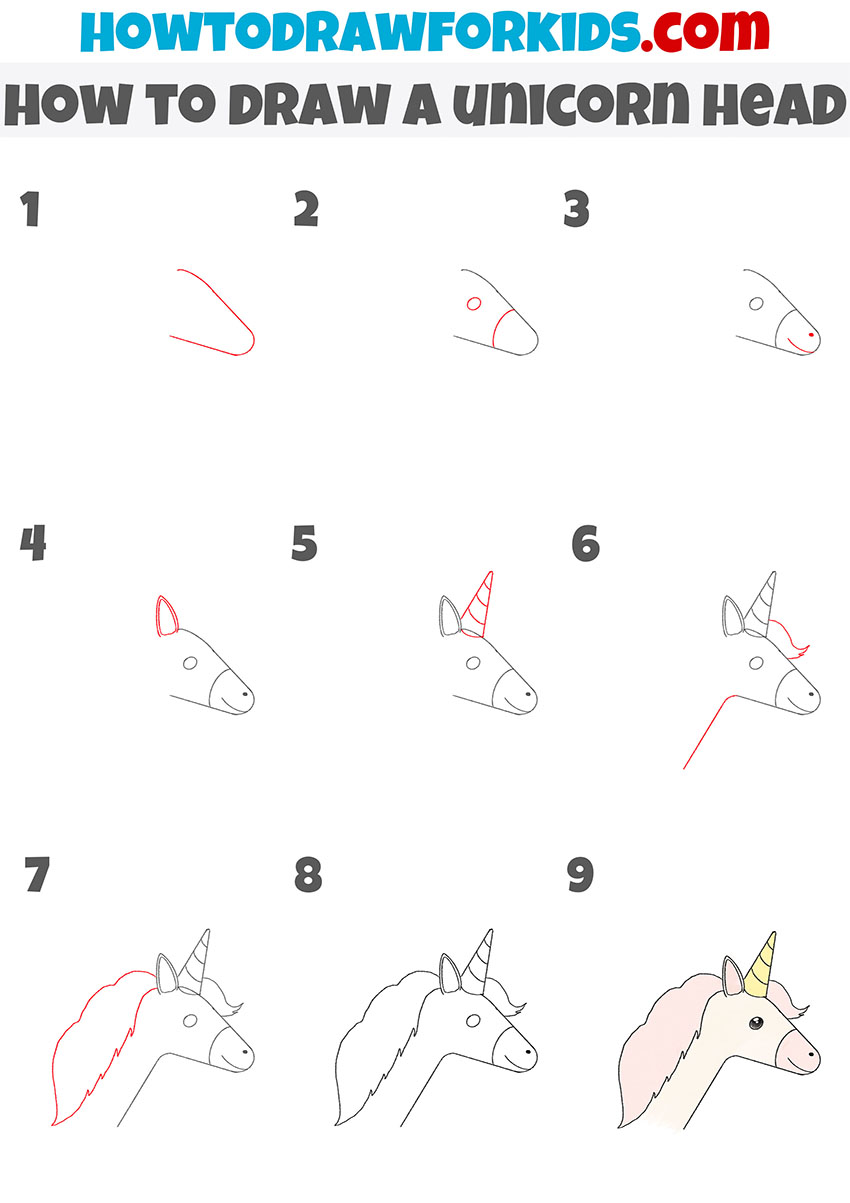
Unicorn Face Drawing Tutorial: Different Angle
This drawing method begins by capturing the unicorn’s profile with a fluid, arched line that carves out the forehead, nose, and neck. Subsequent strokes refine this shape, adding depth and dimension to the face, while the placement of the eye and nostril breathes life into the creature, anchoring its gaze in mythical stillness.
Then, we add the ear, poised high and alert, and the horn, with its distinctive spiral, a signature of unicorn lore. These features are essential, giving our unicorn its royal demeanor. The horn’s texture is particularly important – it must suggest a blend of strength and delicacy, much like the creature itself.
Finally, the mane is drawn with a series of flowing lines, each adding to the mane’s volume and wild grace. The lines suggest a softness and a breeze, giving the sense that our unicorn is captured in a moment of gentle motion, mane billowing like a flag of fantasy.
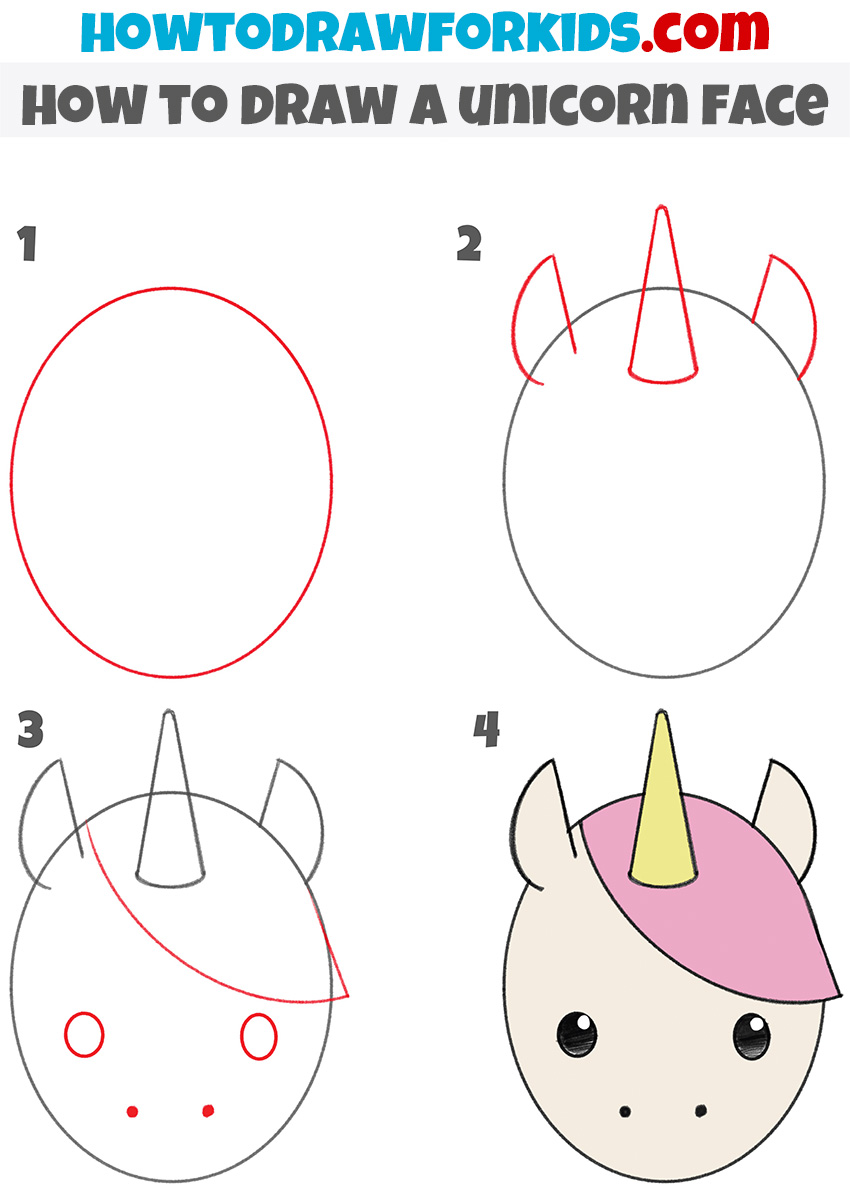
How to Draw a Unicorn Face for Kindergarten
This drawing method, tailored for the youngest of artists in kindergarten, starts with a simple circle for the face – broad and inviting, like the open page of a storybook. This is the canvas on which the magic will happen, the foundation for our unicorn’s friendly face.
Next, we add the ears and the iconic horn with just a few pointed shapes, teaching our little ones the joy of seeing complex objects emerge from simple lines. Each element is designed to be easily recognizable, allowing the child to connect with their creation and feel the thrill of the drawing process.
The third step introduces the eyes and nose, dots, and a dash that bring the unicorn to life. This method emphasizes the power of minimalism, showing how a few simple marks can give a drawing expression and personality. These are the details that transform a shape into a friend.
How to Evade Common Unicorn Drawing Errors
Embarking on the journey of creating art, especially when drawing something as whimsical as a unicorn, can be as thrilling as it is challenging. Even with such simple methods, there are common mistakes that can turn a joyful experience into a disappointment. Here are some of the frequent missteps to watch out for:
- Proportions: Keep the ears and horn in proportion to the head. Oversized ears or a too-thick horn can unbalance the whimsical harmony we aim for in a unicorn’s face.
- Positioning: Place the eyes and nostrils carefully. They should be symmetrical and aligned; misplacement can result in a less harmonious expression.
- Lines: Encourage gentle pencil pressure. Heavy-handed lines can make corrections difficult and can lead to a messy drawing.
- Overcomplicating: Resist the urge to add too many details. The beauty of this drawing lies in its simplicity, and clutter can overshadow the innocent charm of the unicorn’s face.
Remember, that these mistakes are but stepping stones on the path to improvement. Each misstep is an opportunity for learning, and with every attempt, the young artist grows. Keep the lines flowing, the circles round, and let every unicorn drawn be a celebration of progress and imagination.
Level Up Your Unicorn Face Sketches
As we close the pages of our delightful tutorial, it’s important to remember that the journey of artistic growth never truly ends. Once you’ve mastered the basic steps of bringing a unicorn face to life, why not elevate your artistry even further? Let’s explore some enchanting enhancements to enrich your drawings:
- Incorporate Unique Elements: Give your unicorn a personal touch. This could be a star-shaped twinkle in its eye, a series of delicate flowers woven into its mane, or even a unique pattern upon its horn.
- Experiment with Color: Don’t shy away from a vibrant palette. Pastel shades can add softness to the mane, while bold hues can make your unicorn stand out with a touch of magic.
- Play with Backgrounds: Set the scene for your unicorn. A celestial backdrop, a flowering meadow, or a mystical forest can transport your unicorn to a world of your creation.
- Add Texture: Bring a new dimension to your drawing with texture. Experiment with shading techniques to give the mane depth and the horn a polished shine.
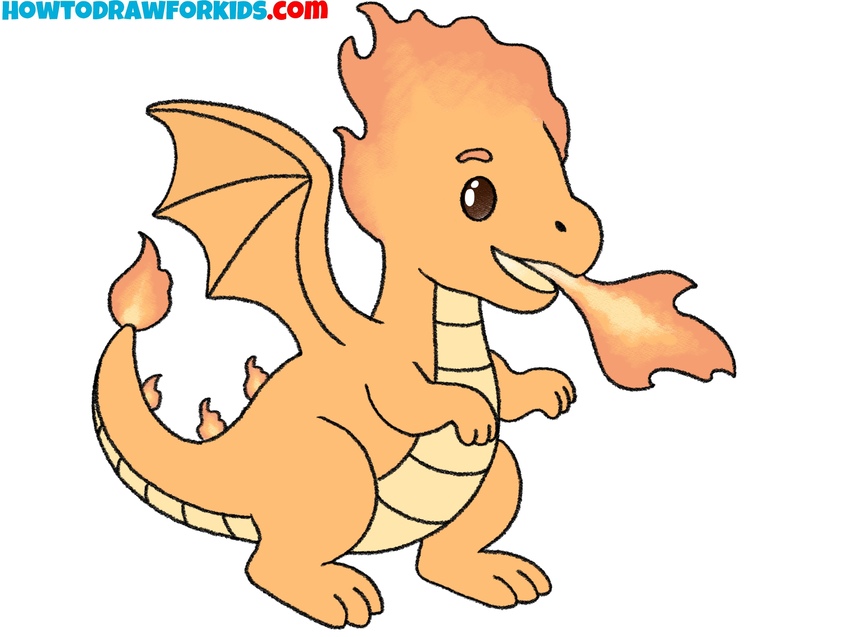
- Introduce Companions: Maybe your unicorn isn’t alone. Sketch in a gentle faerie companion, a flock of birds in flight, or even a friendly dragon for contrast.
To wrap up, each drawing you create is a doorway to further discovery. With these suggestions, you can transform a simple sketch into a portal to an enchanted realm. So, take your pencil in hand, and let your imagination gallop beyond the horizon – your art is a canvas for the endless wonders you can conceive.
Conclusion
We’ve now closed the chapter on our unicorn face, but the story of your artistic development is far from finished. If you’ve enjoyed this enchanting experience, wander through my website’s garden of lessons; you might delight in conjuring the stark beauty of a raven or the serene chime of a bell in your next masterpiece.
I invite you to join our community across social media, where the announcement of each new tutorial flutters in like a leaf on the wind – don’t miss out. And if your heart whispers desires for future artistic ventures, leave a comment below; your wishes could very well shape our next artistic journey together.

Thank you for the tutorial. Because of this, I can draw this for my friend!!!!!!!!!!!!!!!!!!!!!!!!!!!!!!!!!!!!!!!!!!!!!!!!!!!!!!!!!!!
Hi how are you doing today?