How to Draw a Walrus
In this very simple tutorial, you will learn how to draw a walrus in just nine easy steps with helpful tips for you.
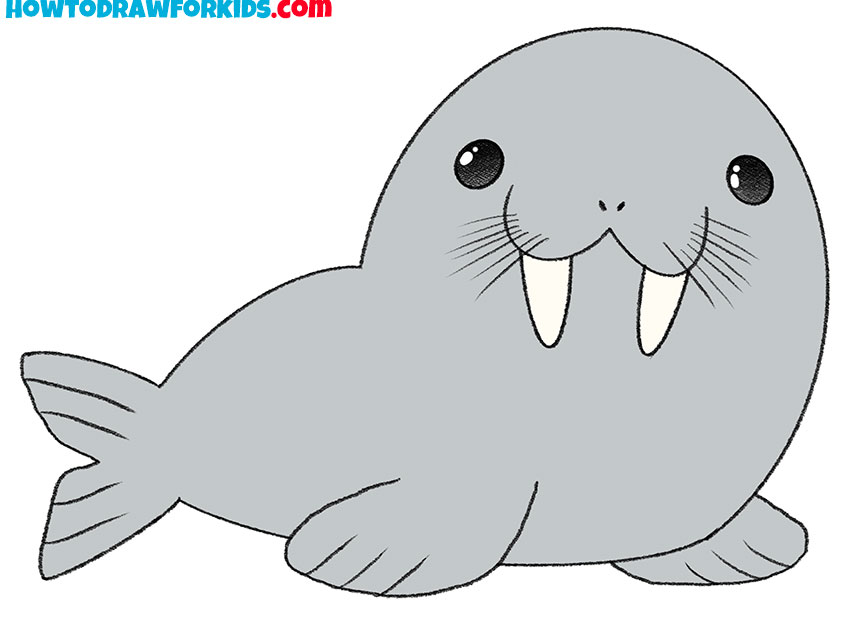
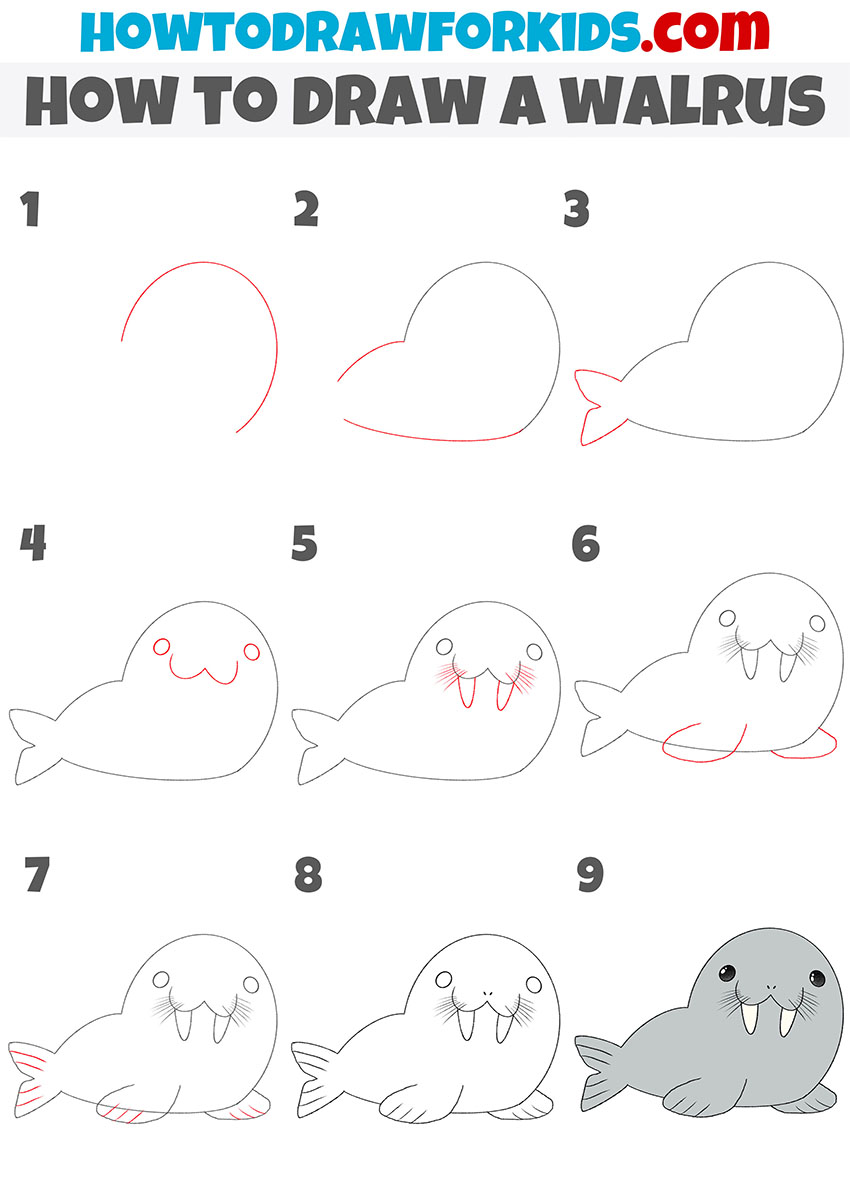
In this lesson, you will learn how to draw a walrus. I’m sure this step-by-step guide will appeal to any aspiring artist who wants to improve their skills.
Now I will show you how to draw a walrus step by step. The walrus is a large marine mammal. The walrus has very thick skin, thanks to which the animal withstands the harsh climate.
Hope you are ready to start the tutorial. A simple instruction will help you quickly draw a walrus. Follow all the drawing steps in sequence and use small hints to get a great result.
Materials
- Pencil
- Paper
- Eraser
- Coloring supplies
Time needed: 30 minutes
How to Draw a Walrus
- Draw the outline of the head.
Sketch out a smooth, rounded line.

- Depict the torso.
Continue the lines to draw the small torso, while maintaining proportions.

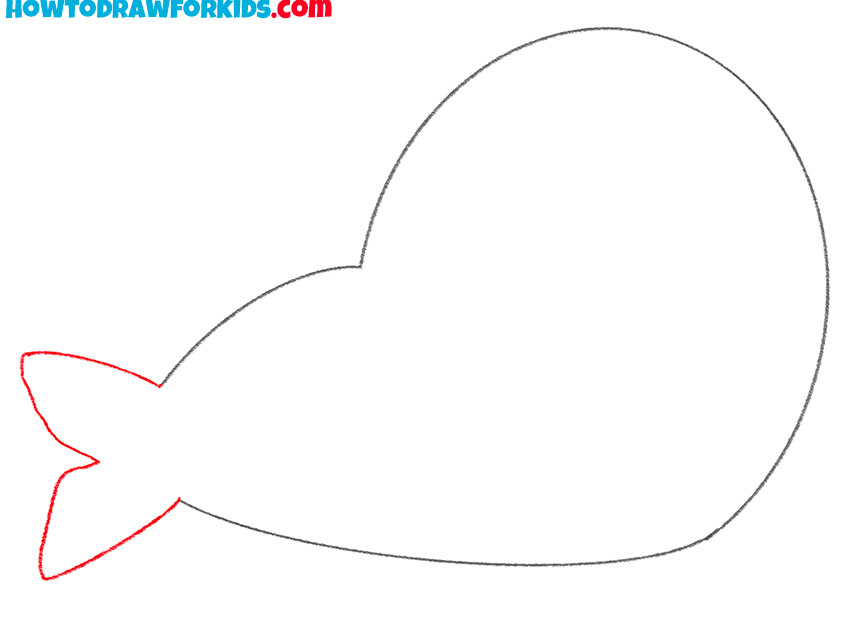
- Sketch out the tail.
With the help of smooth lines, draw the tail, which consists of two parts.
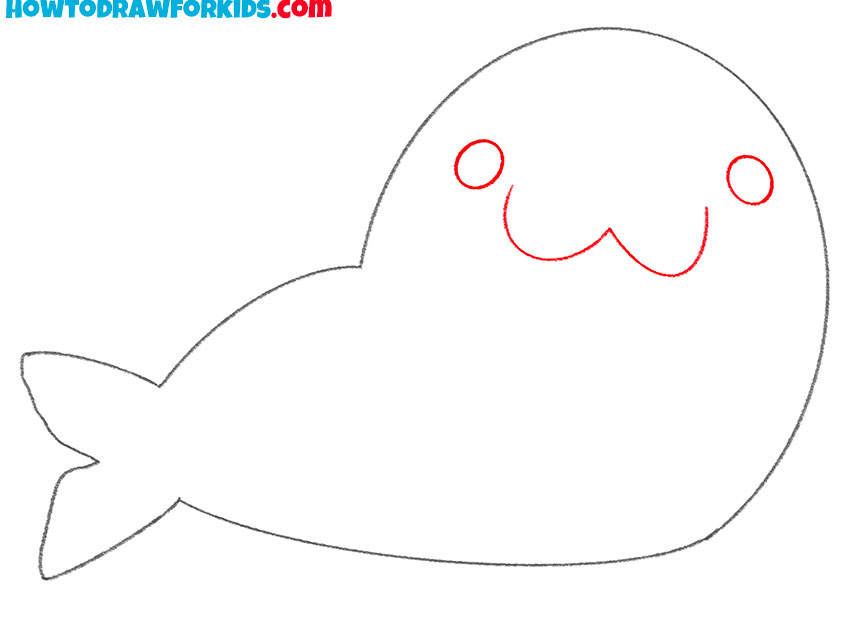
- Add elements of the face.
Draw two small circles to depict the eyes and depict the mouth with two rounded lines.
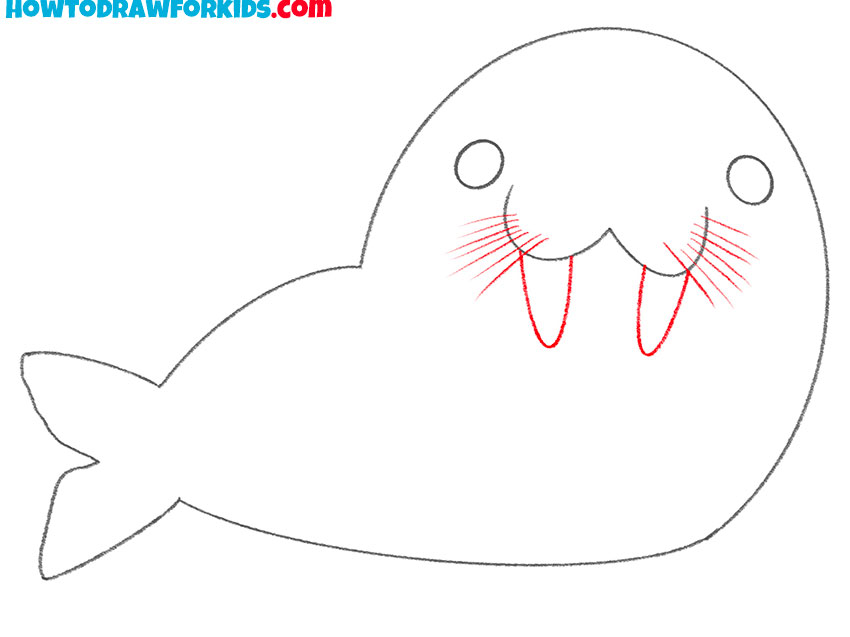
- Add the tusks and whiskers.
Use curved lines to depict two large tusks. With thin lines, draw the mustache on each side.
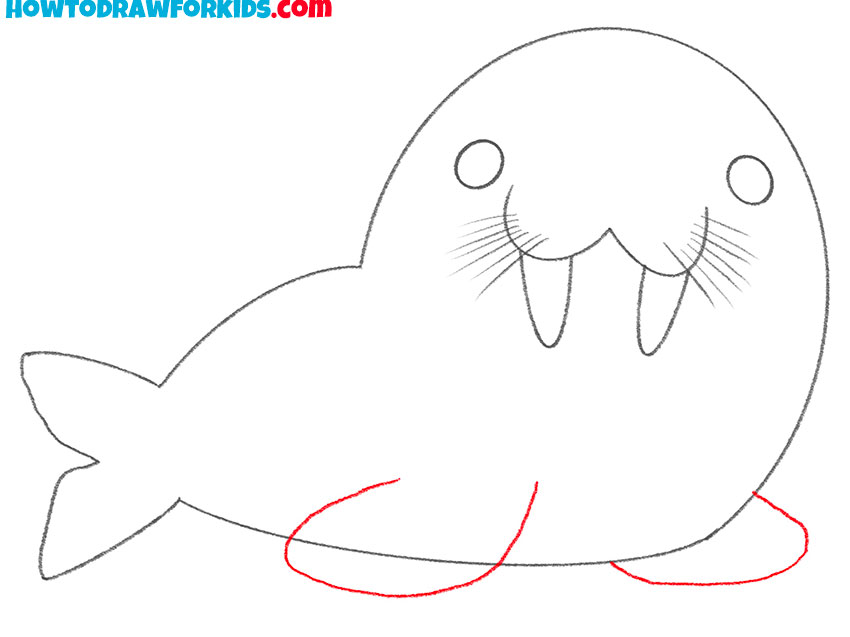
- Sketch out the flippers.
In the lower part of the torso, depict flippers using smooth lines.
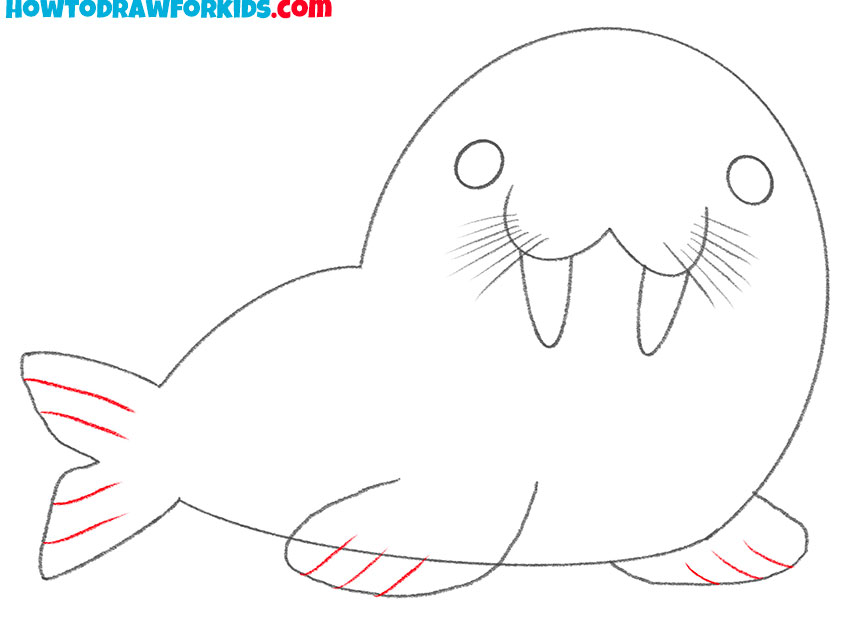
- Detail flippers and tail.
On the flippers and on the tail, draw thin lines in succession.
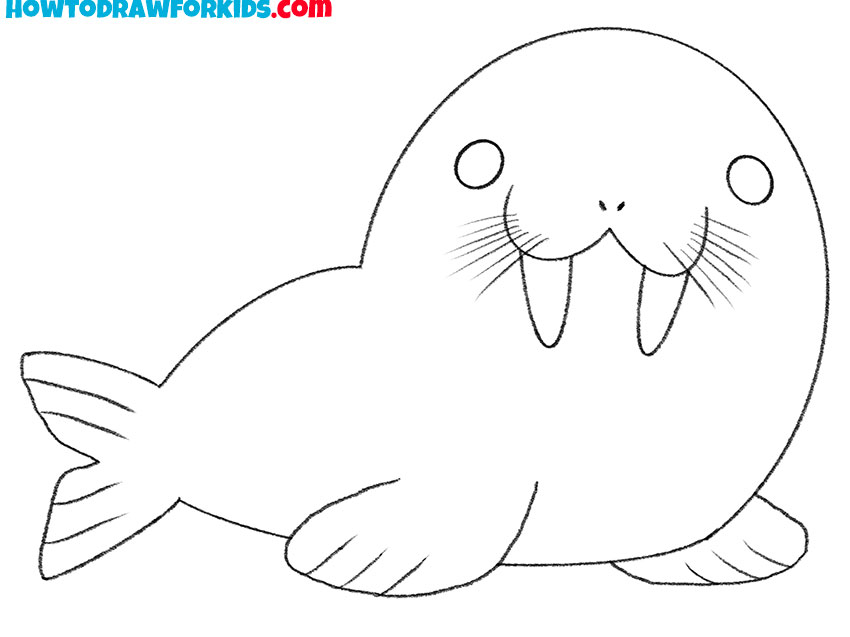
- Correct inaccuracies.
Remove all extra lines in your drawing.
- Color the walrus.
You will need a light gray to color the walrus skin. Color the eyes black and add highlights.

By tradition, I created a short version of the lesson in advance as a PDF file. If you save this file, you can return to the lesson at any time.


