How to Draw a Wedding Dress
With this easy step-by-step tutorial, you will learn how to draw a wedding dress. This tutorial is very helpful and simple.
I want to present you with a new lesson in which I will show you how to draw a wedding dress. Hope you enjoy this tutorial and have a good time.
Now you will learn how to draw a wedding dress step by step. A wedding is an important event in the life of every person, so they prepare for this event very carefully.
Every bride wants to look gorgeous and is serious about choosing a dress. Usually, a white puffy dress is worn for a wedding and complements the image with various accessories.
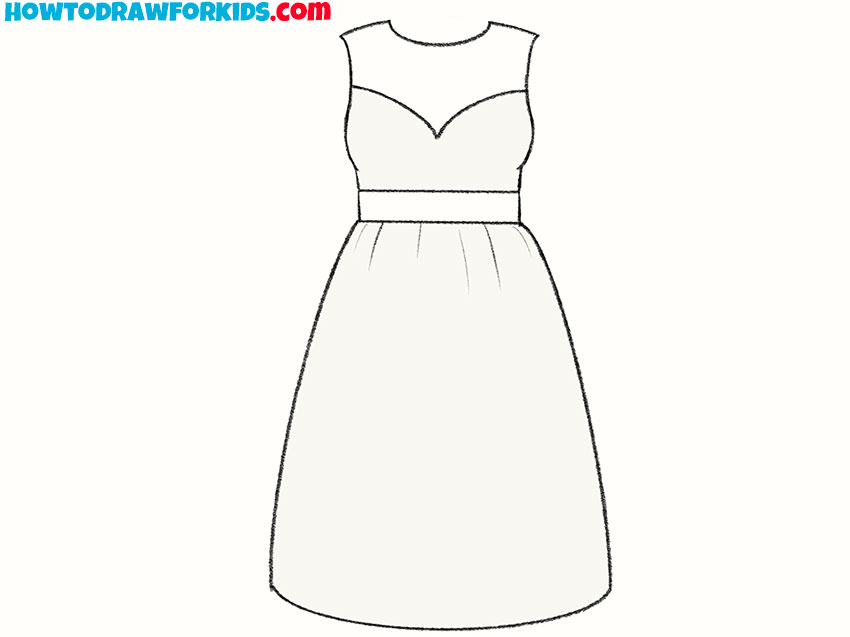
The drawing shows a simple but elegant wedding dress, which you can easily draw thanks to accessible instructions. The lesson is designed for beginners, so simple lines and a minimum of elements are used here.
Materials
- Pencil
- Paper
- Eraser
- Coloring supplies
Time needed: 25 minutes
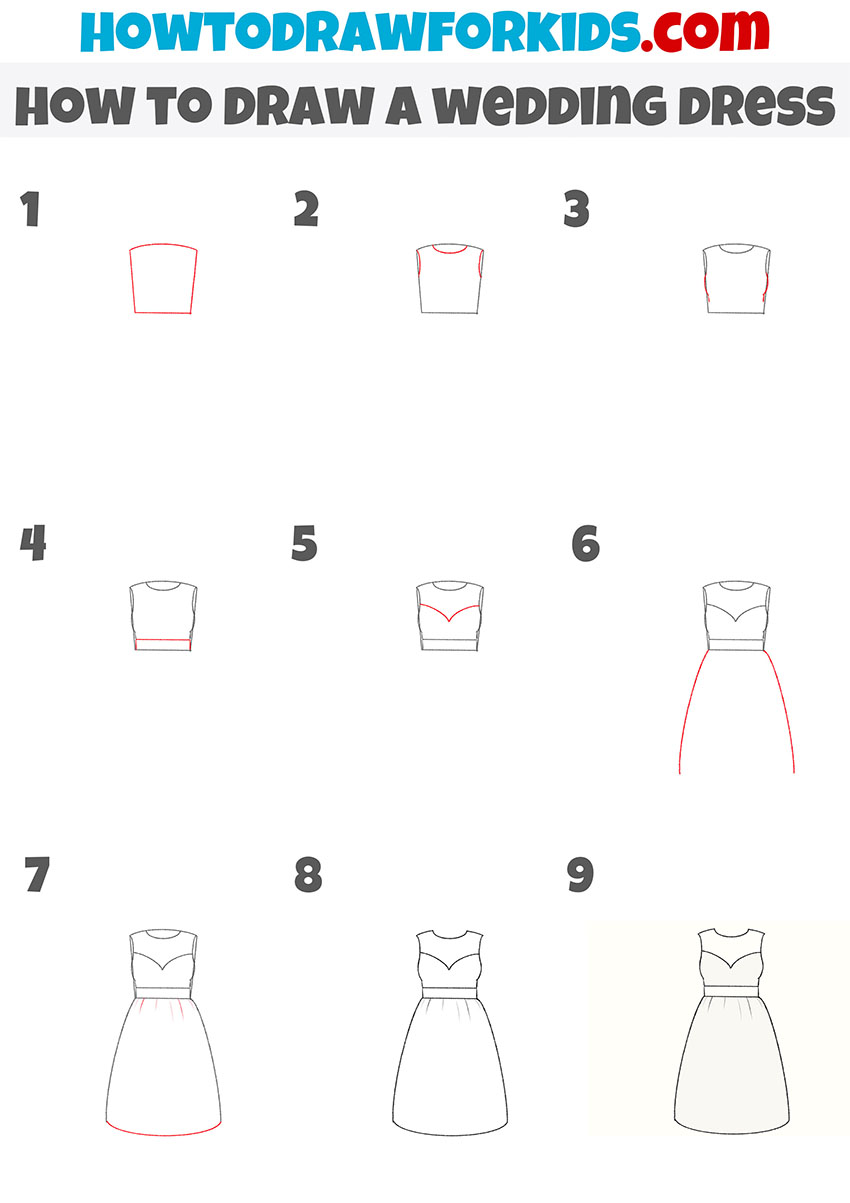
How to Draw a Wedding Dress
- Draw the outline of the top of the dress.
Using a few lines, draw a trapezoid-shaped figure in which the top outline is rounded.

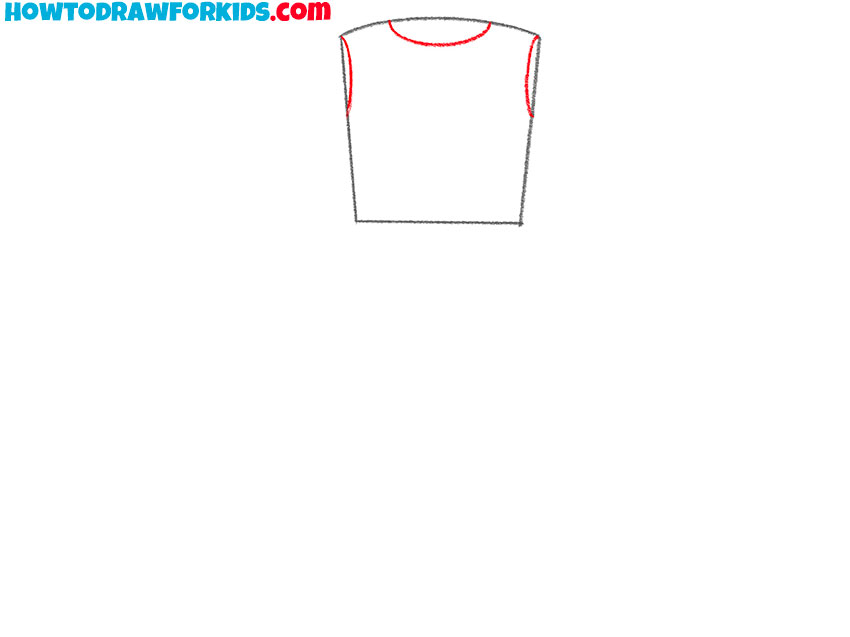
- Sketch out the neckline and sleeves.
Depict smooth rounded lines on the top and sides.
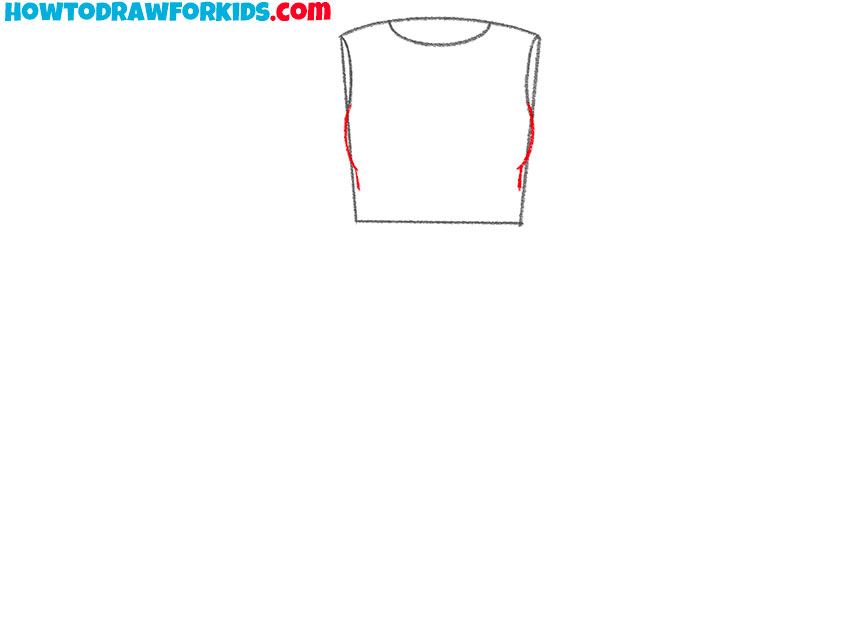
- Add details.
With the help of several lines, give the dress the same shape as in the example.
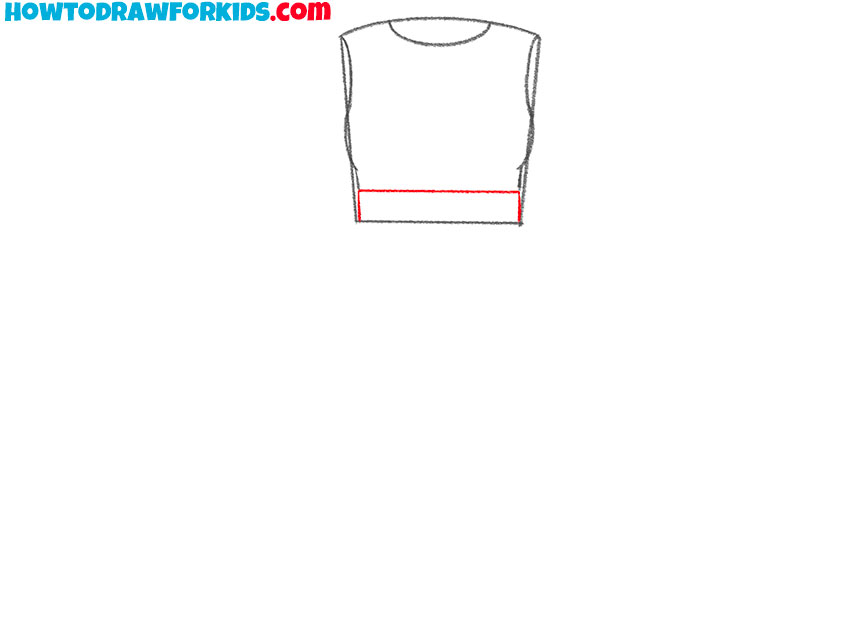
- Depict the belt.
Draw even, straight lines to make the wide belt.
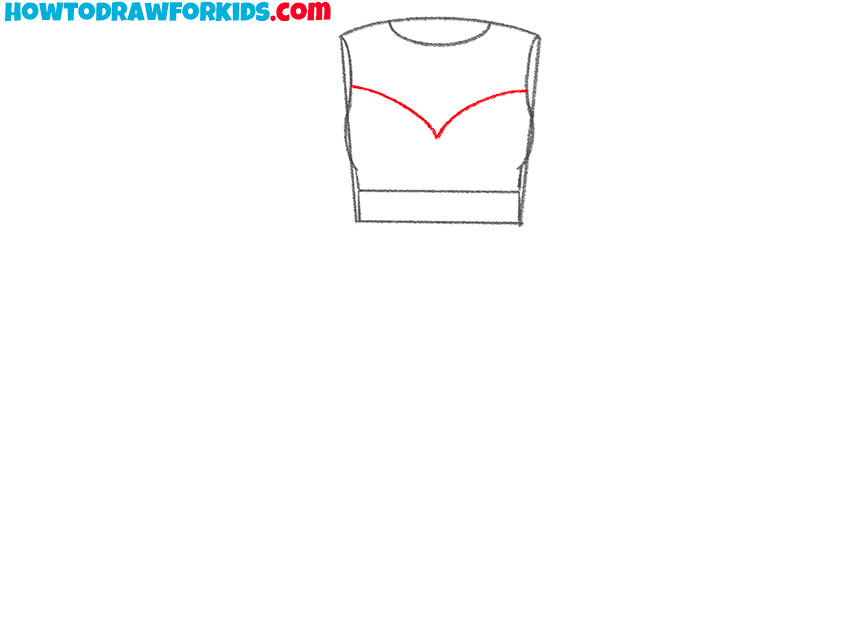
- Add more details.
Draw two lines in the middle to make a pointed outline.
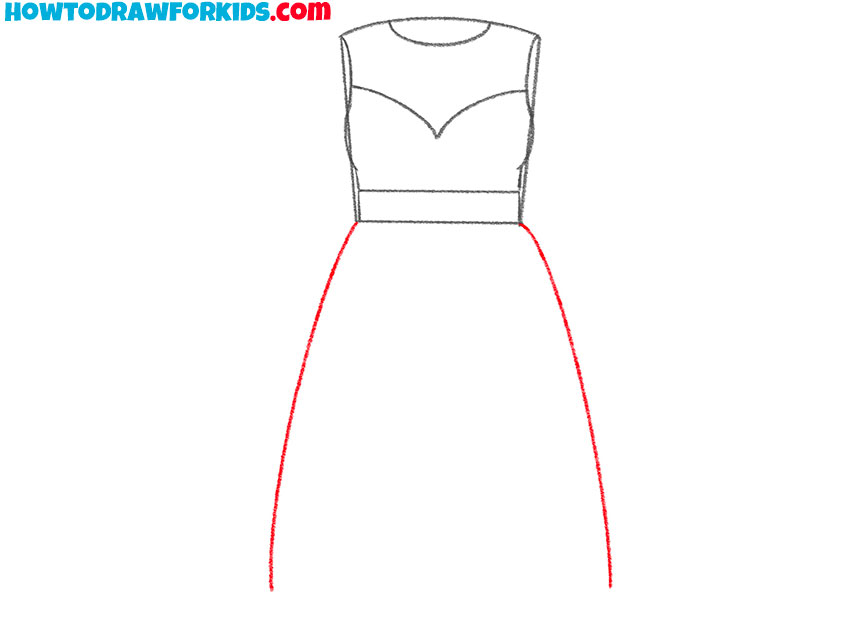
- Sketch out the bottom of the dress.
From the waist, drawdown smooth lines on each side.
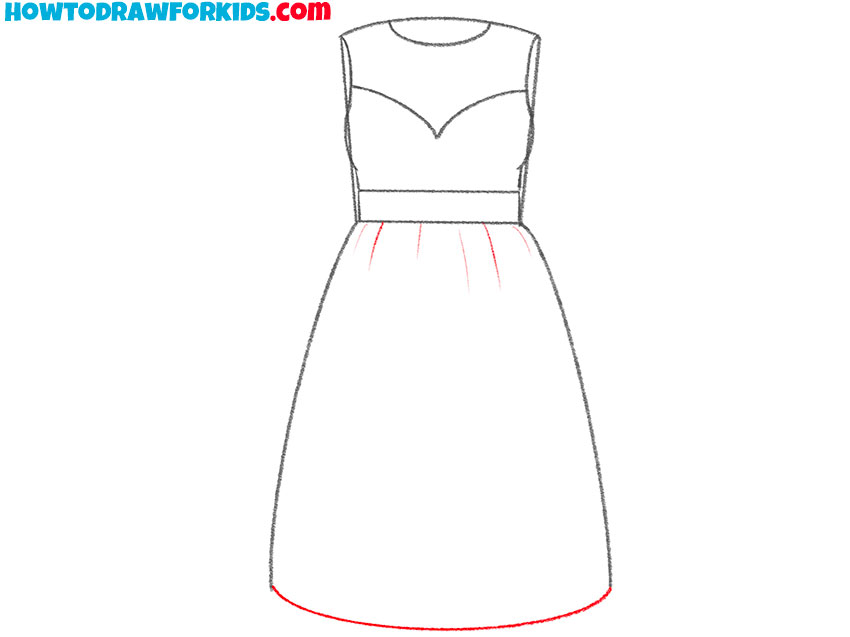
- Depict the bottom outline and add folds.
Draw a smooth line at the bottom. Add a few thin lines down from the waist.
- Correct inaccuracies.
With an eraser, carefully remove all unnecessary lines.
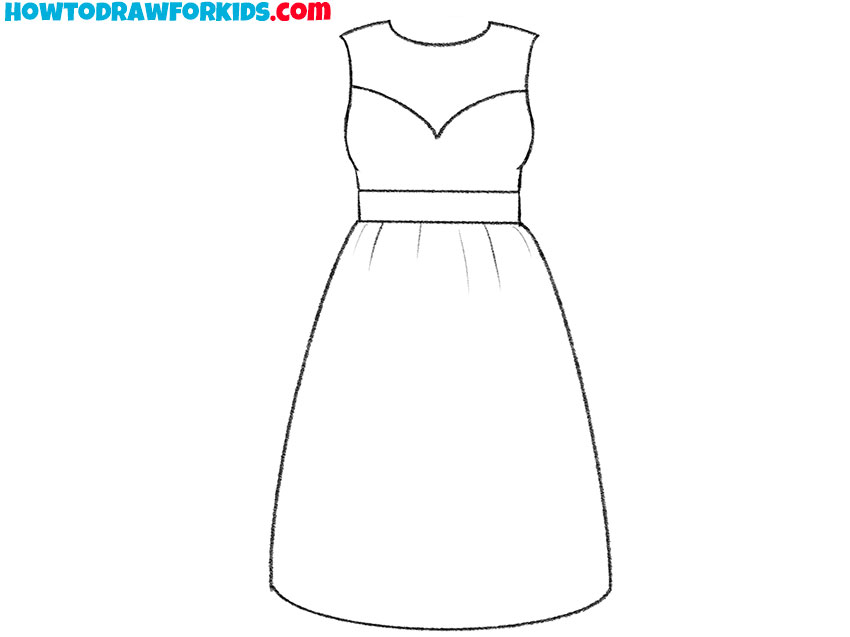
- Color the drawing.
Usually, the wedding dress is white, but you can use any color.

You can now download the short version of the lesson as a free PDF so you can return to this lesson at any time.

