How to Draw a Xylophone
With the help of this lesson, you will learn how to draw a xylophone. This is a very simple creative task that any beginner can do.
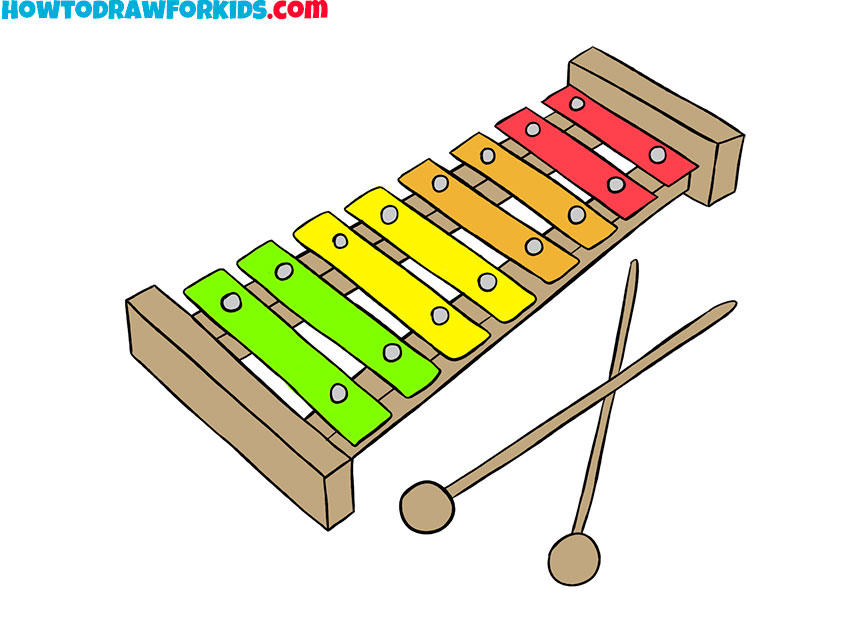
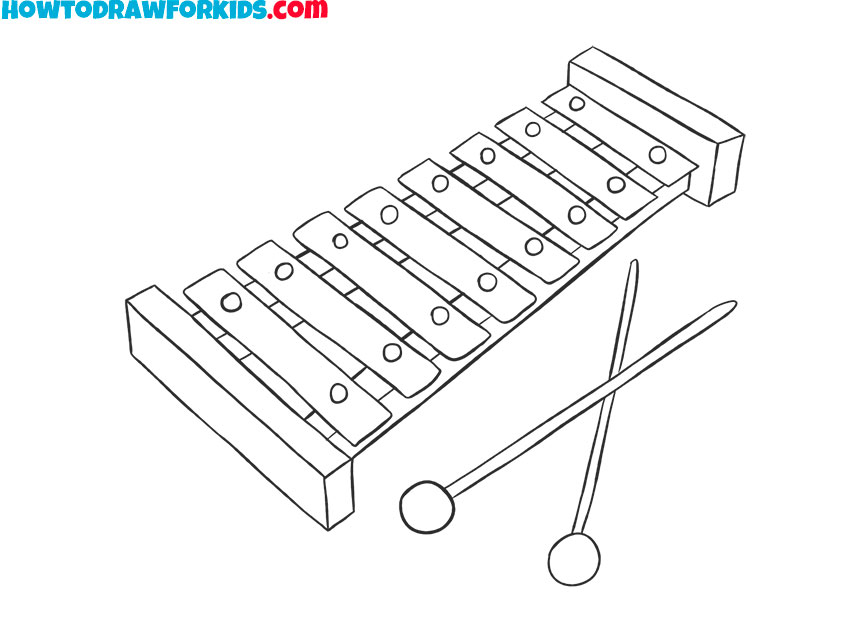
I suggest you complete a wonderful lesson on musical instruments, and now I will show you in detail how to draw a xylophone step by step. This is a percussion musical instrument, which consists of a number of wooden records.
The plates have different sizes and are tuned to different notes. The plates are struck with sticks with round tips or special hammers. The sound depends on what material the tips are made of.
If you use rubber sticks, the sound will be soft and quiet, if you use sticks with plastic heads, you can get a sharp and loud sound.
The xylophone is considered one of the most ancient musical instruments. The construction of the xylophone is very simple, and therefore this instrument was often used by itinerant musicians.
Xylophone Drawing Tutorial
Materials
- Pencil
- Paper
- Eraser
- Coloring supplies
Time needed: 30 minutes
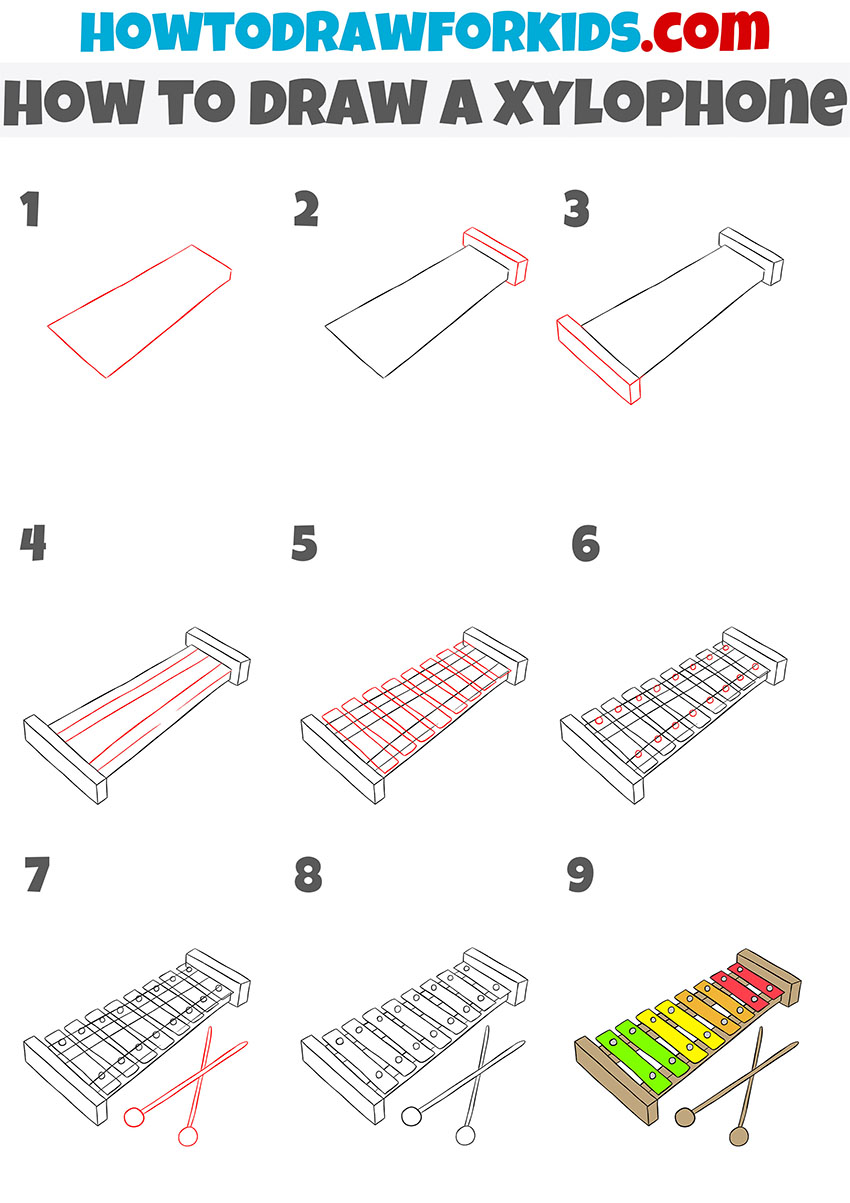
How to Draw a Xylophone
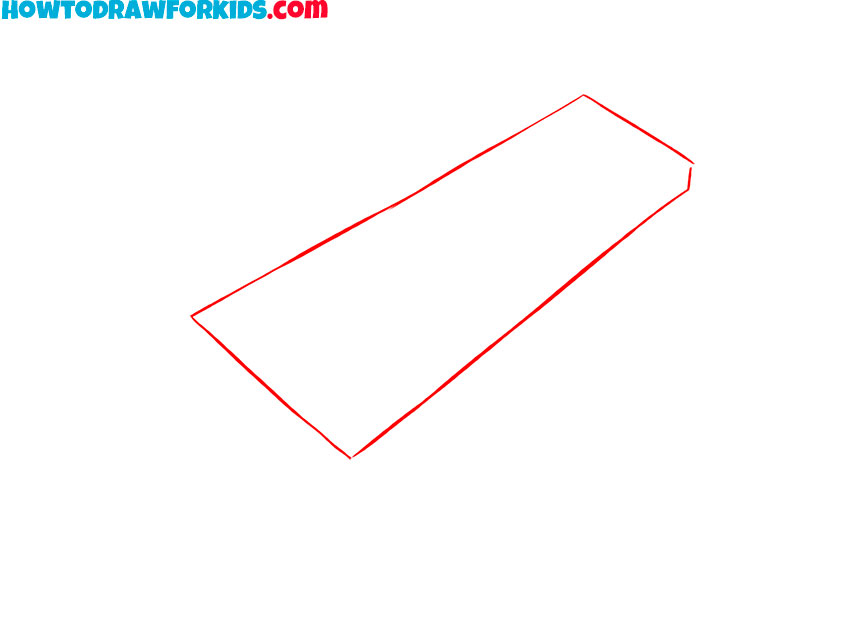
- Draw the outline of the tool.
The xylophone has the shape of a quadrangle, with one part being wider and the other narrow.
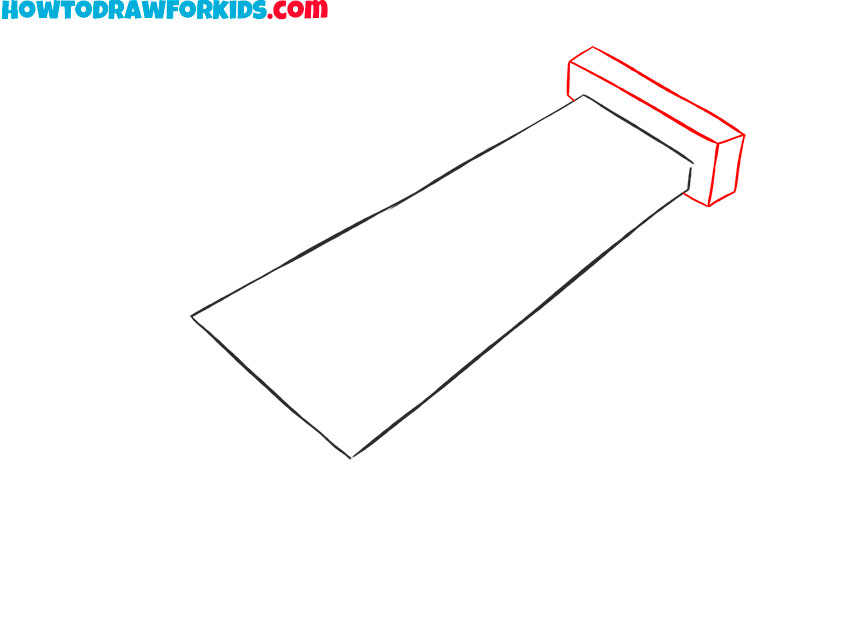
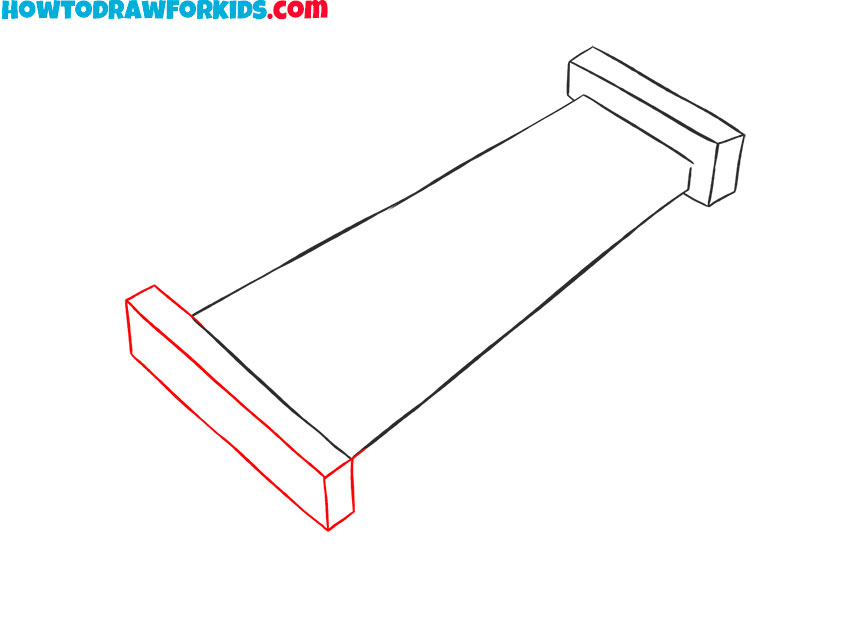
- Depict one side frame.
On one side of the xylophone, add the frame that is rectangular.
- Add the second side frame.
Repeat the previous step and add another such frame, but only larger.
- Sketch out the longitudinal rails.
With the help of several straight lines, depict the slats on which the wooden sticks are attached.
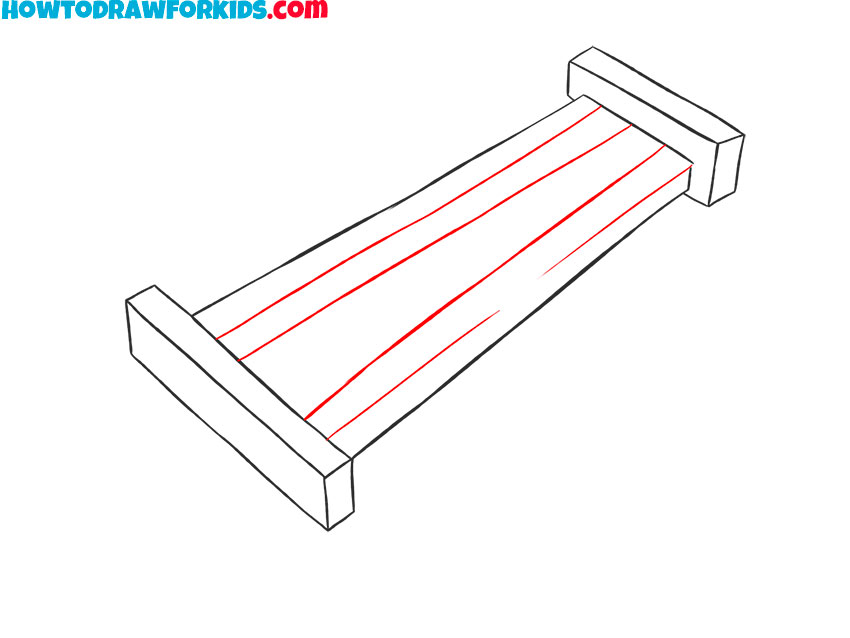
- Draw the row of wooden plates.
Consistently depict wooden plates that are of different sizes.

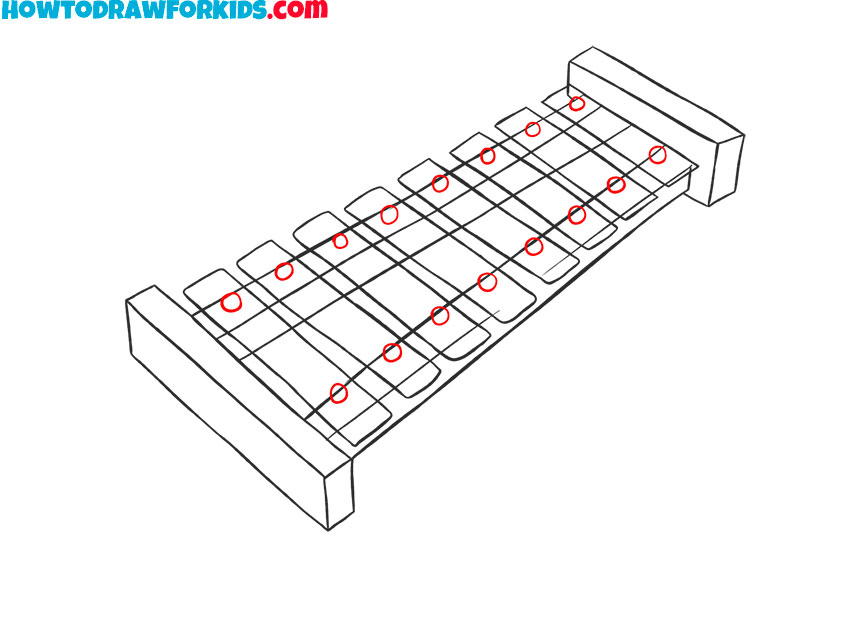
- Add the fastening of the plates.
On each plate, draw two small circles on each side.
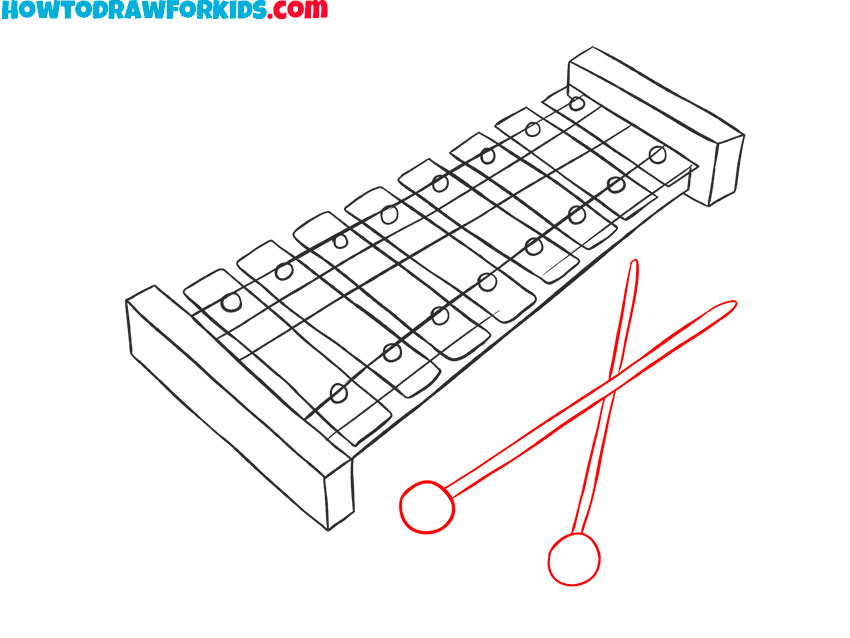
- Sketch out the sticks.
Near the xylophone, draw two sticks with round tips.
- Correct inaccuracies.
Remove all extra lines and correct mistakes if necessary.
As usual, at the end of the lesson, I have added a link where you can download a PDF file with a short version of the lesson for free. This will help you to return to the lesson at any time and do it again if necessary.