How to Draw Zoro
In this tutorial, you will learn how to draw Zoro step by step. This lesson will be very exciting for every young artist!

I am glad to offer you this wonderful drawing lesson. In which I will tell and show you how to draw Zoro step by step. If you are an anime fan, then this tutorial will definitely not leave you indifferent!
Zoro is one of the most powerful and popular characters in One Piece. He aspires to be the world‘s strongest swordsman, serving as Monkey D. Luffy’s right hand on his journey to the Pirate King.
Zoro is better known by his nickname “Pirate Hunter”, he is the second-strongest member of the crew and is known to be rude and emotional. Zoro improved his fighting skills by traveling with Johnny and Yosaku, a couple of his friends, and catching pirates.
Zoro’s ultimate goal is to defeat a man called “Hawkeyes” Mihawk, the best swordsman in the world, who was rightly called by one of the characters as “a monster among monsters.” In this tutorial, you will draw Zoro in a cartoon style. Zoro looks like a tall guy with dark skin and a well-trained body.
Zoro’s hair is short, green, in a buzz cut, which is why he is sometimes referred to as “grass head” or simply “marimo”. During serious fights, a bandana is put on the head. After two years of training, he was left with a scar across his left eye.
Materials
- Pencil
- Paper
- Eraser
- Coloring supplies
Time needed: 30 minutes
How to Draw Zoro
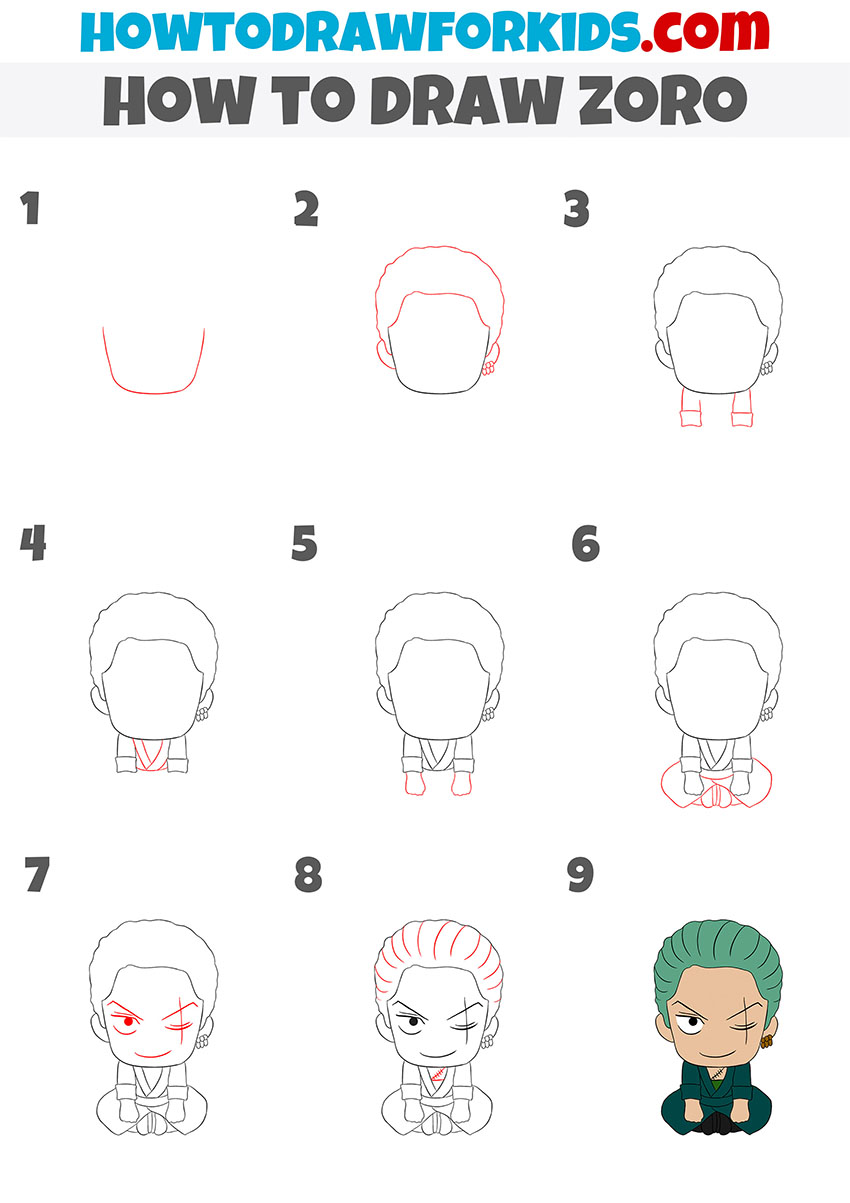
- Draw the bottom outline of Zoro’s head.
To complete this simple step, you should draw one curved line.
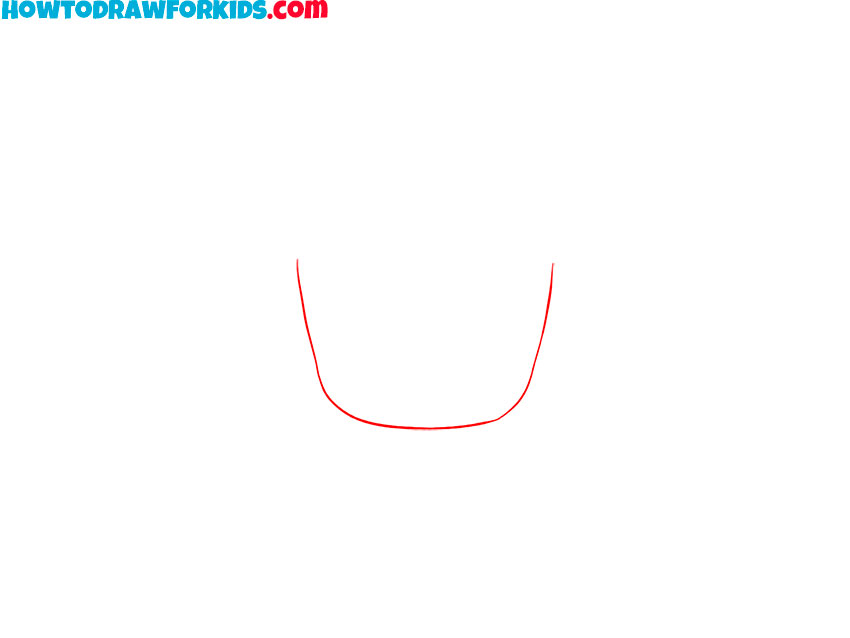
- Depict the character’s ears and hair.
Use wavy lines to draw the hair and curved lines for the ears.
- Sketch out the character’s arms.
Below the previously drawn head, add the arms using straight and curved lines.

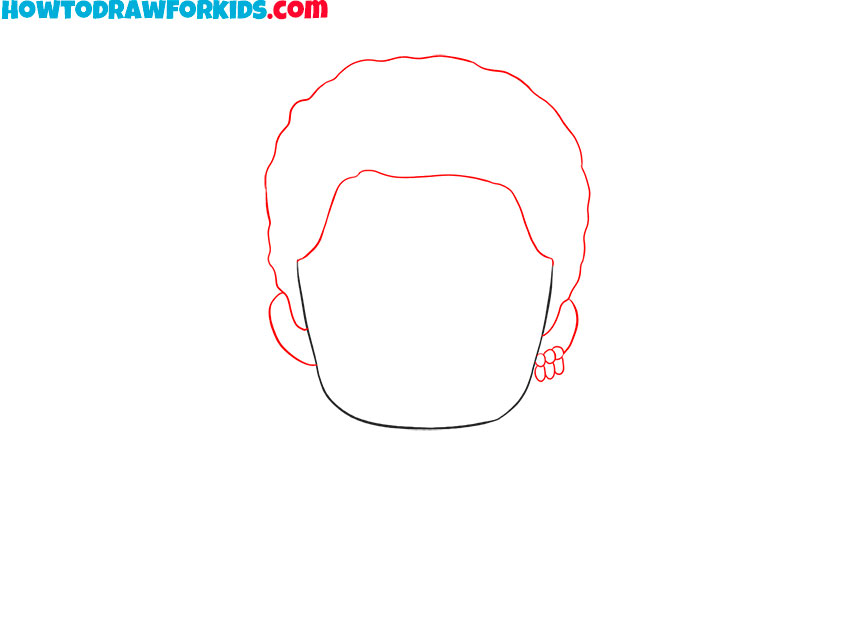
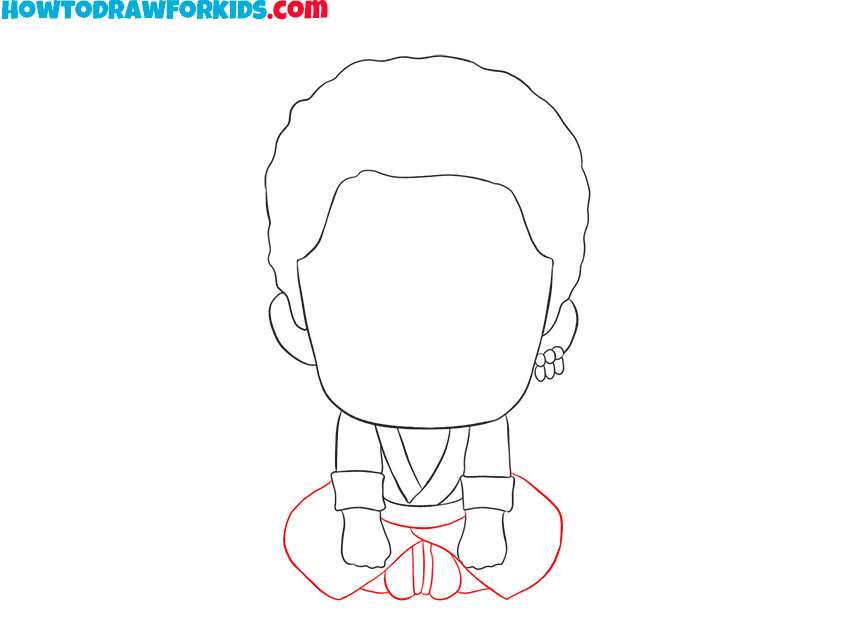
- Add costume elements.
To depict the kimono, add some curved lines between the arms.
- Depict the Zoro’s hands.
Add two symmetrical hands using the same curved lines.
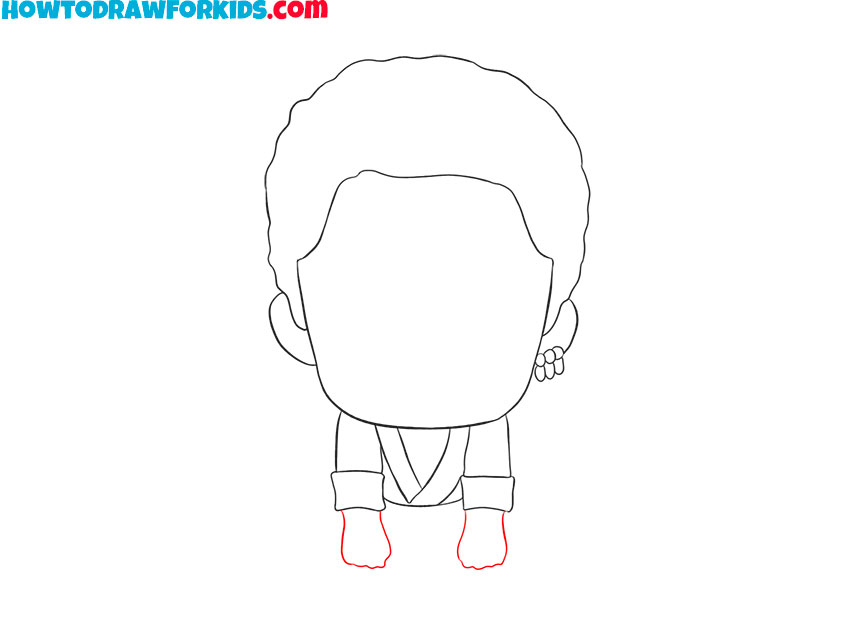
- Draw the Zoro’s legs.
Below the previously drawn outlines of the torso, add the legs using curved lines.
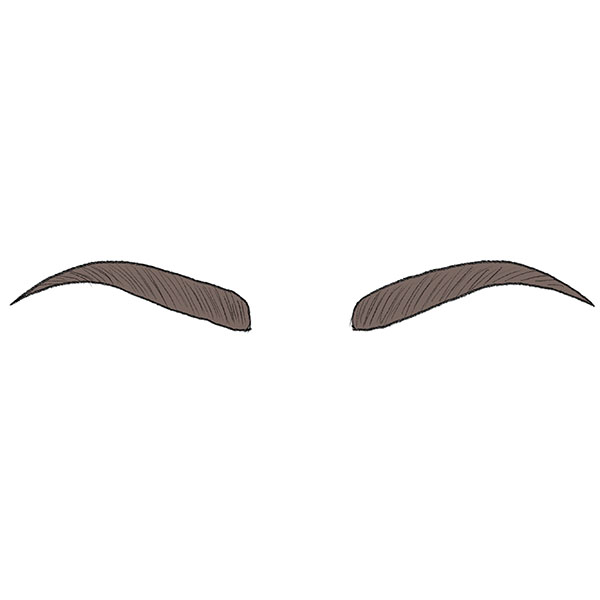
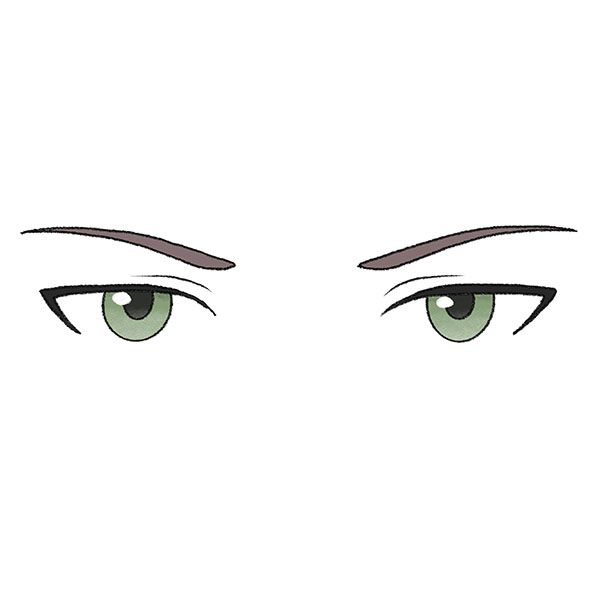
- Add facial features.
Inside the outline of the head draw the mouth, eyes, eyebrows, and scar using curved lines.

- Add the rest of the elements.
On the Zoro’s head and chest, draw several curved lines of varying lengths.

- Color the drawing.
To color Zoro, use beige, black, brown, and shades of green.
For your convenience, I have prepared a PDF file that contains all the useful information from this lesson, as well as additional practice materials that will help you develop your artistic abilities. You can download this file right now, so you don’t lose it in the future, and return to this tutorial even without an internet connection.

This took me 30 mins and I also did aditional add ons
Total time was 31 mins
This is a very good tutorial as well
Approved 👍👍
Good job, Ayden! Very nice the additional tutorial and information were useful too.