How to Draw a Yeti
Have you ever wondered how to draw a Yeti, the mythical creature said to roam snowy peaks? This lesson is designed to show you how.
How to Draw a Yeti: Basic Information
Have you ever been interested in the mythical Yeti and wished to draw one on paper? To make drawing accessible, I have created a simple, step-by-step method that will teach you how to draw a Yeti. With a few strokes, a friendly Yeti will appear before your eyes.
This lesson focuses on the Yeti’s recognizable characteristics: its horns, large eyes and the flowing fur. The technique uses shapes and lines that are easy to follow, ensuring that your Yeti will be instantly recognizable.
Before starting to draw the Yeti, consider a few important points. First, keep in mind that the Yeti has modified human proportions, featuring a large torso and arms along with shorter legs.
Additionally, remember that the Yeti will be drawn in a simplified style. This means it’s important to convey the character’s appearance as accurately as possible without adding excessive detail or overcomplicating the image.
Drawing Tutorial
Materials
- Pencil
- Paper
- Eraser
- Coloring supplies
Time needed: 35 minutes
How to Draw a Yeti
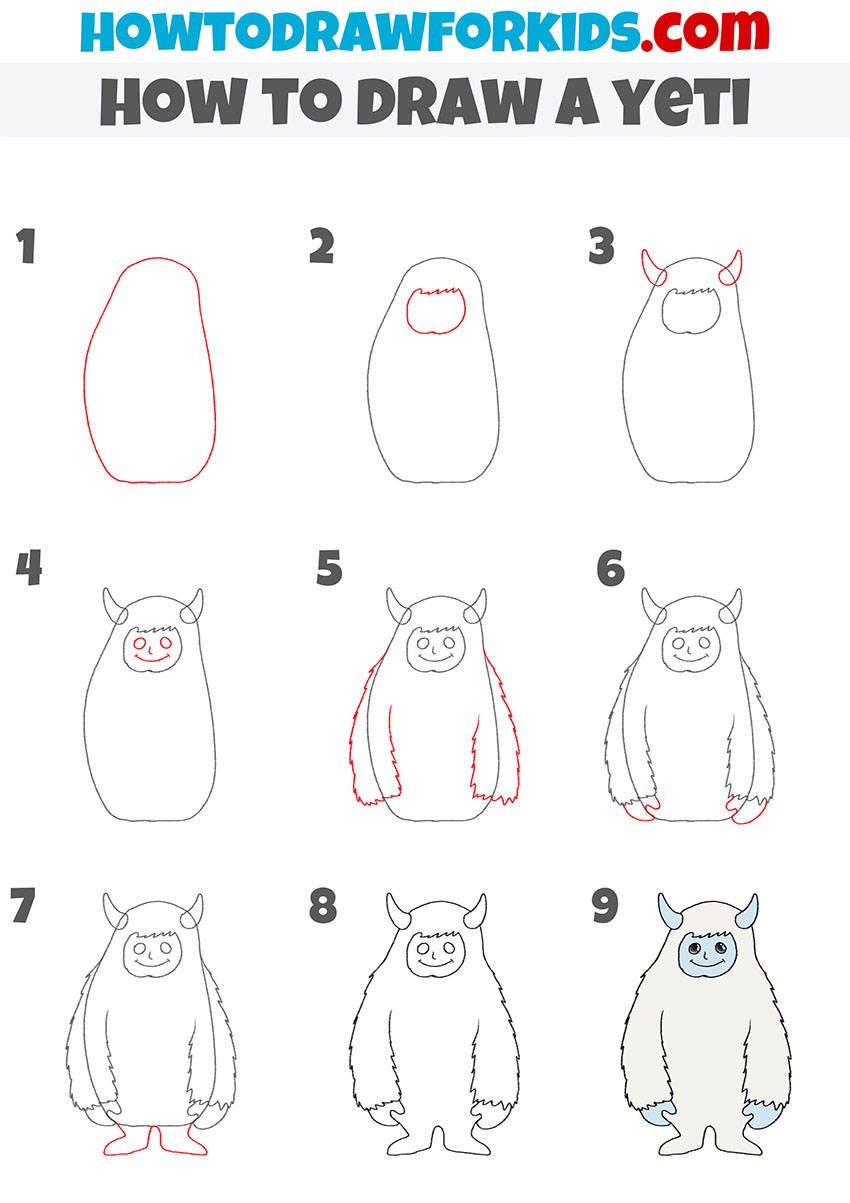
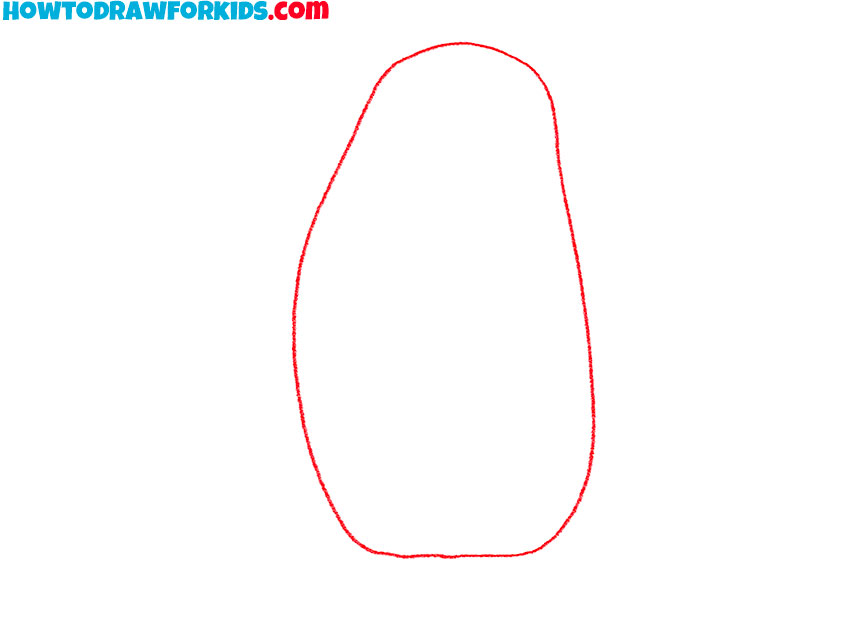
- Sketch the outlines of the body.
Start by drawing the basic outline of the Yeti’s body. This shape should resemble a rounded rectangle with slightly curved edges, forming a wide base and a narrower top. This basic shape will serve as the Yeti’s torso and head. Use smooth and light lines.
- Add the face outline.
Draw a rounded rectangular shape in the upper part of the body for the Yeti’s face. This shape helps define where the facial features will go. Draw the top edge of this rectangular shape with a zigzag line to represent the Yeti’s bangs.

- Sketch the horns of the creature.
Add two horns at the top corners of the Yeti’s head. Each horn should be a small curved triangle, slightly tilted outward. These horns give the Yeti its his recognizable mythical appearance, resembling traditional depictions of this creature.

- Illustrate the facial features.
Inside the face outline, add two small circles for the eyes, a tiny curved line for the nose, and a wider curved line for the mouth. This combination of simple shapes creates the face of the creature without extra detailing. You can add extra details to the face, such as fangs or eyebrows.

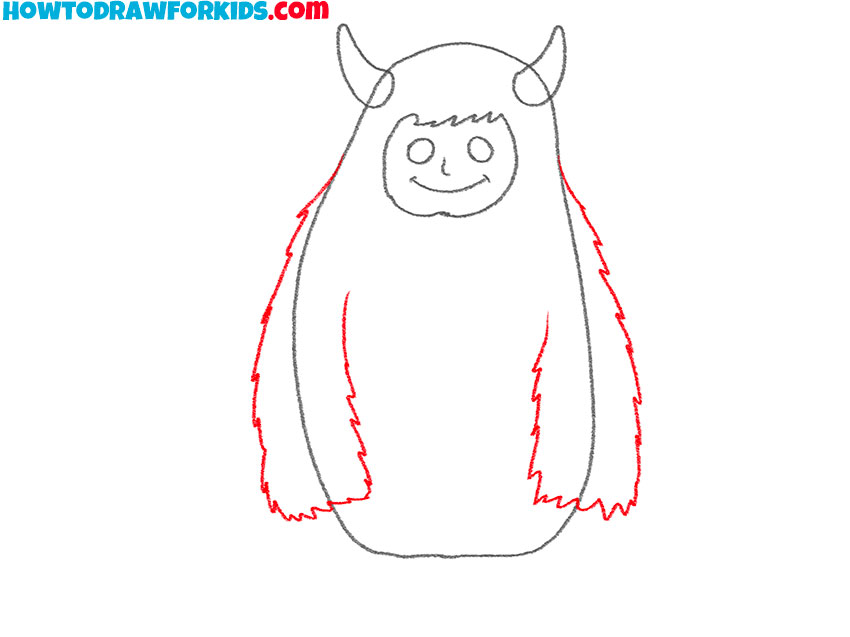
- Draw the arms of the Yeti
Draw long, rounded shapes extending down from the sides of the body to form the Yeti’s arms. Add some jagged lines along the outer edges to illustrate fur. These arms should reach down to where the Yeti’s legs will eventually be placed. Keep the arms thick and slightly curved.
- Add the hands of the creature.
Draw small, rounded shapes at the end of each arm to represent the Yeti’s hands. These hands should be simple and not overly detailed to maintain the simplified style of the drawing. You can detail hands by adding the outline of the fingers with short curved lines.

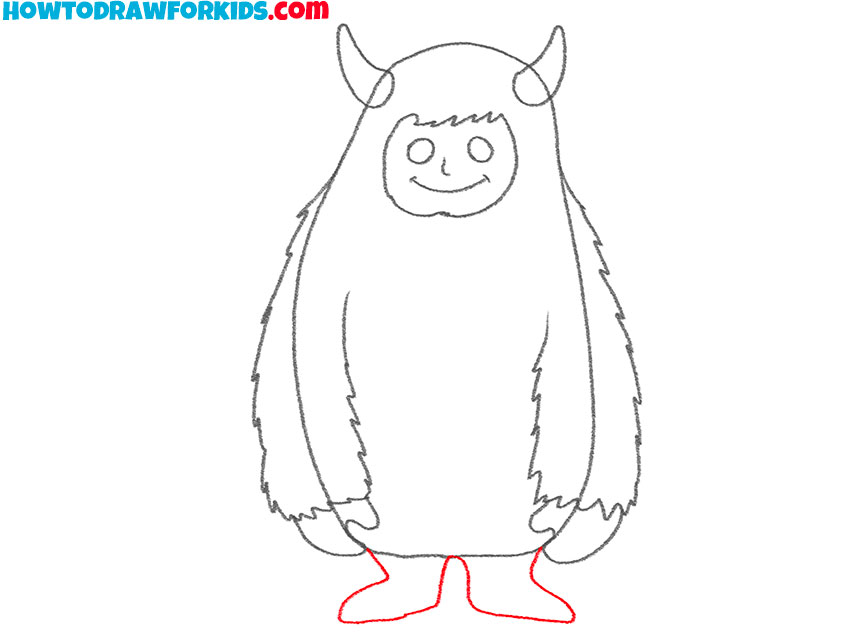
- Draw the legs of the Yeti.
Add two simple shapes at the bottom of the body to form the Yeti’s legs. These legs should be short and slightly thicker near the body, tapering down slightly toward the feet. The Yeti’s feet should look like two flat, elongated geometric shapes at the bottom of the legs.
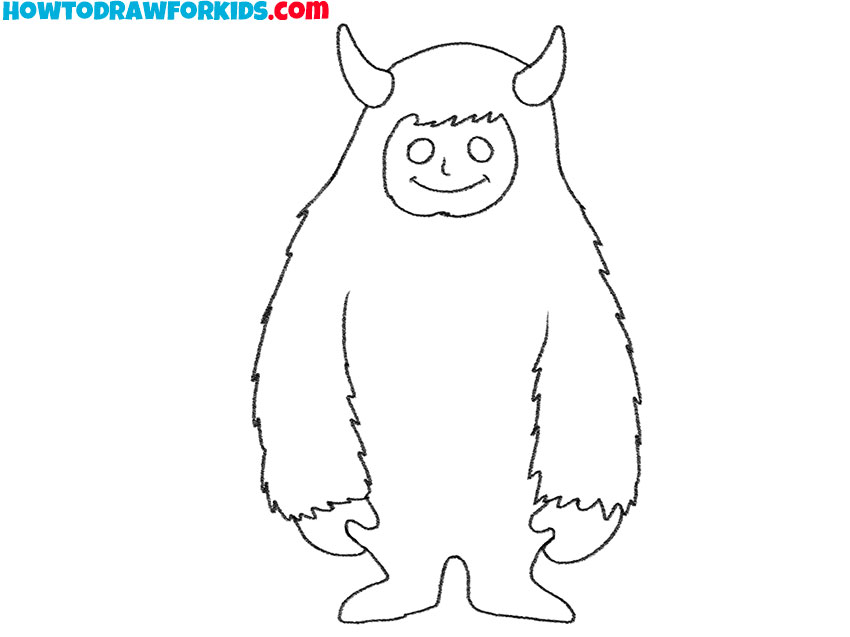
- Finalize the outlines.
Go over the entire outline of the Yeti drawing, refining any lines that need smoothing and erasing any unnecessary guidelines. This step helps to clean up the drawing, making it look polished and ready for coloring. Check that all parts of the Yeti’s body before the last step.
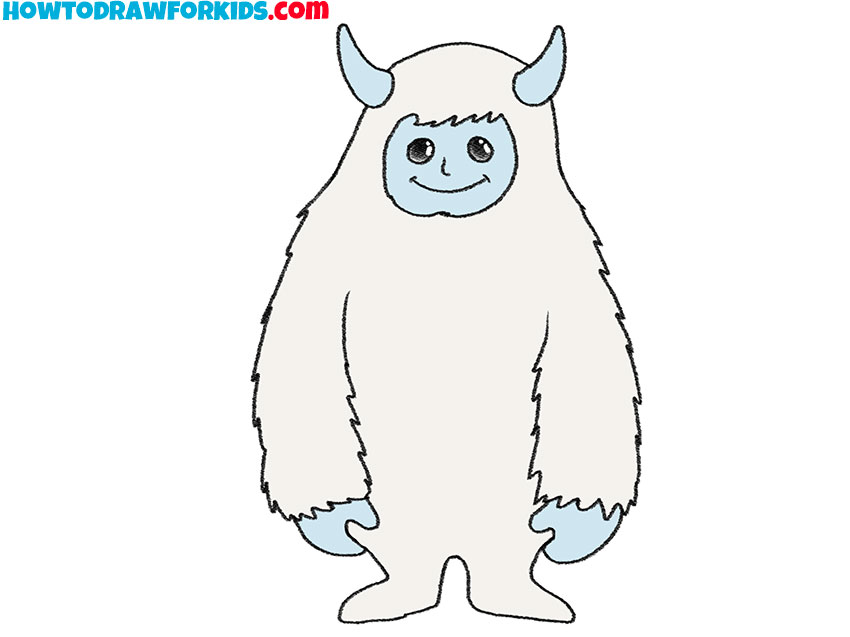
- Color the drawing of the Yeti.
Add color to the Yeti, using light gray or white for the body to create a snowy appearance. Use a light blue or grayish tone for the face, hands, and horns. Keep the colors soft and simple. And as per tradition, I will remind you that you can add shadows to give your Yeti drawing a more voluminous look.

Additional Content
In addition to the online tutorial, a complimentary PDF file has been created for this lesson – a condensed version ideal for practice anytime, anywhere, even offline. This PDF is not merely a summary of the steps you’ve already learned; it provides supplementary material intended to develop your skills beyond the basics. It includes exercises and tips to refine your technique.
How to Draw a Yeti for Preschoolers
The main difference between this and the first Yeti drawing tutorial lies in the level of detail and overall design. This version shows a more simplified and rounded Yeti with fewer steps and minimal detailing, while the first tutorial focuses on a slightly more detailed, elongated character with defined arms, legs, and fur.
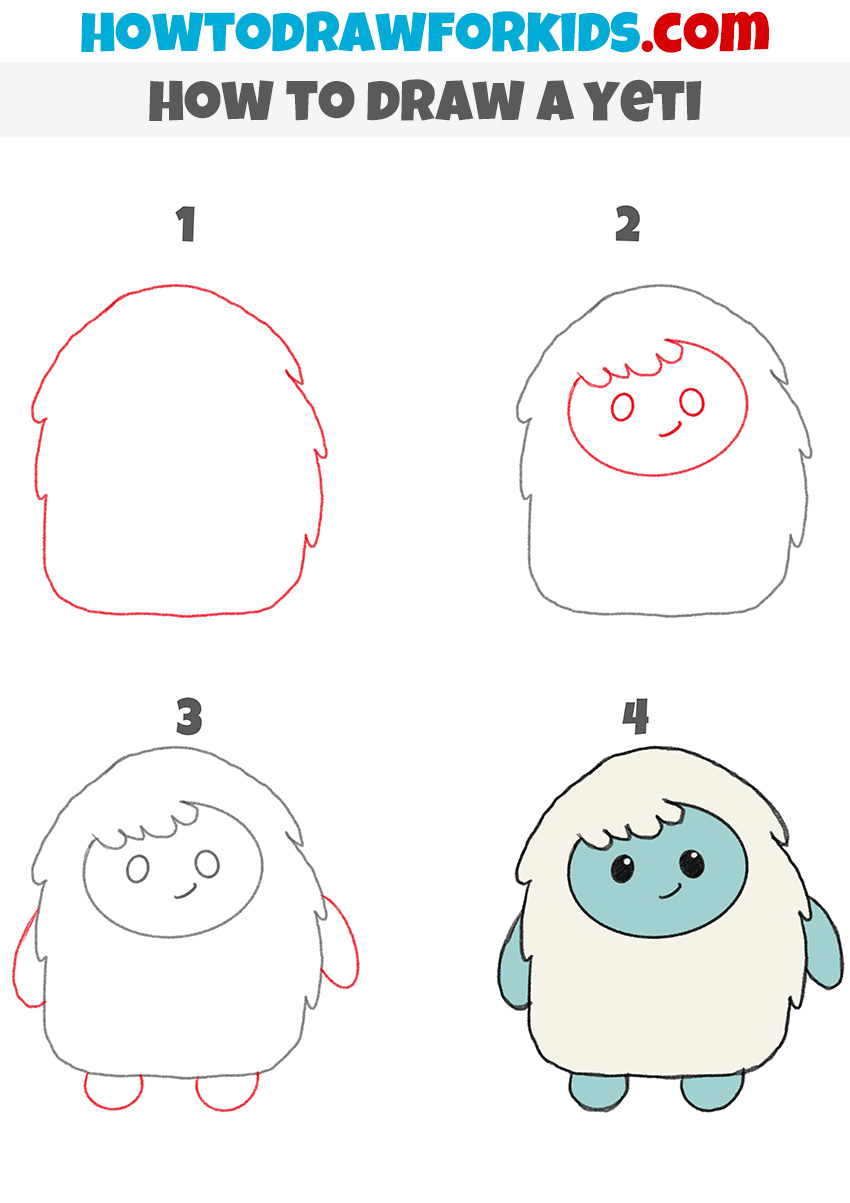
To draw a Yeti in this simplified style, start by sketching the basic outline of the Yeti’s body. Create a rounded, fluffy shape that resembles a wide cone with curved edges. Next, add the face within the body shape by drawing two small circles for the eyes and a simple curved line for the mouth. Above the eyes, add a jagged line for the Yeti’s bangs.
For the arms, draw short, rounded shapes on each side of the body. Then, add the legs at the bottom by drawing two small oval shapes. Lastly, add color to the Yeti: use a pale color for the body and a blue, green, or cyan color for the face, hands, and feet. This completes the simplified Yeti drawing.
Common Mistakes
When starting to draw the mythical Yeti, artists may encounter certain challenges. To assist with a smoother process, here is a list of common mistakes to be aware of. Paying attention to these points can distinguish a basic drawing from one with a more refined look.
First, take care when drawing the eyes, as they are one of the most important parts to the Yeti’s face in this simplified style. Positioning them correctly is also important, as misalignment can affect the overall appearance. Next, consider the Yeti’s fur, a defining feature that should not be overlooked. Avoid using flat strokes and instead use irregular lines to give the fur more natural texture.
Proportion is also very important. An oversized head or undersized body can alter the intended effect of the character. Keep in mind that each artist’s experience includes learning from these common missteps.
Conclusion
After completing the process of drawing the mythical Yeti, there are still opportunities to continue practicing. Visit my website to find additional tutorials. Are you interested in drawing a zombie or drawing a witch with a broom? My website offers further resources to support your curiosity.
To stay informed about the latest tutorials and updates, consider following my social media channels. If there is a specific tutorial you would like to see, feel free to leave a comment. Your suggestions are valuable and help shape the creation of new content.