How to Draw AirPods
In this tutorial on how to draw AirPods, we’ll take a closer look at the distinctive minimalist design of Apple electronics.

I have prepared for you a new interesting drawing lesson in which you can learn how to draw AirPods. This lesson will be very useful and simple for you, as it is designed specifically for beginners and children.
AirPods are wireless headphones made by Apple. One of the distinguishing features of these headphones is that they can listen to music using Bluetooth, instead of connecting with wires, which is very convenient. I am sure that you have seen such headphones more than once, and maybe you yourself use them.
When drawing AirPods with this step-by-step instruction, you will first draw the outer outline of the earphones, and then their inner part. If you already want to start sketching AirPods as soon as possible, and learn how to draw headphones from Apple, then you can prepare the necessary materials and start this lesson!
Materials
- Pencil
- Paper
- Eraser
- Coloring supplies
Time needed: 15 minutes
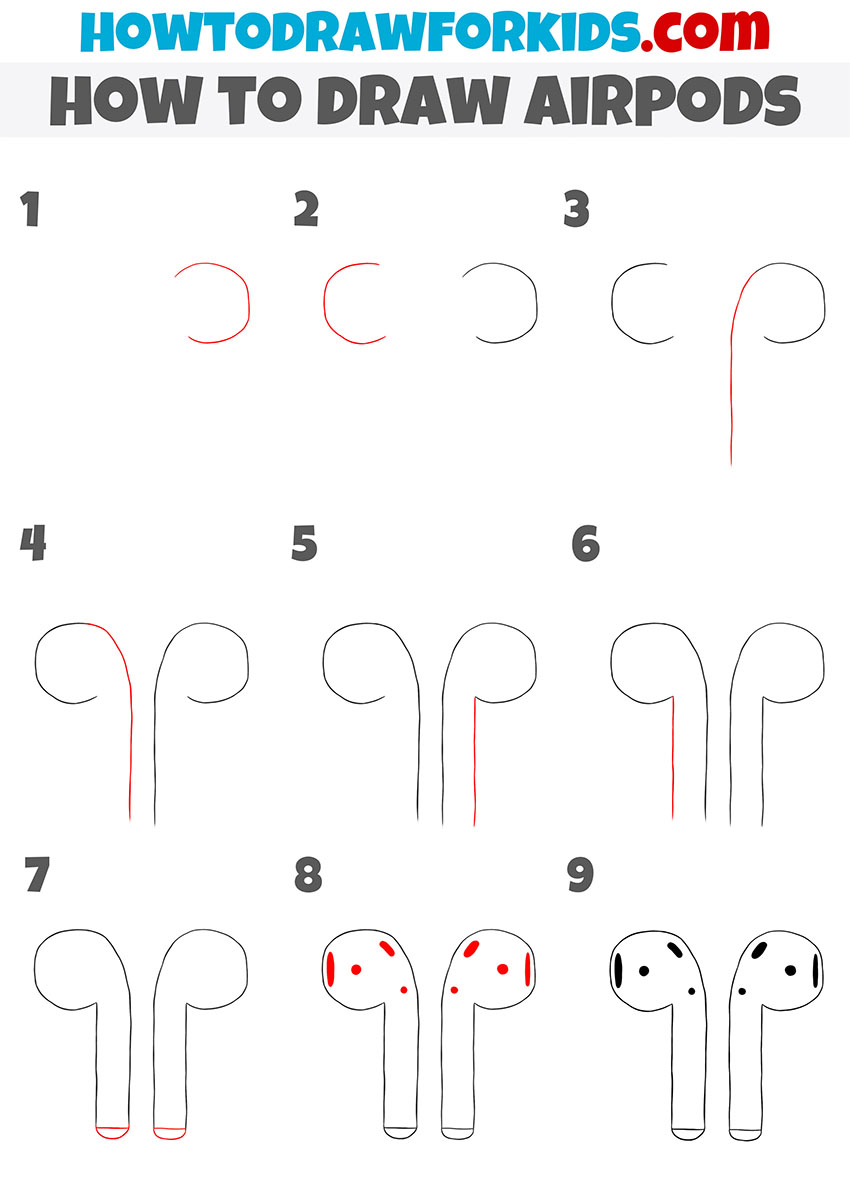
How to draw Apple AirPods step by step
- Sketch the top part of the first earbud.
Begin sketching the headphones with the upper part of the right AirPod to define its main structure. Draw a curved line resembling a simple letter “C”. This base will help position the rest of the elements symmetrically.

- Draw the second AirPod earbud symmetrically.
Repeat the same process for the other side, placing it at an equal height and distance to mirror the first. Make sure both sides look symmetrical. Keep both outlines identical in curvature and thickness. This is the main upper part of the headphones.

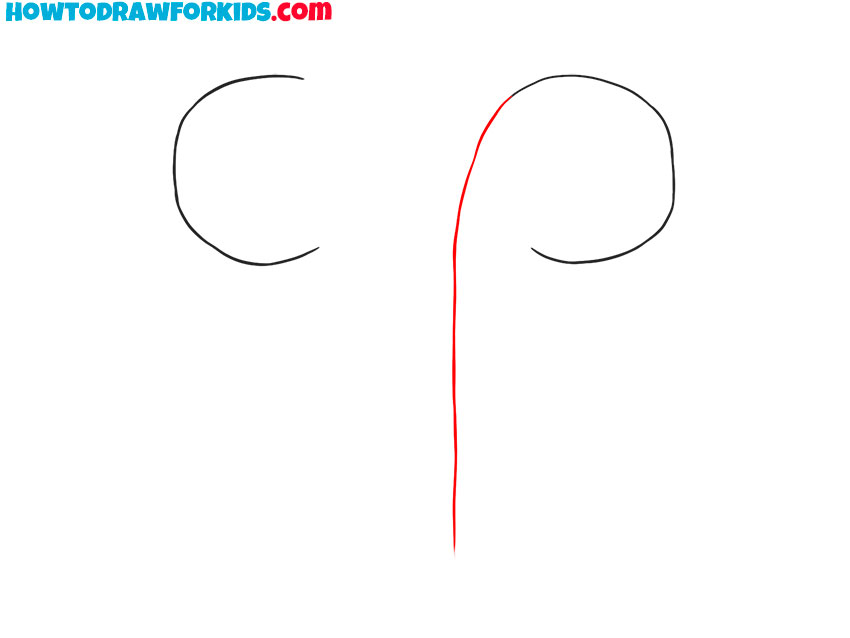
- Add a long stem to the first earbud.
Add a long, thin vertical line starting from the bottom of one curve and extending downward. This represents the edge of the stem of AirPods. The line should be straight.
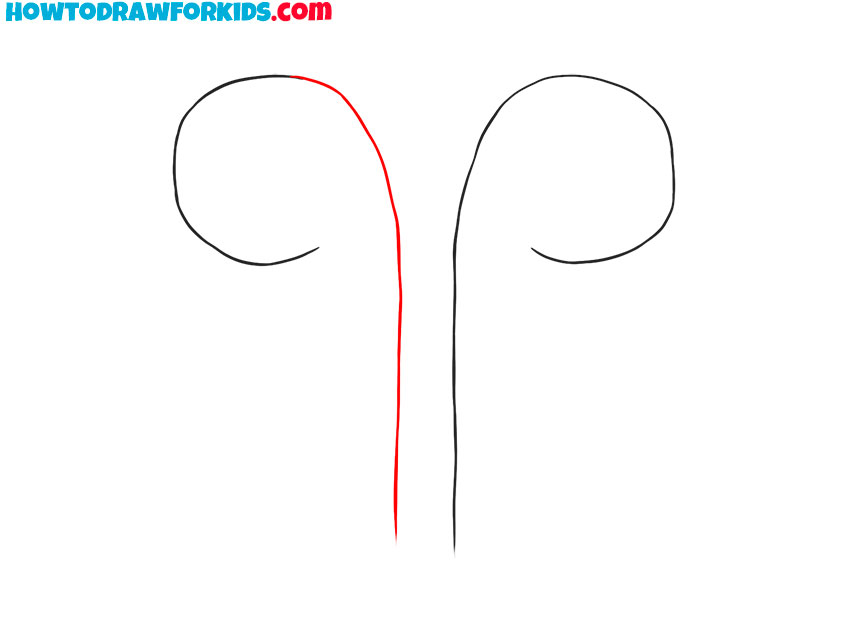
- Sketch the stem of the left AirPod.
Now repeat the same process on the other side and mark one edge of the second earphone. Both lines should be the same length and literally mirror each other.
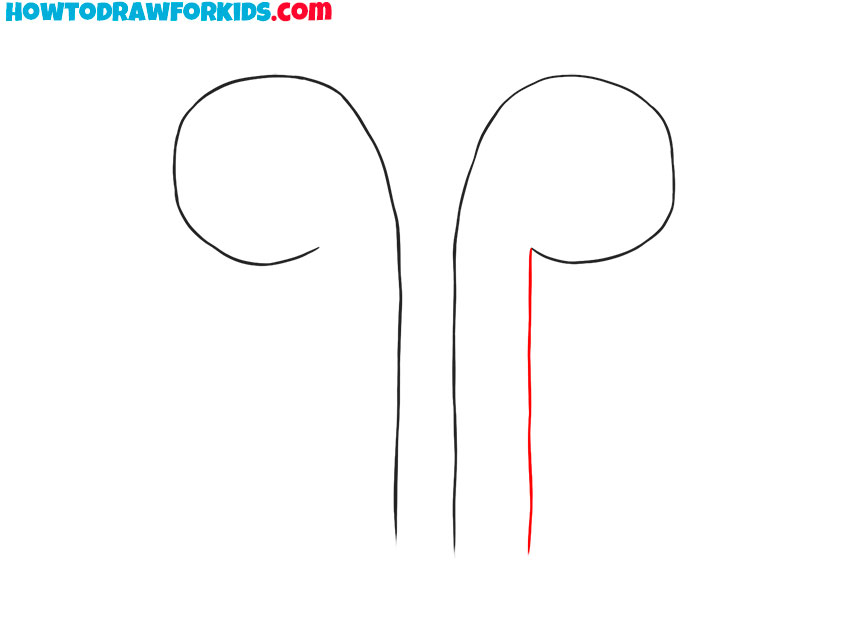
- Complete the right stem.
Now return to the previous earphone and sketch the second line to compete both edges of the AirPod stem. This line should end at the same height as the previous line.
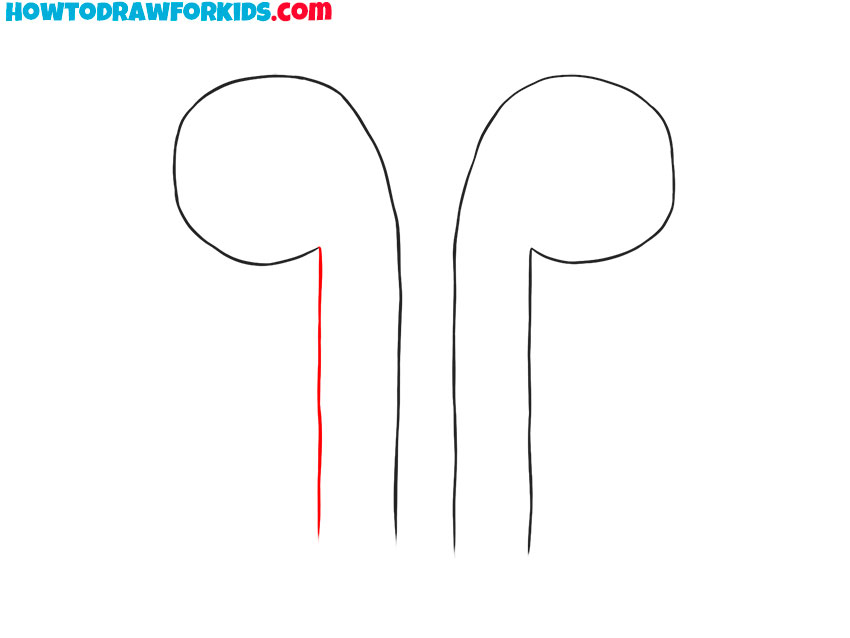
- Complete the left headphone.
Now repeat the same process with the left AirPod, creating the final outlines of both sides of the stem. Check the proportions and symmetry of both earphones.
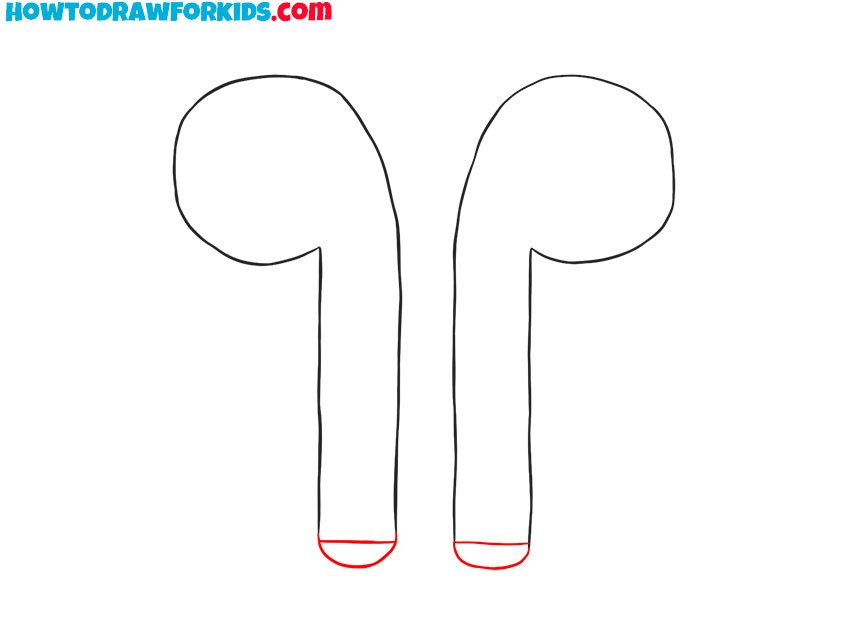
- Draw the lower caps of the AirPods.
To give a final look to each AirPod, sketch the rounded ends at the bottom of both stems. These subtle curved lines indicate where the microphones are placed. Keep these details small and symmetrical.
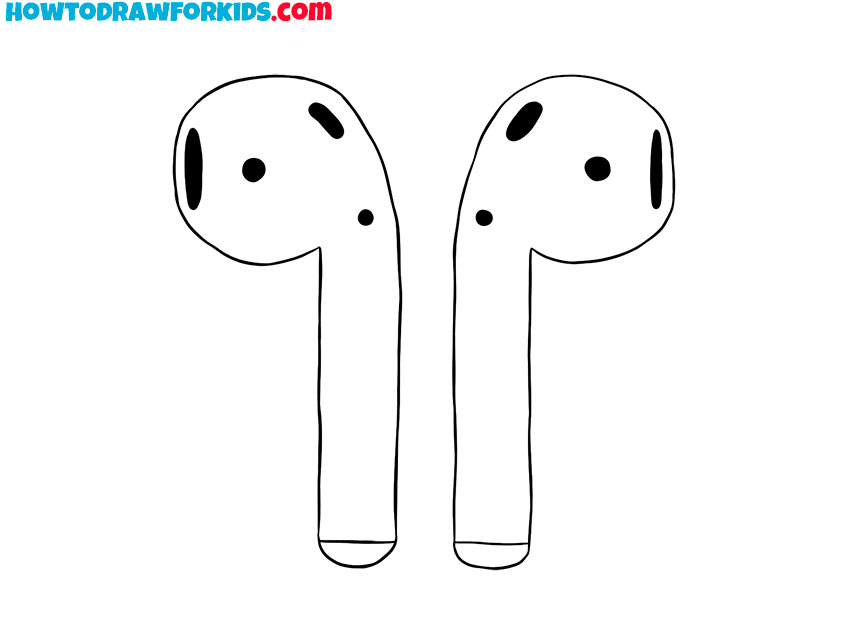
- Add the sensors and microphone holes.
Include the sound ports and sensor openings that make AirPods authentic and recognizable. Draw tiny circles and ovals along the front surface of each earbud. Place them symmetrically to match Apple’s signature layout while keeping the look minimal and modern.

- Complete your AirPods drawing.
Apple AirPods are most often white, but black versions are also available. So, you can leave your AirPods drawing white or color it. You can also add shadows or highlights to give your design a more three-dimensional look.
If you liked this lesson, you can share it with your friends and also leave your comment. I will be glad to see you among our subscribers.
Don’t forget to download the short version of this tutorial in PDF, prepared by me for your convenience.