How to Draw an Ear from the Front
In this drawing lesson, I would like to tell you how to draw an ear from the front. This lesson will be very easy for you.
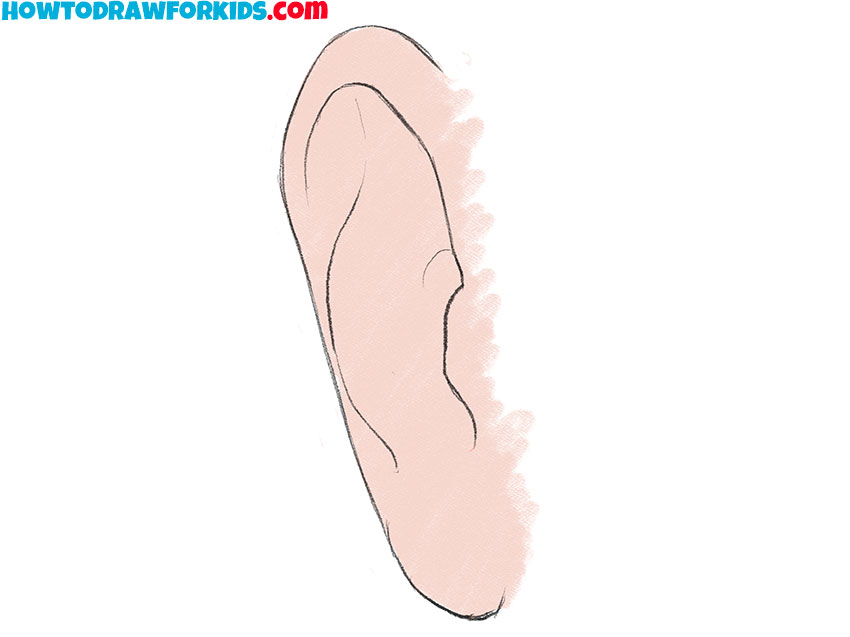
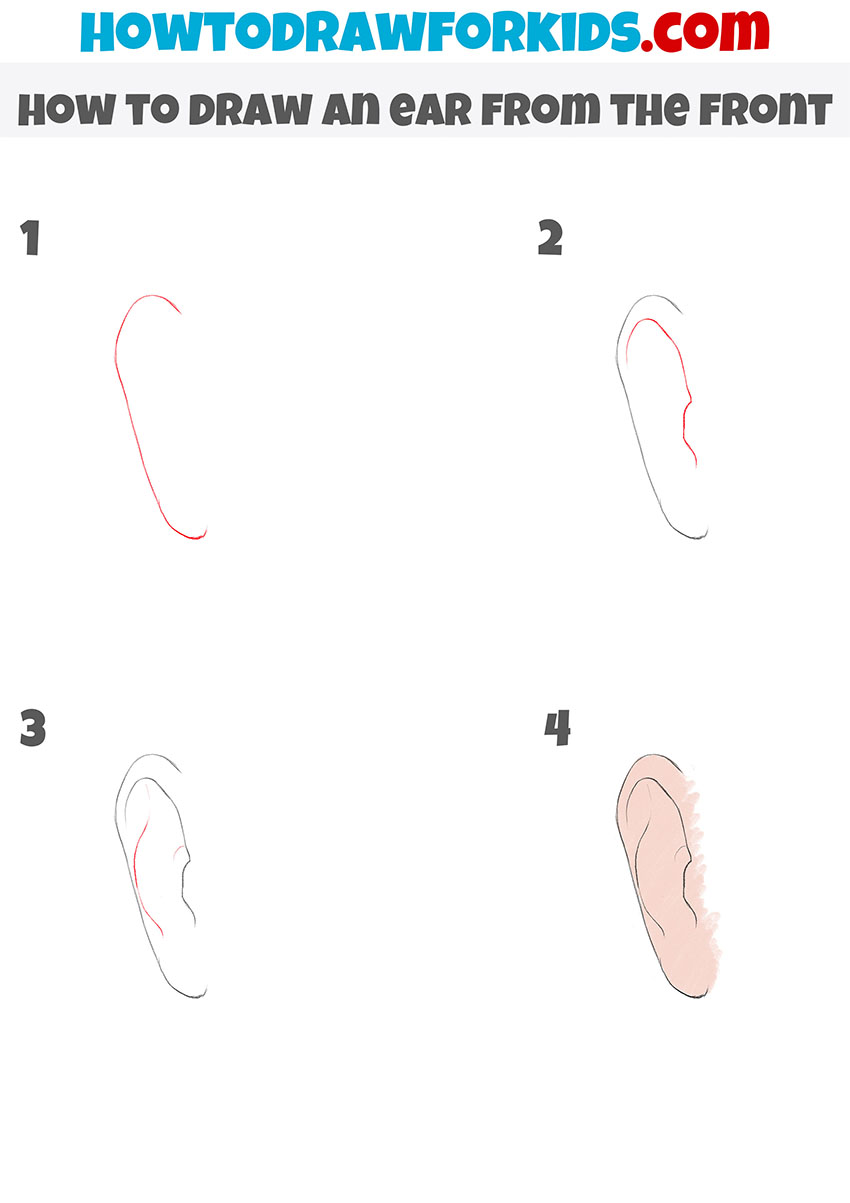
So, I have prepared for you a great drawing lesson in which I will be able to tell and show you how to draw an ear from the front step by step. This instruction consists of only four steps with a detailed description. Any novice artist, as well as a child, can easily cope with the implementation of this lesson, since there are no difficult elements to complete here.
This lesson is devoted to the image of a part of the human body. By learning how to draw an ear from the front, you will be able to use this skill when drawing various people and characters. Surely you know that the ability to draw facial features and body parts of people is very important for any artist.
Follow these instructions carefully and slowly, and then you will definitely get a beautiful and neat drawing. I wish you good luck, and I am sure that you will enjoy the creative process, as well as be satisfied with the result of your work.
Materials
- Pencil
- Paper
- Eraser
- Coloring supplies
Time needed: 20 minutes
How to Draw an Ear from the Front
- Draw the outer contour of the ear in front.
To complete this simple step, you only need to draw one curved line, as shown.

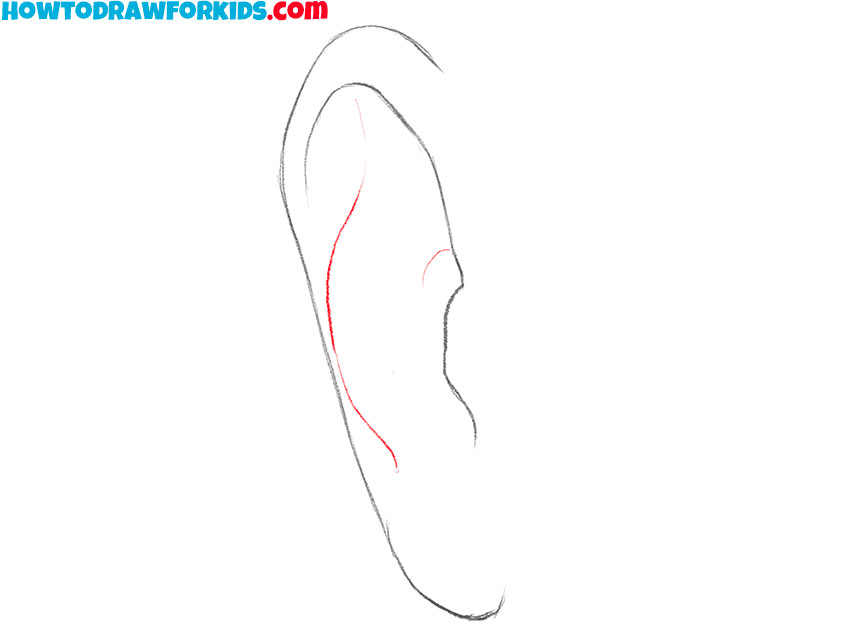
- Depict the inner contour of the auricle.
Slightly below and to the right of the drawn curved line, draw two more curved lines.
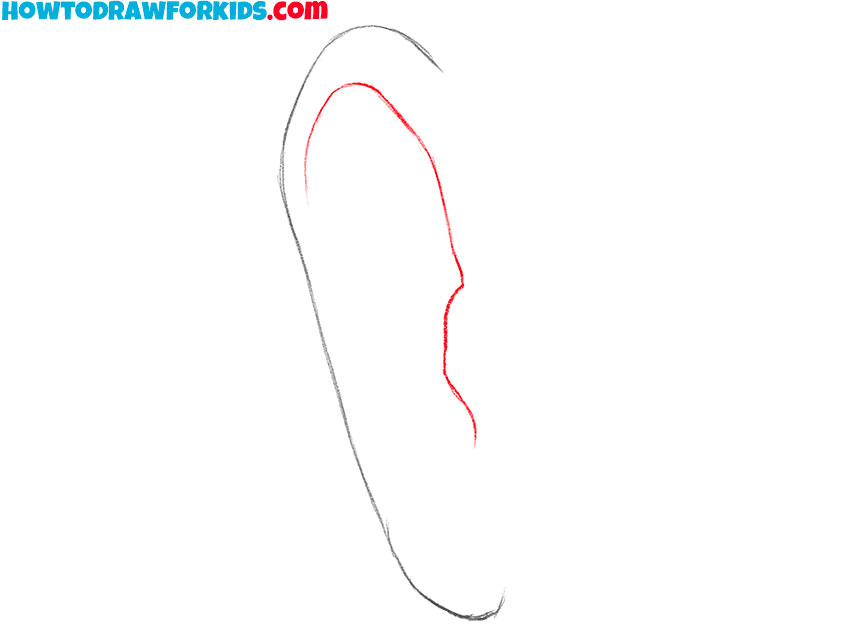
- Finish drawing the convex parts of the ear.
Draw two more curved lines of different lengths to make the ear look more realistic.
- Color the drawing.
You can color the ear you have drawn with any color for coloring the skin.

For your convenience, I have prepared a PDF file that contains all the useful information from this lesson, as well as additional practice materials that will help you develop your artistic abilities. You can download this file right now, so you don’t lose it in the future, and return to this tutorial even without an internet connection.


