How to Draw an Orchid
Let’s improve our flower and still life drawing skills with this tutorial on how to draw an orchid using two different step-by-step methods.
How to Draw an Orchid: Introduction
In this tutorial, you will learn how to draw an orchid in a really simple way. Orchid is a beautiful tropical flower. There are different types of this plant in the world. The orchid comes in different colors – white, pink, red, burgundy, yellow, lilac, purple. Orchid petals may be solid or may contain small spots.
For coloring the orchid drawing, you can use any shade. I recommend adding small spots and streaks on the petals. This helps make the flower appear more detailed and realistic.
You can also change the shape and size of the petals, or vary the number of flowers in your drawing. This allows you to create a more unique version of the orchid or to depict a specific type. Try drawing a single bloom or a full stem with multiple flowers.
This orchid drawing can also be used as part of a more complex still life composition. Combine it with other flowers, leaves, or even objects like vases, books, or fruit to create a complete arrangement. For example, you can draw a lily or add a drawing of a hibiscus to create a more interesting floral artwork.
Orchid Drawing Tutorial
Materials
- Pencil
- Paper
- Eraser
- Coloring supplies
Time needed: 30 minutes
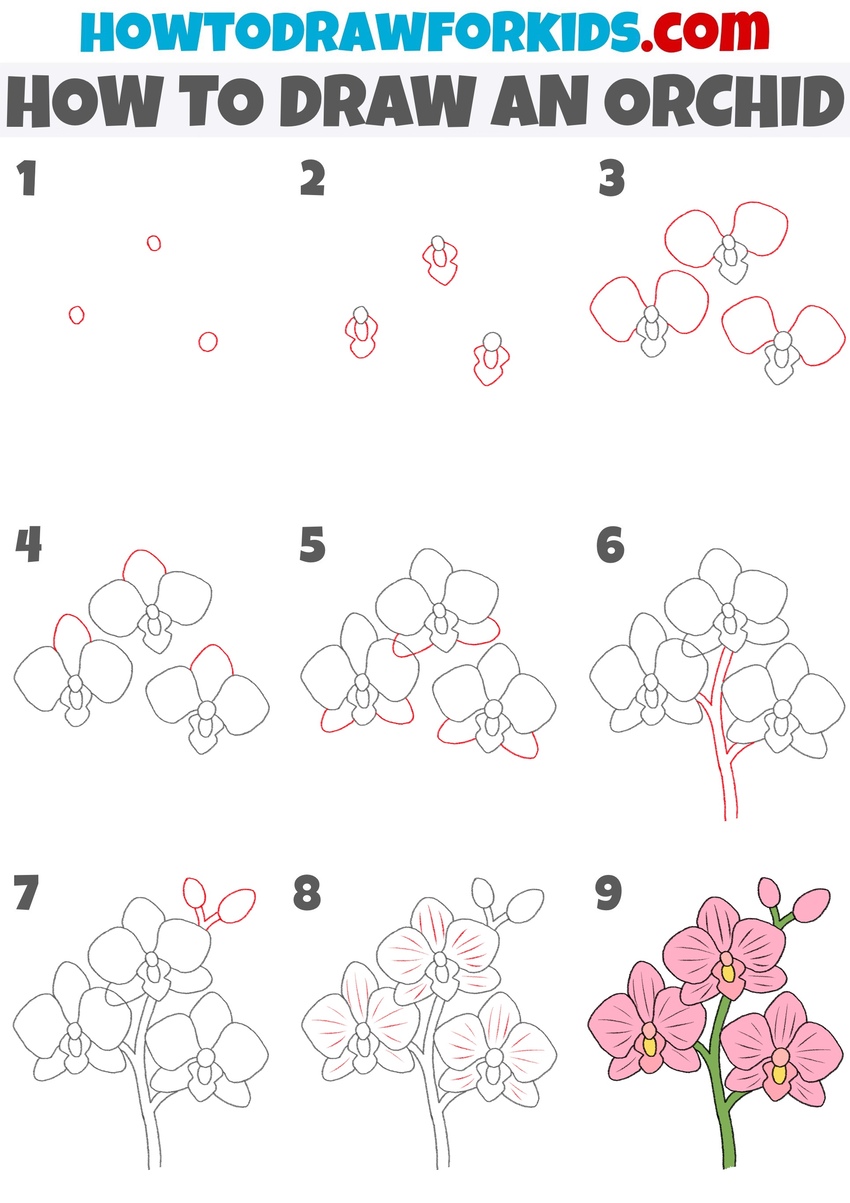
How to Draw an Orchid
- Sketch the bloom columns.
Begin your orchid drawing by placing small guide circles where each flower will go. These circles represent the center of each bloom and help you plan the layout. Keep the sizes of these circles similar. The number of circles determines how many flowers will appear in the final drawing.

- Create the lip of the bloom.
Below each circle, draw the central part of the orchid flower. This includes the column and lip, which form the recognizable structure of the bloom. Keep your lines clean and avoid making each shape too identical – orchids are organic and slightly varied in nature.

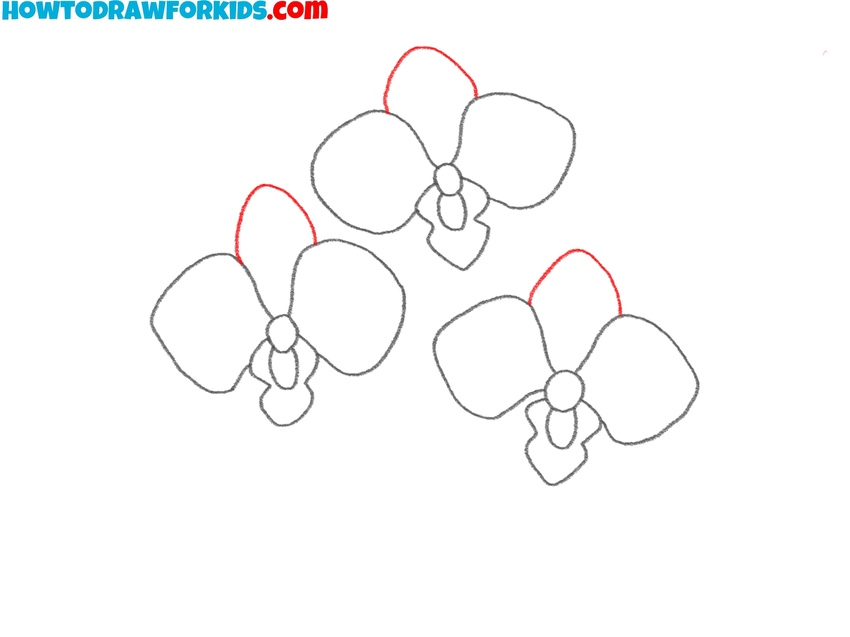
- Draw the orchid side petals.
Begin forming each orchid flower by drawing two large side petals. These petals extend outward on both sides of the central part drawn earlier. Each one should be wide and rounded. Position the petals symmetrically. Repeat the process for each flower on your page, keeping the size and spacing symmetrical.

- Illustrate the top flower petals.
These petals can be slightly smaller than the side ones and sit directly above the central part. Draw each one with a soft, curved outline. The top petal should form a rounded triangle or teardrop shape, depending on the variety of orchid you want to depict.
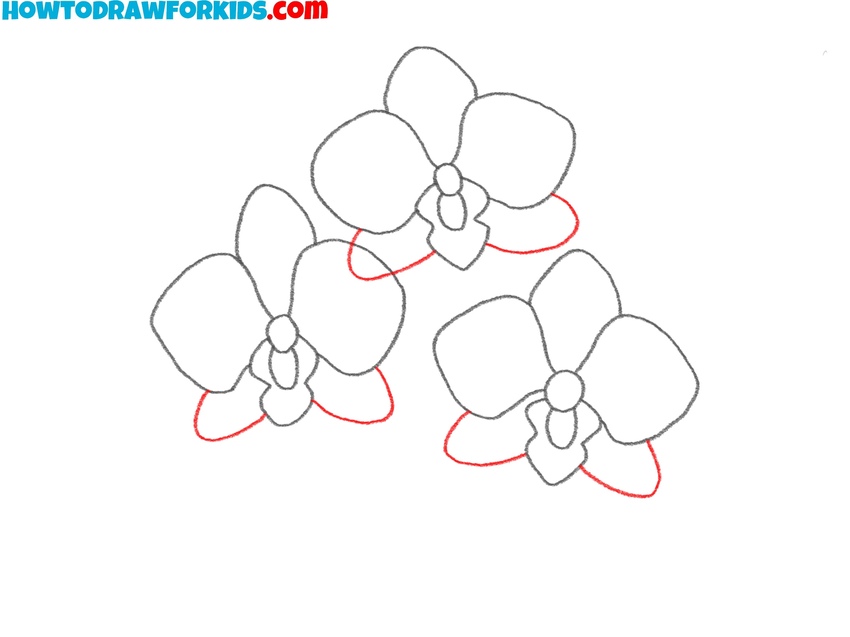
- Form the lower petal group.
Complete the petal structure of each orchid bloom by drawing the two bottom petals. These petals are located below the flower’s center and form the lower portion of the blossom. They are usually smaller than the side petals but still wide and rounded.
- Draw the orchid stem.
With the flower heads complete, begin drawing the orchid’s stem. The stem should be gently curved and connect to each bloom equally. Keep the stem thickness consistent from top to bottom, and avoid sharp bends unless you’re intentionally drawing a stylized plant.

- Draw the unopened blooms.
These buds represent unopened flowers and help make your orchid drawing more natural and realistic. Sketch small oval shapes in pairs or individually, and place them along short branches extending from the top of the flower. The buds should vary slightly in size and angle to avoid looking repetitive.

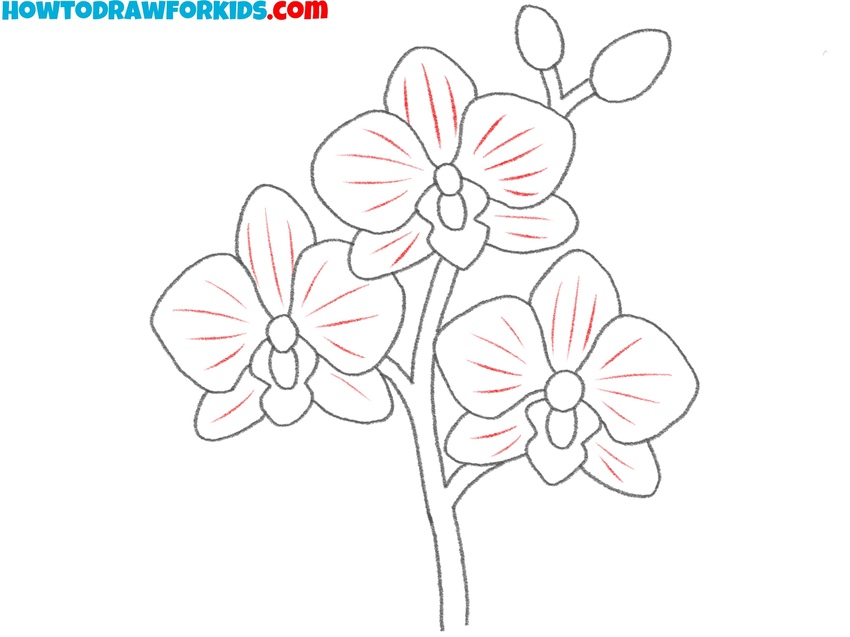
- Erase the guidelines and add texture.
Add internal lines and small markings to each petal to create texture and make them look more realistic. Use short and slightly curved lines that radiate outward from the center of each flower toward the petal edges. Also, erase any remaining guidelines and trace your orchid drawing for a more finished look.
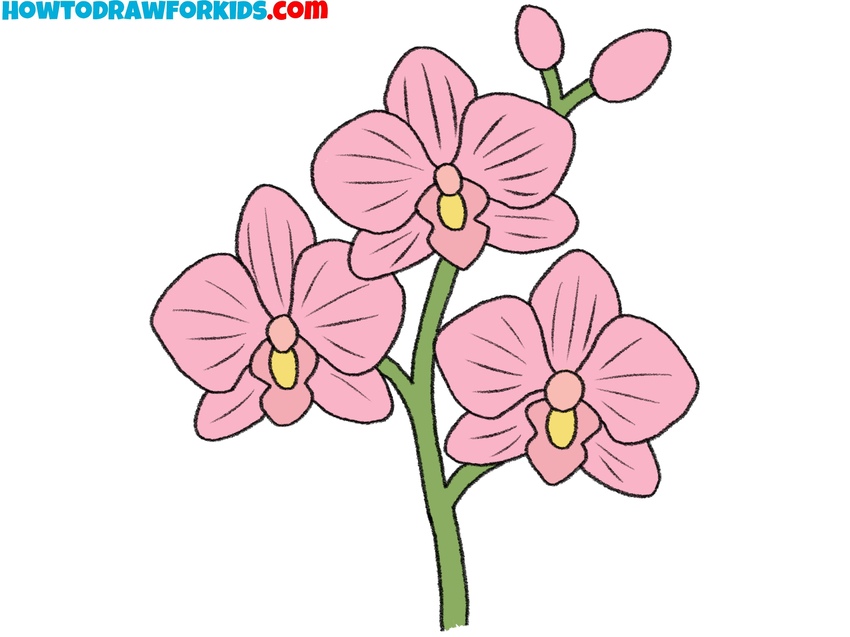
- Color the orchid drawing.
To color this beautiful flower you can use pink or any shade you prefer for the petals. Yellow can be used for the central part of each flower, and a rich green works well for the stem. If you want a more realistic look, vary the shades across different petals to create light and shadow.

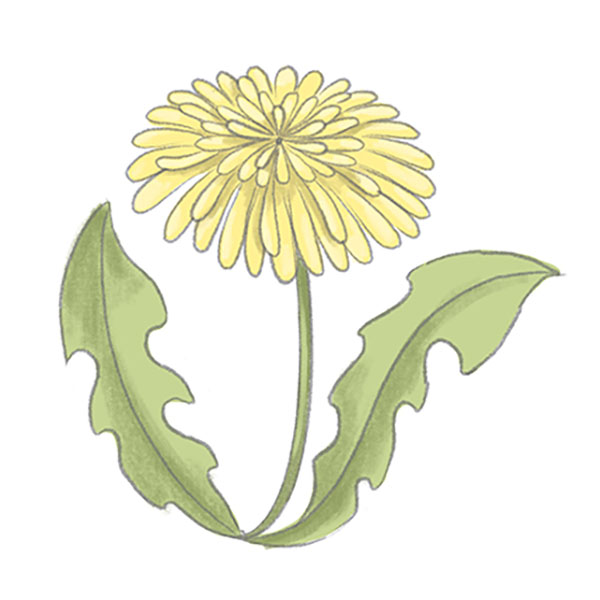
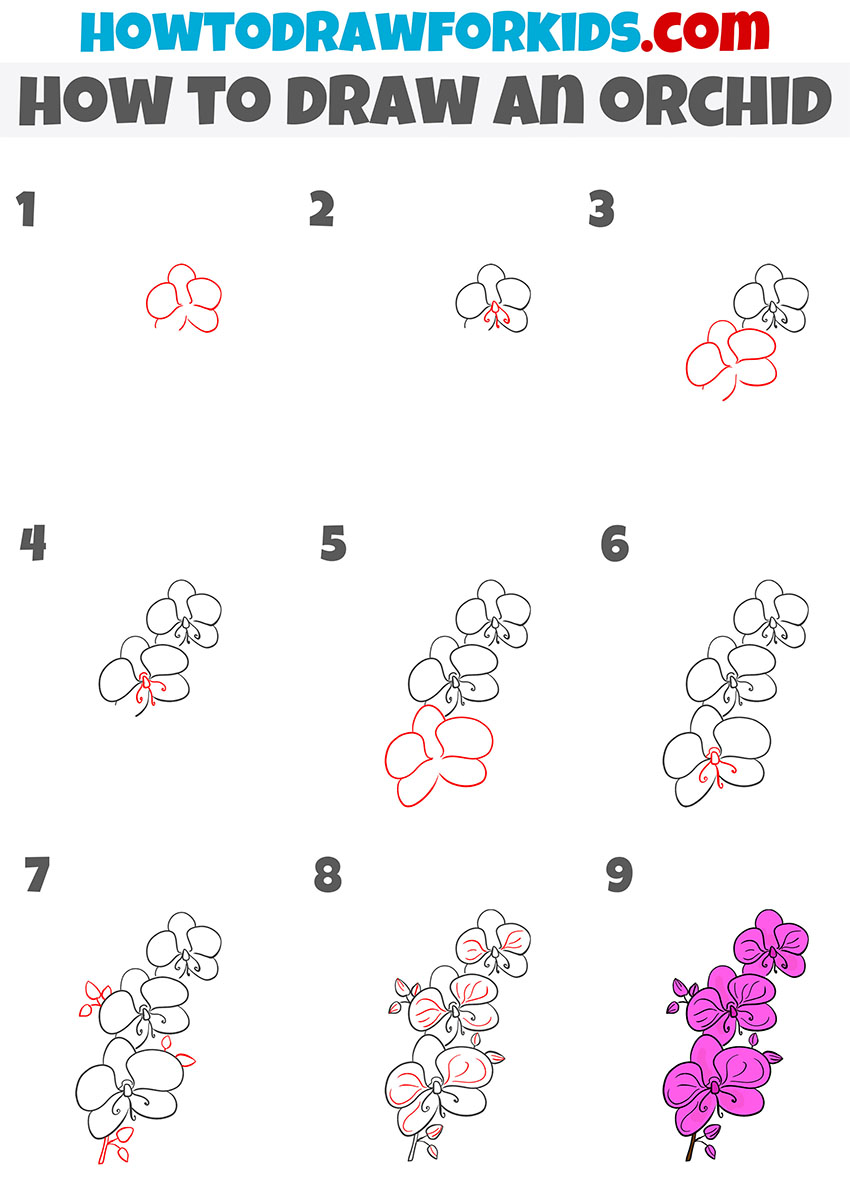
Simple Orchid Drawing Tutorial
This orchid drawing tutorial is simpler than the first method. It shows how to draw one orchid flower at a time and gradually building the full stem. The petals and details are stylized with fewer internal lines, and the flower shapes are much simpler.
Sketch the base flower with three rounded petals at the top. Add two smaller petals below to complete the basic shape. Draw the central detail in the middle of the flower. Repeat this process by stacking flowers diagonally, slightly overlapping to form the curved orchid stem.
After placing all main flowers, add more detail to each center. Then draw the last bloom at the bottom to complete the full floral arc. Connect the flowers with a visible stem and short connecting lines. Add several leaves and small buds around the flowers to give the drawing a realistic look. Finally, add light internal lines to illustrate texture, and finish the drawing with color.
Conclusion
Now that you’ve completed both orchid drawing tutorials, you’ve learned two different methods for drawing this flower – one more detailed and realistic, the other more simplified and stylized.
You can experiment with the number of flowers, adjust the shape and size of the petals, or change the arrangement entirely. These orchids can also be included in more complex still life drawings. You can draw vases, fruits, or other plants to complement the composition.
Try combining different colors, adding buds, or drawing your orchids from a side view. Be sure to explore other floral and still life lessons on my site to continue building your skills. For example, you can learn how to draw an iris or any other drawing in a similar simple step by step way.