How to Draw an Owl Face
Here we’ll go through the tutorial on how to draw an owl face, a bird often linked with mystery and the stillness of the night forest.


How to Draw an Owl Face: Introduction
In this drawing tutorial, I would like to tell you and show you how to draw an owl face step by step. The finished owl drawing will turn out very cute and pretty. Don’t worry if you don’t have much drawing experience yet, because I’ve made this tutorial simple enough for beginners artists to handle it easily.
Owl is any member of a homogeneous order of primarily nocturnal raptors found nearly worldwide. I think you have seen these birds more than once in various films, cartoons, books, or TV programs.
I think you are already looking forward to drawing this beautiful bird. Then get ready with the materials you’ll need to draw the owl and start drawing with these easy-to-follow instructions!
Owl Face Drawing Tutorial
Materials
- Pencil
- Paper
- Eraser
- Coloring supplies
Time needed: 25 minutes
How to Draw an Owl Face
- Sketch the bird head shape.
Start your owl face drawing by making a clean oval outline. This oval will be the base shape for the head, so it needs to be smooth and symmetrical. Hold the pencil loosely so the line stays natural. Think of it as sketching the shape of a flattened egg.
- Draw the owl beak.
Inside the oval, add a small beak in the form of a rounded diamond or teardrop pointing downward. In an owl face sketch, placing the beak correctly is important because it sets the spacing for the eyes. Lightly draw two crossing guidelines through the oval before placing the beak, this helps center it perfectly.

- Draw the eyes on the owl face.
Next, sketch two large circles for the eyes, one on each side of the beak. When you draw an owl face, the eyes should be a main focus, they’re large and forward-facing. Make both circles the same size and keep them perfectly symmetrical. Check spacing by lightly measuring with your pencil.

- Sketch the pupils inside the eyes.
Inside each large eye, draw a smaller circle for the pupil. These pupils will define the bird’s gaze and give some realism to the drawing. I often encourage students to think about where they want their owl to “look” before drawing the pupils, it can make the expression curious, alert, or calm.

- Draw the owl face disk.
Now, sketch a rounded outline that flows around both eyes and the beak, forming the facial disk. This is one of the most recognizable features of this animal. The line should connect smoothly above and below the eyes. You can compare it to drawing a figure-eight shape, only more rounded and gentle.

- Make the tufts on top.
Add two pointed ear tufts on the top corners of the head. When you sketch an owl face with tufts, remember these aren’t actual ears – they’re groups of feathers that give certain owls their characteristic look. You can make these tufts smaller or larger than those from my example.

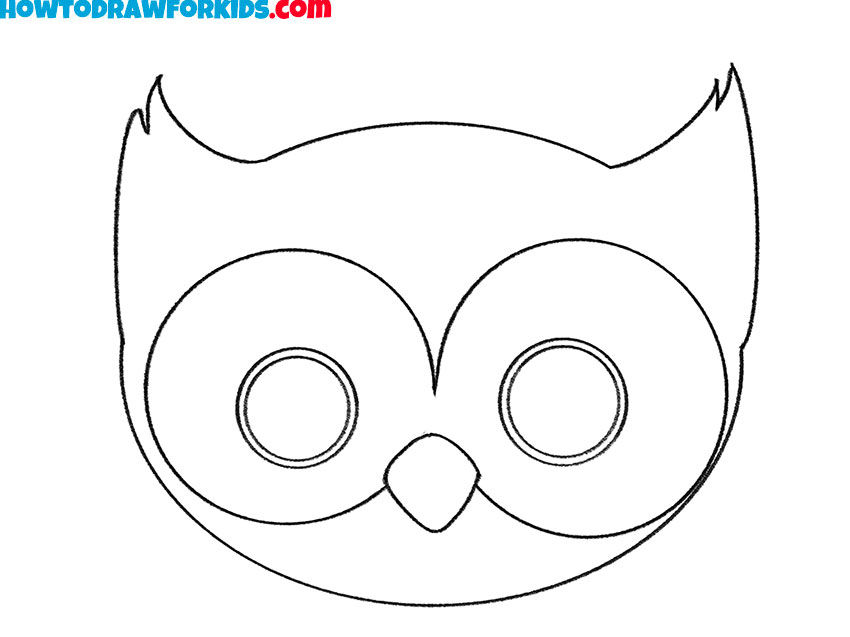
- Make the lines neat.
Smooth out the oval, sharpen the beak edges if needed, and make sure the eyes are perfectly round. Erase any construction lines so the face looks clean and ready for coloring. This step tidies up everything and makes it presentable. A neat outline will also make the coloring process more enjoyable and precise.
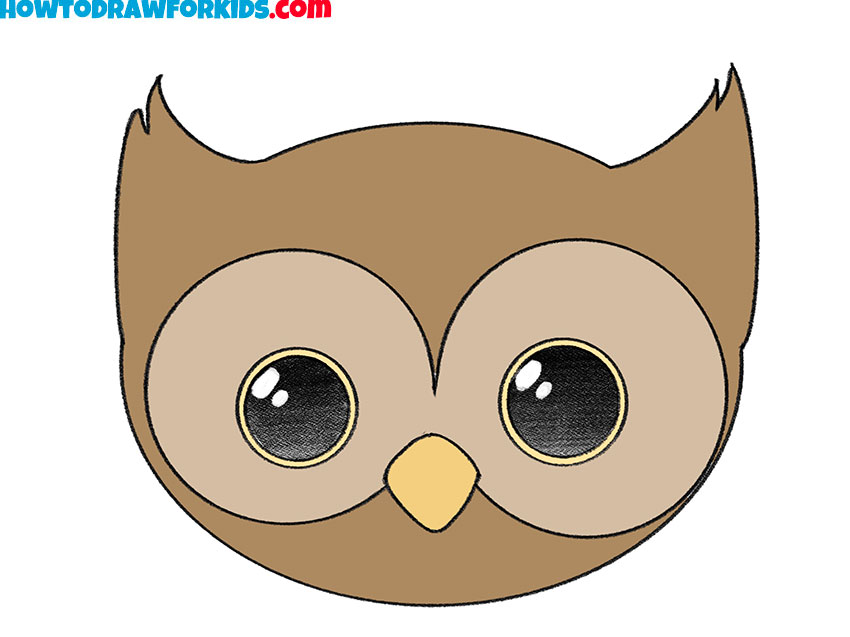
- Fill the face with natural tones.
Finally, color your owl face drawing. Shades of brown, tan, gray, or white can all work depending on the species you want to depict. Use yellow or orange for the beak and rich amber or gold for the eyes. Leave the highlight spots in the pupils white so the eyes stay bright.
Additional Materials
This drawing lesson on how to draw an owl has come to an end. I’d be pleased if you could leave your feedback in the comments about whether you enjoyed it. I have also prepared a short PDF version of this tutorial. You can download the file and return to this step-by-step guide anytime, even without an Internet connection.