How to Draw a Telephone
I am glad to offer you this lesson in which you can learn how to draw a telephone. This instruction will be useful for every artist.
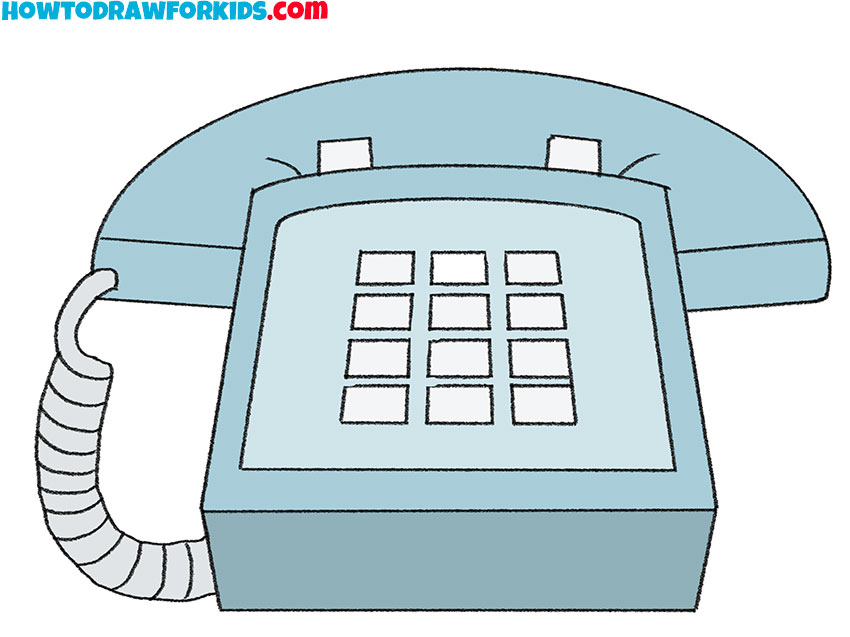
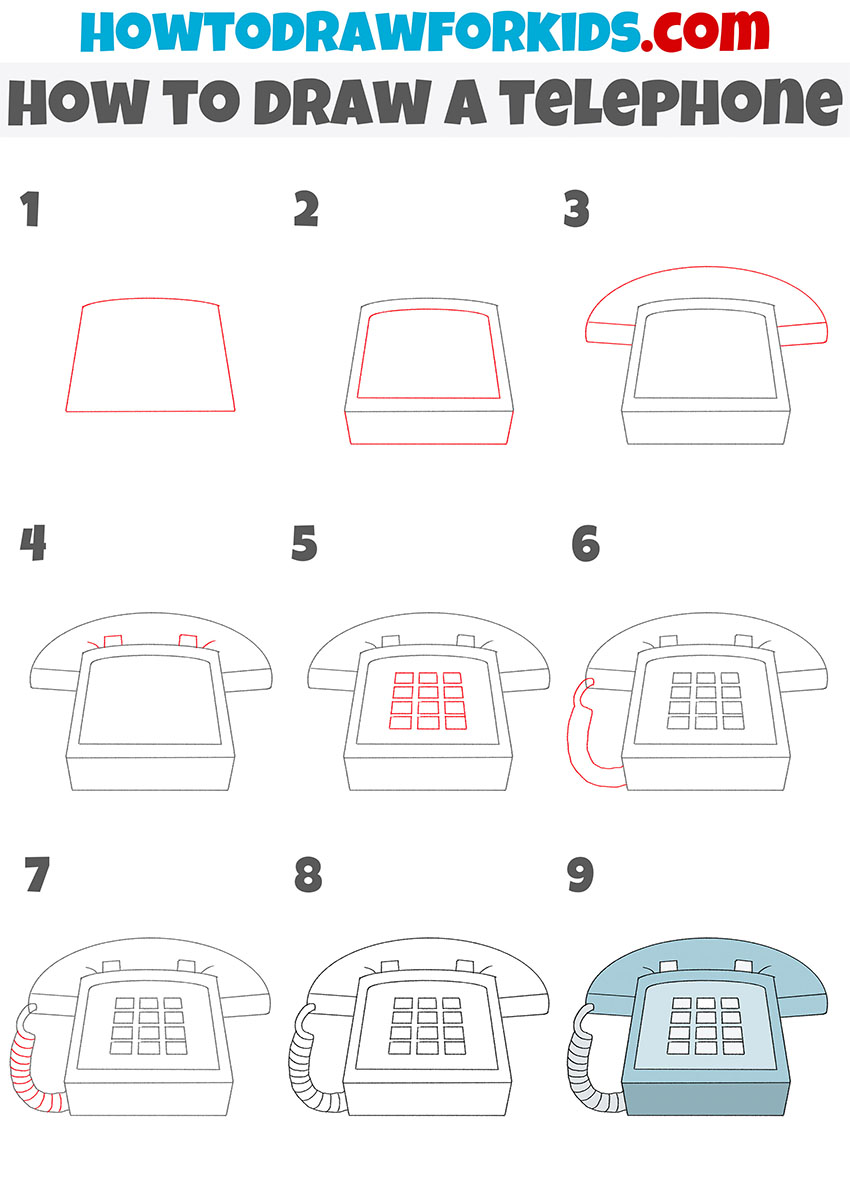
I bring to your attention a very interesting drawing lesson in which I will tell and show you how to draw a telephone step by step. This step-by-step instruction is perfect for novice artists or children, so you can safely take on this work and not worry that you will encounter difficulties.
The telephone is one of the most useful inventions of mankind. At first, he was motionless and for conversations it was required to be near the device. Over time, different types of phones appeared, which allowed not only to move with it, but also to use it as a pocket computer.
In this tutorial, you will draw an older landline phone. The telephone is a device that transmits speech over a distance. Such a telephone consists of a device with a call and a handset for conversations, due to which the transmission of words takes place using telecommunications over wires. This kind of device for transmitting words was invented earlier than others.
When completing this drawing lesson, you will be able to perfectly practice depicting various geometric shapes. This figure also contains many straight lines. To make your drawing more beautiful and neat, you can use a ruler when necessary. And now I suggest you prepare the art materials that you will need to draw the phone. If you are already ready to start this work, then I wish you creative inspiration and I am sure that you will get an excellent result!
Materials
- Pencil
- Paper
- Eraser
- Coloring supplies
Time needed: 30 minutes
How to Draw a Telephone
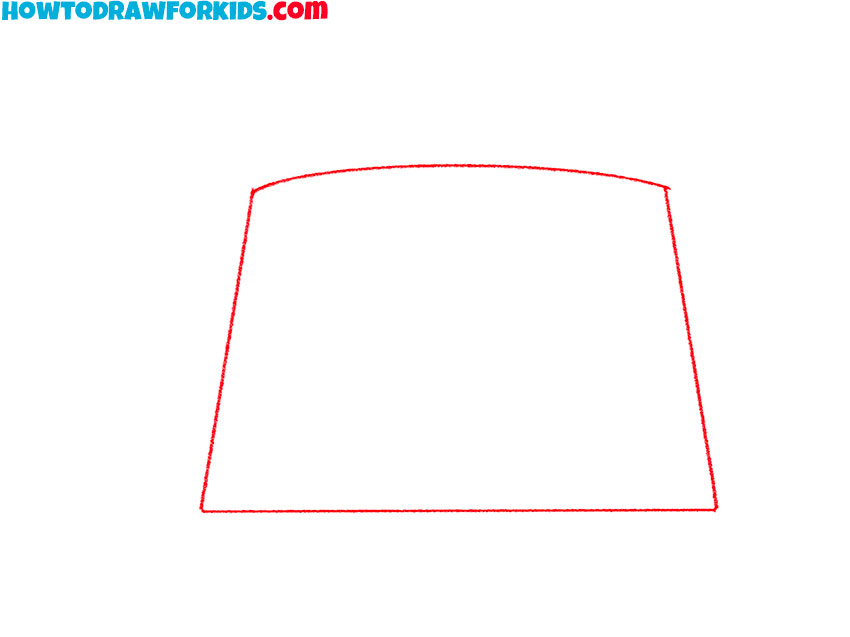
- Draw the outline of the main body of the telephone.
To complete this step, you need to draw a trapezoid-like shape with one rounded side.
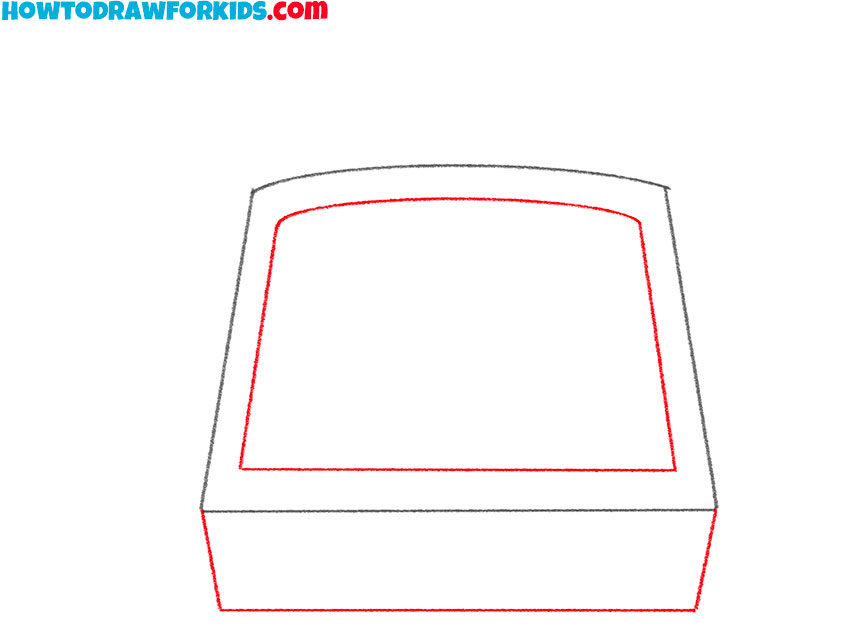
- Add the panel for the telephone buttons, as well as its lower part.
Inside the drawn figure, draw a similar figure of a smaller size, add straight lines at the bottom.
- Depict the outline of the handset of the telephone.
At the top and sides of the drawn elements, add an arc and straight lines of the same length.
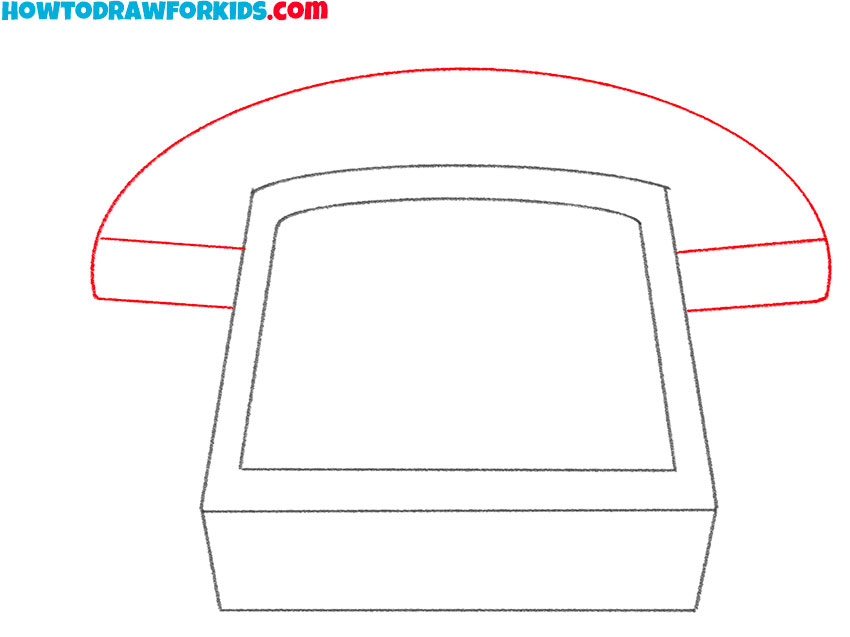
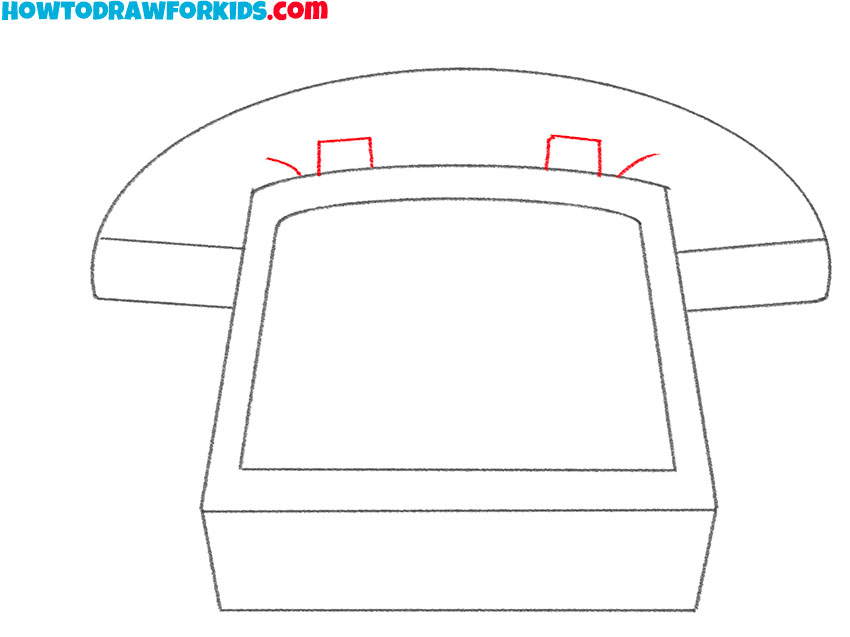
- Finish drawing the handset of the telephone.
Add two short, curved lines, as well as several straight lines of varying lengths.
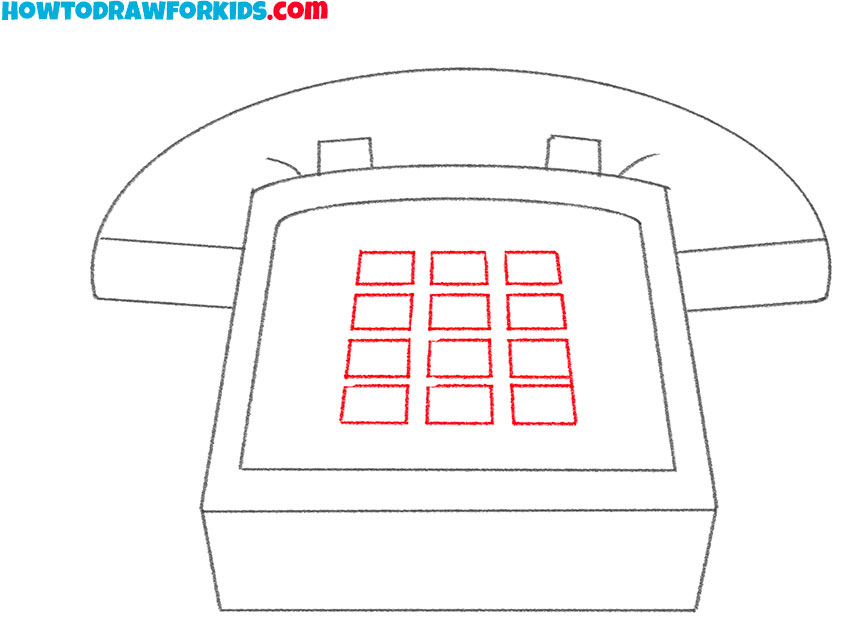
- Sketch out the telephone buttons.
Now you need to draw twelve rectangular shapes, placing them as shown in the figure.
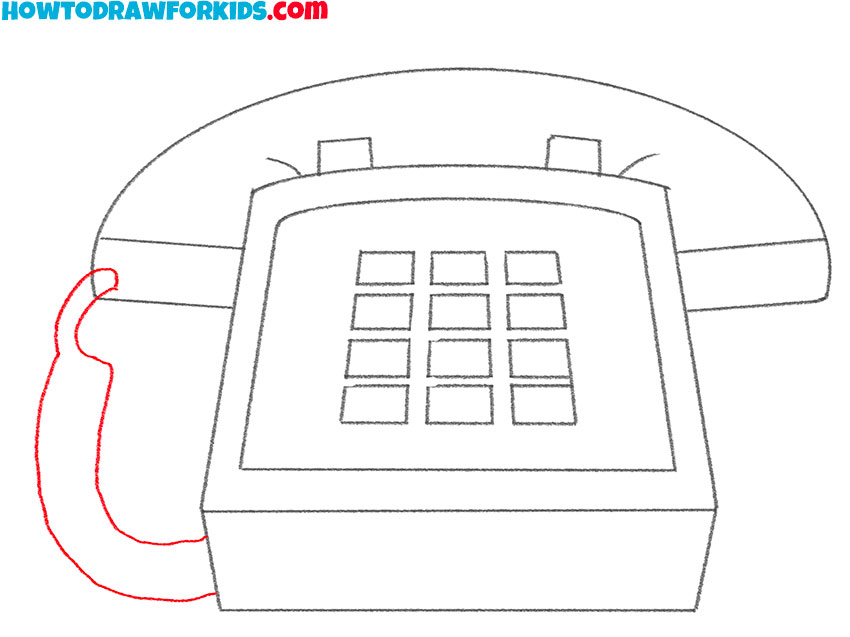
- Draw the telephone wire.
Depict curved lines to draw the wire connecting the main body of the phone and its handset.
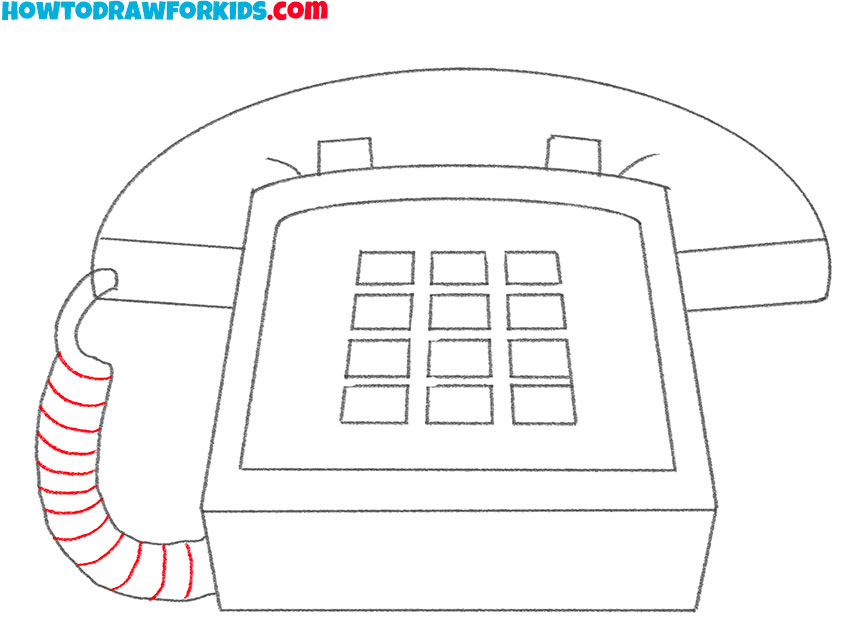
- Depict the spiral of wire.
To make the telephone wire look like the spiral, add a lot of similar curved lines.
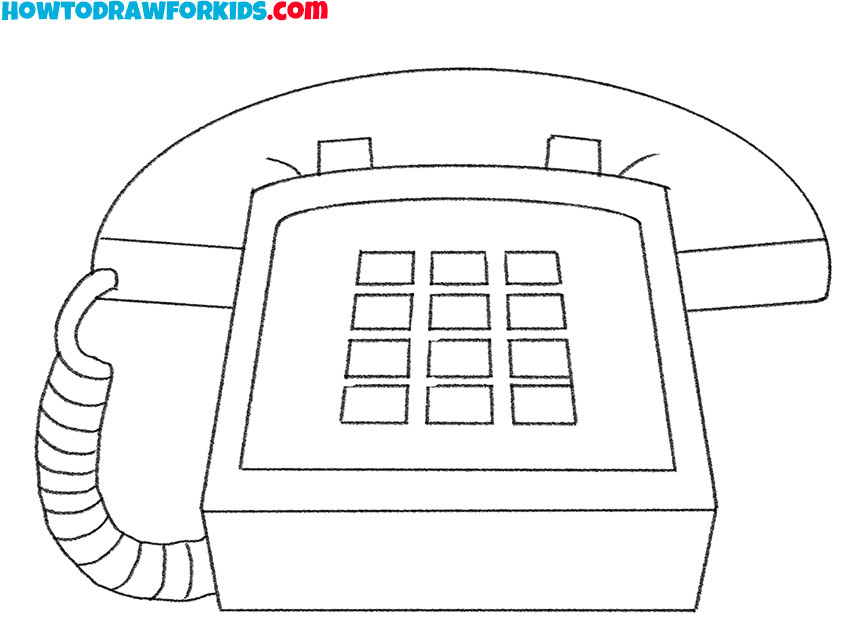
- Prepare the drawing for coloring.
Now you should use the eraser and remove all unnecessary lines.
- Color the drawing.
To color the telephone, you should use gray as well as various shades of blue.

I remind you that you can download the PDF file that I have prepared especially for your convenience. This file contains a short version of this lesson and has additional useful training materials. Download this file so as not to lose it and return to this lesson at any time convenient for you.


Nice One
Love it am also an artist but just want to become 🥺🥺