How to Draw a Tutu
I have prepared for you a lesson in which I will tell you how to draw a tutu step by step. This lesson is sure to please each of you.
I suggest you complete a wonderful and very useful drawing lesson, with which you can learn how to draw a tutu step by step. This is another fascinating drawing lesson dedicated to depicting various items of clothing. Completing this drawing lesson will help you greatly improve your artistic skills, as well as practice drawing clothes.
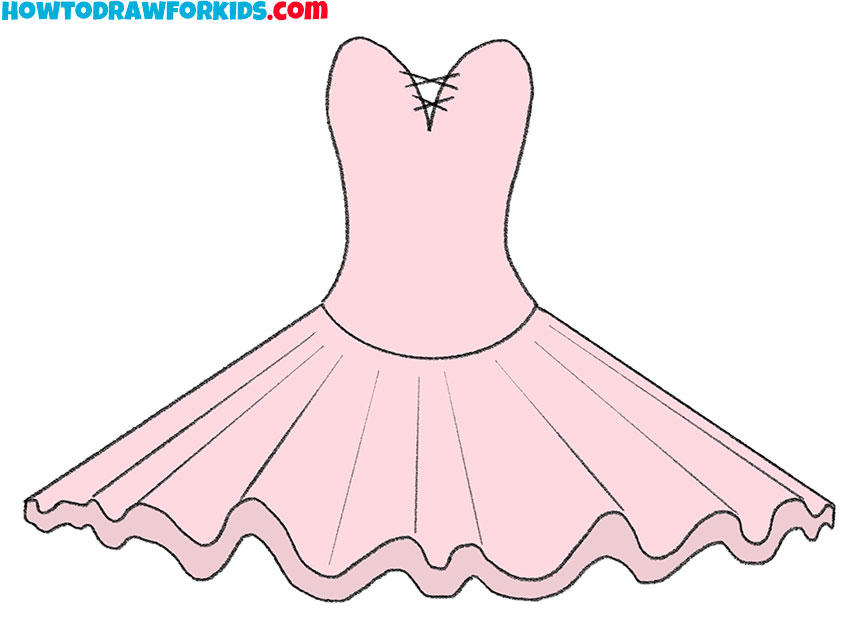
The tutu is a special women’s ballet costume, consisting of a bodice fastened at the back with hooks and a multi-layered stiff tulle skirt sewn to it. The image of classical ballet is inextricably linked with its main symbol—the tutu. As a rule, tutus are used in classical ballets of the academic period. Surely you have seen this item of clothing more than once on people or any characters in cartoons and films.
Modern tutus come in two main types: the romantic tutu is soft and bell-shaped, reaching to the calf or ankle, and the classic tutu is short and stiff, projecting horizontally from the waist and hips. Having learned how to draw a ballet tutu with the help of this simple instruction, you will be able to depict a ballerina, any person or character dressed in this wardrobe item in the future.
When doing this lesson, make sure that the right and left sides of the tutu you have drawn are symmetrical to each other. Since there are straight lines in this tutorial, you can use a ruler if needed to make your drawing look neater. Right now you can prepare all the art supplies you need for drawing, and then proceed with this lesson, carefully following my instructions and enjoying the creative process.
Tutu Drawing Tutorial
Materials
- Pencil
- Paper
- Eraser
- Coloring supplies
Time needed: 30 minutes
How to Draw a Tutu
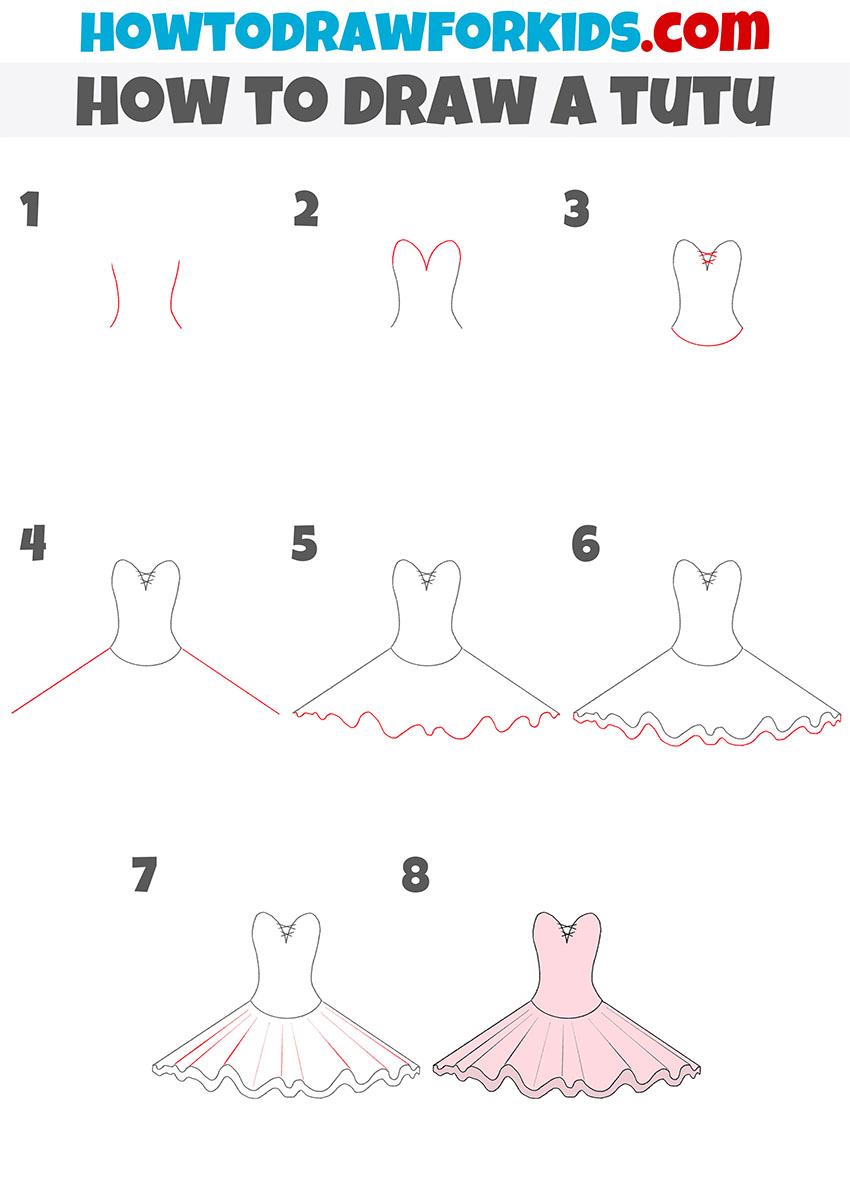
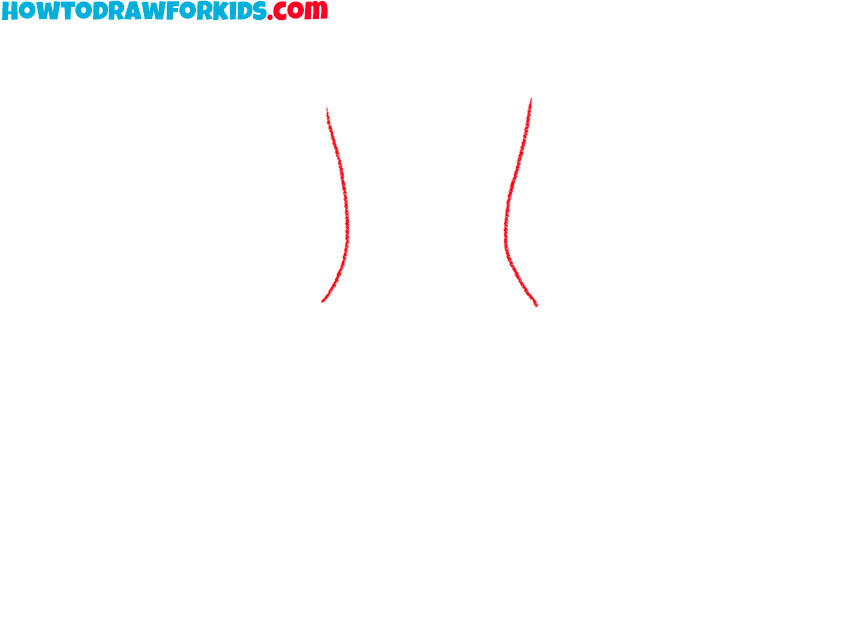
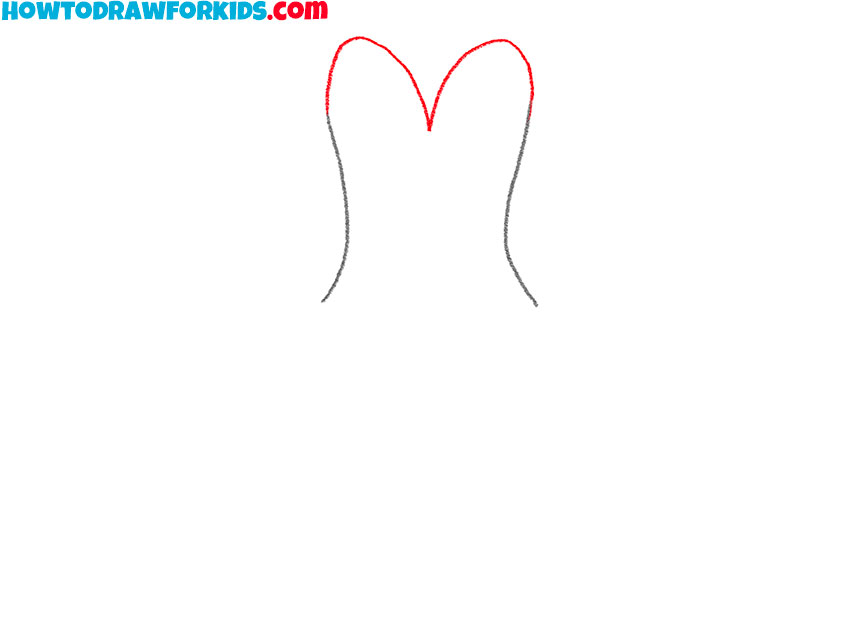
- Draw the side parts of the tutu.
To complete this simple step, you need to depict two curved lines opposite each other.
- Depict the top of the pack.
From the upper ends of the drawn curved lines, draw two rounded lines, as shown in the figure.
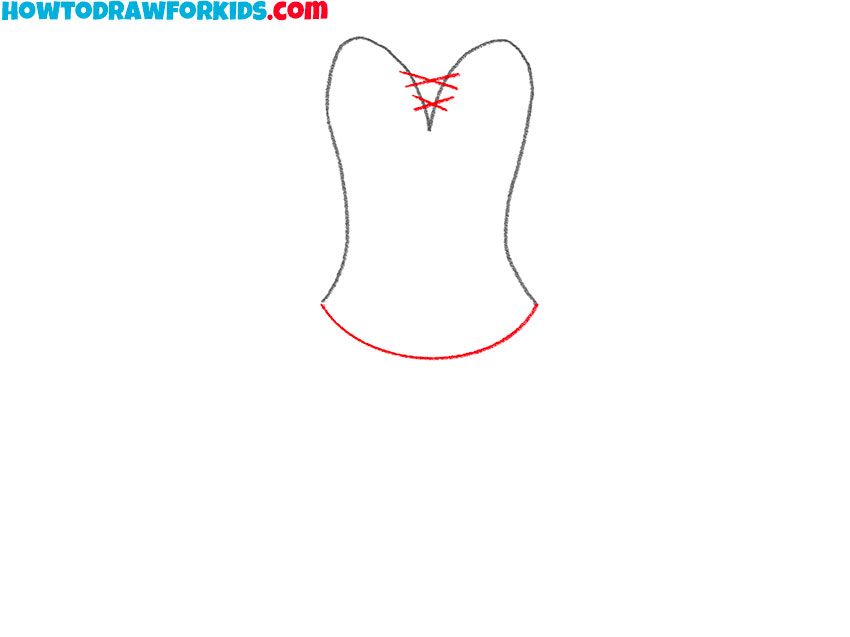
- Add the belt and decorative elements.
At the top of the pack, draw straight lines, draw one arc below the previously drawn elements.
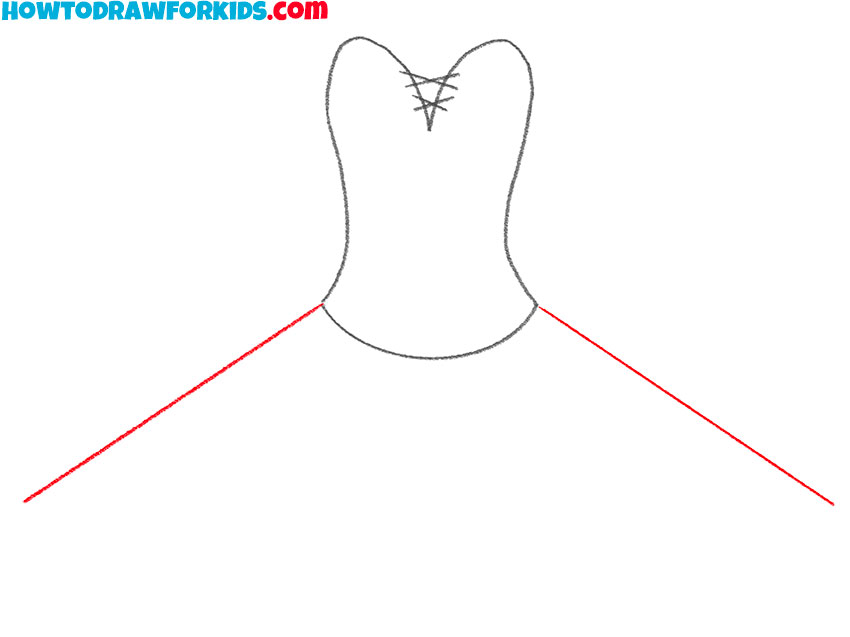
- Start drawing the tutu skirt.
From the ends of the previously drawn arc, draw two straight diagonal lines of the same length.
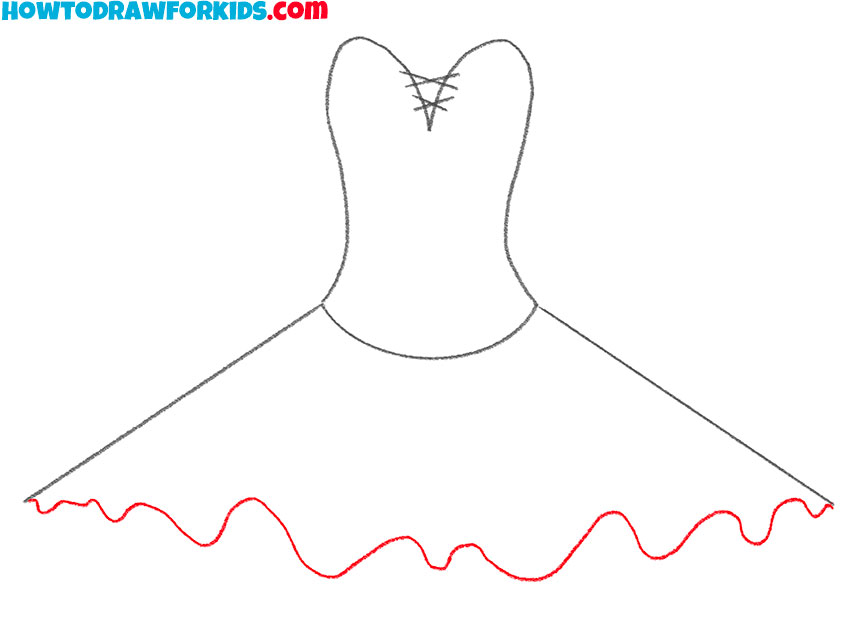
- Sketch out the bottom edge of the skirt.
Connect the ends of the previously drawn straight lines with a long wavy line.
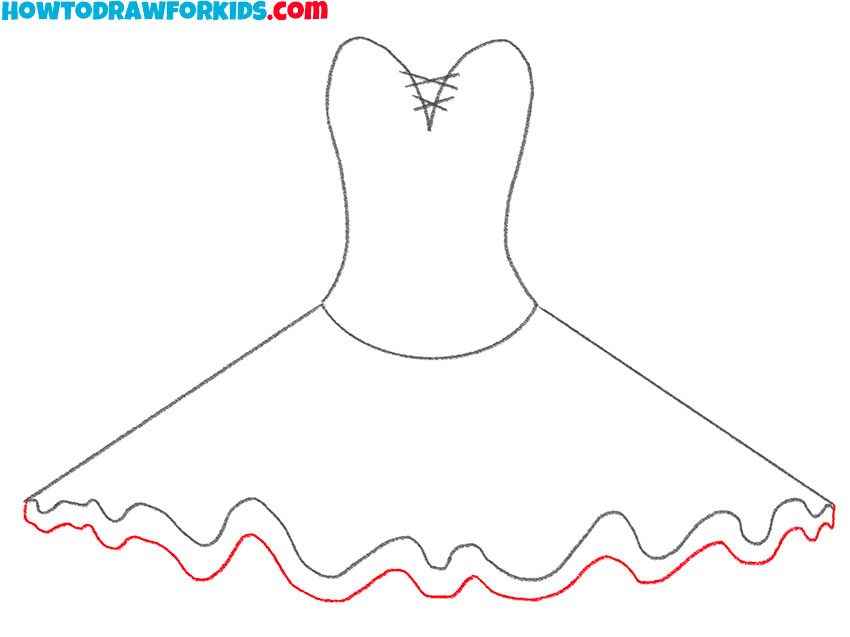
- Finish drawing the tutu skirt.
Next to the previously drawn wavy line, draw another wavy line, as shown in the figure.
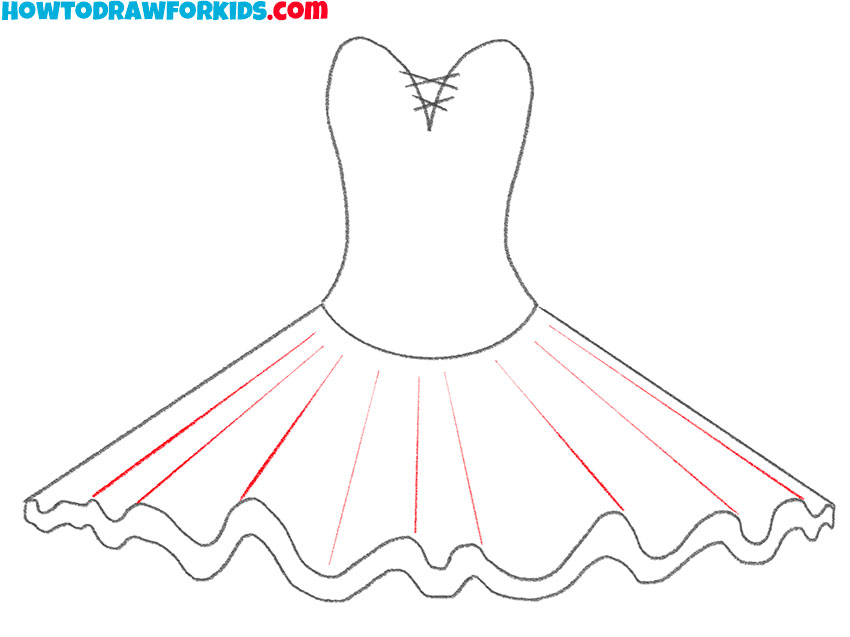
- Draw the pleats on the tutu skirt.
To make the drawing look more realistic and voluminous, draw many straight lines on the skirt.
- Color the drawing.
To color the tutu, you can use different shades of pink.
As usual, I have prepared a PDF file for you, where you can find a short version of this tutorial and additional useful materials that will help you improve your skills as an artist.