How to Draw Ballet Shoes
The beauty of ballet can inspire anyone to create, and for additional inspiration, I’ve prepared this tutorial on how to draw ballet shoes.
How to Draw Ballet Shoes: Introduction
In this lesson, I decided to show two different ways to draw ballet shoes. In the first example, we’ll create a more detailed and realistic version while keeping the overall shape simple and clean.
The second method will demonstrate an even more simplified approach with a different sequence of steps. In both cases, the main principles remain the same throughout the tutorial and help you to learn more about drawing a ballerina.
It’s important not to overcomplicate the drawing with unnecessary details, because ballet shoes should look neat and minimal.
Pay attention to symmetry, as uneven proportions can make one shoe look distorted compared to the other.
Ballet Shoes Drawing Tutorial
Materials
- Pencil
- Paper
- Eraser
- Coloring supplies
Time needed: 15 minutes
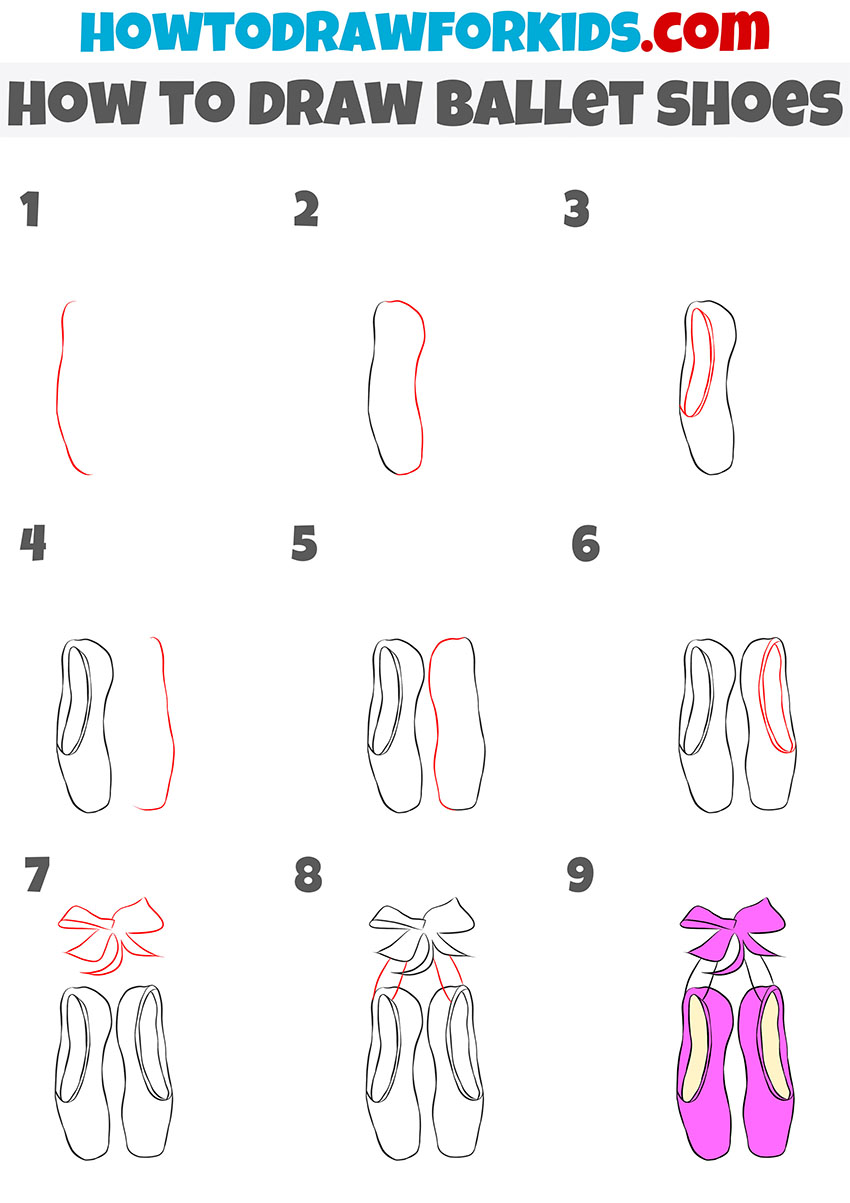
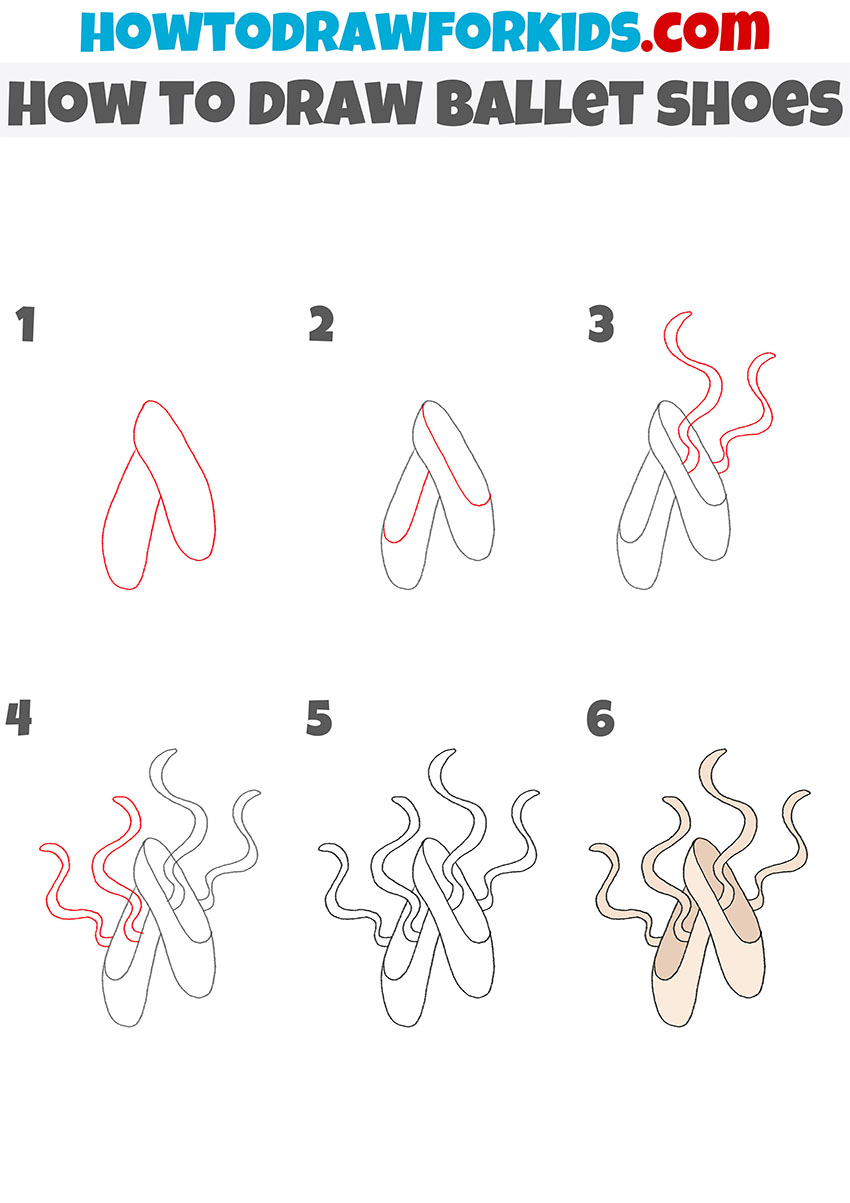
How to draw ballet shoes step by step
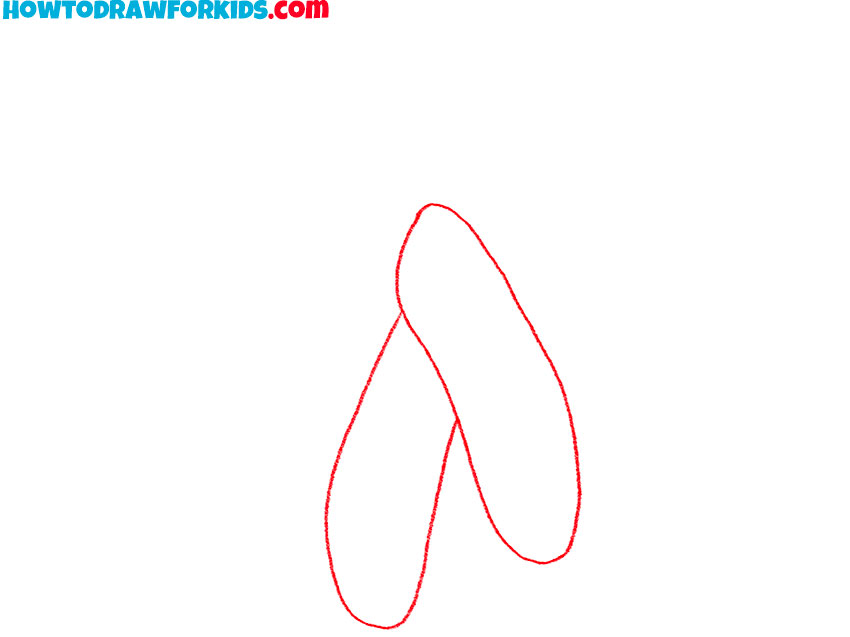
- Sketch two overlapping ballet slippers.
Lightly draw two long, rounded slippers that cross like an X, as if a pair of ballet shoes hangs from a hook or hovers in the air. Make the shoes lean to the sides. Taper each toe a little and keep the heel end fuller. Work with smooth, continuous curves so the silhouettes read elegant and slim.
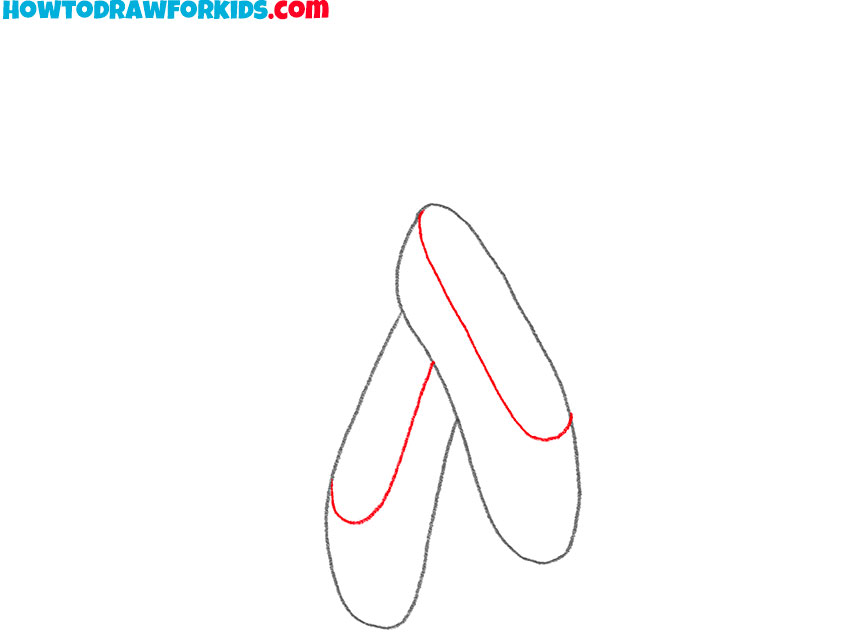
- Sketch the inner openings of the ballet shoes.
Draw the elongated almond opening (the vamp) on the upper ballet shoe, following its front curve. Sketch the same opening on the lower slipper, keeping a thin, even margin between inner and outer contours. You can indicate a short seam near the heel of each shoe.
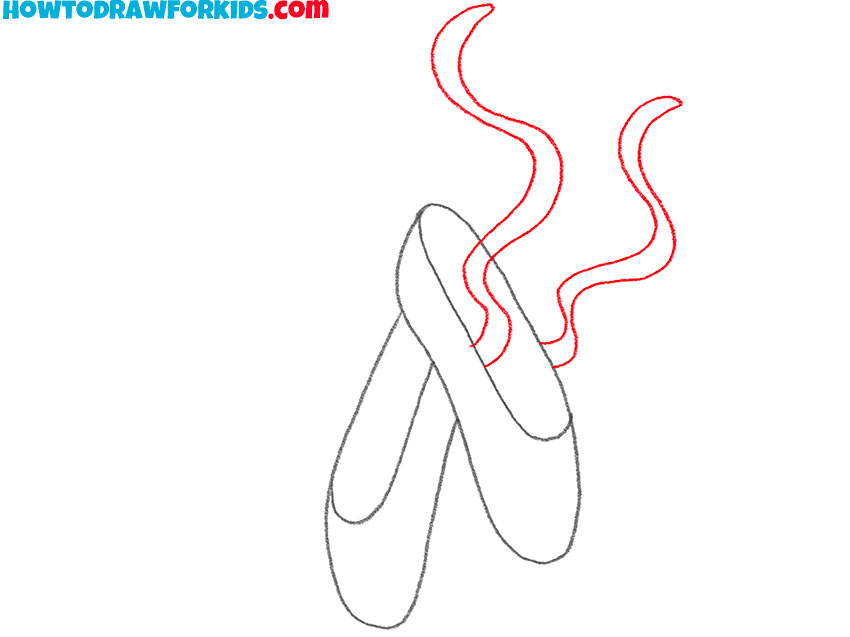
- Draw the first ballet shoe flowing ribbons.
From the top edges of the right shoe, sketch two uneven and simple ribbons that wave upward. Vary their width slightly and let the edges wobble like soft satin. Keep each ribbon a single, smooth stroke rather than many choppy lines. Avoid perfect symmetry; graceful ballet ribbons feel natural when one curve is tighter than the other.
- Sketch the remaining satin ties.
To complete the composition, illustrate the ribbons of the second shoe. Begin them from the same top area and sweep left with soft S-curves. If a ribbon in your sketch passes behind a shoe, stop the line and restart it on the far side to show overlap. Draw the uneven and simple ribbon ends with slight tapers. Keep spacing varied so the ties don’t stack like stripes.

- Erase the guidelines and correct the outline.
Erase any placement ovals, duplicated contour lines around the openings, extra marks at the knot, and ribbon segments hidden behind the shoes. Redraw the outer edges with one steady stroke. Slightly sharpen the intersections and correct any unnaturally looking curves.
- Color the ballet shoes and ribbons.
To finish drawing the ballet shoes, apply flat tones typical of satin pointe shoes. Fill the slippers with a pale peach or light ivory; make the vamps a touch lighter to represent sheen. Color the ribbons with the same hue or a gentle blush. Darken the inner openings one value step, not black.

Additional Content
And as always, I’ve prepared a free PDF version of this tutorial for offline use. It includes the main steps from the ballet shoes drawing lesson in a simplified format for easy practice anywhere. Inside, you’ll also find extra materials to strengthen your sketching skills and serves as a convenient reference whenever you want to review or continue practicing.
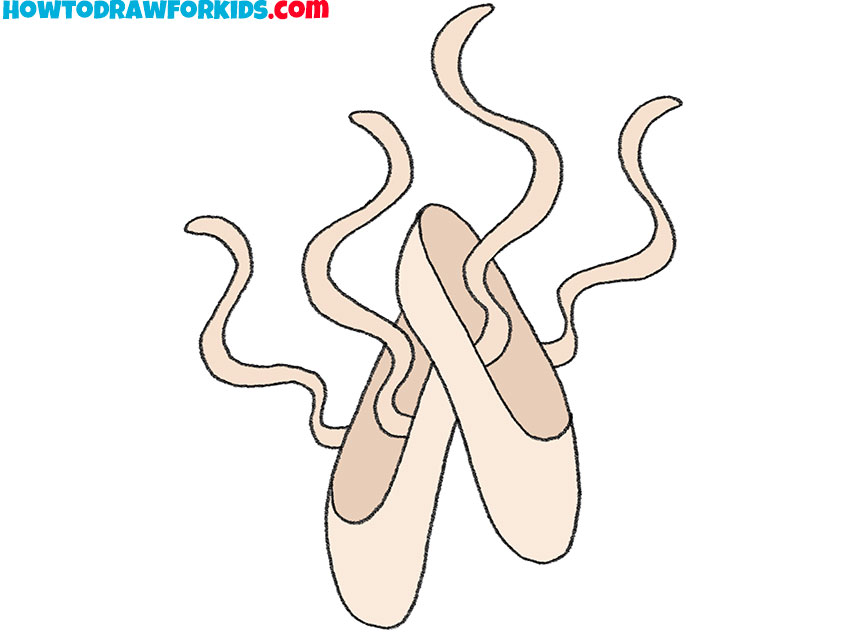
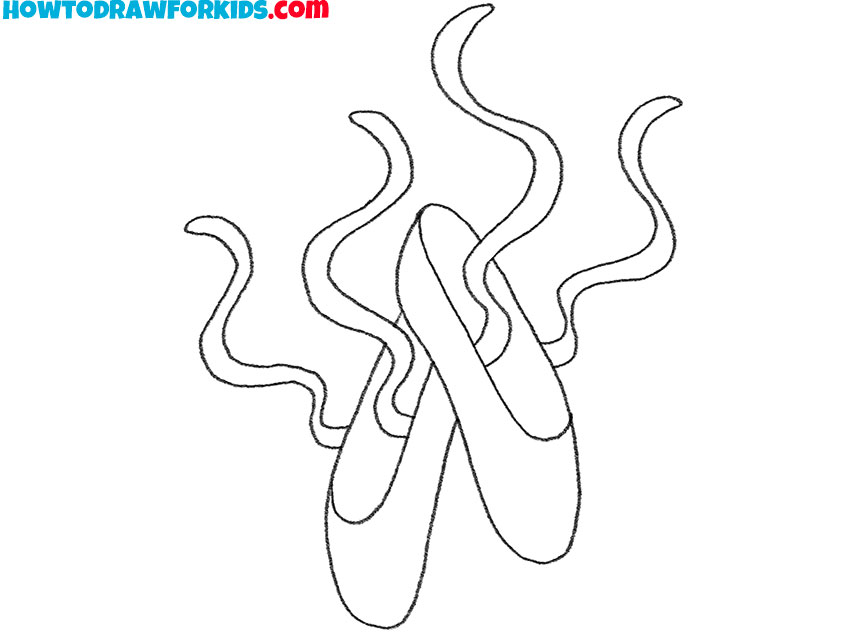
Easy Ballet Shoes Drawing Tutorial
This version continues the main tutorial on how to draw ballet shoes, showing an alternative arrangement and a slightly different composition.
Unlike the first version, where the shoes hang neatly with a tied bow, this additional tutorial presents the ballet slippers crossed and loosely resting, with flowing ribbons.
To illustrate this variation, sketch the overlapping shapes of two ballet shoes, keeping their contours smooth and curved. Draw the inner openings and define the front sections with gentle outlines.
Add long, flowing ribbons that twist freely around the shoes. Keep the lines simple and avoid excessive detail. Use light pink or beige tones for the shoes and beige for the inner parts to complete this additional ballet shoes drawing.