How to Draw Fabric
In this tutorial we will touch on one of the most important subjects in drawing, and learn how to draw fabric in two ways.

How to Draw Fabric: Introduction
In this tutorial, I will show you how to draw fabric. This lesson will be very useful for you because the ability to draw fabric correctly is very important. Such skills can come in handy when you draw curtains, folds of clothes, or other decorative elements.
You can easily draw the outline of the fabric and folds. Moreover, arbitrary lines are allowed here. But pay special attention to shadows and highlights. It is the shadows that will make your drawing more realistic. The fabric is darker in those places where there are folds and indentations, and the convex parts are lighter. You must depict this in your drawing. To do this, choose several shades of different color intensities. Try to make a smooth transition between colors, then your drawing will look more realistic.
You can color the fabric in the same color as in the example, or you can choose any other color of your choice while using several shades to highlight the lighter and darker parts of the fabric.
Fabric Drawing Tutorial
Materials
- Pencil
- Paper
- Eraser
- Coloring supplies
Time needed: 15 minutes
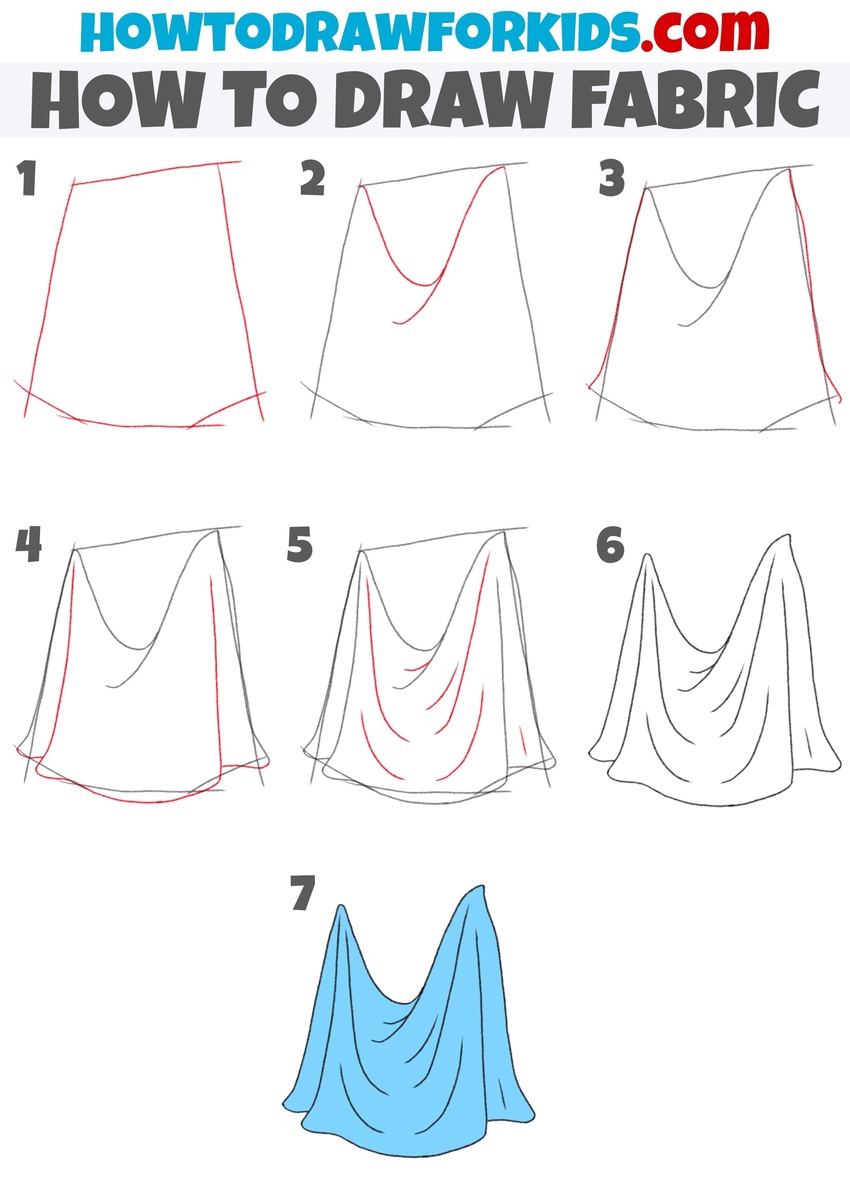
How to Draw Fabric
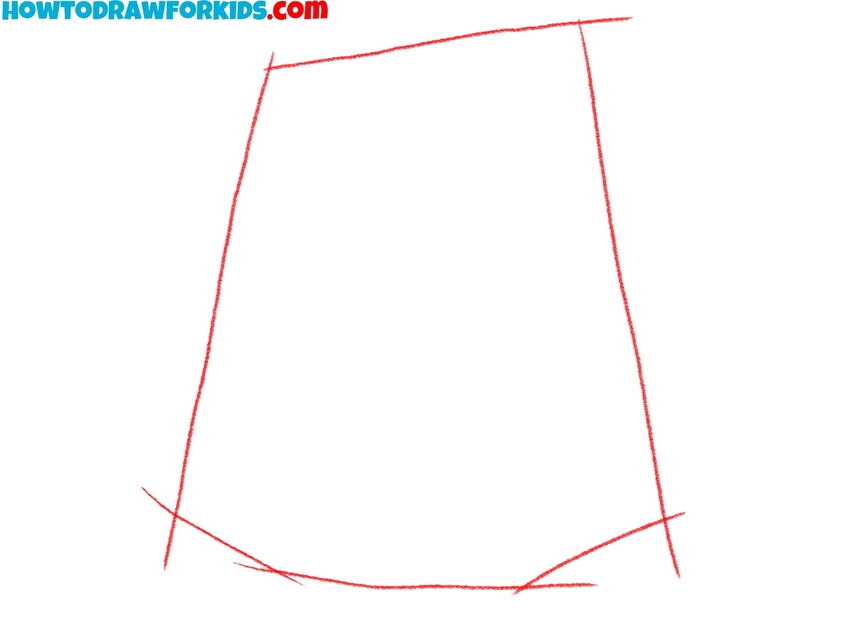
- Mark the outer silhouette.
To draw fabric realistically, it’s important to establish a framework first. Using very light lines, sketch a simple trapezoid shape that will serve as the outer boundary of the cloth. The wider top edge represents where the fabric is held or draped, while the lower line indicates the bottom edge that falls freely.
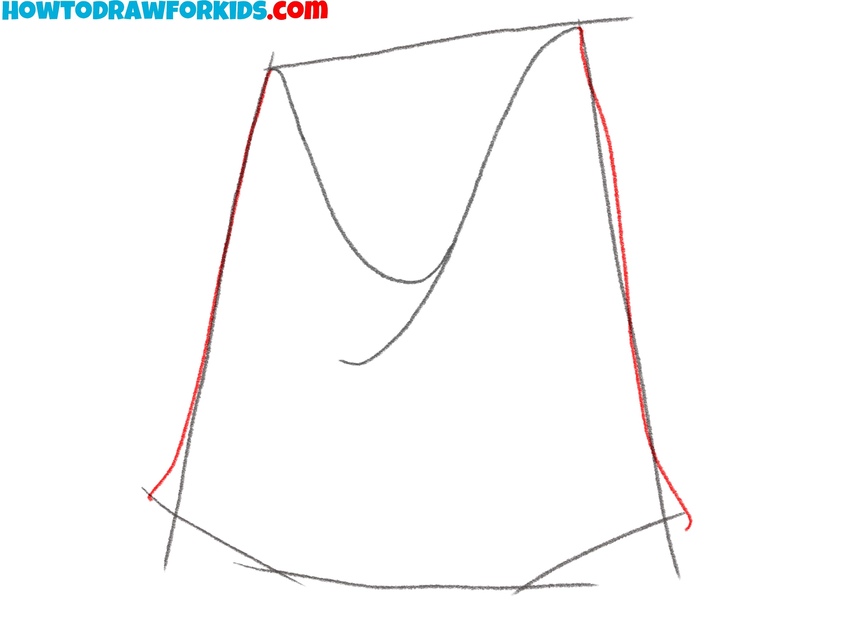
- Add the main hanging fold.
Fabric always bends toward gravity, so adding a main fold gives the drawing its flow. Sketch a curved, U-shaped line starting near the top edge of the trapezoid and dropping down toward the center. This line represents the deepest fold in the cloth, where the weight causes it to sag.

- Draw the fabric sides.
Now that the central dip is in place, give the fabric more shape by refining the side edges. From the top corners, draw smooth and curved lines that move down to meet the bottom outline. The cloth edges should appear as if they are being pulled downward, showing gravity’s effect.
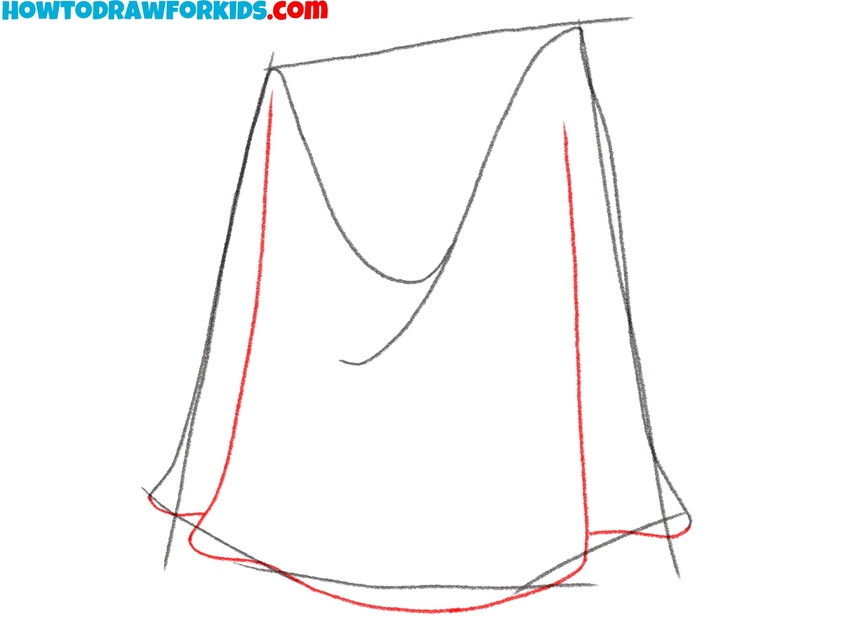
- Sketch the folded edges.
With the base shape sketched, it’s time to show how the fabric gathers at the edges. Draw a wavy line along the bottom edge to indicate the unevenness where the cloth pools slightly. Then add two more vertical curved lines on the left and right sides, showing the way the material folds as it hangs.
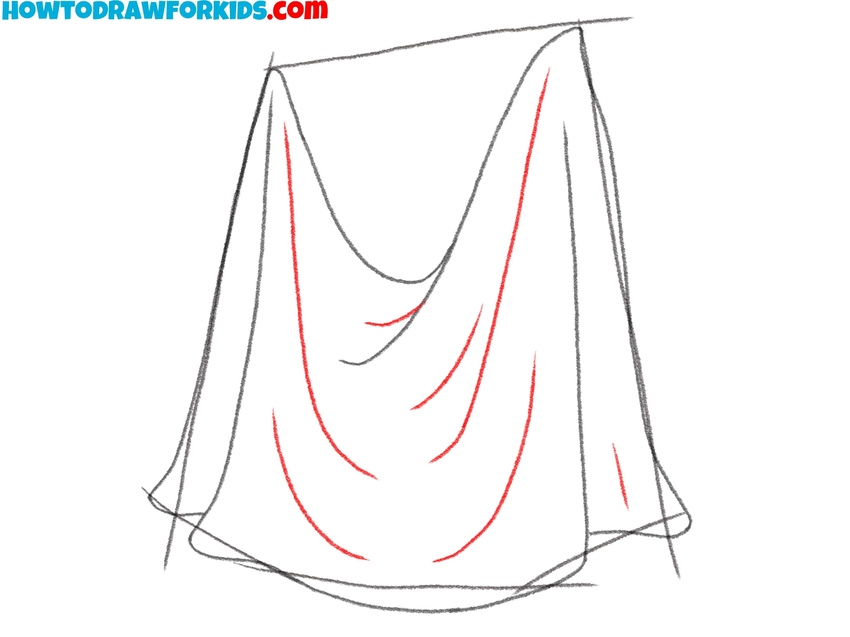
- Illustrate the inner folds.
Fill the center area with extra curved lines to illustrate smaller creases. These folds should follow the same downward direction as the central dip but vary in length and spacing. Some may start near the top edge and move downward, while others may be shorter and fade as they reach the middle.
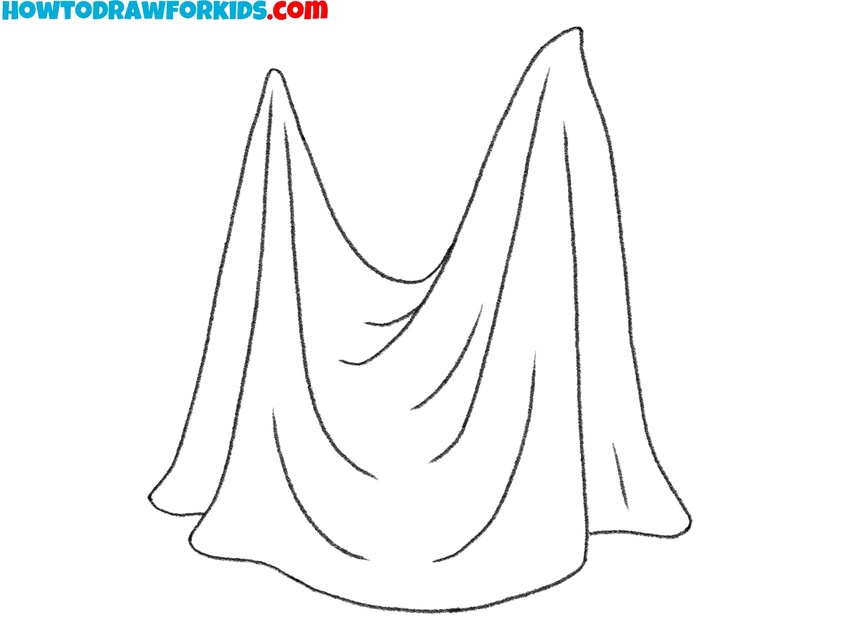
- Neaten the linework.
The fabric’s main structure and folds are complete, and it’s time to finalize the drawing. Carefully trace the main outline and the important folds. Erase any unnecessary construction marks. Be selective: emphasize the folds that give the strongest sense of weight and depth, while leaving smaller ones lighter or faded.
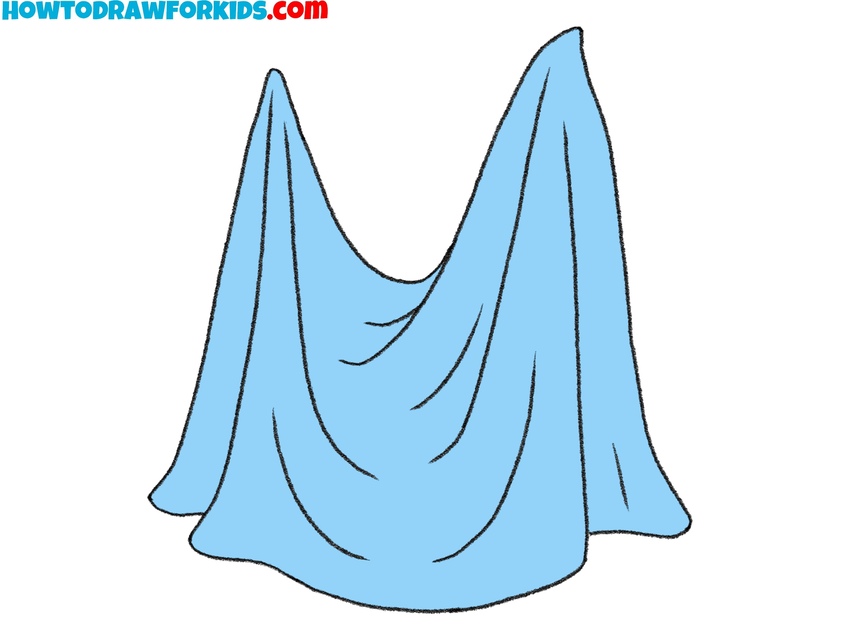
- Color the cloth evenly.
Choose a base shade, like blue in this example, and fill the entire cloth evenly. Once the base layer is applied, you can leave your fabric drawing with simple shading, or add simple lights and shadows by darken the areas along the fold lines. Also, you can the tops of the folds lighter to represent highlights.
Bonus: Easy Fabric Drawing Tutorial
To draw fabric in this more simplified method, first set the outer frame with long and smooth lines. Add a diagonal stroke inside to indicate the first fold.
Continue by drawing additional curved lines that run from top to bottom to show the fabric’s natural droop. Each fold should vary in angle and width.
Complete the fabric drawing with clean outlines and shade or color the areas between folds to convey shadows and lights.