How to Draw Pasta
I suggest you complete a lesson in which you will learn how to draw pasta step by step. This simple instruction consists of eight steps.
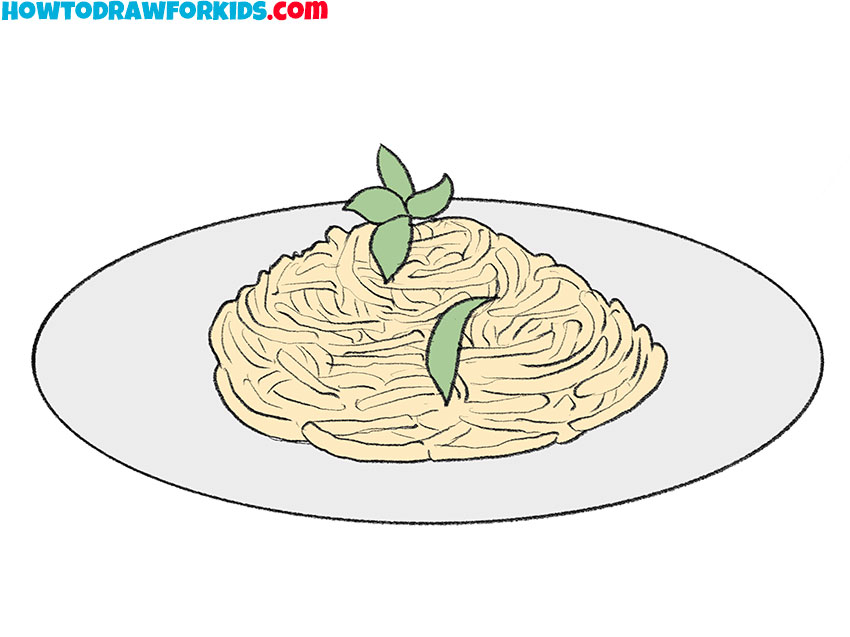
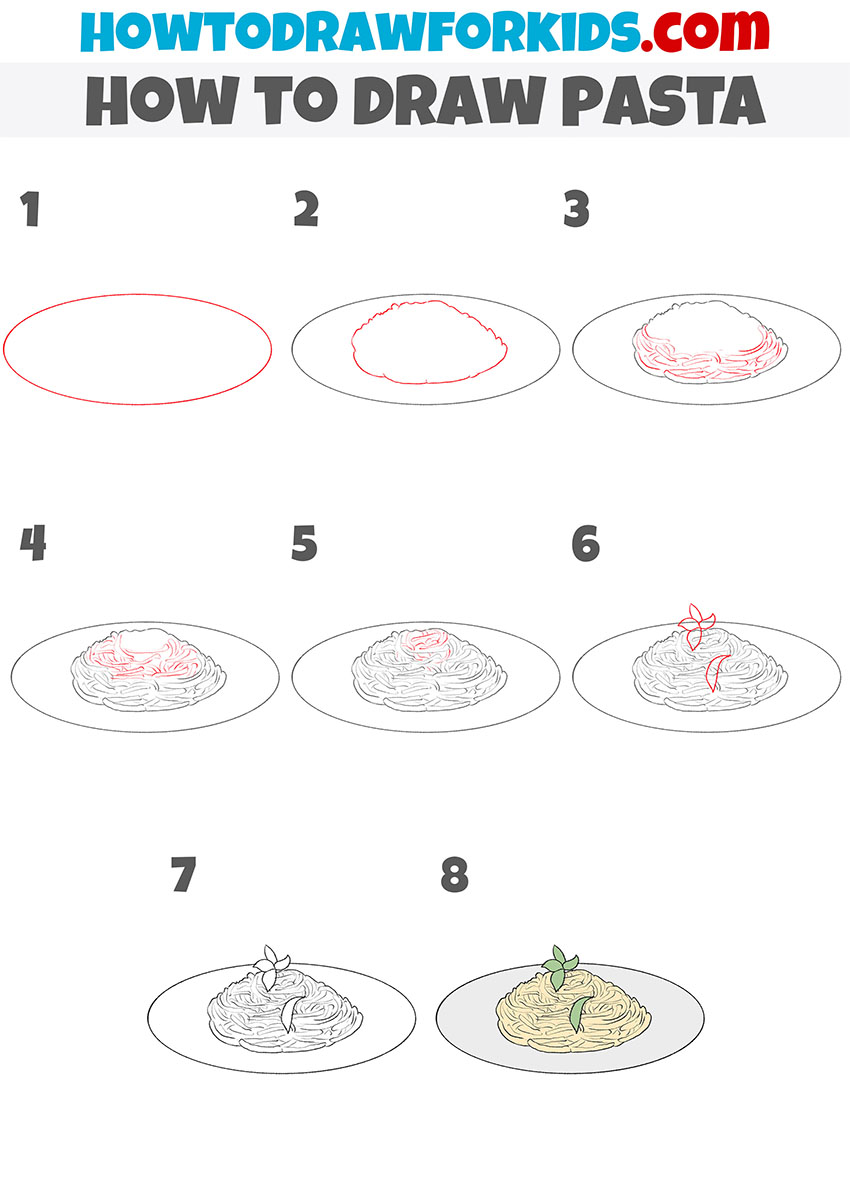
So, I am glad to bring to your attention this wonderful and very useful drawing lesson, with which you can learn how to draw pasta step by step. I think you, like any other artist, want to learn how to draw various dishes.
This lesson will help you a lot. Since I have developed this tutorial specifically for beginners, you should not have any difficulties during its implementation. When you learn how to draw pasta, you can add this image to any of your still life or other paintings.
I recommend that you prepare the art supplies that you will need to draw. If you are ready to start doing this work, then I wish you inspiration, and I am sure that you will enjoy the creative process and get a great result.
Materials
- Pencil
- Paper
- Eraser
- Coloring supplies
Time needed: 30 minutes
How to Draw Pasta
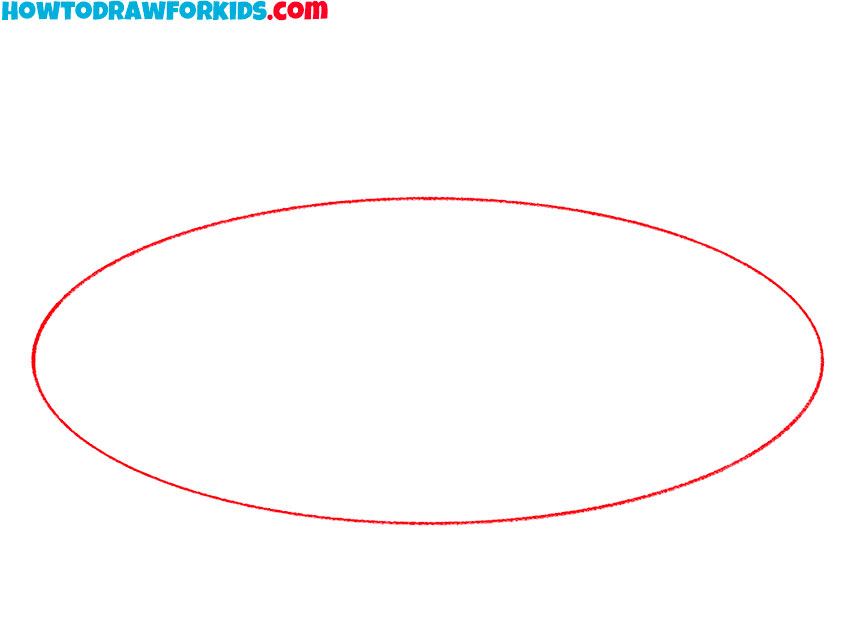
- Draw the outline of the plate.
To draw the plate that will contain the pasta, you need to draw one large oval.
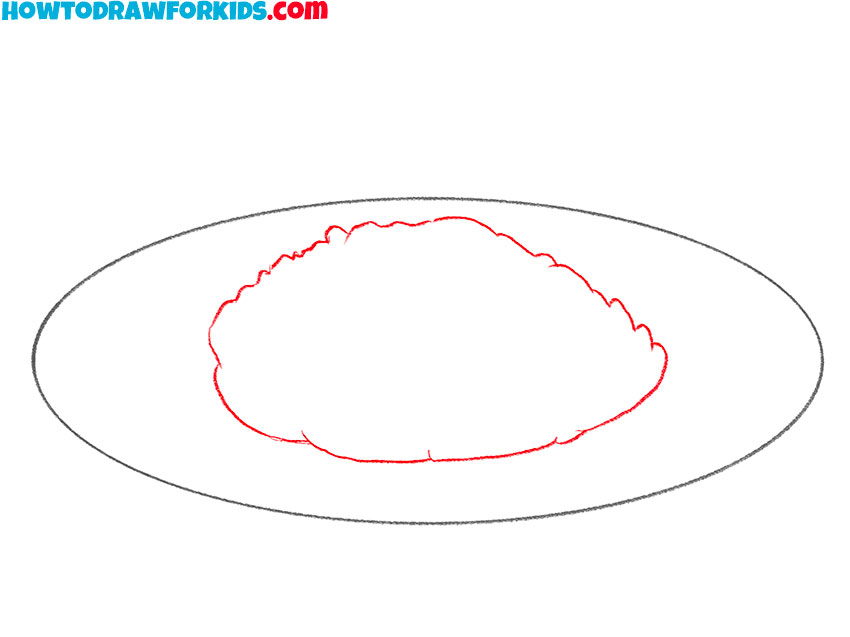
- Add the outline of the pasta.
Now you should draw an arbitrary shape inside the oval using curved and rounded lines.
- Start painting the pasta.
At the bottom of the previously drawn shape, draw a lot of curved lines to depict the pasta.
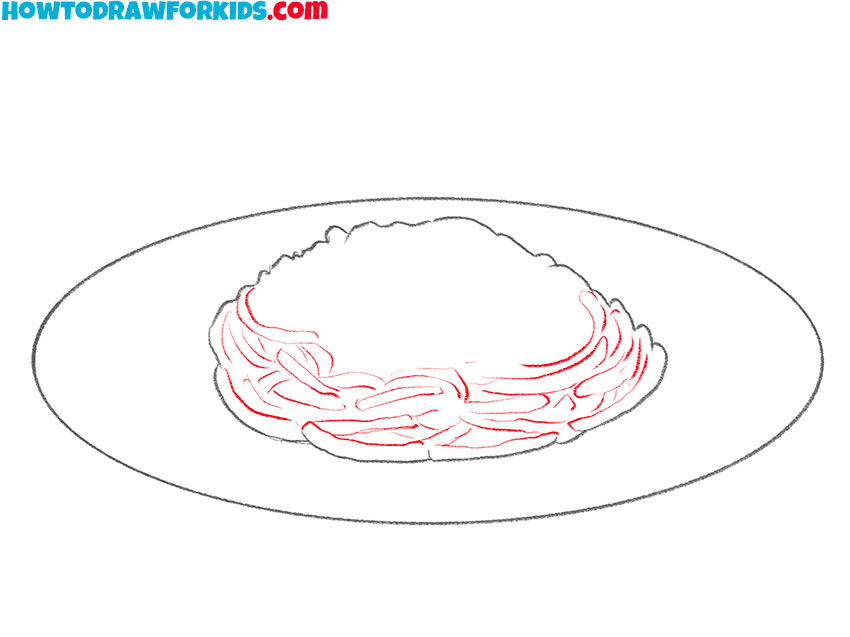
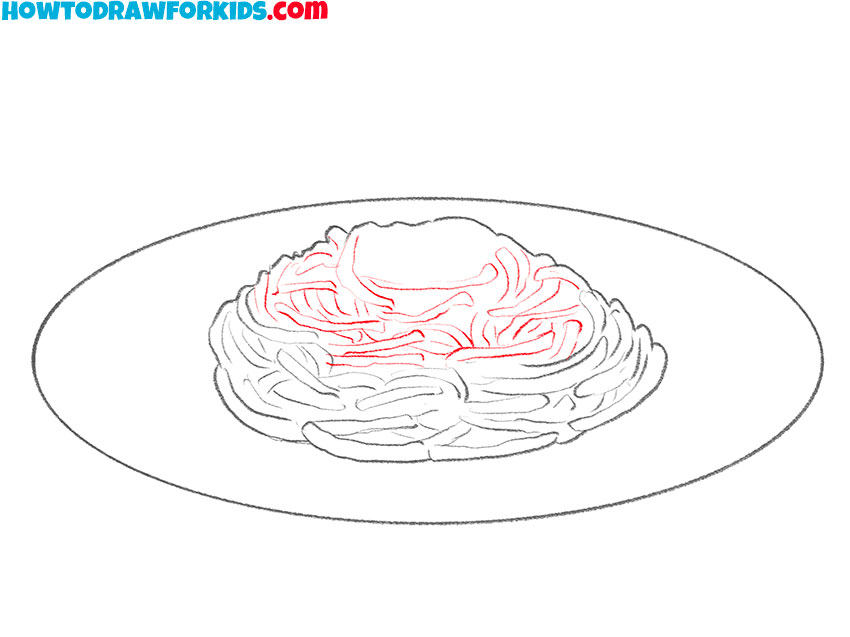
- Continue drawing the pasta.
Add some more curved lines of different lengths and thicknesses above the drawn ones.
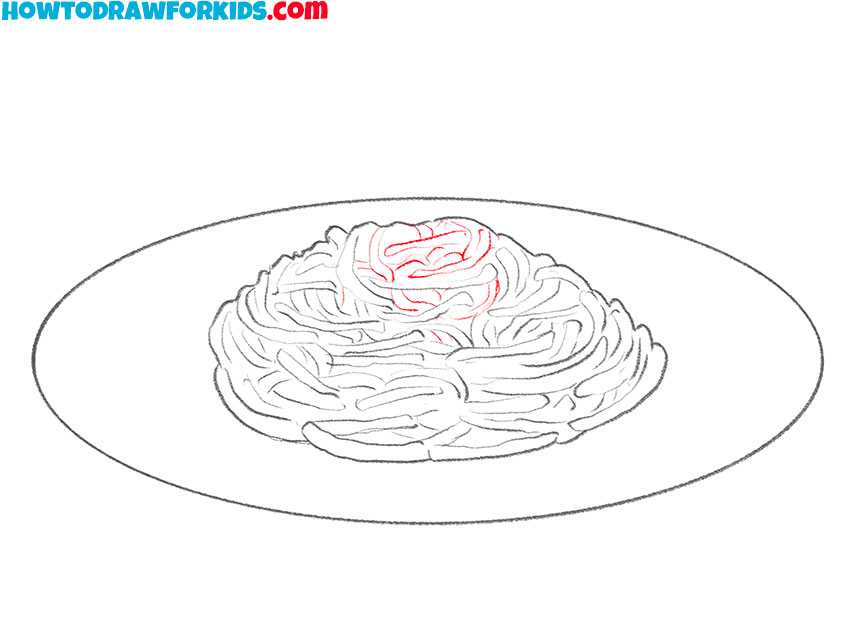
- Finish drawing the pasta.
Above and beside the previously drawn curved lines, add a few more lines as shown.
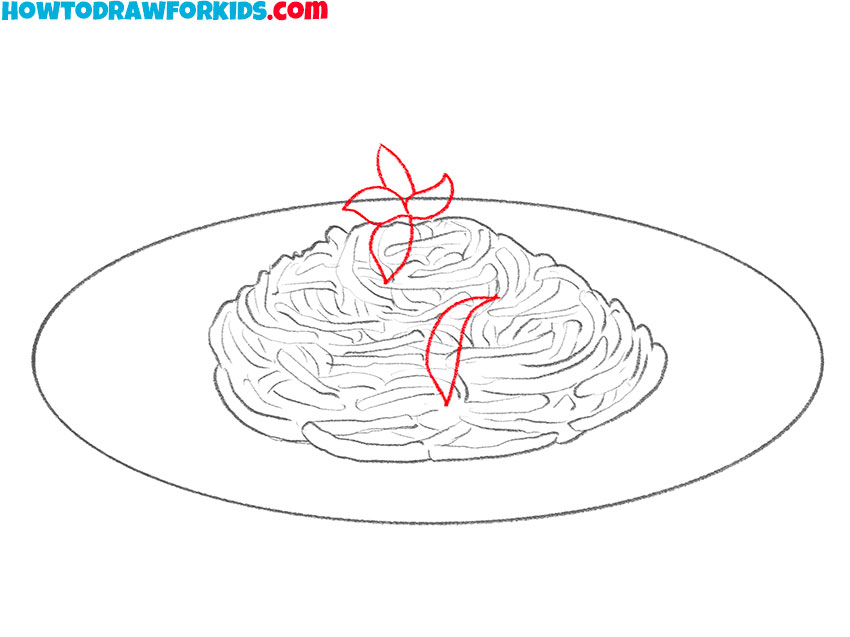
- Add decorative elements.
To decorate the pasta you’ve drawn, draw some green leaves using curved lines.
- Correct inaccuracies.
Now use the eraser to remover extra lines and prepare the drawing for coloring.
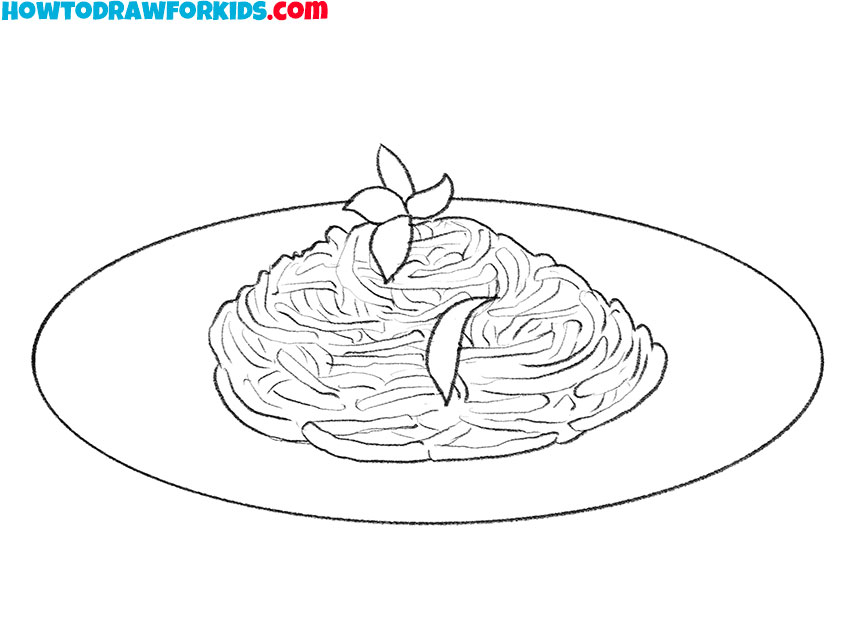
- Color the drawing.
To color the pasta, you should use blue, green, and light yellow.

As usual, I have prepared a PDF file for you, where you can find a short version of this tutorial and additional useful materials that will help you improve your skills as an artist.

