How to Draw a Cupcake
Welcome to our drawing bakery where you, the young artist, will learn how to draw a cupcake in three exciting methods.

How to Draw a Cupcake: Introduction
We have drawn many different kinds of tasty and sweet treats together, and perhaps one of the most popular is the cupcake, which can be made in many variations and with many different toppings.
But no matter what the differences in types may be, the main thing for an artist remains the same – its appearance, which consists of the rounded top and the lower part shaped like a cylinder.
In this lesson, I want to show you in detail all the parts of a cupcake, down to the smallest features, and explain as clearly as possible how to draw a cupcake. Following the tradition of my site, I will also include several different methods so you can choose the version that feels most suitable and convenient for you.
Cupcake Drawing Tutorial
Materials
- Pencil
- Paper
- Eraser
- Coloring supplies
Time needed: 15 minutes
How to Draw a Cupcake
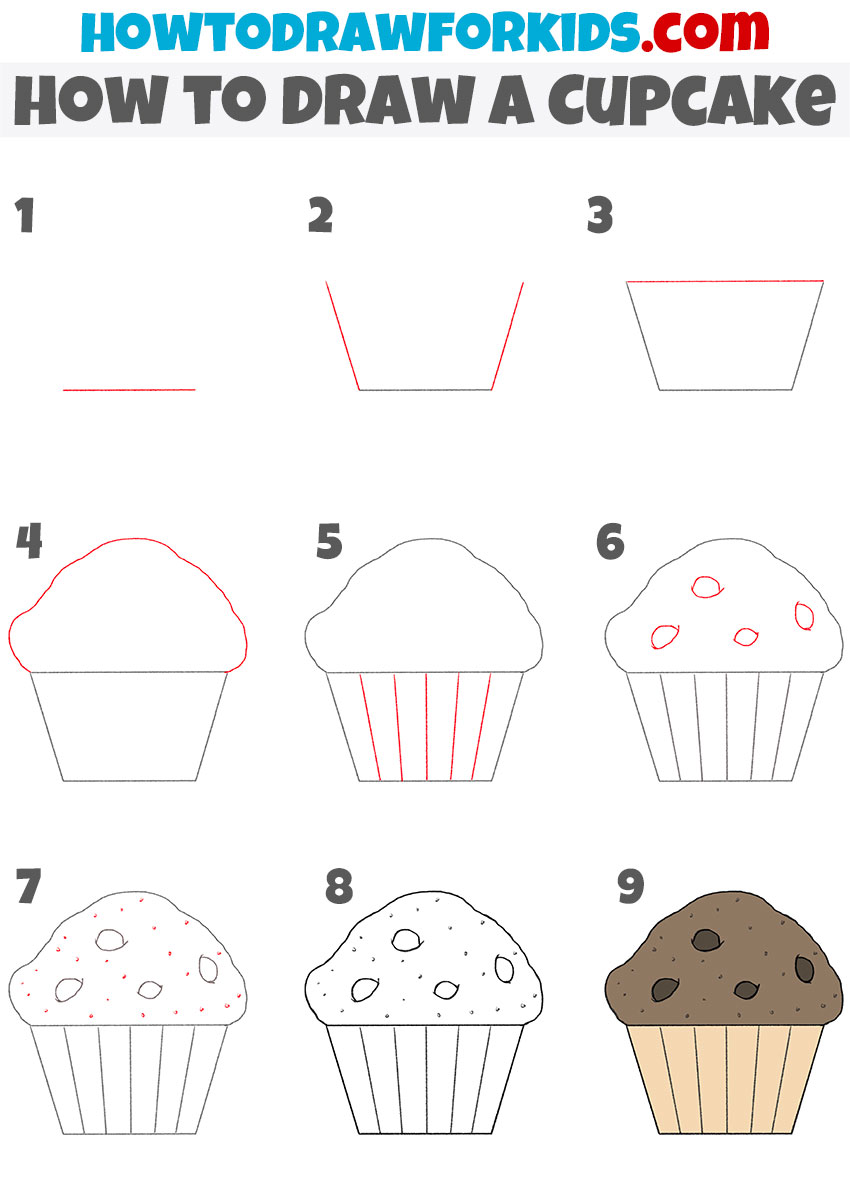
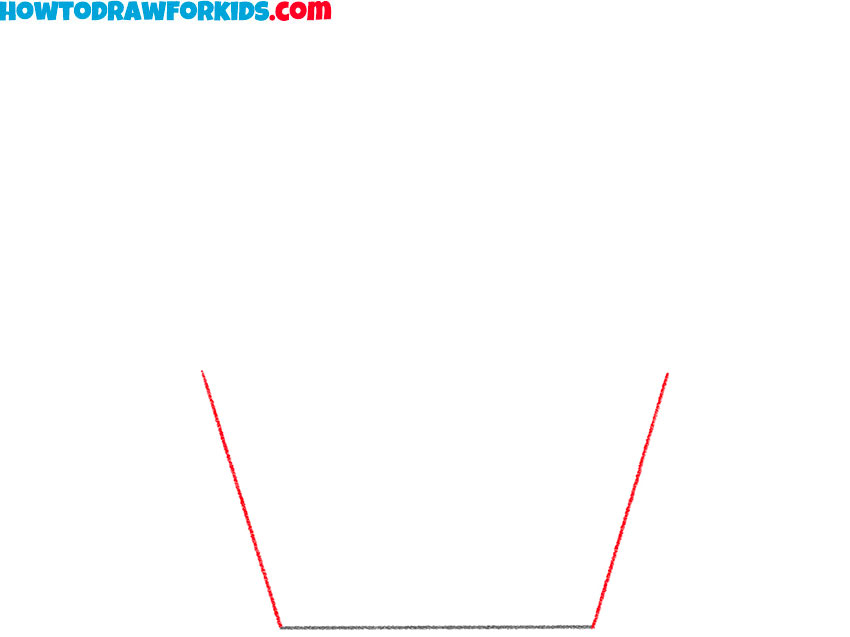
- Sketch the straight base line.
To start the cupcake drawing, make a simple horizontal line near the bottom of the page. You can use a ruler if you want a perfectly flat line, but drawing it freehand is fine if want to train your hands in drawing straight lines.
- Illustrate the liner side edges.
Sketch two diagonal lines upward from each end of the base line. These sides form the walls or side edges of the cupcake liner. Try to keep both lines mirrored so that the shape looks symmetrical. Check the distance between the top ends of both lines.
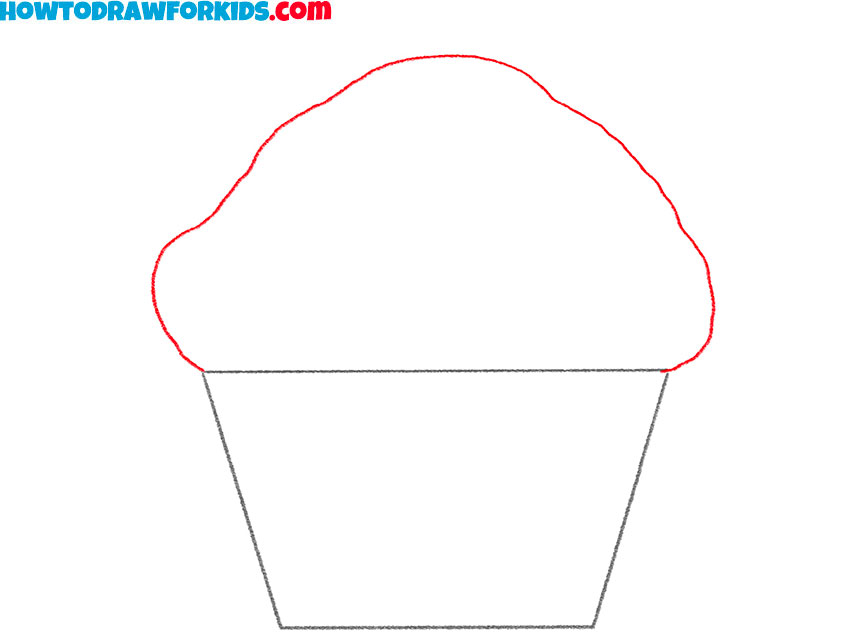
- Add the top border of the liner.
Link the tops of the two angled lines with a straight horizontal line. Now the bottom part of your cupcake looks complete, resembling a simple trapezoid shape. This simple shape represents the paper wrapper that holds the cupcake.

- Draw the cupcake top.
Above the trapezoid, draw a large, rounded, bumpy shape. This fluffy outline represents the baked cupcake top. Don’t try to make this part too smooth or symmetrical, as cupcakes rarely have perfectly smooth tops. It should look like a simple cloud.
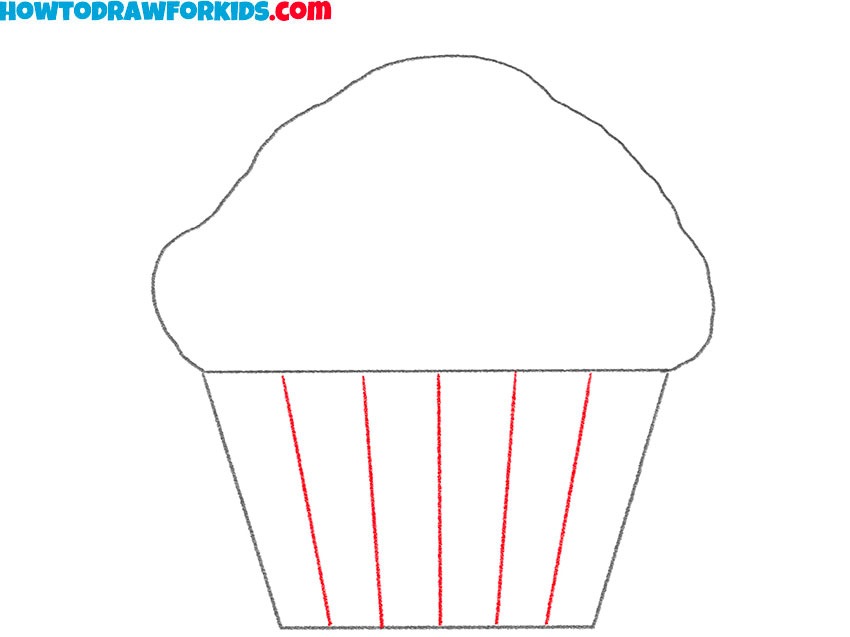
- Detail the cupcake liner.
Draw several vertical lines from the top to the bottom of the trapezoid to create the ridges of the cupcake liner. These folds should be at the equal distance between each other. Try to replicate the angle of the lines as in my example.
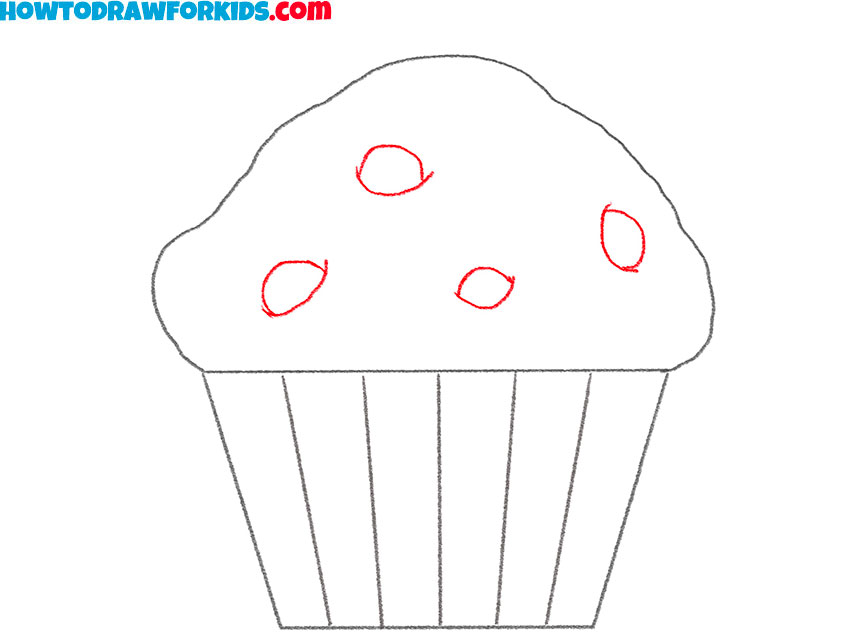
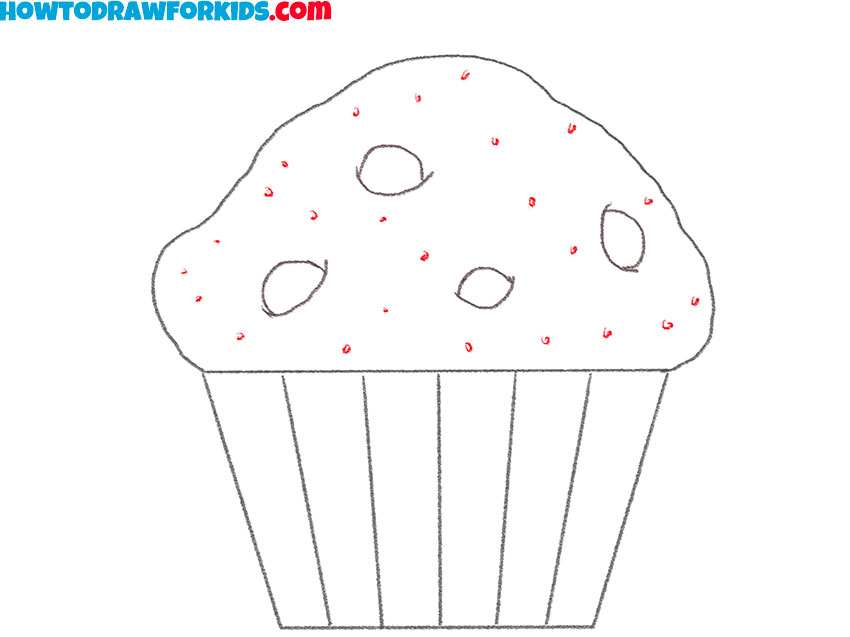
- Sketch round chocolate chips.
Inside the baked top area, sketch several oval shapes to represent chocolate chips or toppings. Scatter them in different spots, avoiding perfect alignment to keep the cupcake drawing natural. Vary the sizes a little, with some slightly bigger and some smaller.
- Add smaller topping details.
Around the larger ovals, add smaller dots and specks to convey crumbs or tiny bits of topping. These tiny marks give the cupcake top more realistic appearance. Vary the placement so they don’t look like a pattern. When drawing food, small irregularities actually make the drawing feel more authentic.
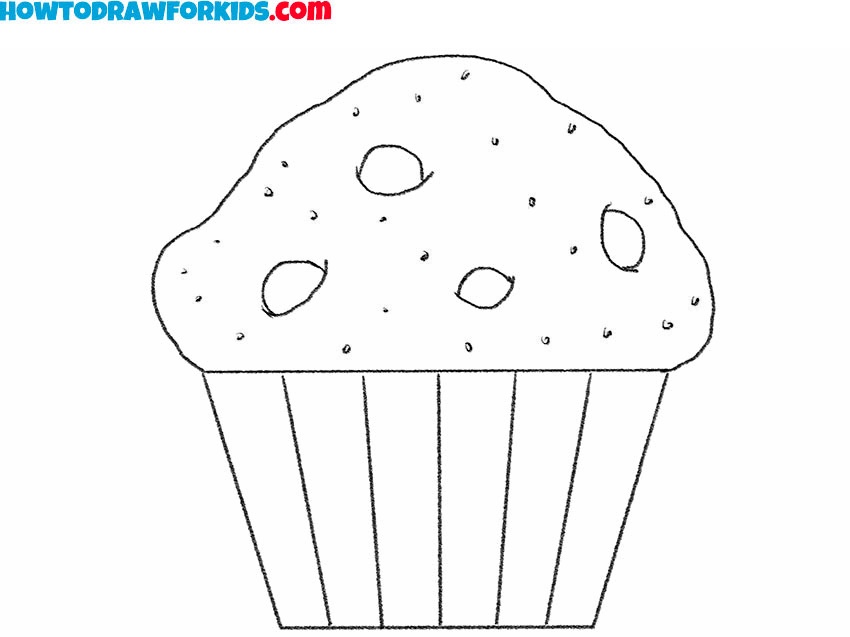
- Adjust the final shapes.
In this tutorial we did not used any initial guide lines, but it’s always a good practice to check the proportions and trace the drawing if it’s needed. But if you added guide lines, clean up your drawing by erasing these unnecessary lines or uneven marks.
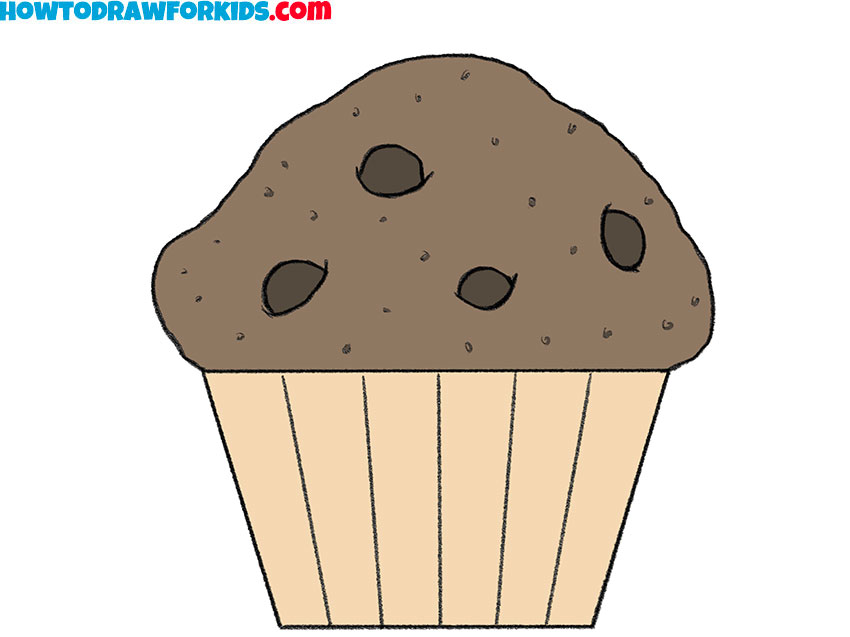
- Use simple flat coloring.
Paint the liner in a light beige or cream tone. Color the baked part a warm brown if you want it to look chocolatey, or choose another color to convey different flavors. The chips or toppings should stand out with a darker or lighter shade.
Additional Content
To make sure this cupcake drawing lesson stays easy to practice, I’ve put together a free PDF version. It’s a simplified format that gathers the key steps into one file, so you can print it or keep it on a device for quick reference without needing an internet connection.
This PDF is a practical way to keep improving your drawing skills at your own pace. Use it during study breaks, art sessions at home, or while traveling, and you’ll always have a compact guide ready to support your practice in drawing a cupcake.
How to Draw a Cupcake: Alternative Methods
If you’d like to keep practicing, there are also a couple of additional cupcake tutorials to try. Each shows a different way to draw a cupcake, so you can try both and find the best method.
How to Draw a Cute Cupcake
In addition to the main lesson, here’s a simple tutorial that shows how to draw an easy cupcake in 6 steps. One changed the look of the frosting and mad a different sequence of steps.
Sketch the slanted sides of the cupcake base and connect them with straight lines to form the holder. Add the rounded frosting above it, using a smooth wavy outline. Place a few curved lines across the frosting to indicate its layered swirl. On the base, draw straight vertical lines to illustrate the folds of the paper wrapper. Once complete, add color, often beige or yellow for the base and a light shade for the frosting.

Cupcake Drawing Guide for Kindergarten
Let’s simplify the cupcake even further and try to sketch it in 4 steps. In this version I’ve included the most important parts to make the guide as easy as possible.
Mark the large curved outline for the frosting top, shaping it like a cloud. Below it, construct the tapered base with straight sides and a flat bottom. Inside the frosting area, add small oval shapes to represent sprinkles. When finishing, outline the cupcake drawing and choose suitable colors: the base in a light brown or beige, the frosting in a pastel tone, and the sprinkles in a few contrasting colors.