How to Draw a Chicken
Drawing is a blast, especially when it’s a chicken you’re creating! My special guide on how to draw a chicken includes five unique methods that are super kid-friendly. With easy instructions, you’ll master the art of chicken drawing in no time. Let’s get those pencils moving and have some fun!
Step into the world of drawing with my easy-to-follow tutorial to draw a chicken. Perfect for kids, it includes five different techniques to help budding artists create their feathered friends. Easy steps and cheerful guidance make drawing a delightful experience for all!
How to Draw a Chicken: Basic Information
Hello, young creators! Today’s artistic journey is all about mastering the art of how to draw a chicken. We’ll take simple circles and curves and transform them into a barnyard buddy that’s brimming with personality. It’s a perfect project for aspiring artists eager to learn and have fun.
Step by step, we’ll start with simple shapes to form the body, ensuring you can capture the essence of our feathery friend. I’ll guide you through drawing the round body, the adorable beak, and those tiny, sturdy feet. We’ll pay special attention to the details that give our chicken character: the lively eyes, the wattle, and comb.
By the end of our lesson, you’ll not only have a delightful chicken drawing but also a set of skills that you can apply to any animal you wish to create next. Remember, each line brings you closer to mastering the art of drawing, so take your time, enjoy each stroke, and watch as your chicken comes to life on the page.
Chicken Drawing Tutorial
Materials
- Pencil
- Paper
- Eraser
- Coloring supplies
Time needed: 20 minutes
How to Draw a Chicken
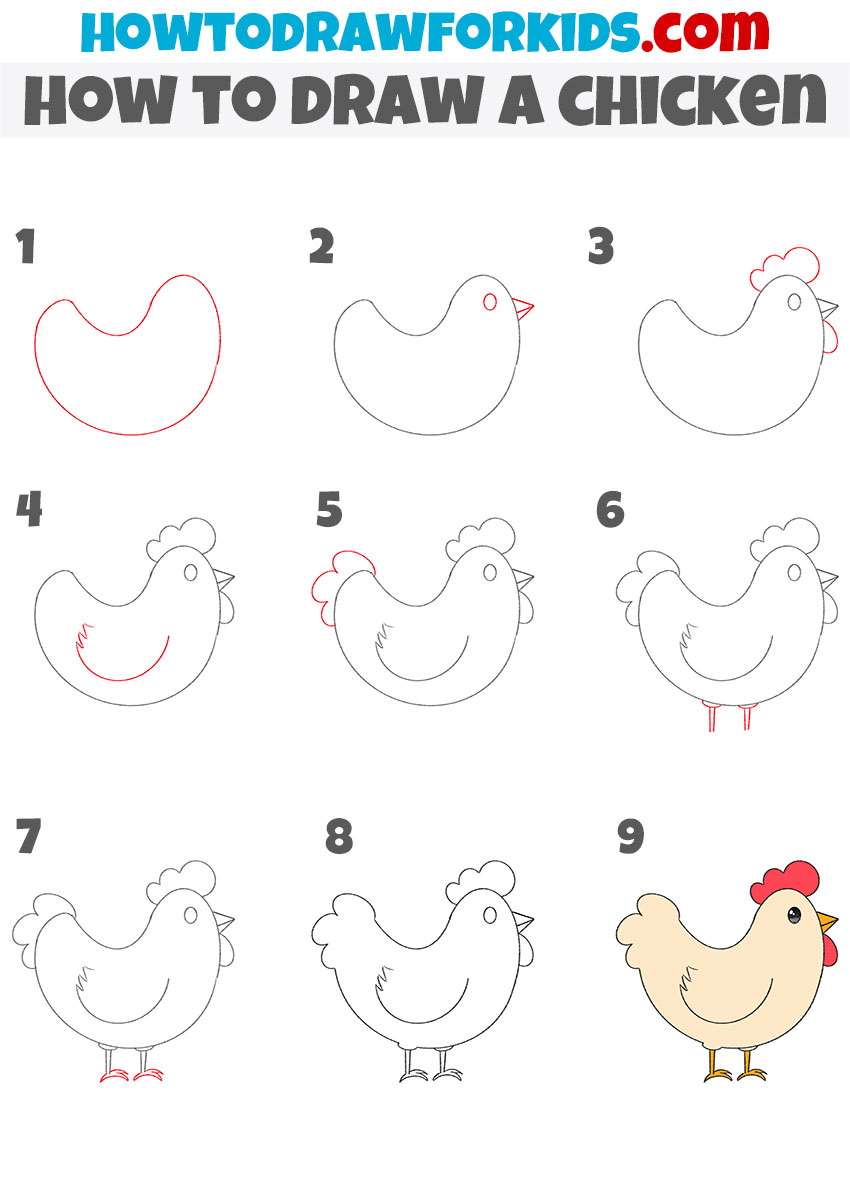
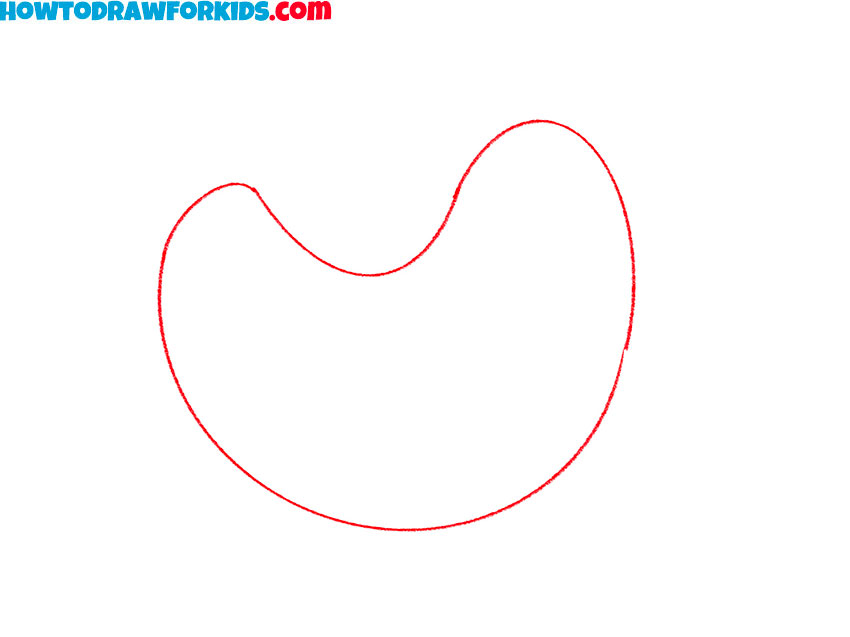
- Draw the torso.
Begin with a basic, bean-like shape for the body of the chicken. This rounded shape is slightly wider at the bottom and has a slight narrowing at the top left side where the tail will be.
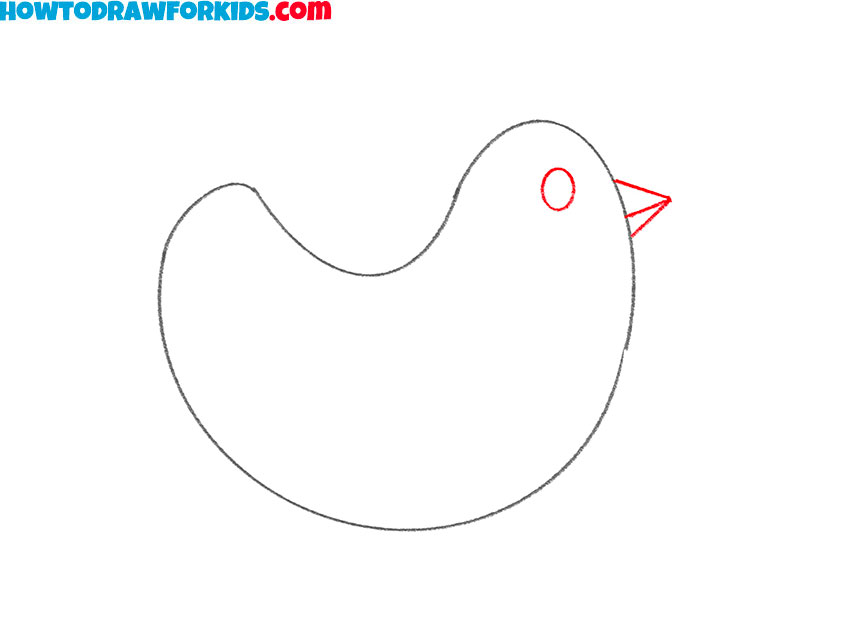
- Add the facial features.
Draw a small circle for the eye towards the top right of the body shape. Then, draw a small triangle on the head to represent the beak, pointing to the right.
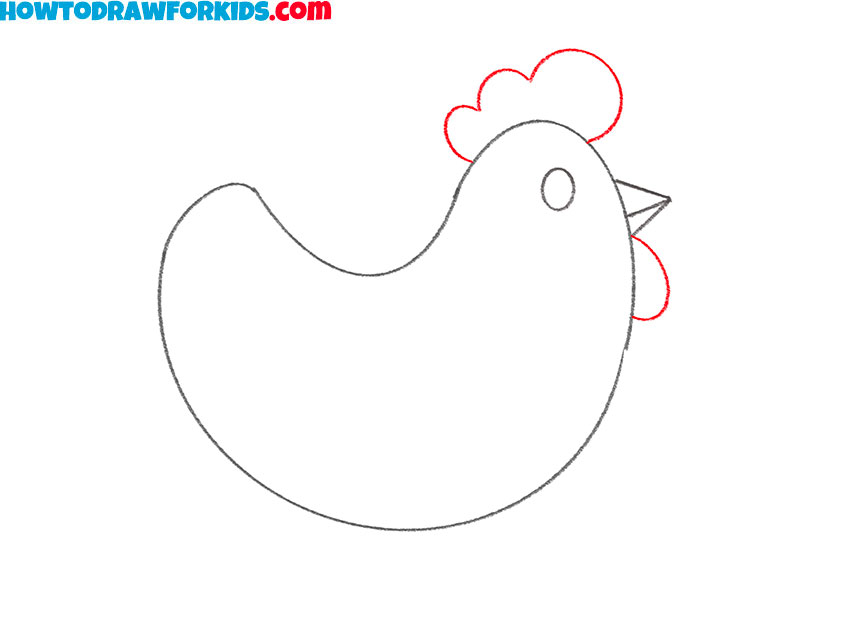
- Outline the comb and two wattles.
Sketch in the comb at the top of the head, consisting of three small, rounded bumps. Then, draw a tiny circle on the head for the eye, and add a small wattle under the beak, using two curved lines.
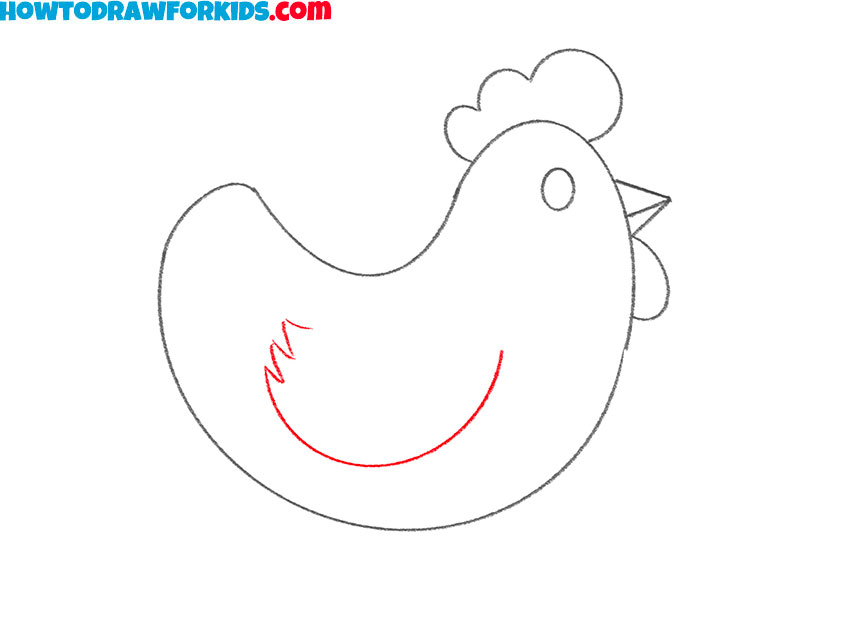
- Picture the wing.
Define the wing with a curved line inside the body, starting near the middle of the top and curving down and around to just past halfway down the body.
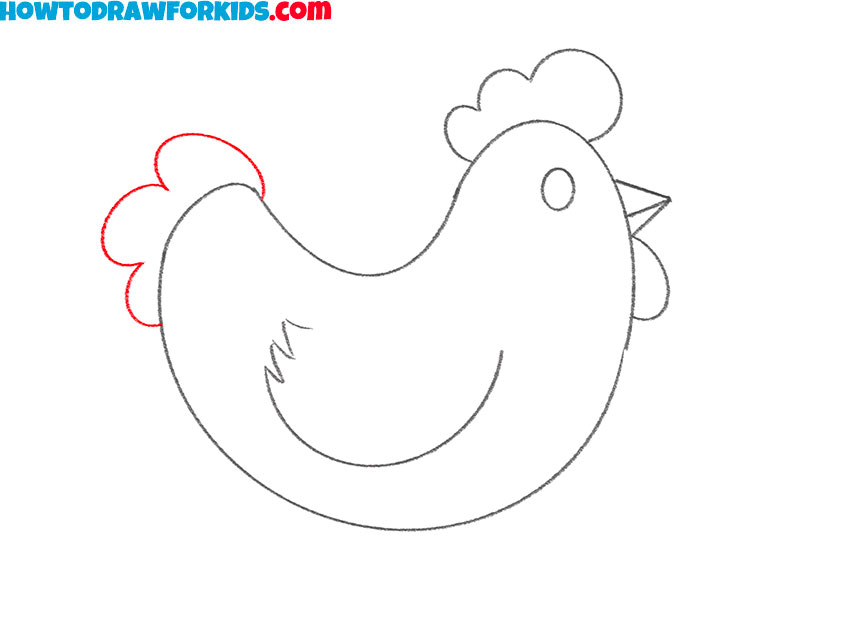
- Draw the tail of the chicken.
Draw the chicken’s tail by adding a series of small, curved lines at the back end of the body. These lines should be drawn to represent the fluffy shape without lengthy detailing and drawing individual feathers.
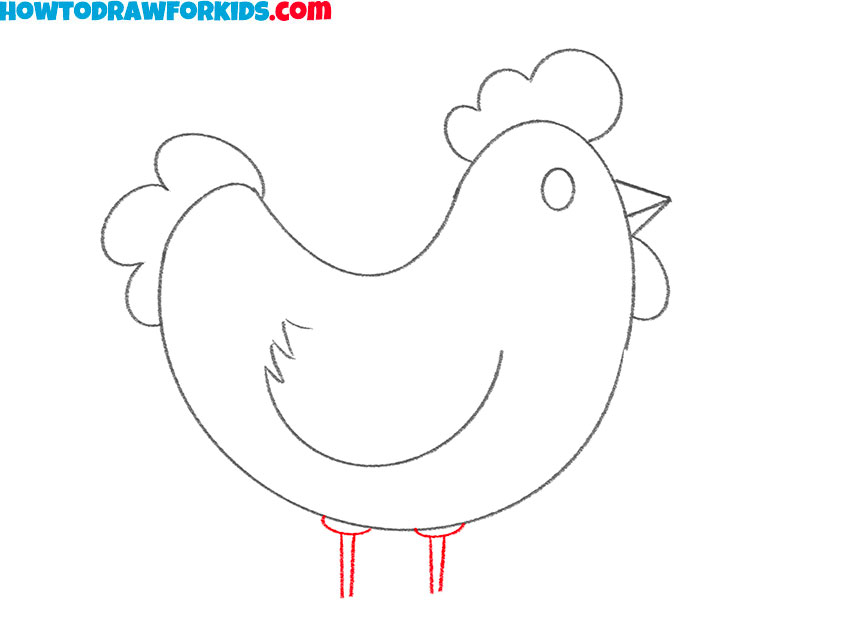
- Add the top of the chicken’s legs.
For the legs, sketch two straight, vertical lines downward from the body. These lines represent the chicken’s legs and should be placed a little apart to give the chicken stability.
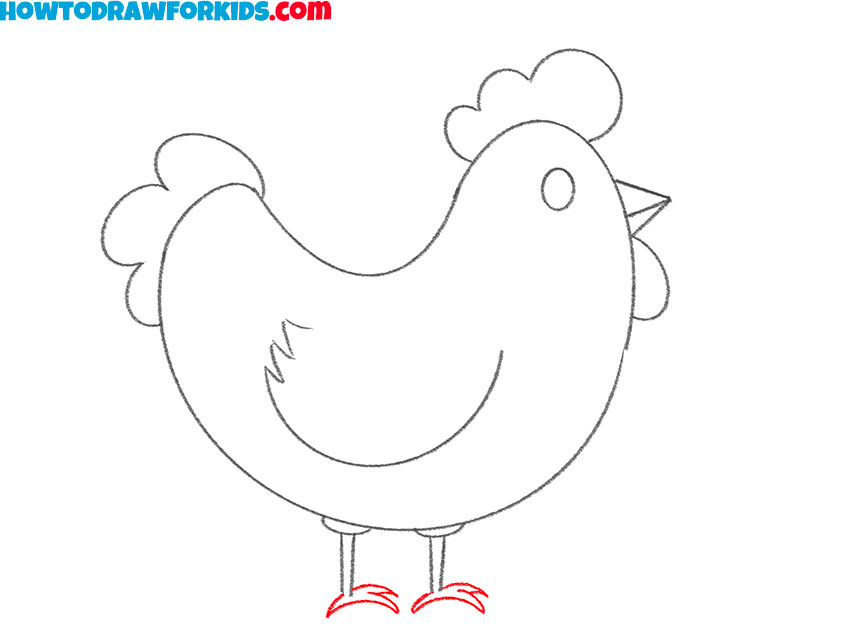
- Depict the lower parts of the legs.
At the end of the legs, draw the paws. Don’t forget to add a smaller toe facing backward on each foot to complete the paw. Ensure that each toe has a slight curve and ends with a point.
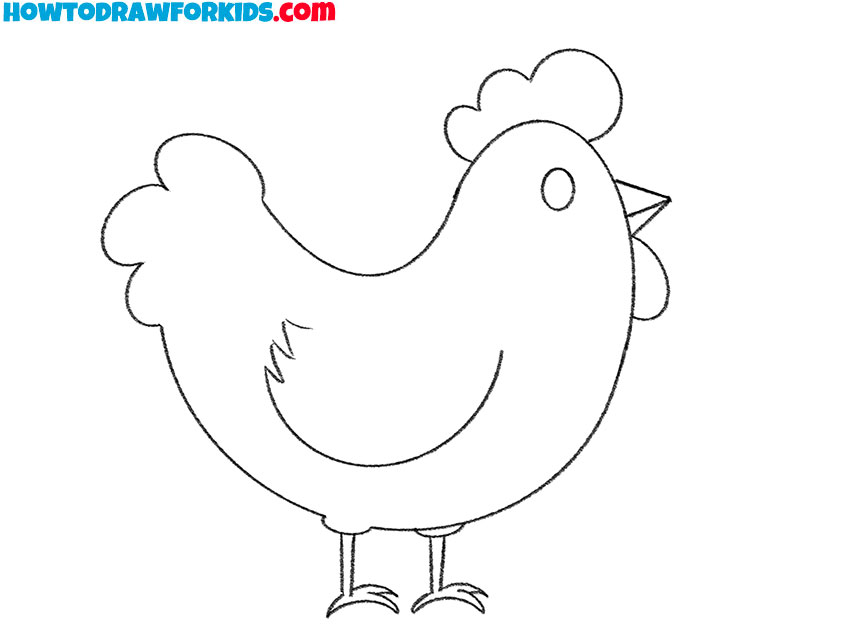
- Erase the auxiliary lines.
Use an eraser to remove unnecessary lines from the drawing. If your chicken looks perfect and exactly as you intended, feel free to move on to coloring.
- Color the drawing.
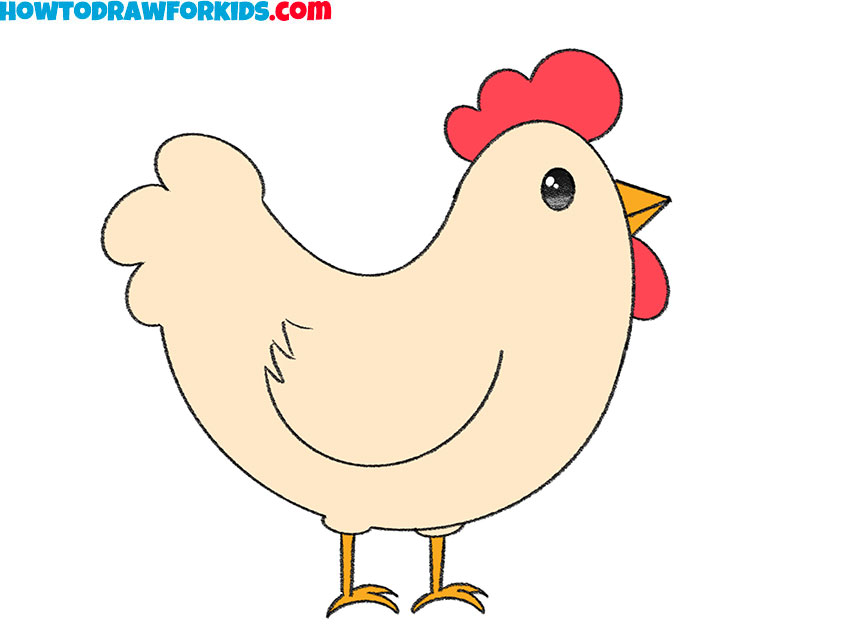
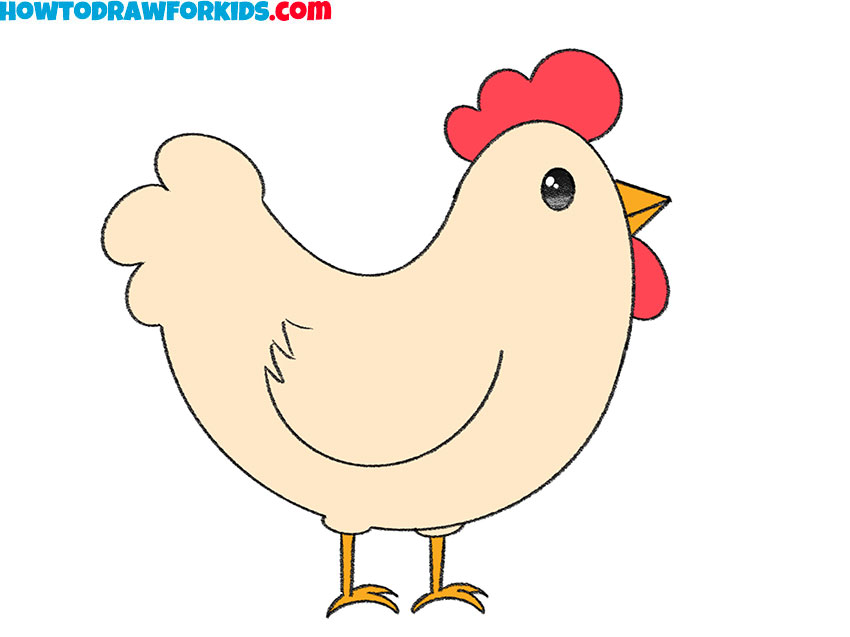
Color your chicken with a palette that reflects the chicken’s features. Use a light yellow or beige for the body. The beak can be a soft orange, and the legs a stronger orange to show the difference in texture.
Additional Content
Ready to spread your wings in the world of drawing? I’ve created a free PDF version of our chicken drawing lesson, just for you! This isn’t just any PDF – it’s your on-the-go art buddy that you can take with you, whether you’re online or offline.
It’s got all the steps from our online lesson, simplified into an easy-to-follow format that you can print out or view on any device. This way, you can practice drawing your clucky companion as many times as you like. So, dive into the PDF, unleash your creativity, and watch as your chicken comes to life right beneath your fingers!
Alternative Drawing Techniques
Young creators, it’s time to add some new moves to your drawing repertoire! I’ve put together a collection of alternative techniques for drawing chickens that are perfect for growing your artistic talent.
These new methods will give you more practice and help you discover different ways to sketch your feathery subjects. With each technique, you’ll see your skills soar to new heights. So, let’s get creative and turn those simple chicken sketches into works of art!
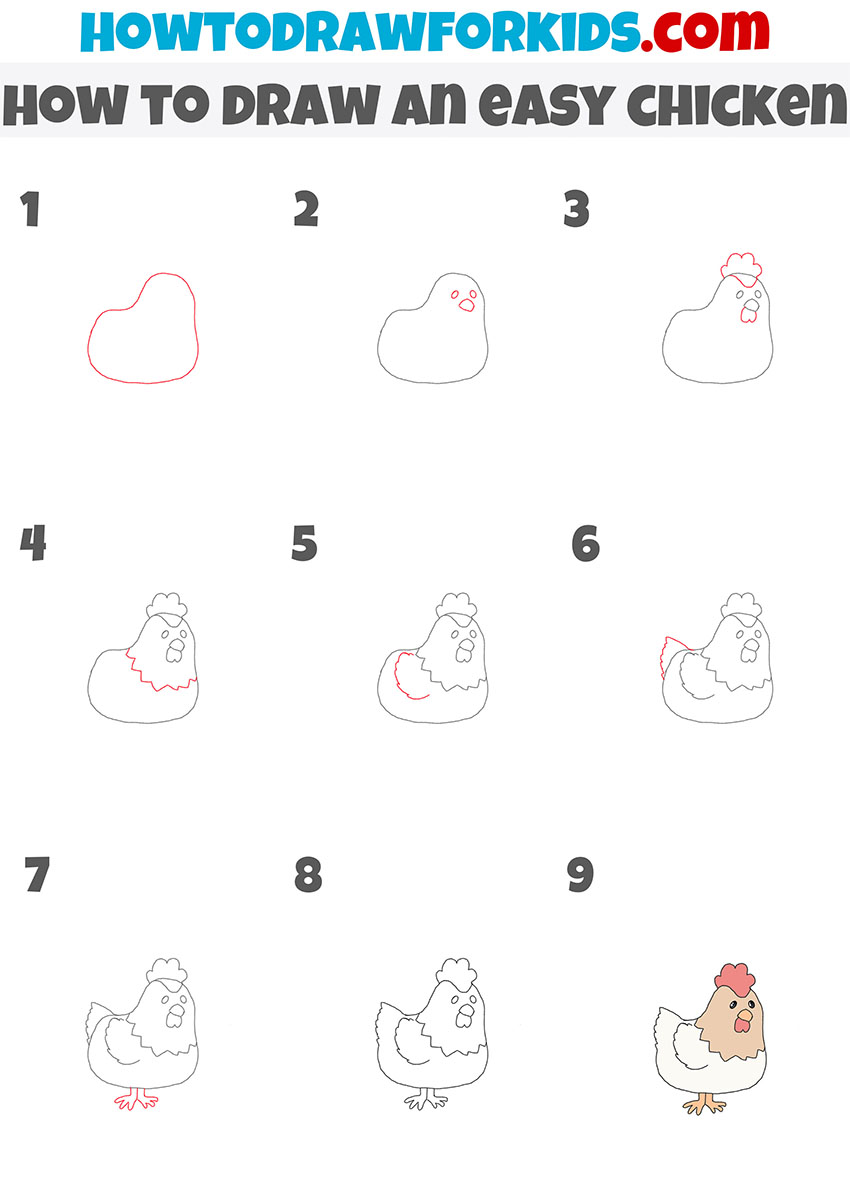
How to Draw a Chicken from a Different Angle
This technique presents a chicken from a side perspective, allowing young artists to explore a different angle and add depth to their drawings. Starting with a simple heart shape for the body, the method gradually builds upon this foundation.
Each new element is carefully placed to maintain the chicken’s proportions from this new viewpoint. The final touches include feather textures and leg details, culminating in a colored, side-view chicken that looks both charming and lively.
Chicken Drawing: Extra Practice
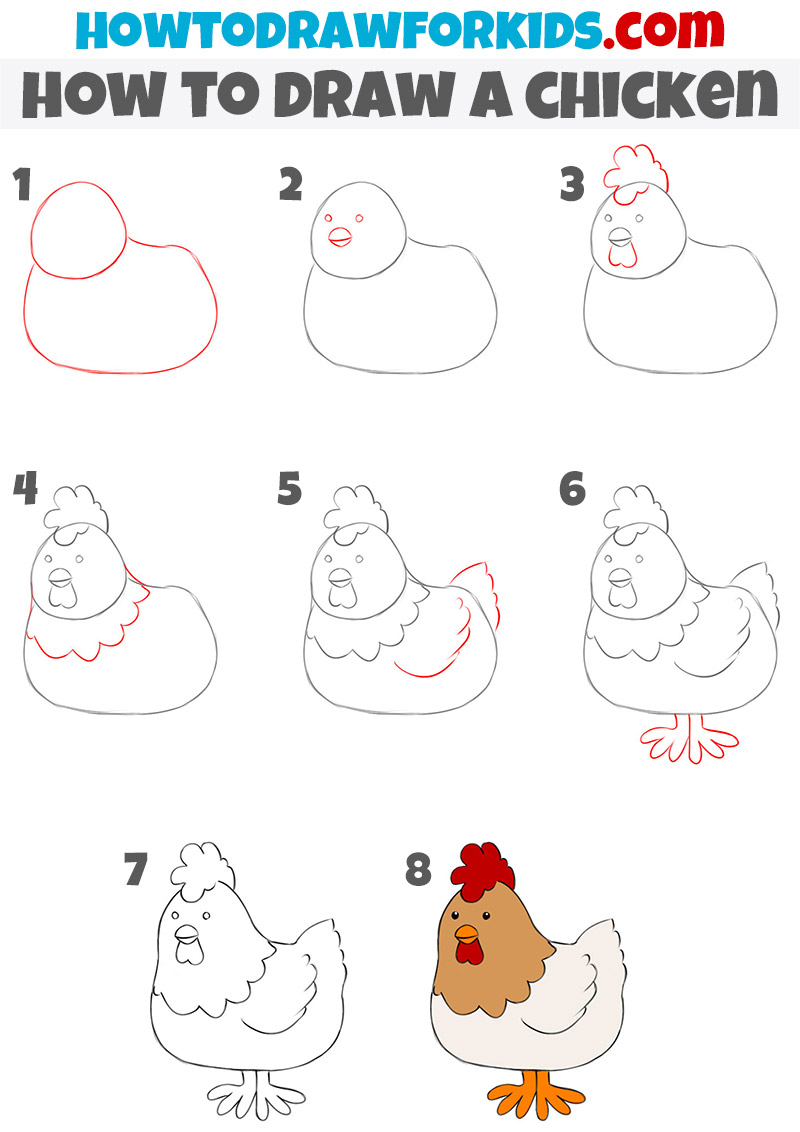
So, this method is similar to the previous one, offering a reinforcing practice session but with a twist: the chicken is depicted facing a different direction, and the steps are sequenced in a slightly varied order. This approach emphasizes the adaptability of basic shapes to create different poses and orientations of the same subject.
By adjusting the positioning of the chicken’s body and adding features like the beak and comb in a different sequence, young artists learn to visualize how shapes can be manipulated to capture various perspectives. It’s a great exercise to enhance their understanding of form and direction in drawing.
How to Draw a Chicken for Kindergarten
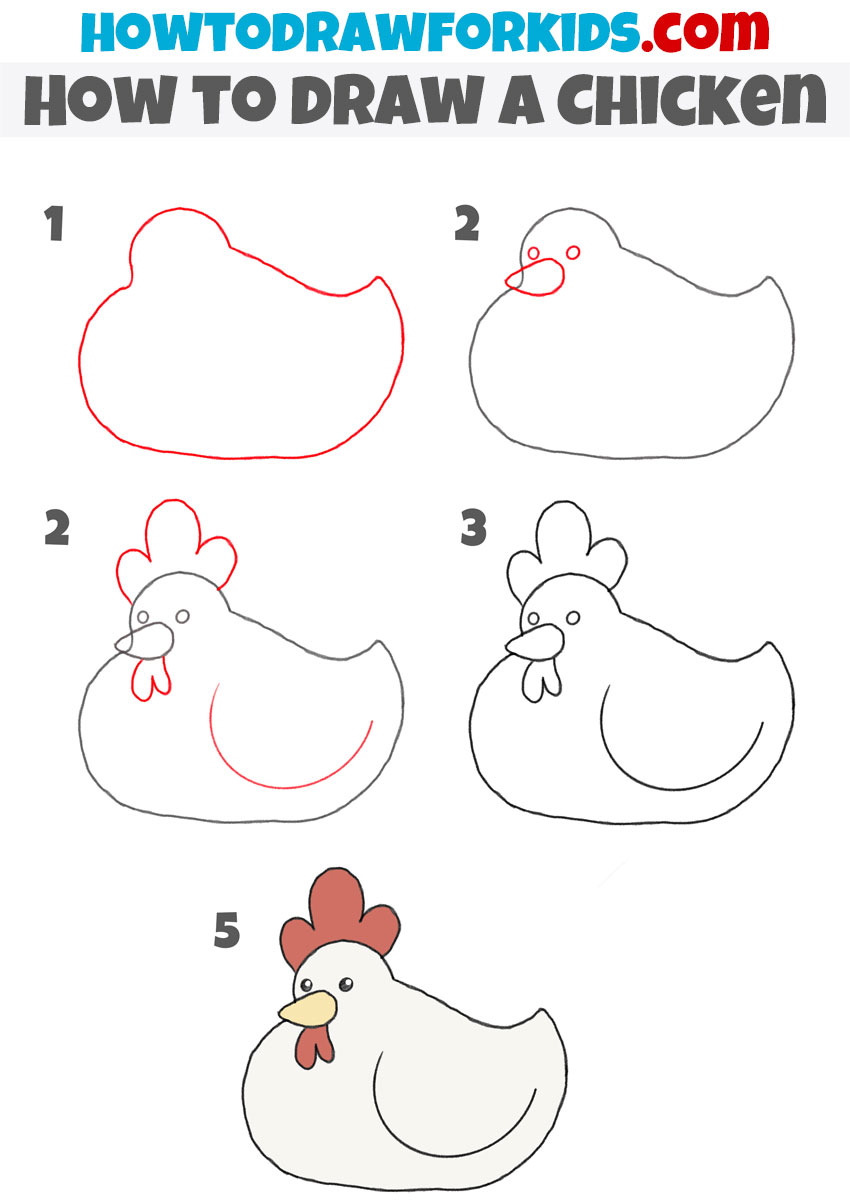
Right here, we’ve got the easiest way to draw a chicken, perfect for the kindergarten crowd. In just five simple steps, little artists can easily bring a cute character to life. Starting with basic shapes, each step builds upon the last, adding details that transform a simple sketch into a recognizable and adorable chicken.
By the final step, the kiddos get to color their creation, infusing it with life and color. This method is not only fun but also encourages fine motor skills and imagination in young children.
Drawing a Chicken from the Side: Improving Skills
Now, let’s circle back to the side view, just as we explored in the main lesson, to further refine your skills. In this session, we’ll add a twist by incorporating slightly different details.
By revisiting the familiar perspective with new elements, you’ll not only solidify your understanding of the side profile but also enhance your ability to capture uniqueness in your drawings. It’s these subtle changes that will add depth to your artistic repertoire and encourage a keener eye for the nuances that make each sketch special.

Conclusion
You’ve done a fabulous job today! You’ve added another piece to your artistic journey. If this has inspired you, remember, there’s so much more to learn! Why not explore my website for lessons like drawing a manga face with its unique style or capturing the grandeur of mountains? Each lesson is a new adventure.
Stay connected and up to date with my latest drawing lessons by following me on social media. Your art journey is just beginning, and I can’t wait to see what you create next!

