How to Draw Yugioh
In this drawing lesson, I will tell you how to draw Yugioh step by step. I am sure that this lesson will not leave you indifferent!
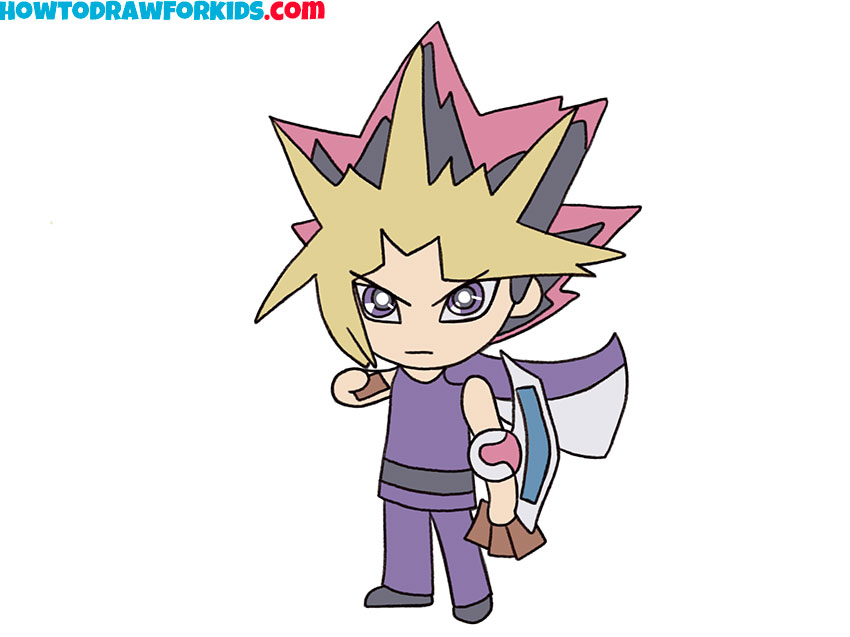
I have prepared a great drawing lesson in which I will be able to tell and show you how to draw Yugioh step by step. This step-by-step instruction is dedicated to the image of a manga character.
If you are a fan of manga, then this tutorial is sure to please you. A novice artist who does not have too much drawing experience, as well as a child, can easily cope with the implementation of this instruction.
“Yu-Gi-Oh!” is an adventure manga by Kazuki Takahashi and an anime adaptation of the same name. Yugioh is a fifteen-year-old schoolboy with a short stature, whose hair is shaped like a star. He is the best player in “Duel Monsters”.
One day, he assembled the Thousand-Year Puzzle, as a result of which he united with the soul of a pharaoh who lived 3,000 years ago. By nature, he is good-natured and gentle, but he is always ready to stand up for friends. During duels and stressful situations, he is replaced by Atem, the enigmatic spirit of the Thousand-Year Puzzle.
Yugioh Drawing Tutorial
Materials
- Pencil
- Paper
- Eraser
- Coloring supplies
Time needed: 30 minutes
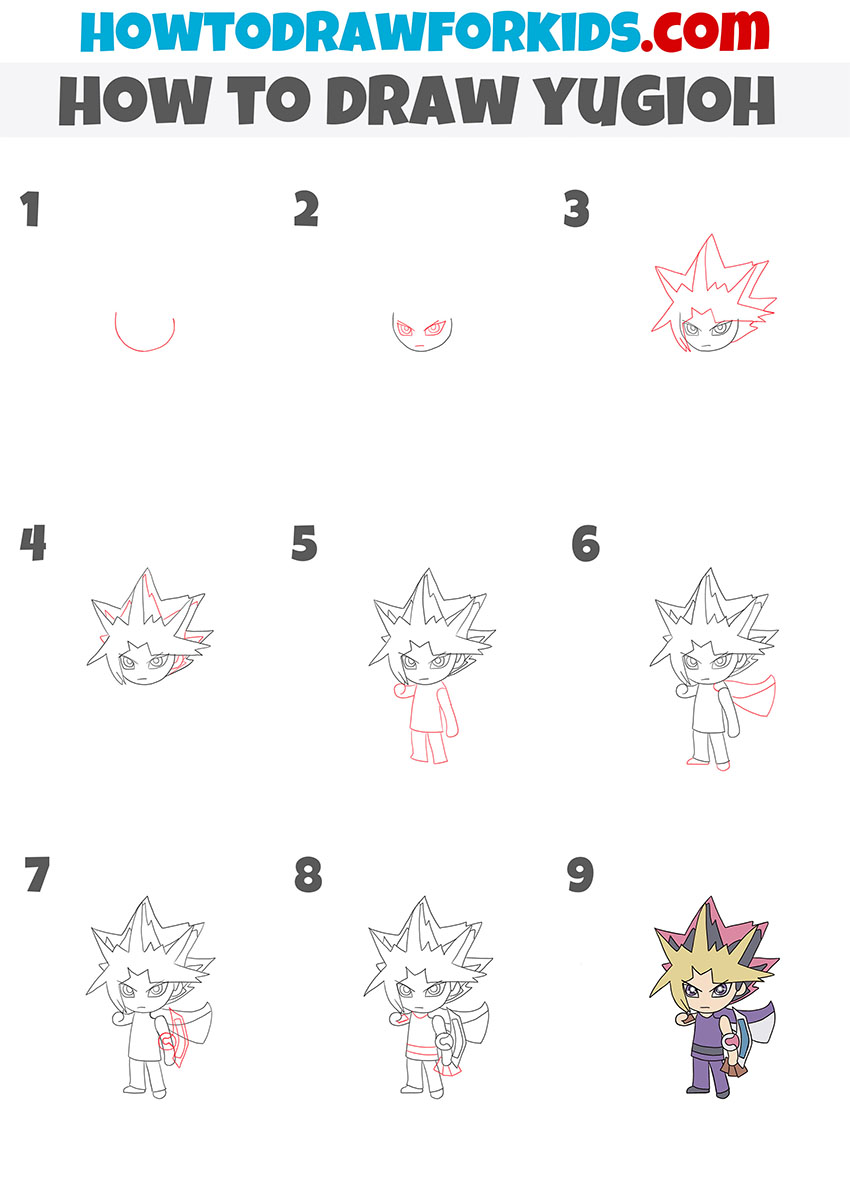
How to Draw Yugioh
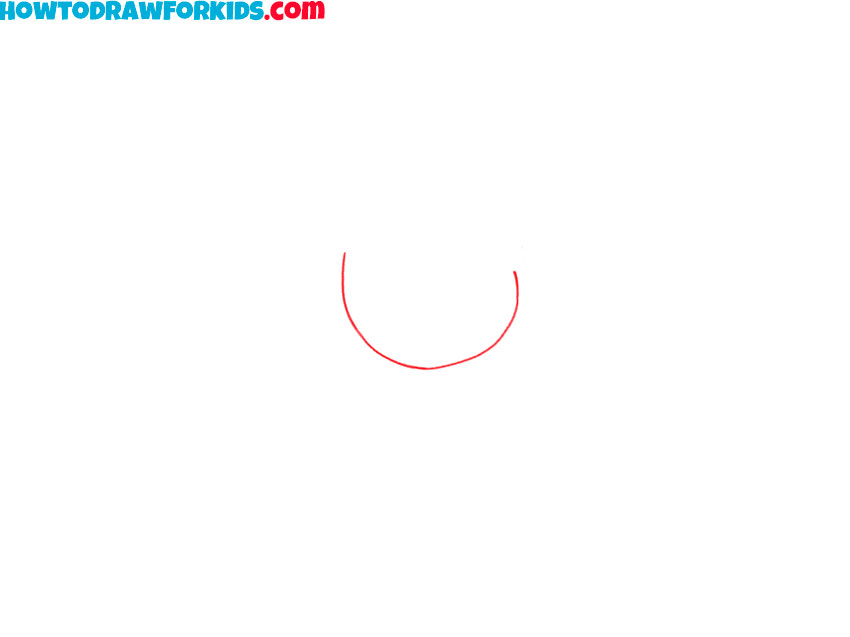
- Draw the outline of the character’s head.
Depict one arc as shown in the picture to draw the head.
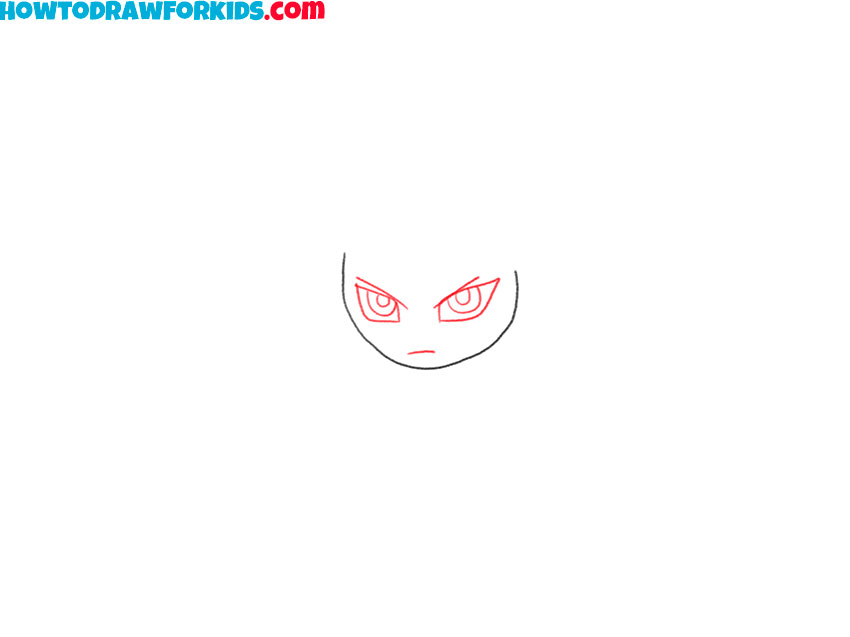
- Add facial features.
Next to the previously drawn arc, depict two eyes and the mouth using arcs and curved lines.
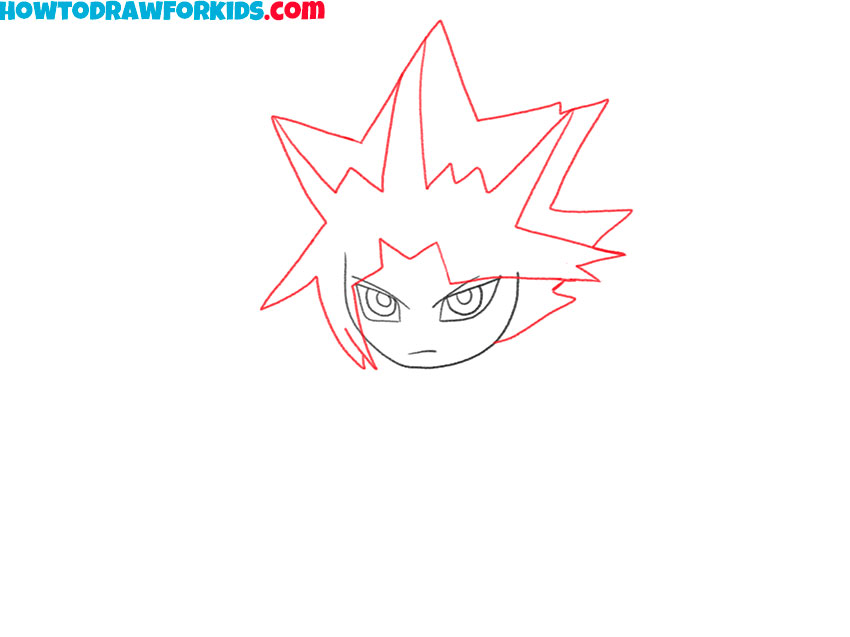
- Depict the character’s hair.
At the top of the head, depict the voluminous hairstyle with pointed elements.
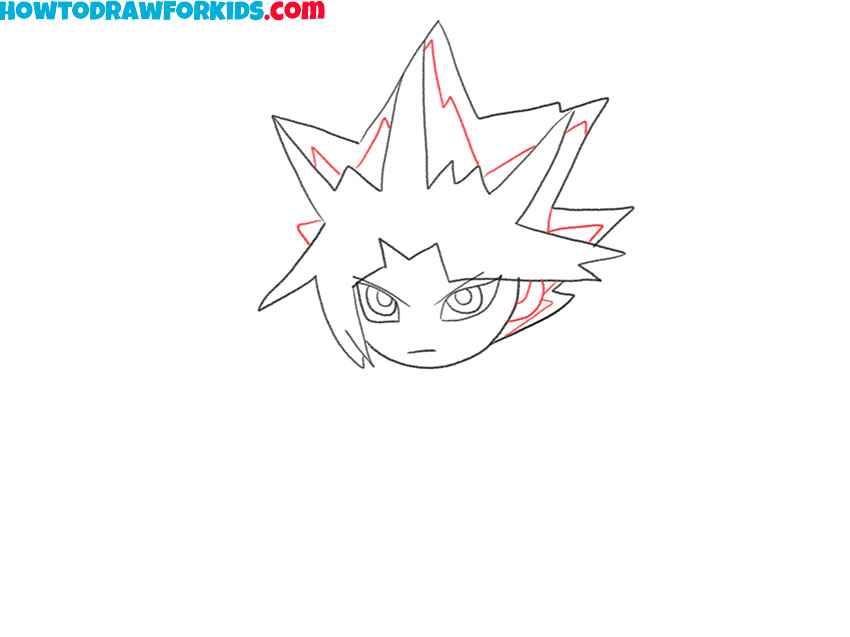
- Add the hair elements.
Inside the previously drawn outline of the hairstyle, draw straight and curved lines.
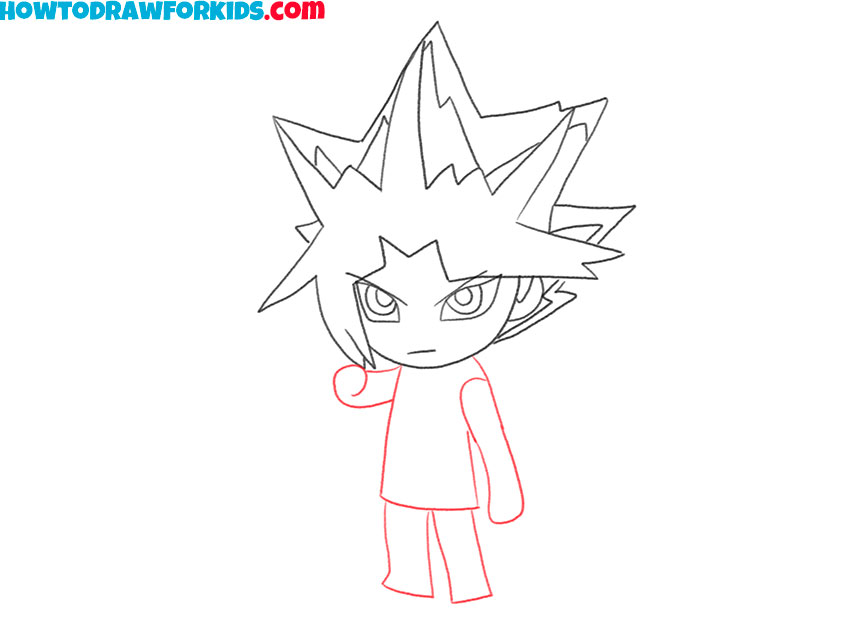
- Draw the outline of the character’s torso.
Below the previously drawn head, draw the torso, arms, and legs using curved lines.
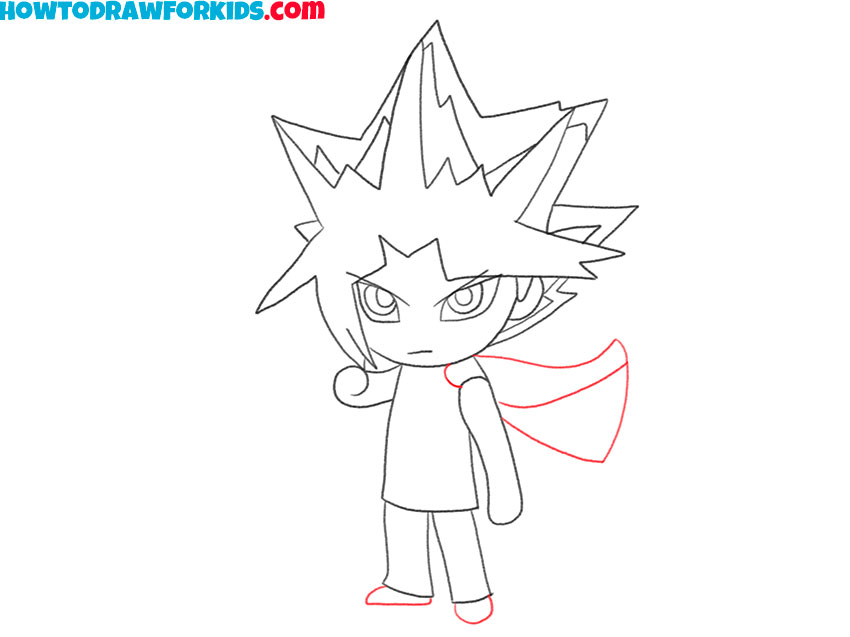
- Sketch out the shoes and costume elements.
Depict the fluttering cloak as well as the character’s boots using straight and curved lines.
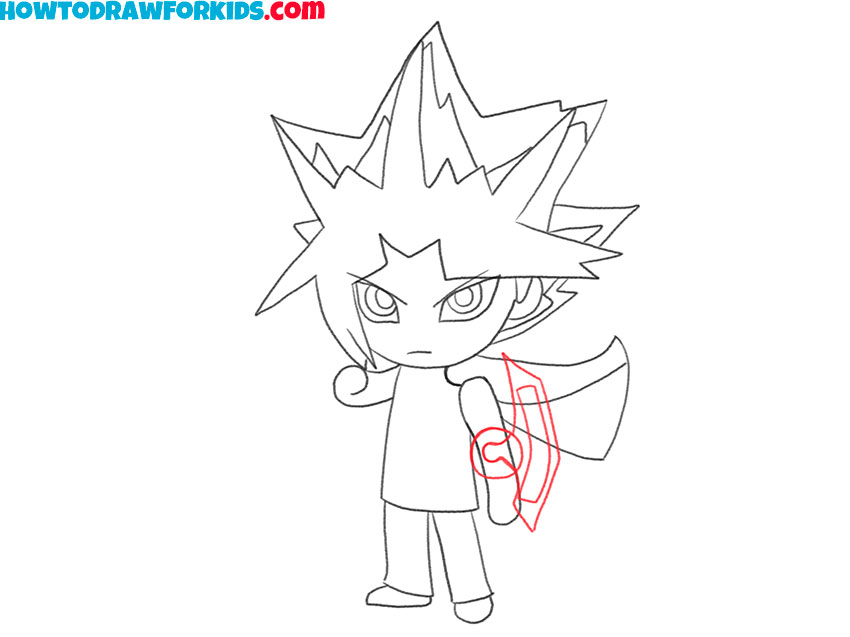
- Add the decorative element.
On the right side of the torso, depict the element using a circle, straight and curved lines.
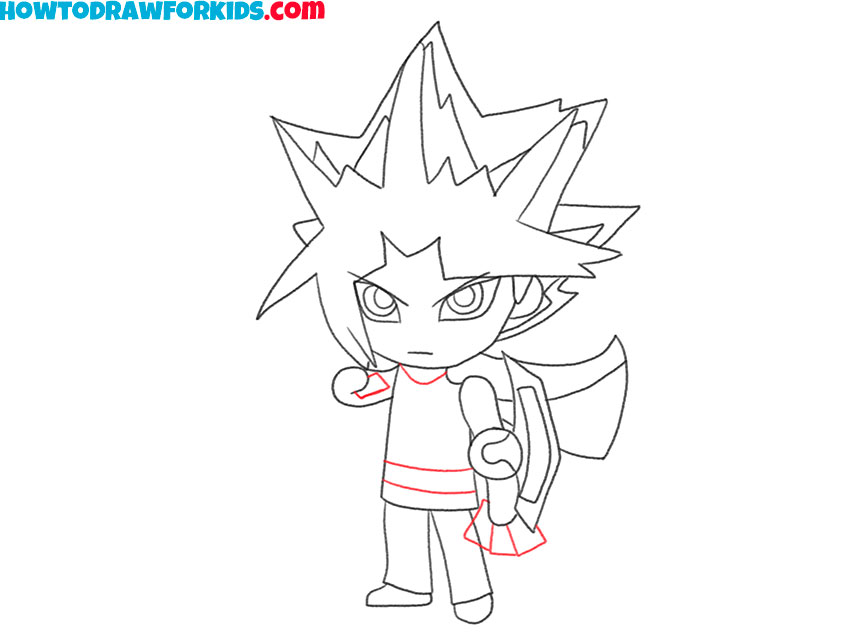
- Finish drawing the elements of the costume.
Use straight and curved lines to add the elements in the arms as well as the stripes on the suit.
- Color the drawing.
Use yellow, beige, purple, pink, brown, and gray.
For your convenience, I have prepared a PDF file in which you can find a short version of this tutorial and additional useful materials for completing it. Download this file to return to the lesson at any time.