How to Draw Scissors
I suggest you complete this useful drawing lesson, in which you will learn how to draw scissors. This simple lesson consists of nine steps.
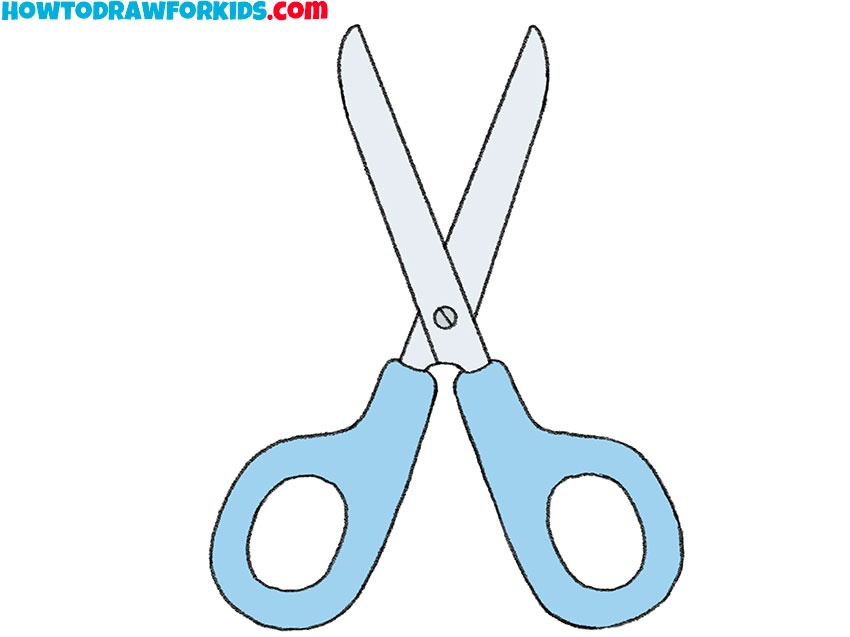
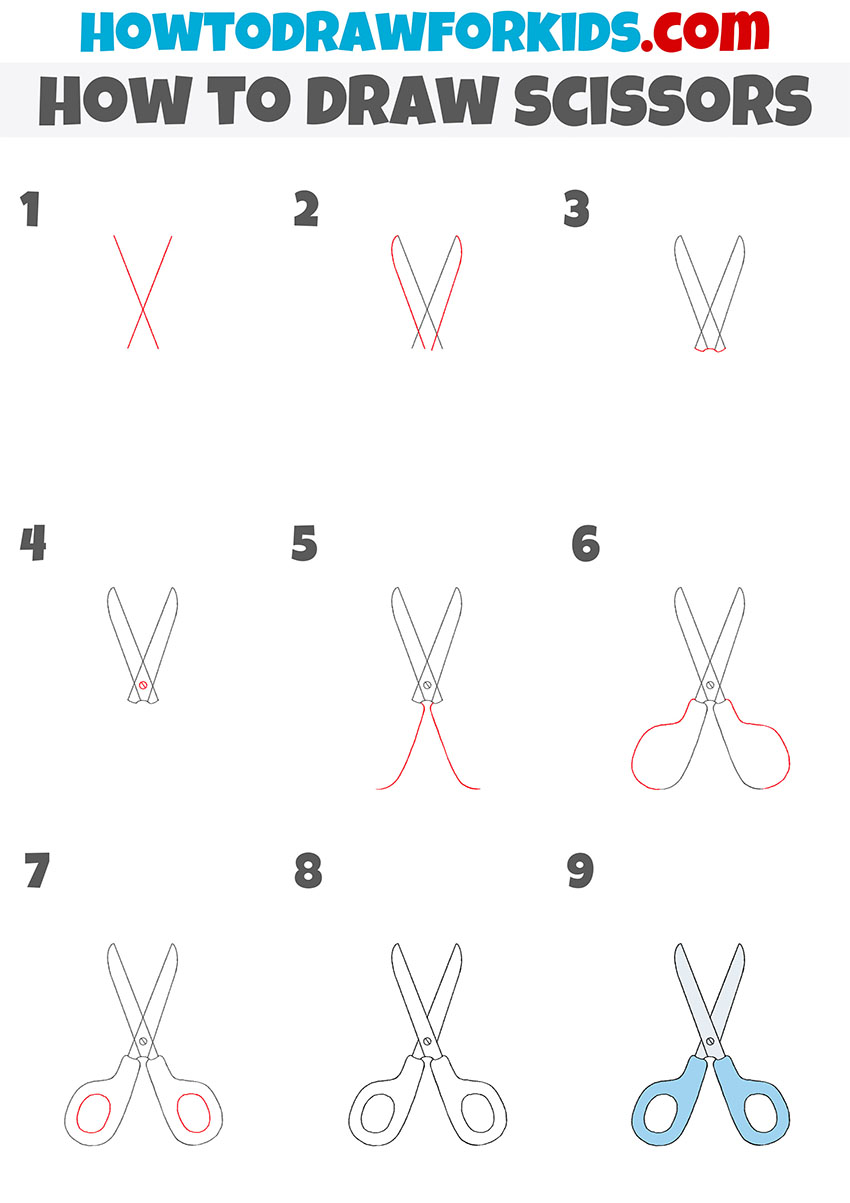
Now you can complete a useful drawing lesson in which I will tell and show you how to draw scissors step by step. This lesson is suitable for all beginner artists.
This is another lesson dedicated to drawing household items. I am sure that each of you used scissors, and you all know how convenient and useful this item is in everyday life.
Scissors are a tool designed to cut various materials and objects. They usually consist of two blades that are connected to each other by means of a spring or hinge.
In order to complete this drawing lesson well, you should be able to draw straight and curved lines. Carefully follow these instructions, then you will get a wonderful drawing.
Materials
- Pencil
- Paper
- Eraser
- Coloring supplies
Time needed: 30 minutes
How to Draw Scissors
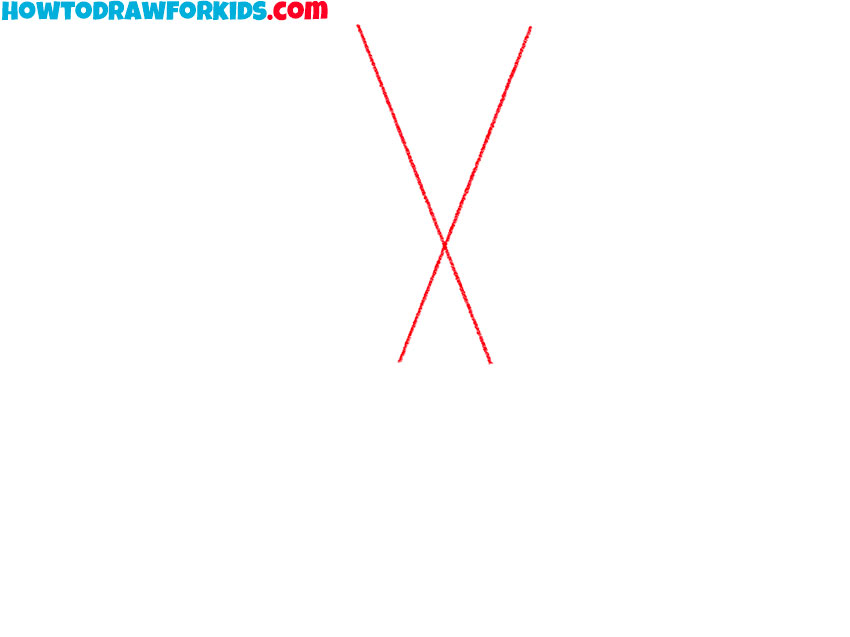
- Draw the inner edges of the scissor blades.
To complete this simple step, draw two straight crossed lines.
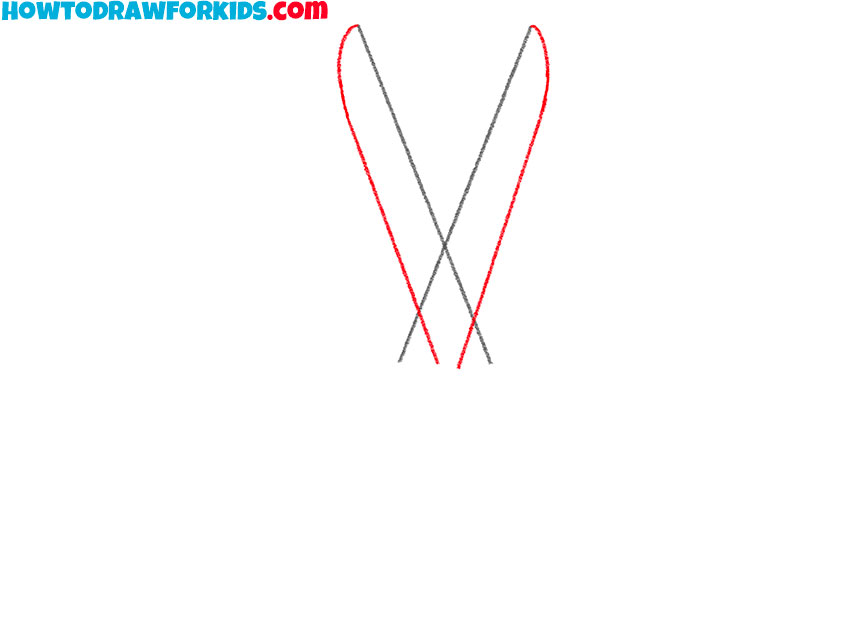
- Add the outer edges of the scissor blades.
From the upper ends of the drawn straight lines, draw two symmetrical curved lines.
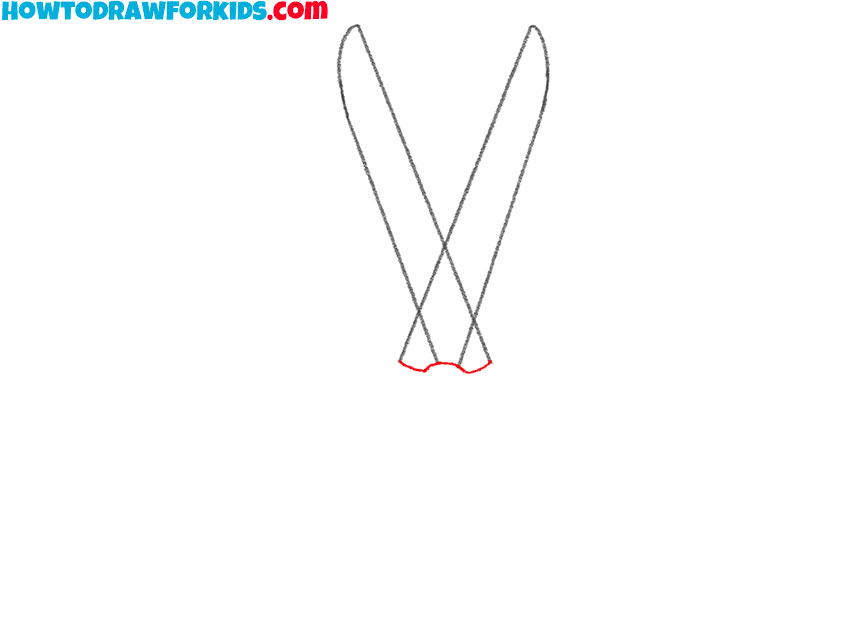
- Depict the bottom edges of the blades.
Now connect the bottom ends of the drawn lines with a single curved line.
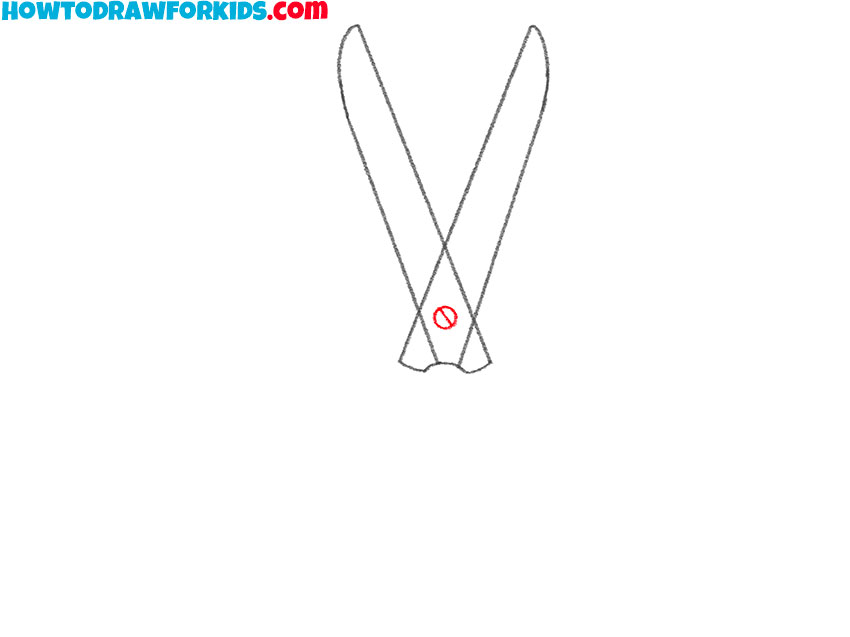
- Draw the hinge in the middle of the scissors.
Sketch out the element as a circle with a short straight line inside it.
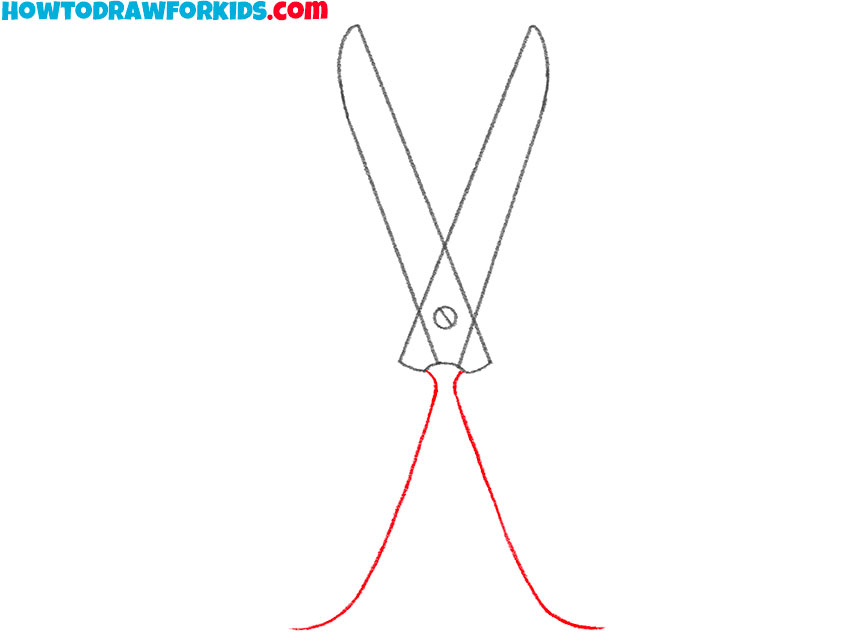
- Start drawing the handles of the scissors.
Below the drawn elements, draw two symmetrical curved lines.
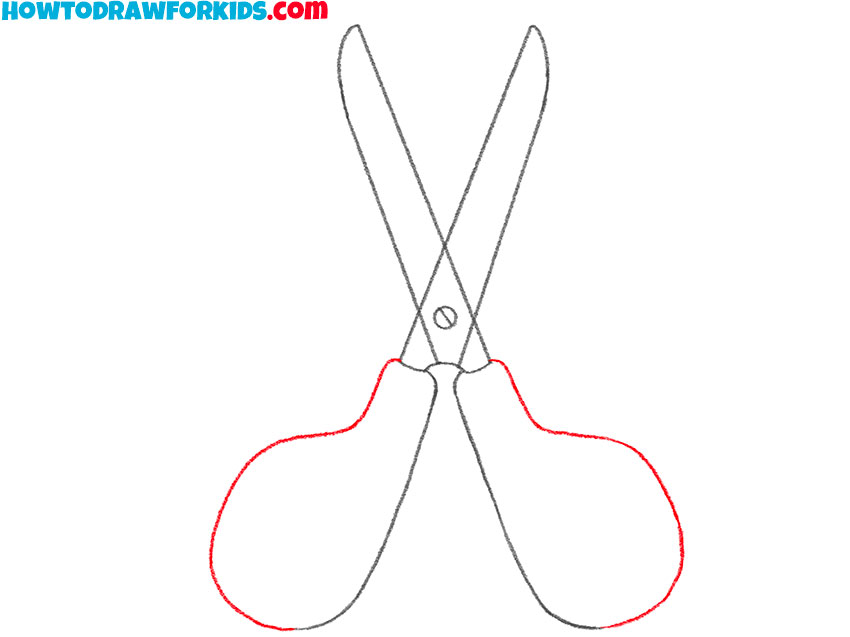
- Add the outer edges of the scissor handles.
Connect the scissor blades to the bottom ends of the drawn lines with two lines.
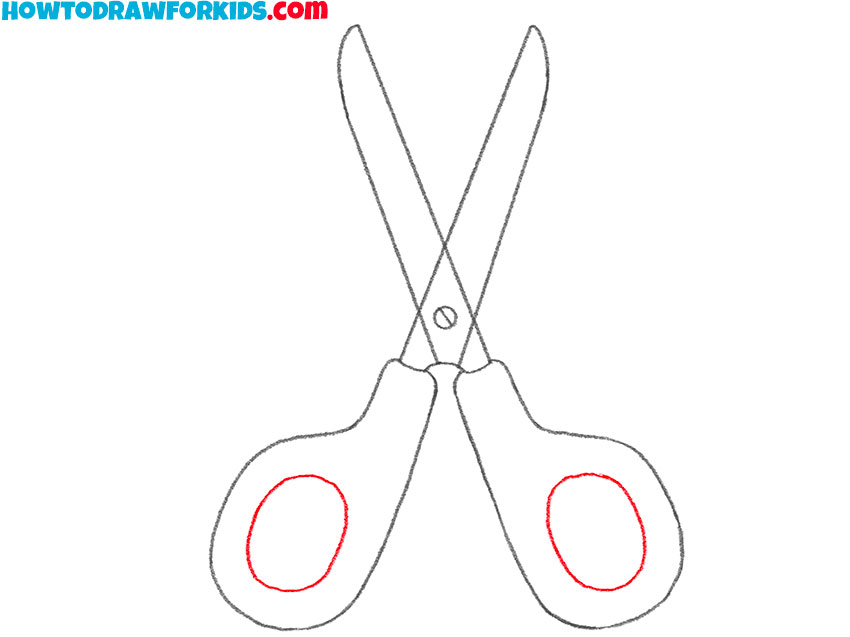
- Add the inside of the scissor handles.
Sketch out two identical oval-like shapes using curved lines.
- Correct inaccuracies.
Use the eraser to remove all unnecessary lines.

Don’t forget to download the PDF file, which contains a short version of this lesson, as well as additional practice materials to help you complete it.

