How to Draw a Town
This fascinating drawing lesson will help you learn how to draw a town step by step. This guide is sure to please everyone.
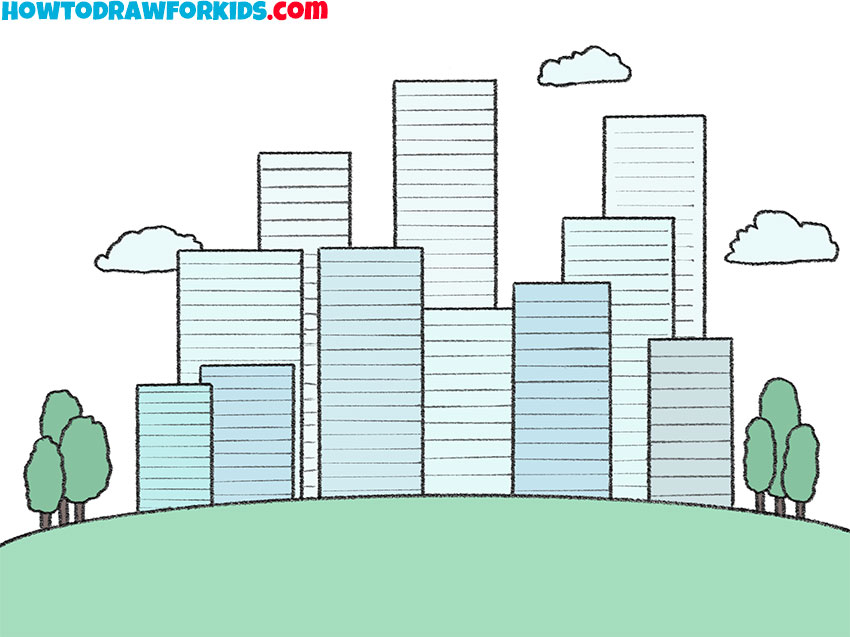
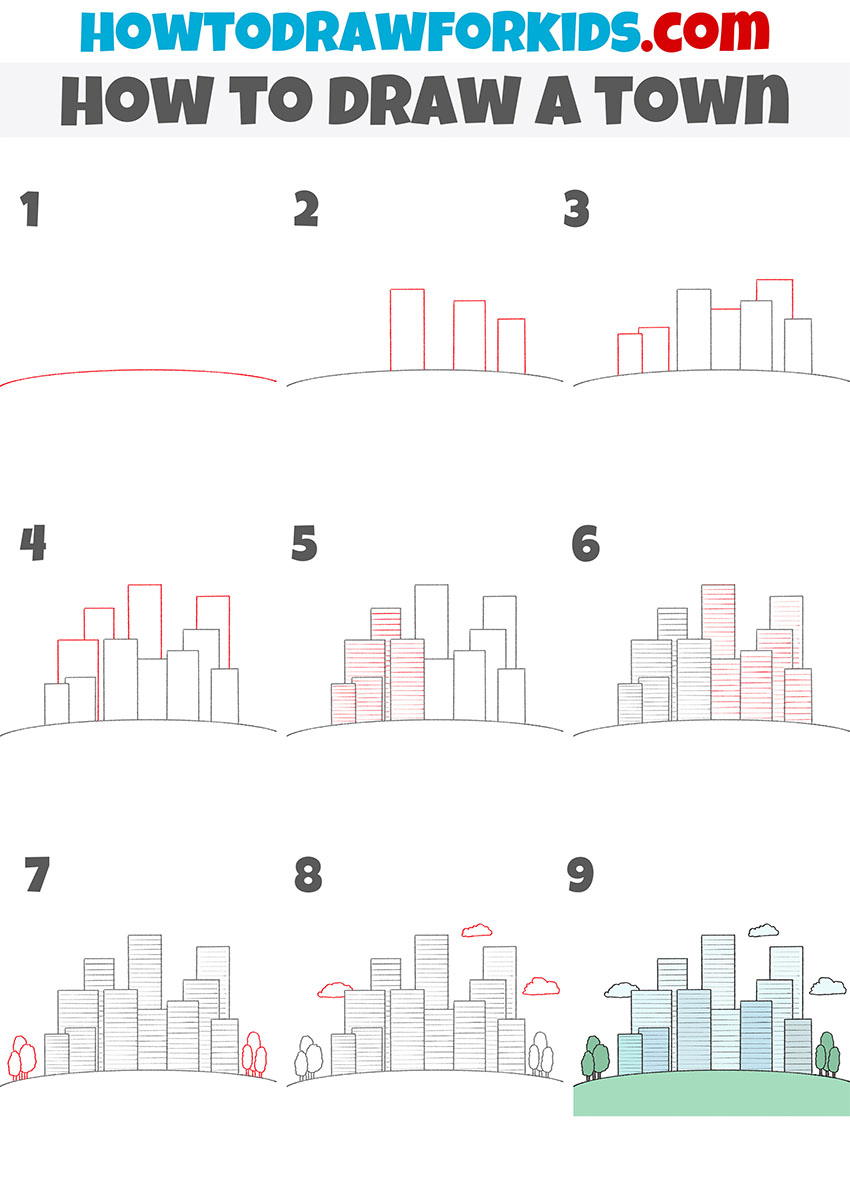
So, I bring to your attention this useful drawing lesson, in which I will tell and show you how to draw a town step by step. The ability to draw urban landscapes is very important for any artist. By learning how to draw a town with the help of this instruction, you will be able to create more diverse paintings. When drawing a town, you will practice drawing geometric objects such as straight lines and incomplete rectangles. To make your drawing look neater and more perfect, you can use a ruler to draw straight lines.
Surely, many of you live in different cities, and have also seen many other cities during your travels or in various films. The town is a large settlement, the inhabitants of which, as a rule, are engaged in non-agriculture. It has a developed complex of economy and economy. Living in the town, people can sell goods and services, engage in production. The town is a cluster of architectural and engineering structures that ensure the livelihoods of the permanent and temporary population of the town. Plants, factories and other enterprises can be located in the town. The ability to draw townscapes of various types will help you create more diverse, interesting and high-quality paintings.
If you can’t wait to start this wonderful lesson as soon as possible, then you can prepare the art supplies you need right now, and why start drawing a town following my recommendations. I am sure that any novice artist or child can easily cope with this lesson, and you will definitely enjoy doing it.
Town Drawing Tutorial
Materials
- Pencil
- Paper
- Eraser
- Coloring supplies
Time needed: 30 minutes
How to Draw a Town
- Draw the ground.
Start drawing the city by drawing the surface of the earth using one curved line.

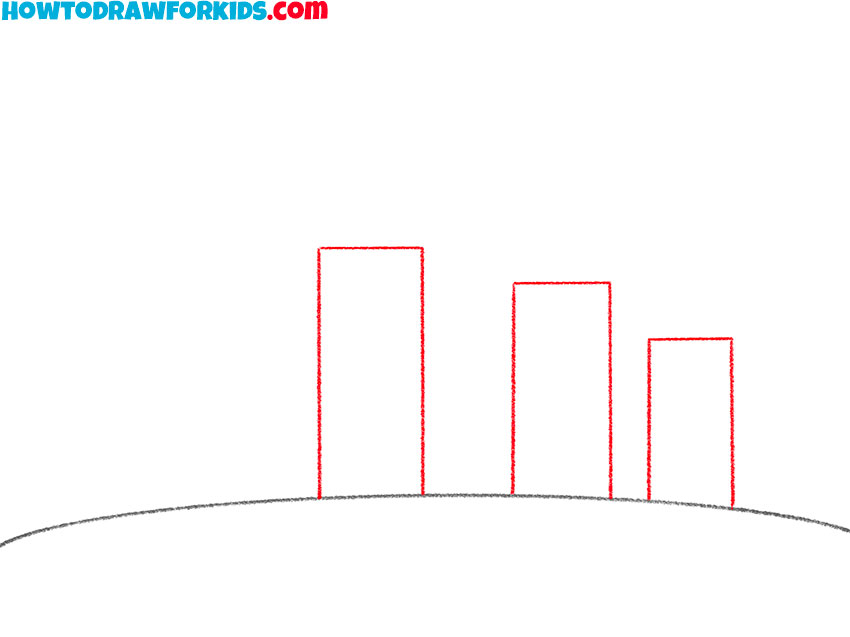
- Depict three buildings.
Above the drawn curved line, add three incomplete rectangles using straight lines.
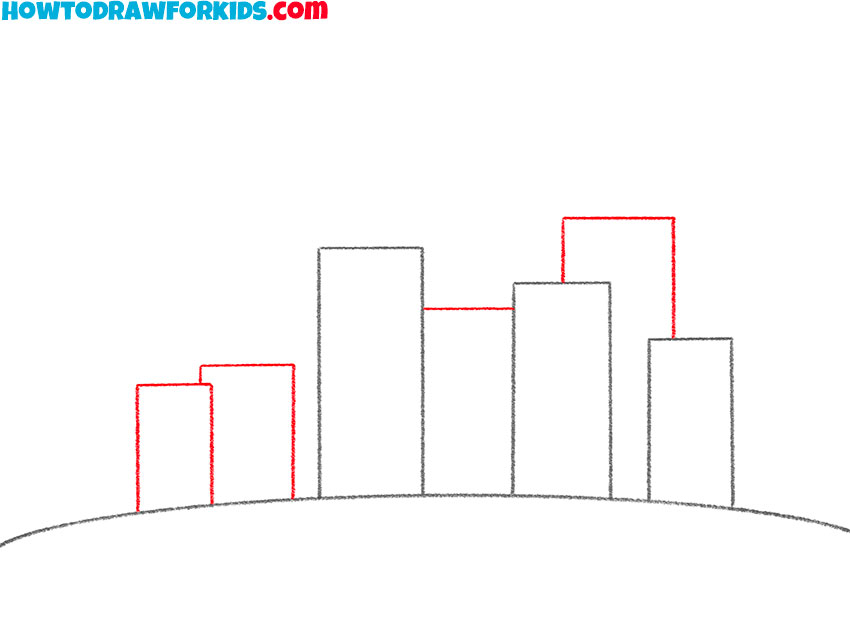
- Add some more buildings.
Now you should draw several vertical and horizontal lines of different lengths, as in the figure.
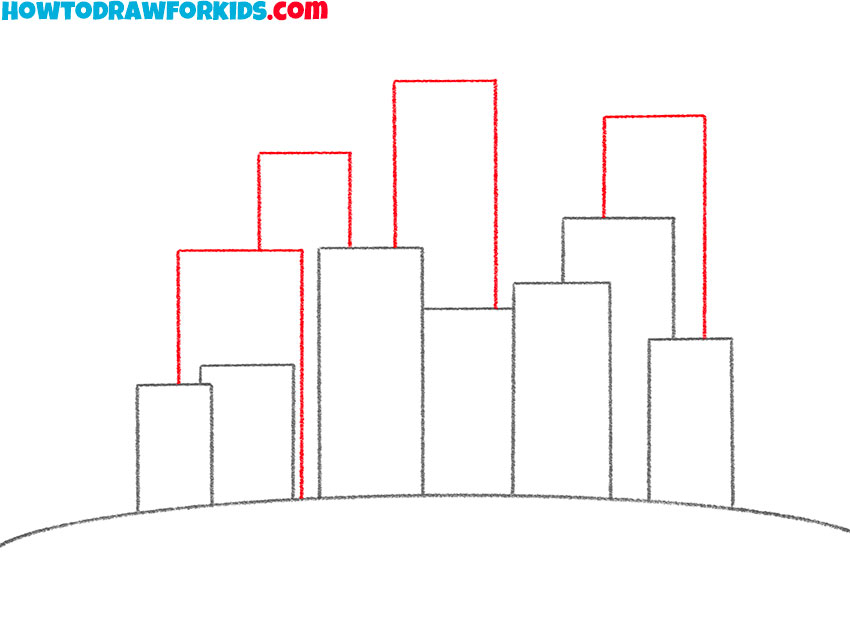
- Depict some more building outlines.
In the background of the previously drawn buildings, draw a few more architectural structures.
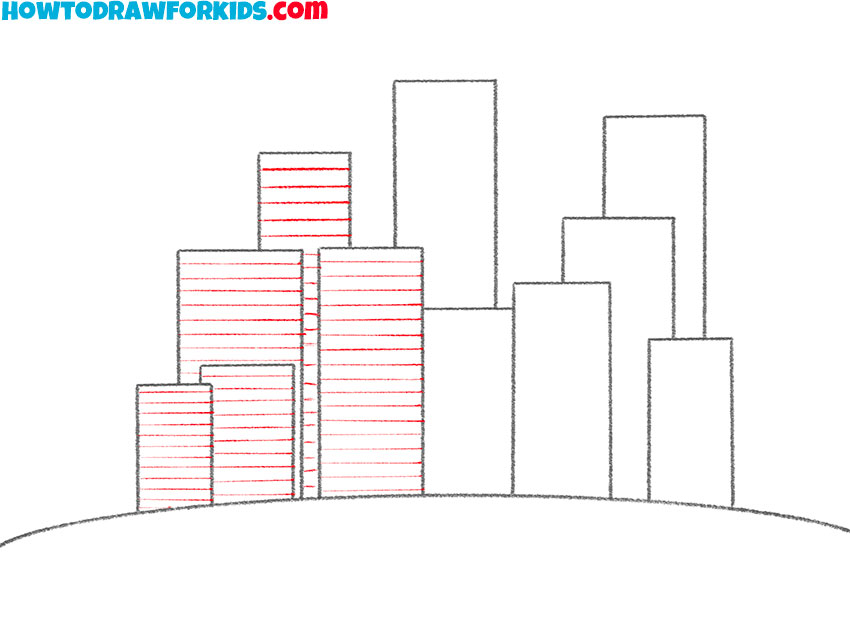
- Start drawing the interior of the buildings.
Inside the contours of the buildings on the left side of the drawing, draw straight horizontal lines.
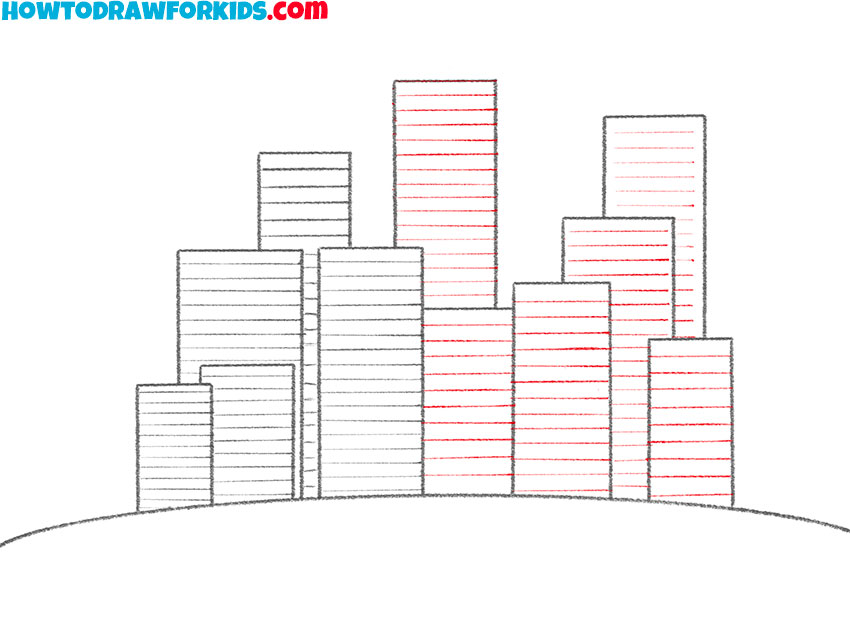
- Finish drawing the interior of the houses.
Draw straight parallel horizontal lines of different lengths inside the rest of the shapes.
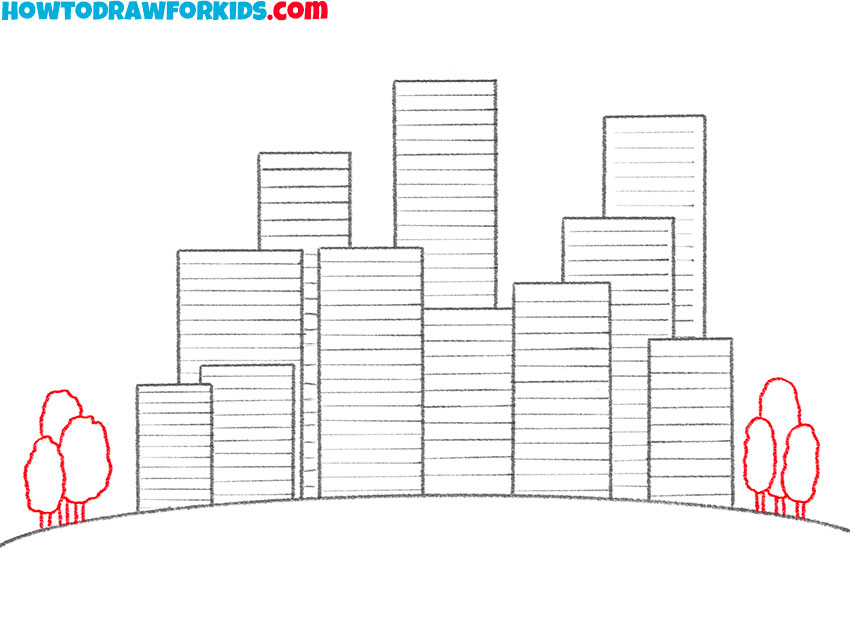
- Sketch out the trees.
Complete the drawing with trees on the right and left sides, using straight and wavy lines.
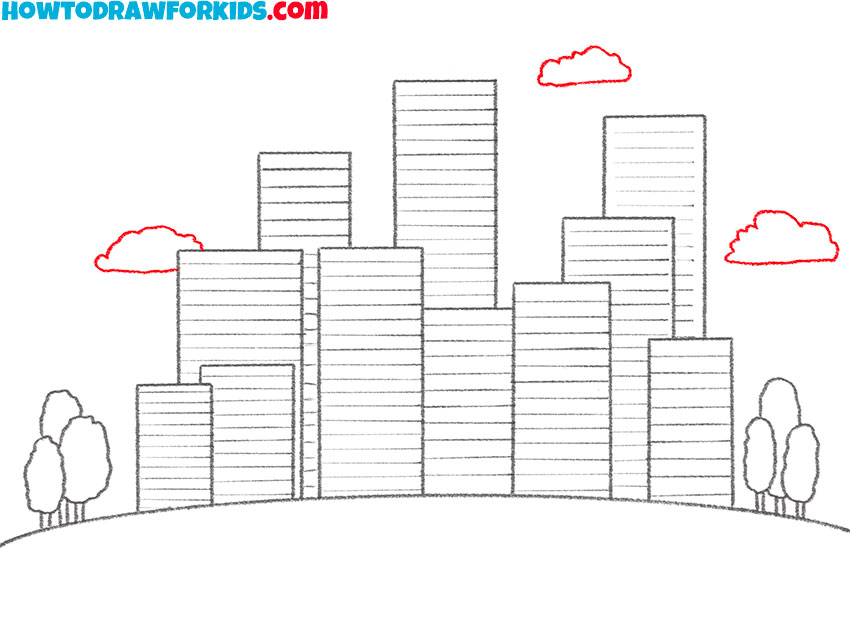
- Draw the clouds.
Now add three clouds and shapes to the top of the drawn town using wavy lines.
- Color the drawing.
To color the town, use shades of blue, shades of green, and also brown.
For your convenience, I have prepared a PDF file in which you can find a short version of this tutorial and additional useful materials for completing it. Download this file to return to the lesson at any time.