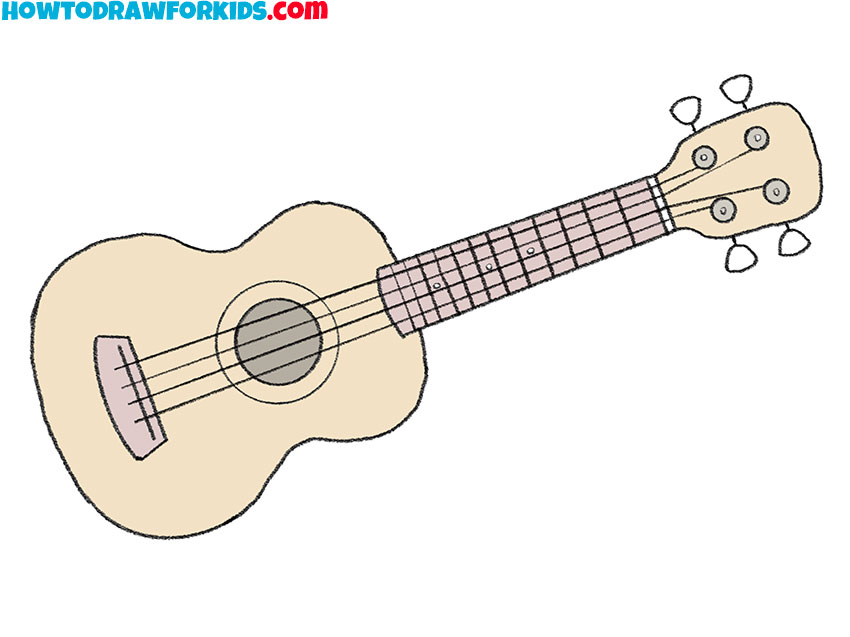
How to Draw a Ukulele
In this drawing lesson, you will learn how to draw a ukulele step by step. This lesson will definitely not leave indifferent any of you.
I bring to your attention an excellent and very useful drawing lesson, in which I will tell and show you how to draw a ukulele step by step. This tutorial is great for beginner artists and kids, as it consists of very simple steps with detailed descriptions. Also, this lesson allows you to practice drawing straight lines and circles. If you wish, you can use a ruler to draw straight lines to make your drawing look more perfect.
The ukulele is a miniature four-string ukulele. Ukulele means jumping flea in Hawaiian. The ukulele is common in various Pacific islands, but is associated primarily with Hawaiian music. This compact, lightweight, plug-in-free instrument has already become one of the most popular instruments among young people. Thanks to its compact size, the ukulele is easy to handle and can be mastered by musicians of all ages. Miniature four-string guitars appeared relatively recently, but quickly conquered the world with their sound. The ukulele sounds great with traditional Hawaiian music, jazz, country, reggae, and folk.
When you learn how to draw a ukulele with the help of this lesson, you will be able to complement any musician, character, any other music-themed picture you have drawn with it, and also depict it as the main object of the drawing. I recommend that you follow my instructions carefully so that you get an excellent result of your work. Right now, you can prepare the art supplies that you will use to draw a ukulele step by step. I wish you enjoy the creative process and get a great result!
Ukulele Drawing Tutorial
Materials
- Pencil
- Paper
- Eraser
- Coloring supplies
Time needed: 30 minutes
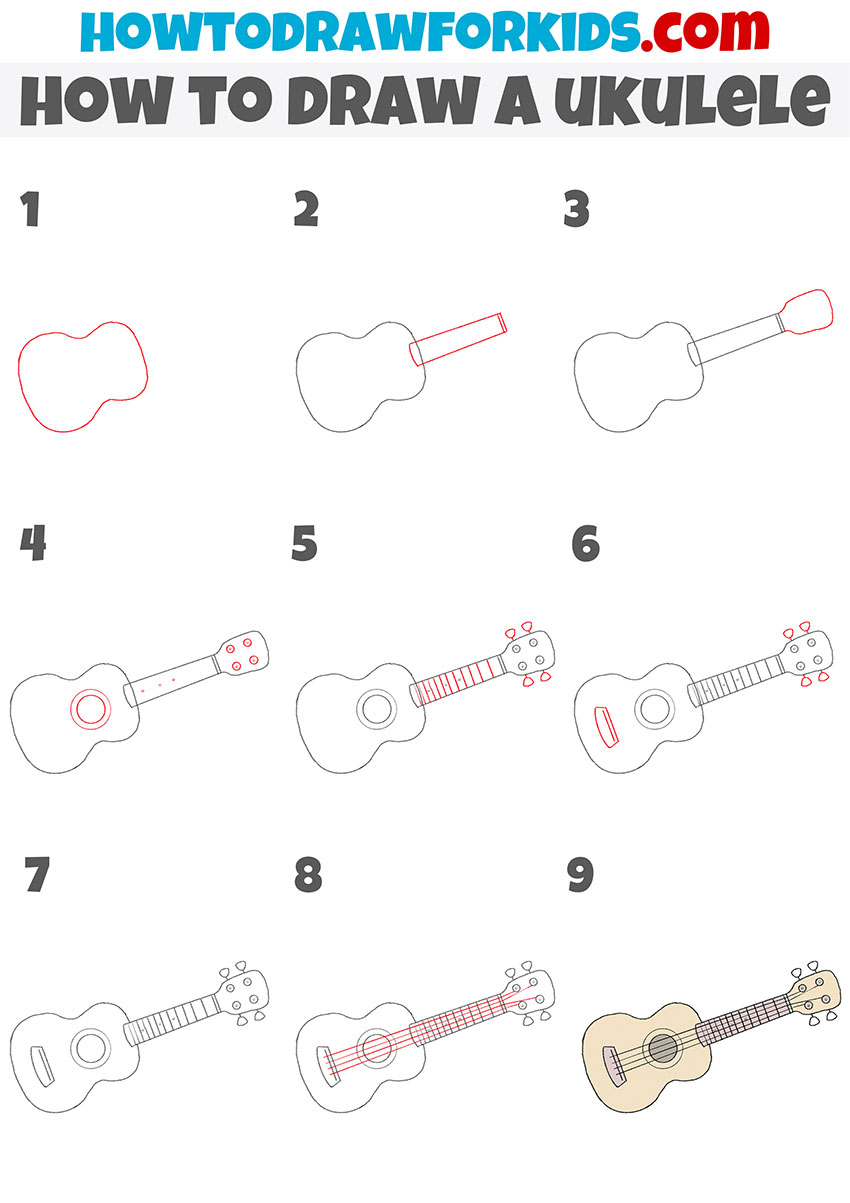
How to Draw a Ukulele
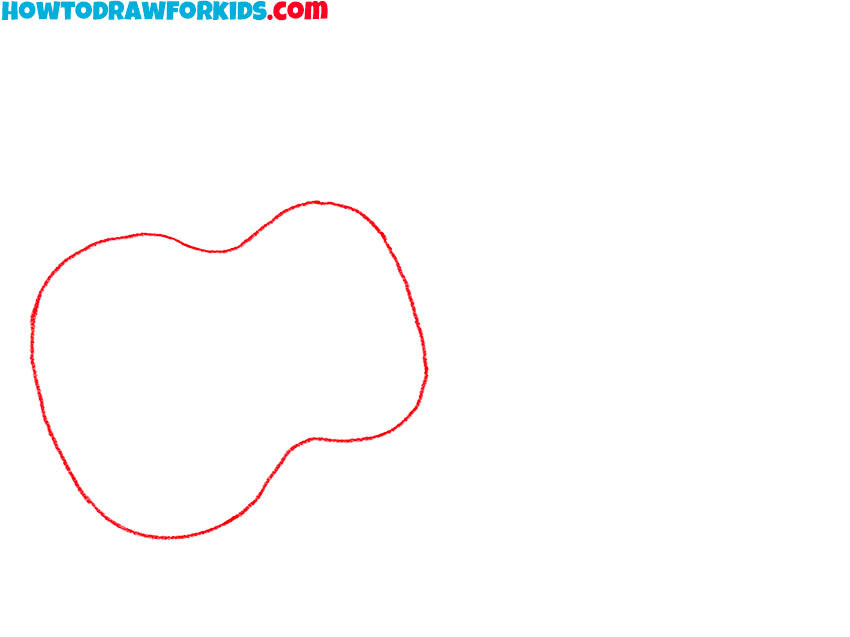
- Draw the outline of the ukulele body.
To complete this step, draw the shape as shown in the picture using a curved line.
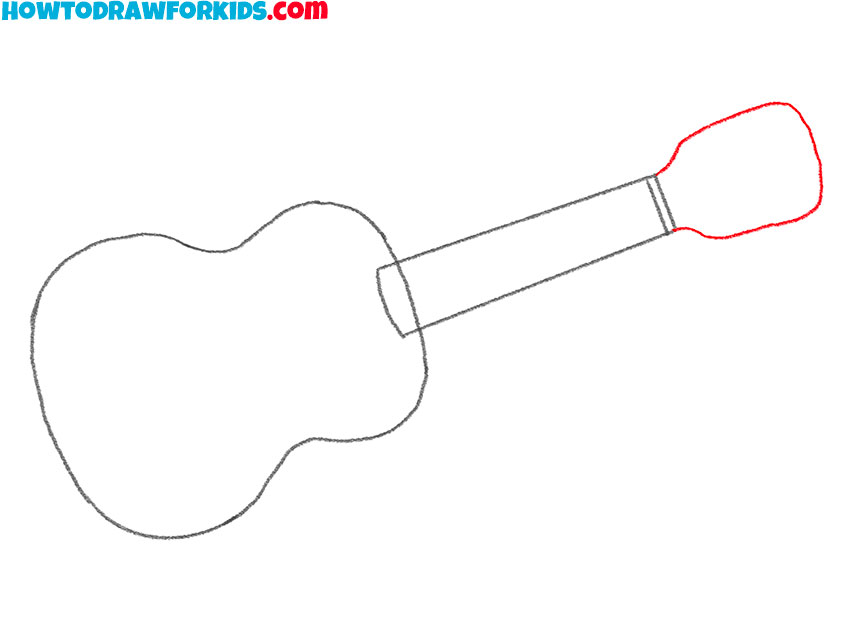
- Add the ukulele neck.
At the top of the figure, depict the detail using straight lines of different lengths and one arc.

- Depict the top of the ukulele neck.
To complete the outline of the ukulele neck, draw one curved line across the top of the neck.
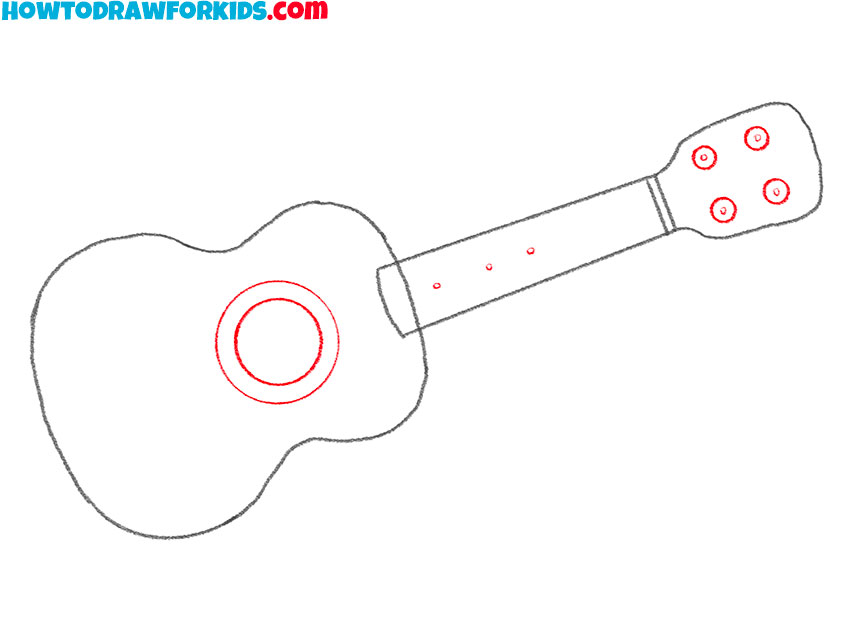
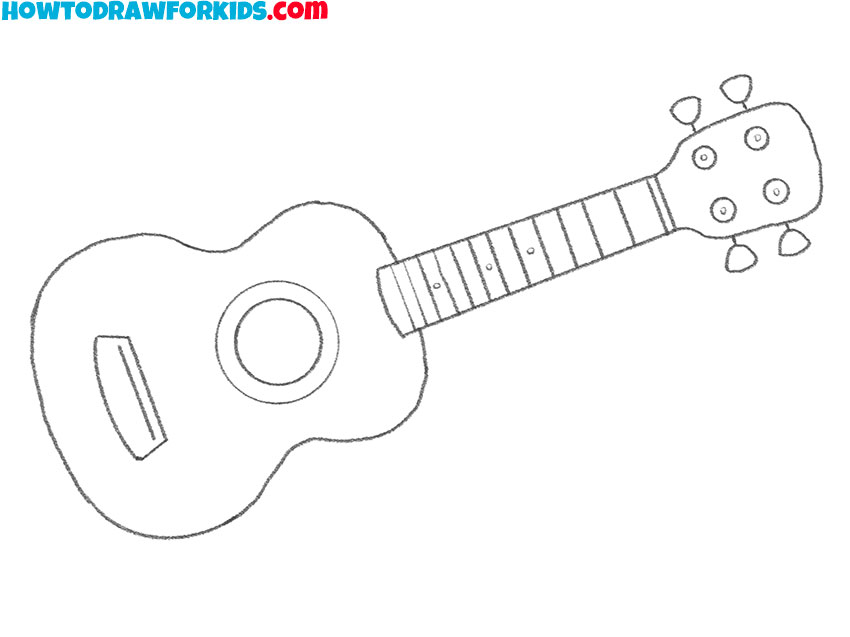
- Add the ukulele socket and fretboard elements.
Complement the drawing with circles of different diameters, placing some of them inside others.
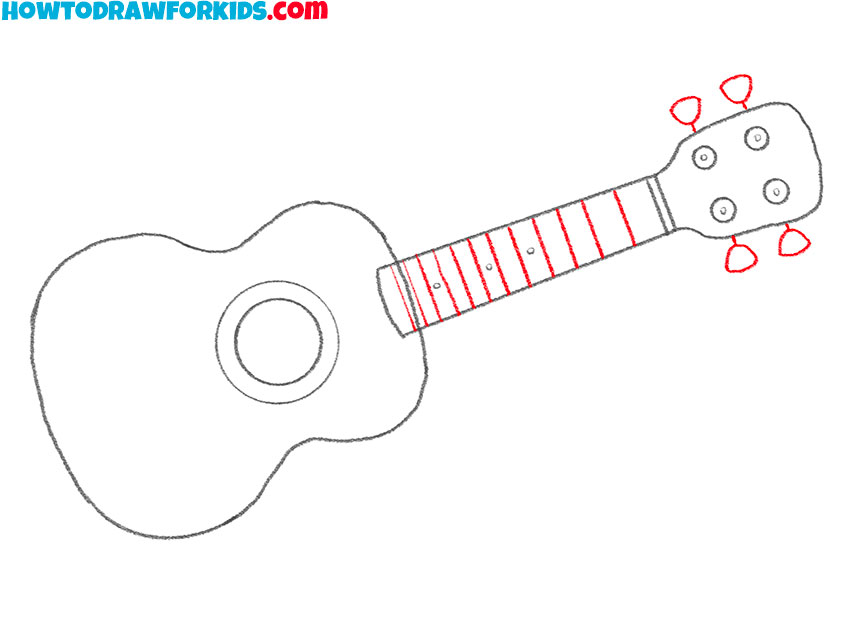
- Finish drawing the neck of the ukulele.
Add the pegs and frets on the ukulele neck using parallel straight lines as well as curved lines.
- Draw the saddle of the ukulele.
At the bottom of the ukulele, add the element using straight lines of different lengths and an arc.

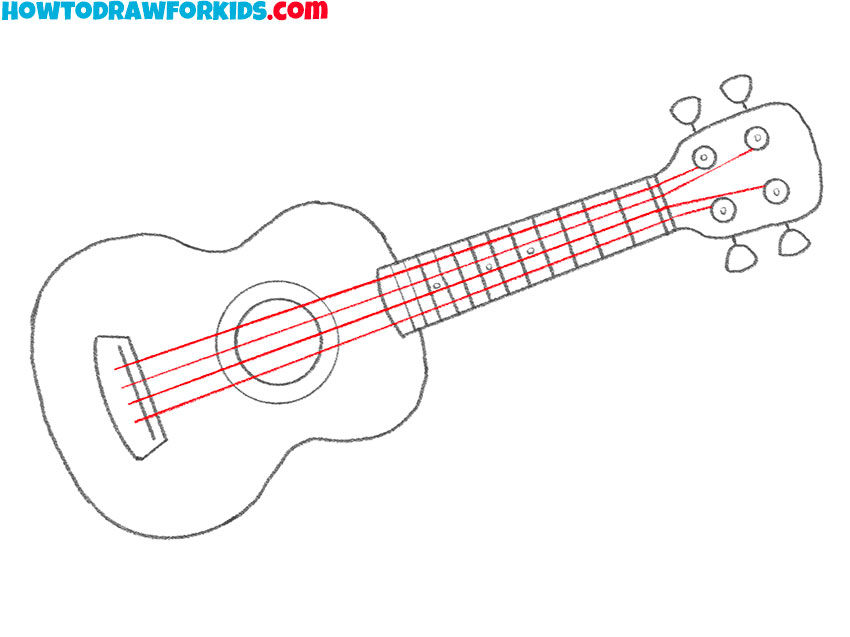
- Correct inaccuracies.
Use an eraser to remove extra lines.
- Depict the ukulele strings.
Now you need to add straight parallel lines, as well as two lines pointing in different directions.
- Color the drawing.
To color the ukulele, use shades of brown as well as gray.
Now you can download the PDF file that I have prepared for your convenience. This file contains all the necessary useful materials for this lesson so that you can not lose this lesson in the absence of an Internet connection, and also return to it at any time convenient for you.