How to Draw Ash Greninja
In this drawing lesson, I will tell you how to draw Ash Greninja step by step. This lesson will be quite simple and fun.
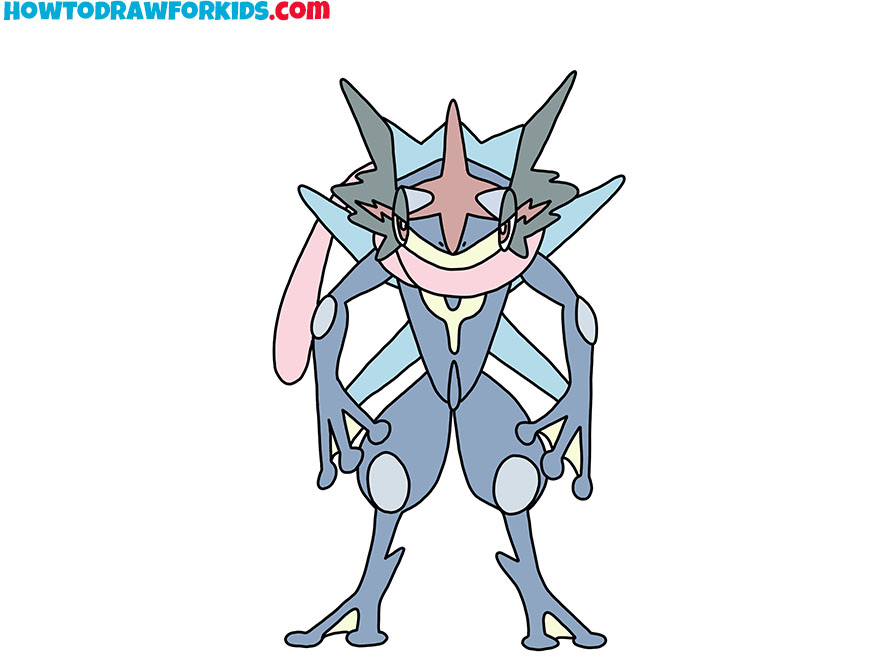
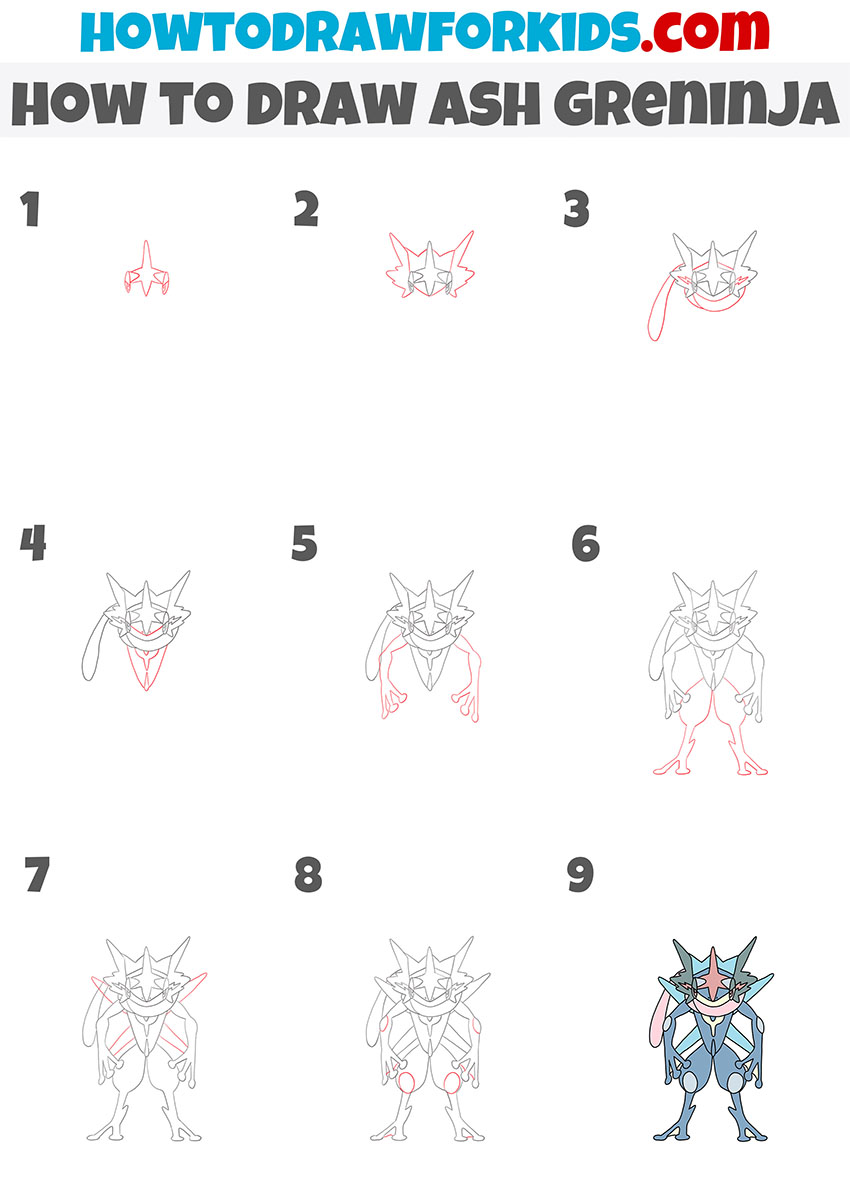
I bring to your attention this very useful drawing lesson, in which I will tell and show you how to draw Ash Greninja step by step. If you are a fan of Pokémon, then this instruction will definitely not leave you indifferent. This drawing lesson is suitable for novice artists or children, as this instruction does not contain too complicated steps, and will also help you develop your artistic skills. When completing this lesson, you will learn how to draw another famous character.
Ash Greninja is a form of Greninja that only exists during combat. Greninja is a water and dark type Pokémon. This Pokémon is cold, calm and balanced. Outwardly, he is based on a ninja—the legendary warrior of shadows, as well as a frog. Ash Greninja has a unique ability that allows any Greninja with this ability to transform into Ash Greninja’s form if they kill a Pokémon in a Trainer battle and the other Pokémon remain on the opposing Trainer’s team. In his normal form, Ash Greninja looks like other Greninjas. With the phenomenon of connection, becoming one with Ash, a huge water shuriken appears behind his back, a black, and red “lightning” on his face on each side, and a semicircle on his chest, like on Ash’s vest. By nature, Ash Greninja seems to be a tough and strict Pokémon. Ever since he hatched, he has preferred to train alone rather than interact with others.
By learning how to draw Ash Greninja with the help of this instruction, you will be able to depict him as the main subject of your drawing, as well as draw any fragment from the game. If you already want to start following this simple instruction as soon as possible, then you can prepare the art supplies you need right now, and then follow my recommendations and enjoy the creative process.
Materials
- Pencil
- Paper
- Eraser
- Coloring supplies
Time needed: 30 minutes
How to Draw Ash Greninja
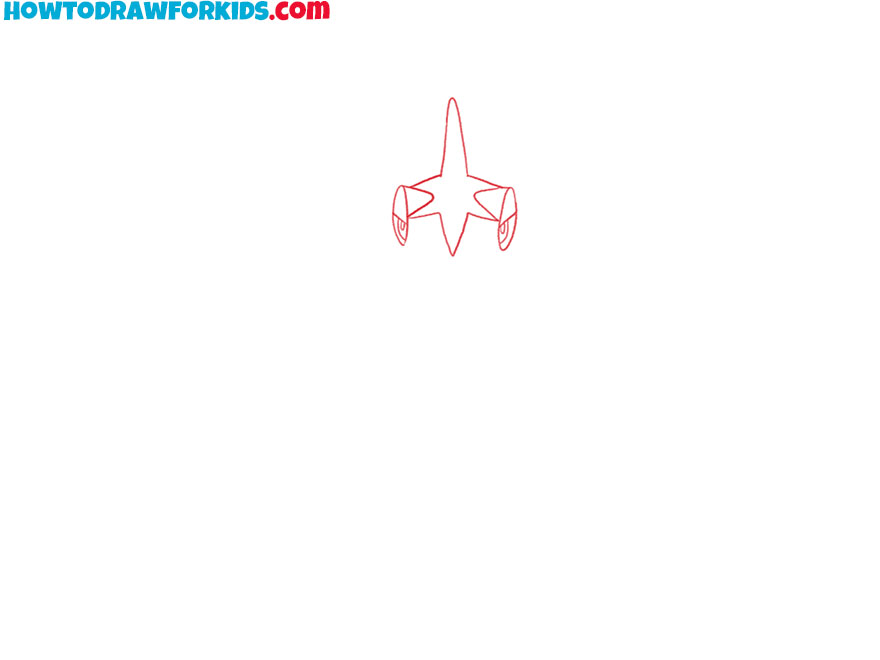
- Start drawing the character’s head.
Depict the element of the central part of the head, as well as the two eyes on the sides.
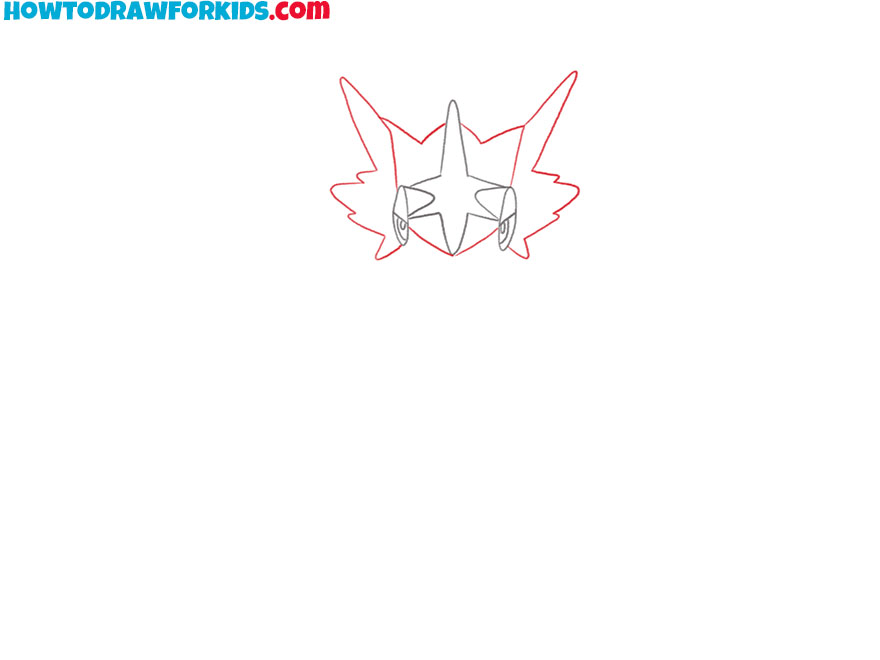
- Finish drawing the top of the character’s head.
Draw symmetrical lines so that the right side of the head looks like the mirror image of the left.
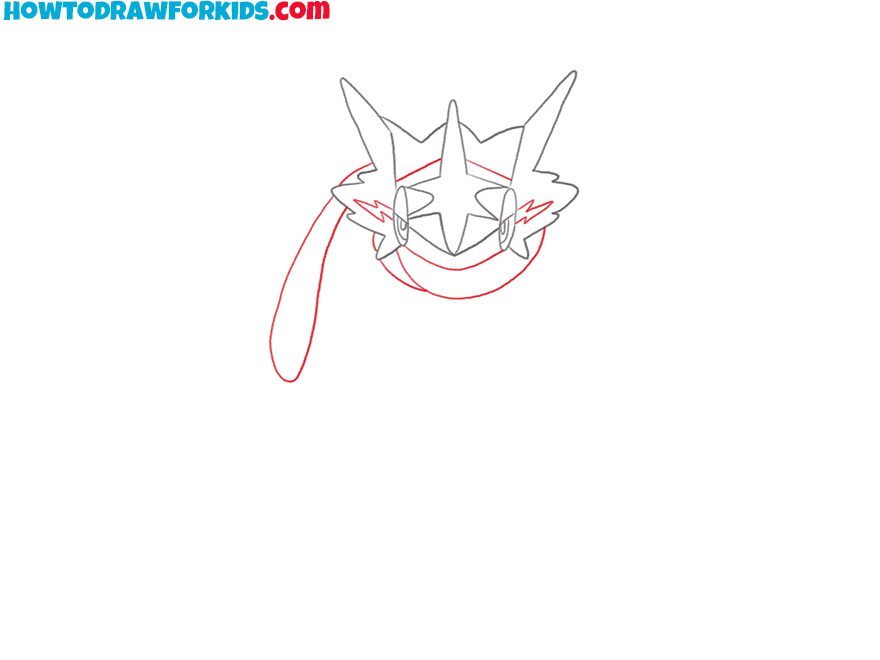
- Finish drawing the head and add the element on the left side.
Draw lightning shapes, add straight lines at the top of the head, and arcs and curved lines at the bottom.
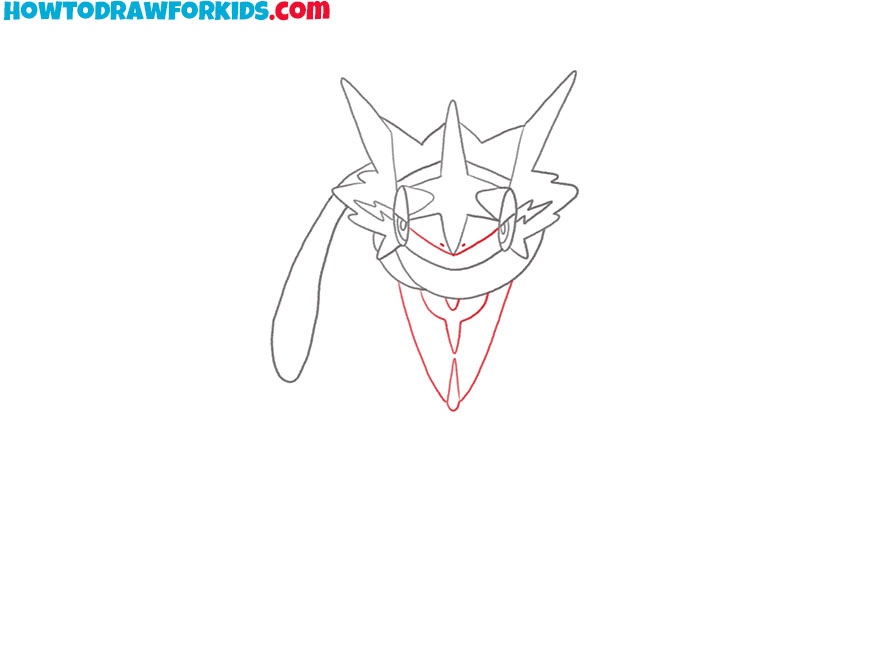
- Add the outline of the torso and add elements on the head.
Depict two lines and two dots on the head, and draw symmetrical curved lines below the head.
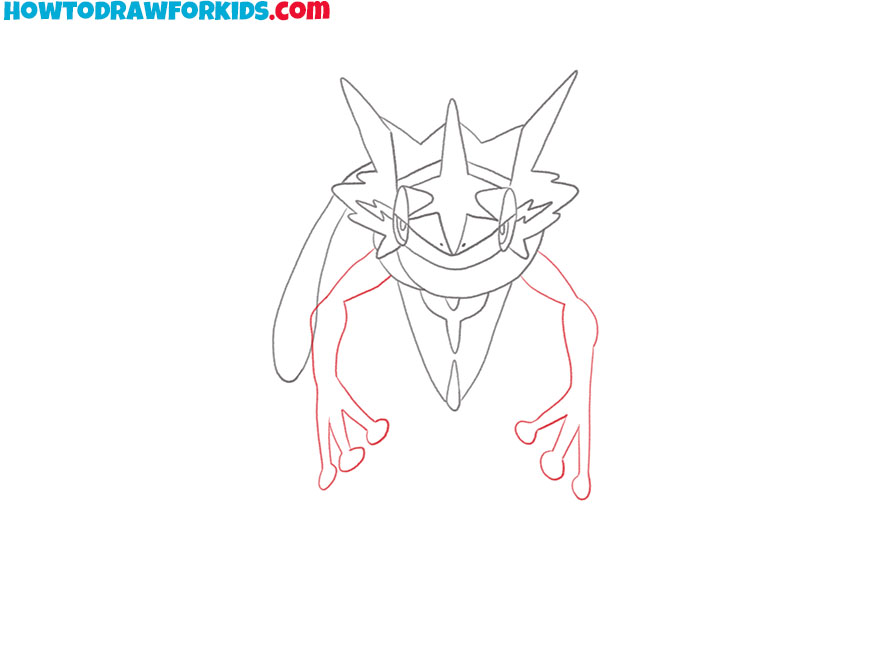
- Sketch out the outlines of the upper limbs.
On the sides of the drawn torso, depict the character’s two paws using arcs and curved lines.
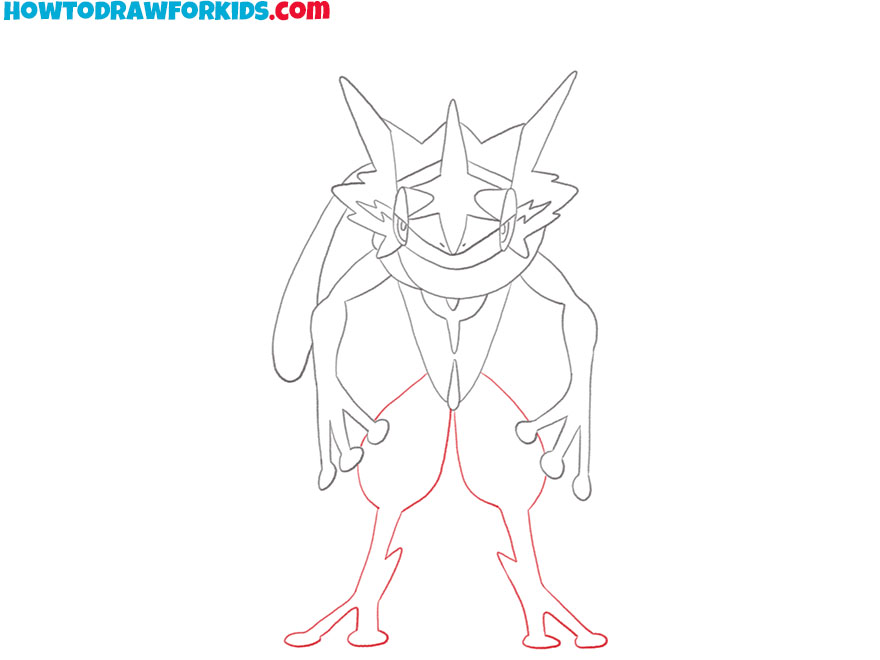
- Depict the lower limbs.
Below the drawn torso, depict two symmetrical legs using rounded and curved lines.
- Draw the elements on the character’s torso.
On the sides of the torso and head, add symmetrical curved lines as shown.
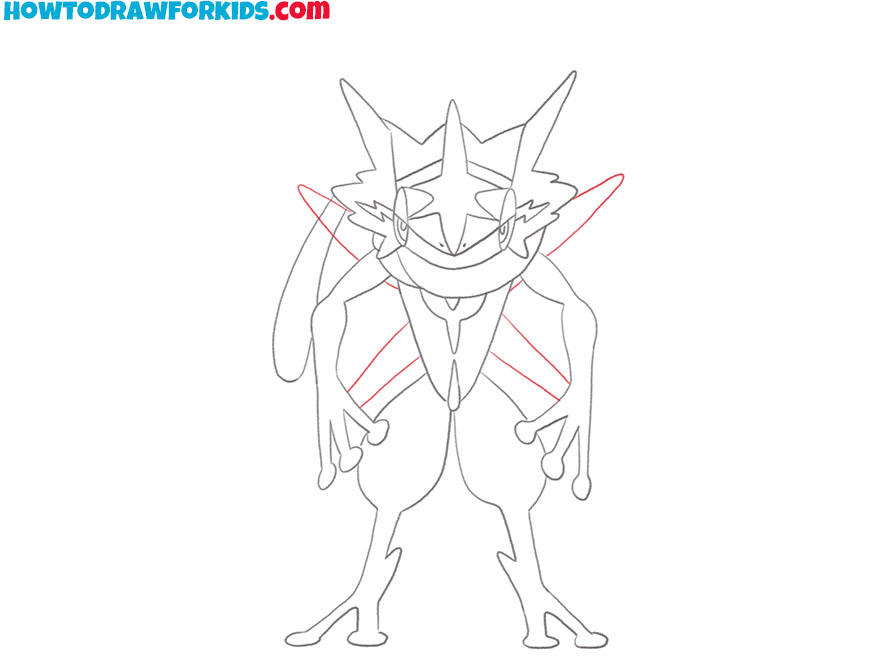
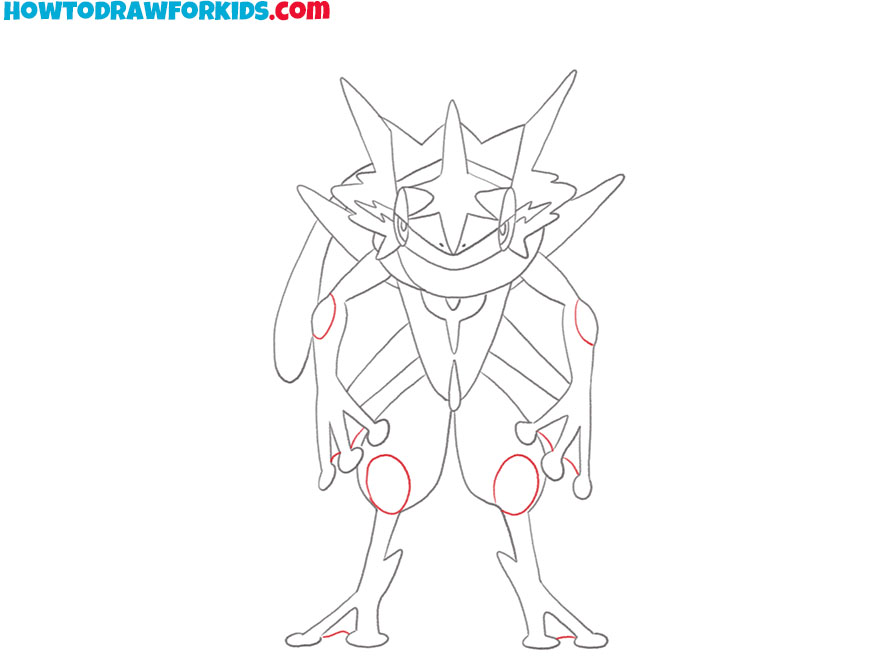
- Finish drawing the limbs of the character.
Add ovals, arcs, and curved lines for the elbows, knees, and fingers of the upper and lower extremities.
- Color the drawing.
To color the drawing, use shades of blue, gray, red, pink, beige, and green.

Don’t forget to download the PDF file, which contains a short version of this lesson, as well as additional practice materials to help you complete it.

to ugly need some pose