How to Draw Rinnegan
In this drawing lesson, I will tell you how to draw Rinnegan step by step. This simple instruction consists of only six steps.
I am glad to bring to your attention a very interesting and unusual drawing lesson, in which I will tell and show you how to draw Rinnegan step by step. This drawing lesson will definitely not leave anime lovers indifferent. Completing this lesson will help you develop your artistic skills, as here you can practice various geometric shapes. While drawing the Rinnegan, you will learn how to draw circles of different diameters. If you want your drawing to look perfect, you can use a compass. However, you can practice drawing this without auxiliary tools.
The Rinnegan is the greatest dojutsu that the god of the shinobi world and the founder of Ninshuu, Rikudo is a Sennin. Doujutsu are ninja abilities that involve the use of one’s own eyes, which are a by-product of the Enhanced Genome or Kekkei Mora. The Rinnegan is expressed by a characteristic ring-shaped pattern that completely covers the eyeball. It is stated that in troubled times, the one who wields the Rinnegan is sent from heaven to become the “God of Creation” who will bring balance to the world, or else the “God of Destruction” who will reduce everything to nothing.
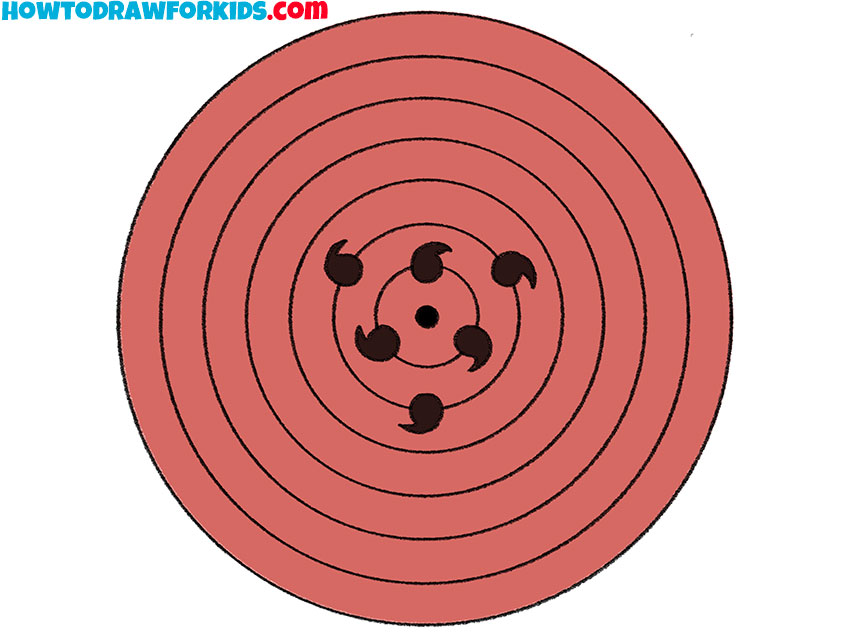
There are different types of rinnegans. In this tutorial, you will draw the Rinnegan with Urashiki tomoe. Urashiki’s Rinnegan is able to take on multiple forms to access different abilities: sometimes they are red and contain six tomoe, and sometimes they are blue with a white ripple pattern. One who wields the Rinnegan can use six abilities: controlling the forces of attraction and repulsion, mechanically changing one’s body, extracting souls, summoning various creatures, absorbing chakra, and accessing the King of Hell. The seventh ability, called the Outer Path, allows the user to manipulate life and death, granting them the ability to resurrect the dead.
Now that you know even more information about the Rinnegan, you can prepare the art materials you need, and then proceed with this lesson. I am sure that you will easily cope with this lesson, and you will also be satisfied with the result of our work.
Materials
- Pencil
- Paper
- Eraser
- Coloring supplies
Time needed: 30 minutes
How to Draw Rinnegan
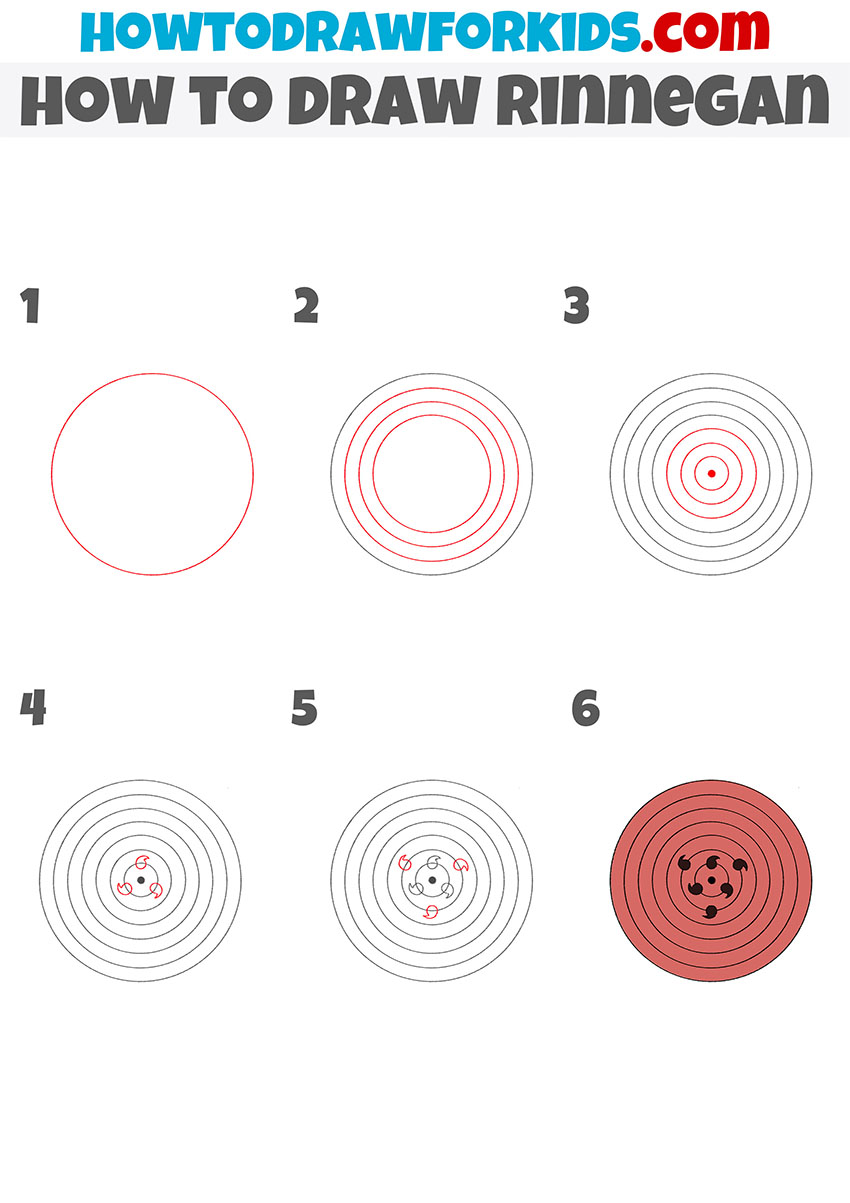
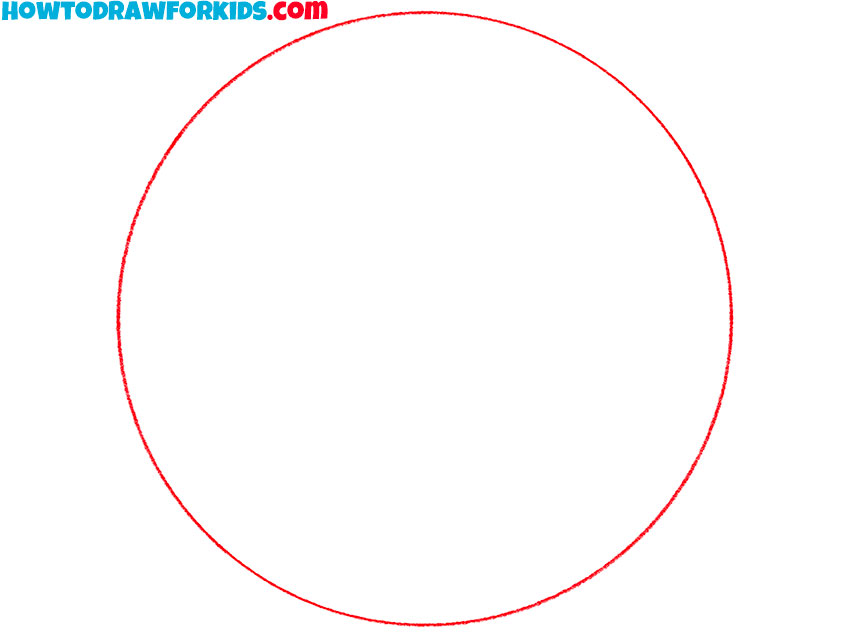
- Draw the outer outline of the Rinnegan.
To start drawing the Rinnegan, you need to draw one large circle, as shown in the picture.
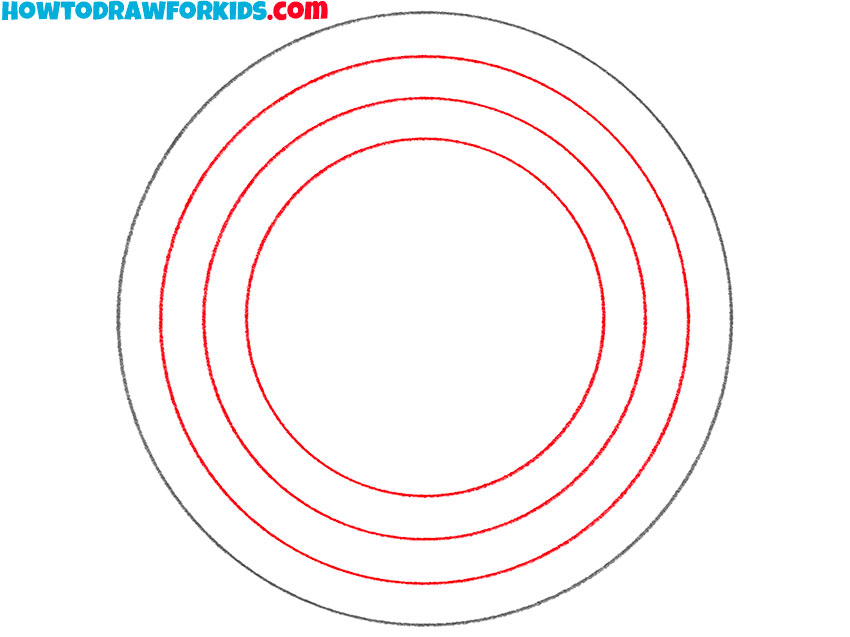
- Add some circles inside the outline of the Rinnegan.
Now you should draw three more circles of smaller sizes, placing one inside the other.
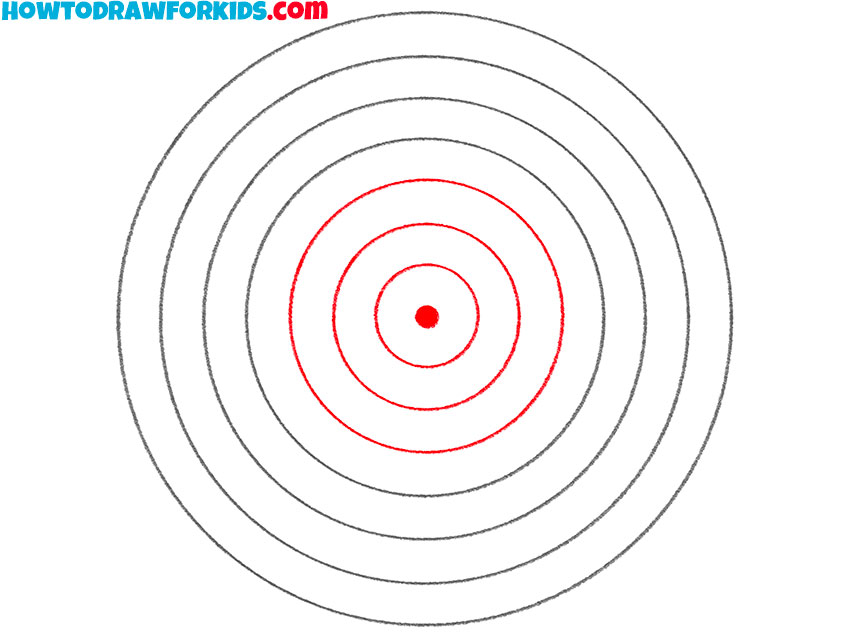
- Finish drawing the circles inside the Rinnegan.
Draw three more circles, and then add one filled circle in the center of the Rinnegan.
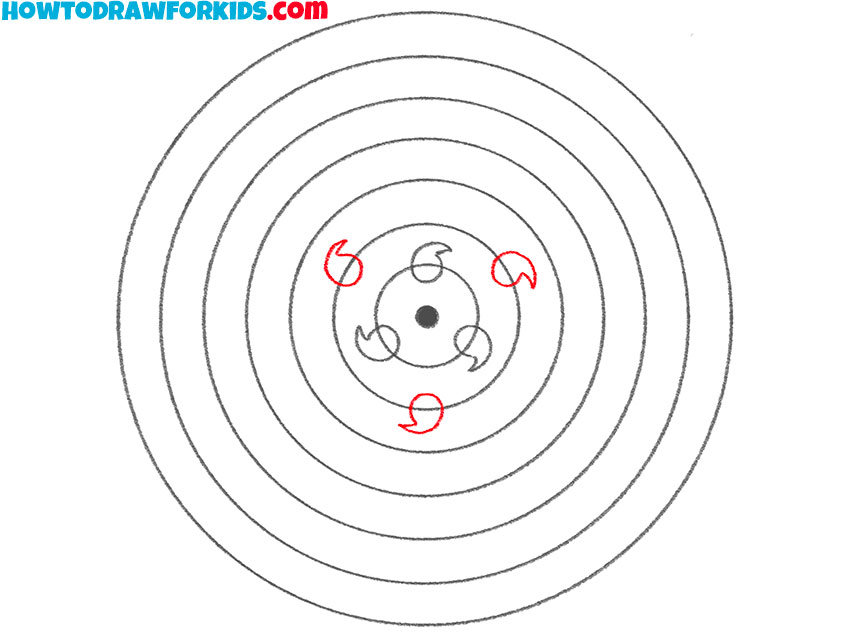
- Depict three elements inside the Rinnegan.
Use arcs and short straight lines to draw three identical elements as shown.

- Add three more elements inside the Rinnegan.
Depict three of the same elements as in the previous step, placing them on another circle.
- Color the drawing.
To color this drawing, you should use red and black colors.
I remind you that you can download the PDF file that I have prepared especially for your convenience. This file contains a short version of this lesson and has additional useful training materials. Download this file so as not to lose it and return to this lesson at any time convenient for you.