How to Draw SpongeBob
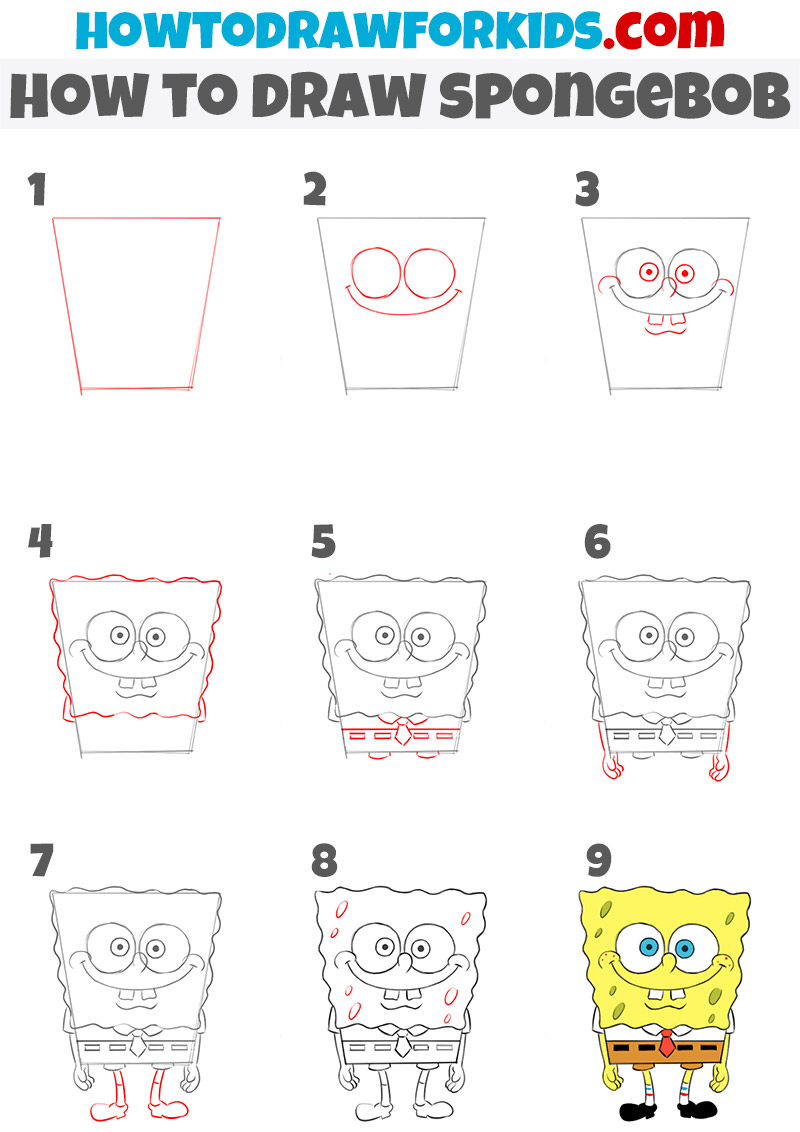
With the help of this lesson, you will be able to learn how easy it is to draw a SpongeBob. This simple lesson consists of nine steps.

I am glad to offer you this exciting and funny drawing lesson in which you will learn how to draw a SpongeBob step by step.
If you have ever seen the SpongeBob SquarePants cartoon, then you will definitely know the character that you can draw in this tutorial.
The SpongeBob is a sponge that lives at the bottom of the ocean. The cartoon tells funny stories from the life of the SpongeBob.
Usually this character is very positive and cheerful, he often laughs, jokes and cheers everyone around him.
SpongeBob Drawing Tutorial
Materials
- Pencil
- Paper
- Eraser
- Coloring supplies
Time needed: 30 minutes
How to Draw SpongeBob
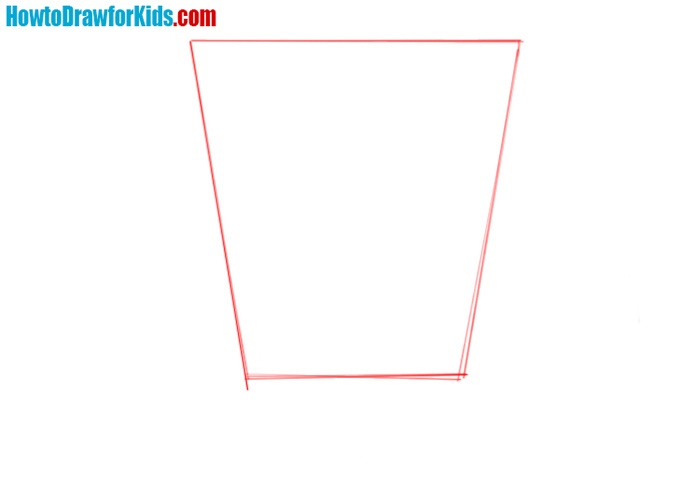
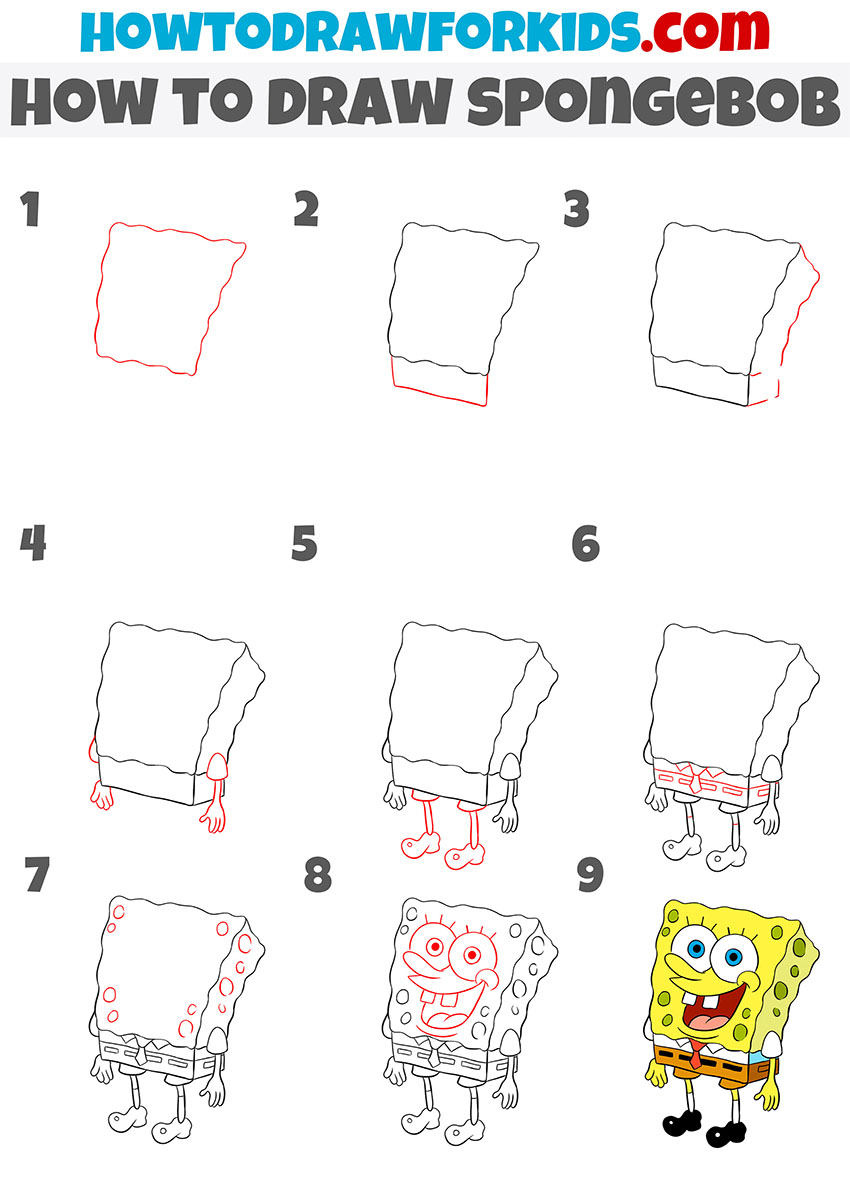
- Sketch the body of SpongeBob.
First, draw a trapeze which is narrowed down. This is the contour of the body of SpongeBob.
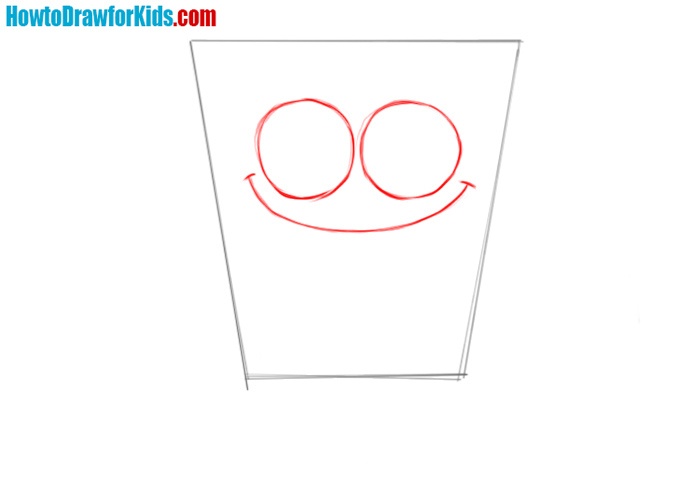
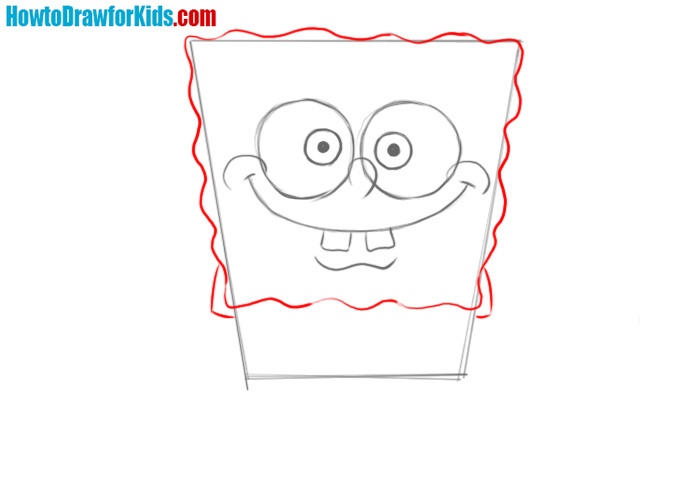
- Add the eyes and mouth.
Draw the eyes that look like regular circles. Under them we place a mouth that looks like a smiley. There is a very small distance between the eyes and the mouth.
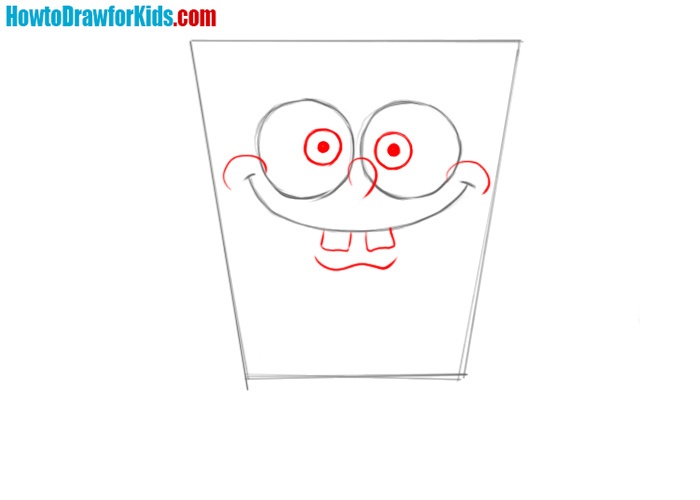
- Detail the face of SpongeBob.
Let’s make the drawing more alive. To do this, add the pupils, nose, cheeks and contours of the lower lip. Already very similar to Sponge Bob, isn’t it?
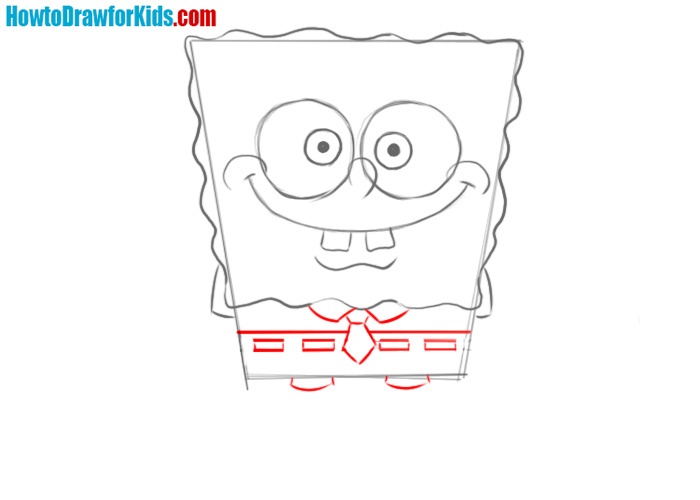
- Detail the body.
Now let’s detail the part of the body of the character that is not covered by clothes. Use a wavy line for this, as in our example.
- Add clothing items.
You can see Spongebob’s favorite clothes in each episode. I’m talking about the tie, shirt and shorts. Let’s draw the contours of these elements of clothing.
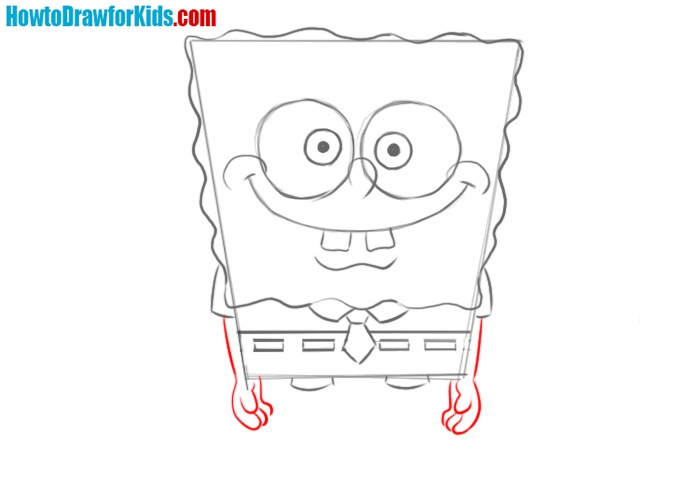
- Draw Spongebob’s hands.
Have you often seen the hands of sea sponges? I hope not. But in this step we have to draw the contours of the palms and gently rounded fingers.
- Draw the legs.
Now draw thin bending legs and large shoes with rounded toes. Don’t forget to outline SpongeBob’s socks.

- Erase the guidelines.
Erase unnecessary contours from the whole SpongeBob drawing. Add small round pores. Try to copy the pore size and their location as accurately as possible.

- Color the SpongeBob drawing.
Color Spongebob in his traditional colors. Avoid too bright colors to keep the same color range as in the cartoon. Do not forget about small details such as a blush on the cheeks and stripes on the socks.
Do not forget to download the PDF file that I have prepared especially for your convenience, so that you can return to this drawing lesson at any time convenient for you.
Alternative Way to Draw SpongeBob SquarePant
So, let’s now try to look at the process of drawing this cartoon character from a slightly different angle, both literally and figuratively.


ball