How to Draw a Half Moon
I love space and everything connected with it, and I hope you do too, because today I present to you a lesson on how to draw a half moon.

How to Draw a Half Moon: Basic Information
Drawing a half moon is an excellent exercise for learning about symmetry and the use of curves. The half moon, with its smooth and graceful arc, provides a perfect subject to practice precision and control.
One key aspect to focus on is the balance between the inner and outer curves that form the crescent shape. Ensuring these curves are smooth and proportionate will make your half moon look more natural.
Pay close attention to the overall shape and flow of the moon as you draw. It’s important to keep your lines light and adjustable initially, as this allows for easy corrections and adjustments. This practice can be particularly beneficial for young artists, helping them develop patience and attention to detail.
The simplicity of the half moon shape also offers a great opportunity to learn shading and coloring techniques. You can experiment with different shades of yellow, white, or even add a bit of texture to represent the moon’s surface. This adds realism to your drawing, making it more interesting.
Half Moon Drawing Tutorial
Materials
- Pencil
- Paper
- Eraser
- Coloring supplies
Time needed: 15 minutes
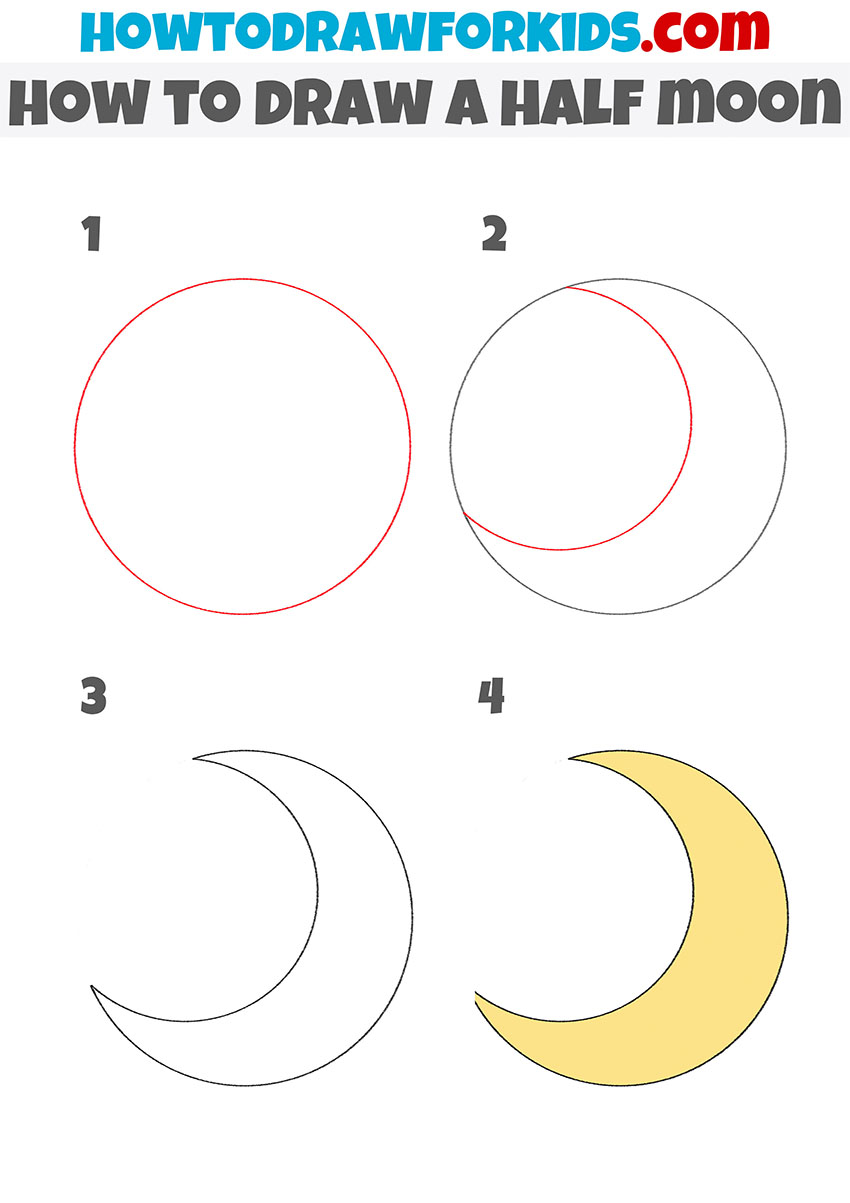
How to Draw a Half Moon
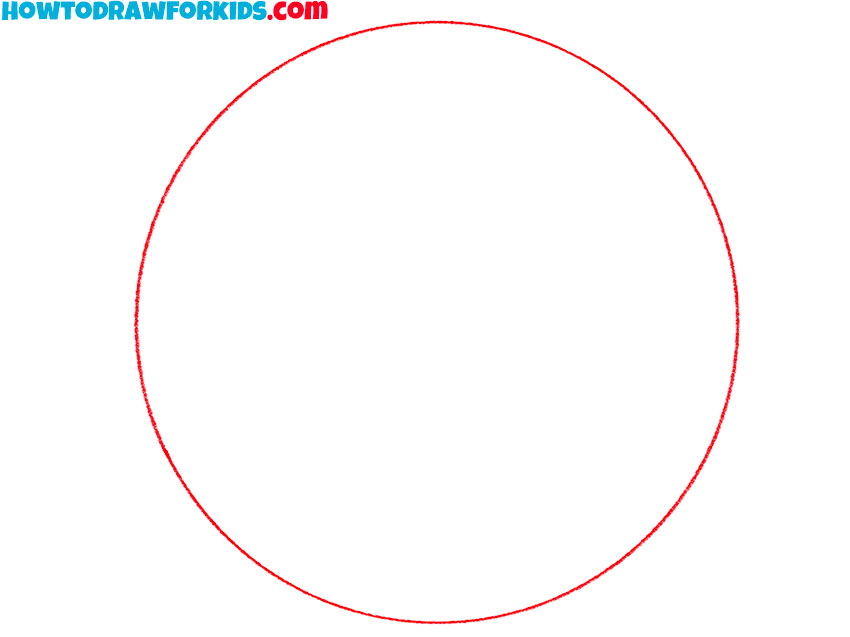
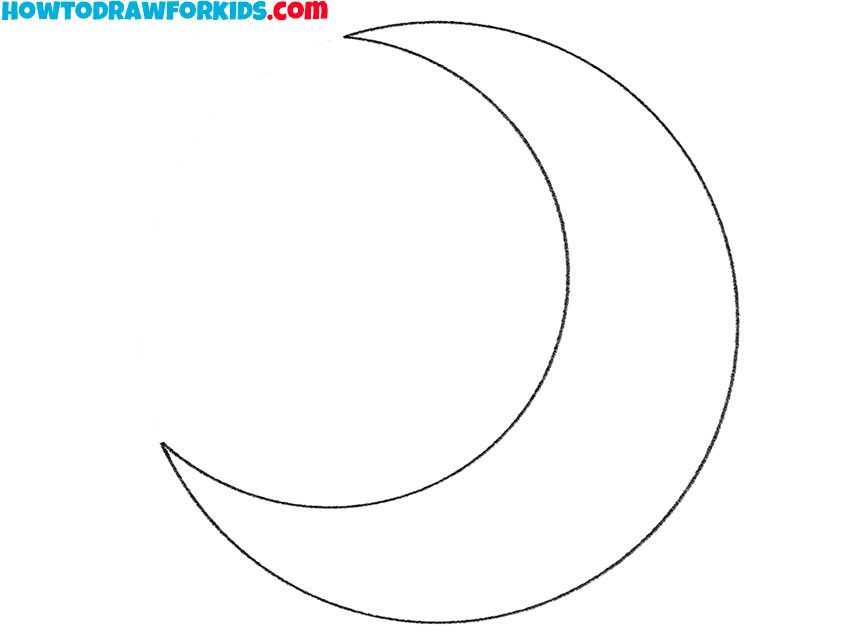
- Draw the outer contours of the half moon.
Start by drawing a large circle using a compass or tracing around a circular object to get a perfect shape. This circle will form the base of your half moon. If you’re drawing freehand, you might want to sketch lightly at first to make corrections easily before finalizing the shape with a darker line.
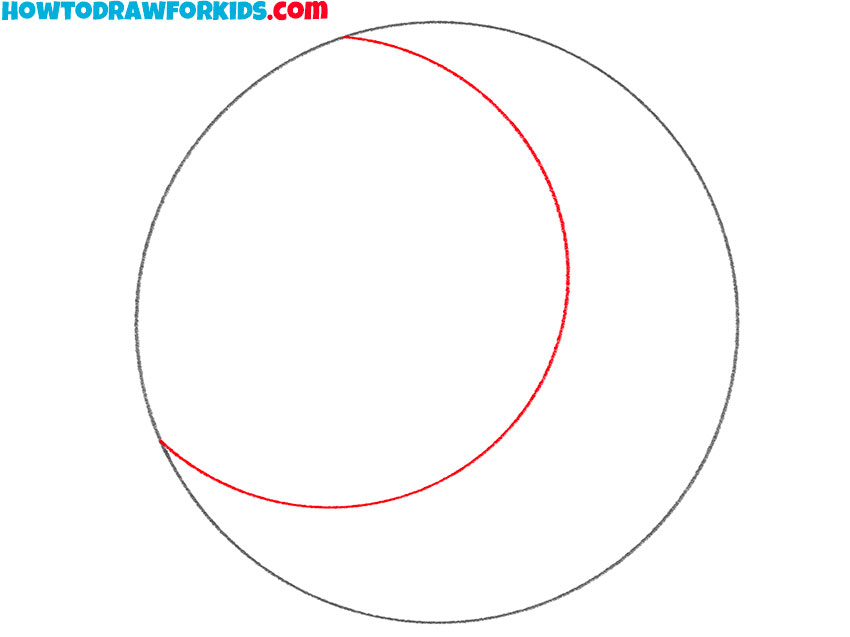
- Add the inner outline of the half moon.
Inside the first circle, draw a smaller circle that overlaps on the right side. This second circle should be approximately three-quarters the diameter of the first. This inner circle will determine the curved edge of the half moon and help in sculpting out the crescent shape that we are aiming for.
- Erase the guidelines from the sketch.
Now, erase the leftmost segment of the larger circle, keeping the overlapping parts intact. Clean up your edges to make sure the curves are smooth and the overall shape is clear. This step shapes the crescent moon, so take your time to ensure the curves are precisely how you want them.
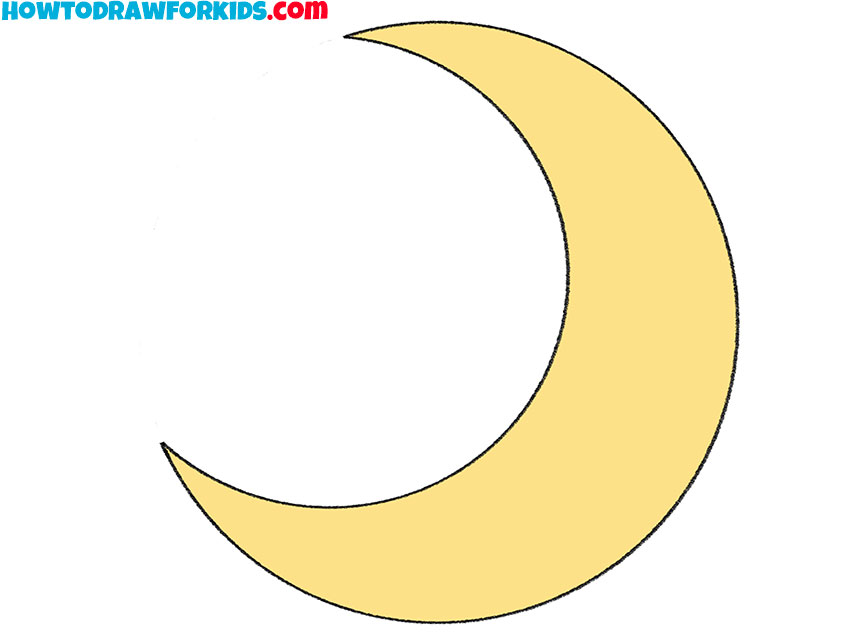
- Color the half moon drawing.
Once satisfied with the shape, you can add color. In this example, a warm yellow shade is used to fill the crescent, adding a vibrant and lively look to the drawing. Coloring can be done using crayons, colored pencils, or even digitally.
Additional Content
I’ve also prepared a free PDF file with a concise version of this drawing lesson just for you. Furthermore, this file is entirely free, and once you download it, you can enjoy drawing a half moon even when you’re not connected to the internet.
Additionally, this means you can take the lesson wherever you go, whether you’re at home, in the park, or on a long car ride. Finally, having this PDF on hand will ensure you have all the steps right at your fingertips, anytime, anywhere.
Create Your Own Artwork
Well, grab your pencils and crayons, because we’re about to dream up a bunch of cool places where your half moon can shine bright. Here are some out-of-this-world ideas to get you started:
- Begin by coloring the backdrop with a rich, deep blue to represent the night. Sprinkle the sky with twinkling stars using a white or silver pen. Add some gently drifting clouds with soft edges, slightly obscuring some stars to add depth. In the midst of this celestial tableau, position your half-moon, radiating a soft, yellow light that subtly fades into the surrounding blue, creating a serene nighttime glow.
- Picture an old forest with towering trees whose trunks and branches create a labyrinth of shadows. Sketch these trees with dark, earthy tones and add finer details like bark textures and knots. In this mystical forest, have your half-moon peek through an opening in the canopy, its silvery light casting long, eerie shadows across a winding forest path, adding an element of mystery and depth to the scene.
- Draw a secluded bay, its waters calm and reflecting the night sky. Sketch an old pirate ship with weathered wood and tattered sails anchored in the bay. Above the cove, your half-moon acts as a silent sentinel, its glow highlighting the contours of the ship and creating sparkling reflections on the water.
- Construct a castle with high towers and ornate windows. Use lighter shades to highlight the architectural details and darker shades for the shadowed areas. Position your half-moon in the backdrop, casting a gentle golden hue over the scene, which bathes the castle walls in warm light.
- Illustrate a quaint town at night, with houses nestled closely together under a starry sky. Sketch the town with subdued colors and darkened windows to convey the quiet of night. Place your half-moon above, its vigilant light overseeing the peaceful, sleepy town, adding a comforting glow to the darkened streets.
- Finally, depict an owl perched solemnly on a gnarled tree branch. Focus on the details of the owl’s feathers and wise, penetrating eyes. Above, the half-moon hangs attentively, casting a soft light that seems to listen to the stories whispered by the wise old owl.
Each of these scenes provides a detailed framework for your half-moon drawing, each adding a unique look to your compositions. Choose a scene that resonates with your artistic inclinations.
Conclusion
If you have an interest in space and celestial subjects, you’ll find a lot of resources on my website dedicated to space-themed drawing lessons. With my tutorials you an learn to draw stars, planets, and galaxies.
Consider starting with lessons on how to draw the Moon or perhaps a tutorial on sketching the Sun.
Be sure to follow my social media to keep up with new tutorials that continuously expand our artistic frontiers. Keep your drawing tools at the ready and learn how to draw with my website.