How to Draw a Full Moon
In this tutorial, I’ll show you how to draw a full moon by creating its round shape and adding the large craters that give its surface a familiar appearance.
Prepare to Draw a Full Moon
Although the full moon looks like a simple circle from a distance, its surface has many distinctive features and details.
Large craters, dark lunar plains, and an almost perfectly round outline all help create its familiar appearance. In this lesson, I’ll snow how to illustrate those features and keeping the drawing process simple.
Unlike many other space drawing guides, this one doesn’t require complicated perspective or a lot of construction lines.
Most of the work comes from placing the craters in a natural way and giving the surface enough variation to make it look like the Moon instead of an ordinary circle.
At the end of the lesson, I’ll also show you a second way to draw the full moon using a different approach. I’ll share a few simple ideas for changing the surface texture and adding your moon to different night landscapes and space scenes.
Full Moon Drawing Tutorial
Materials
- Pencil
- Paper
- Eraser
- Coloring supplies
Time needed: 30 minutes
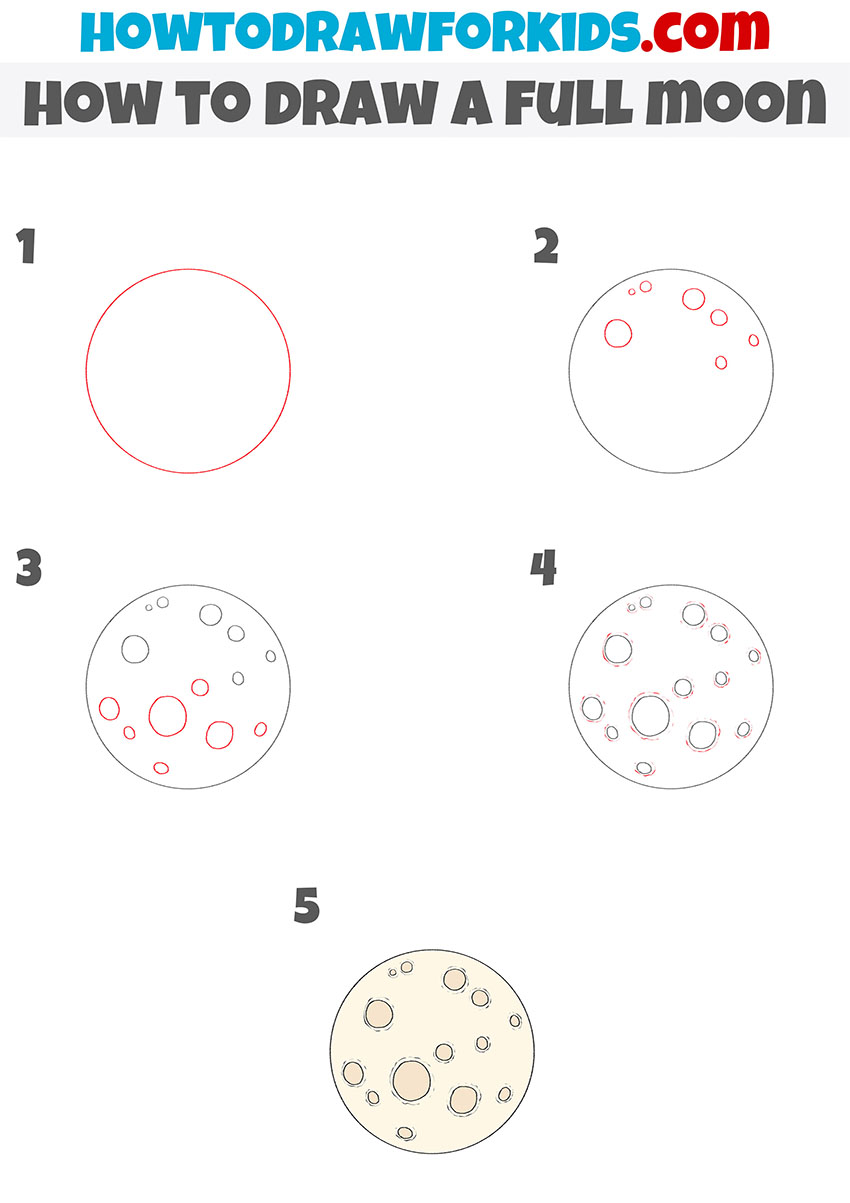
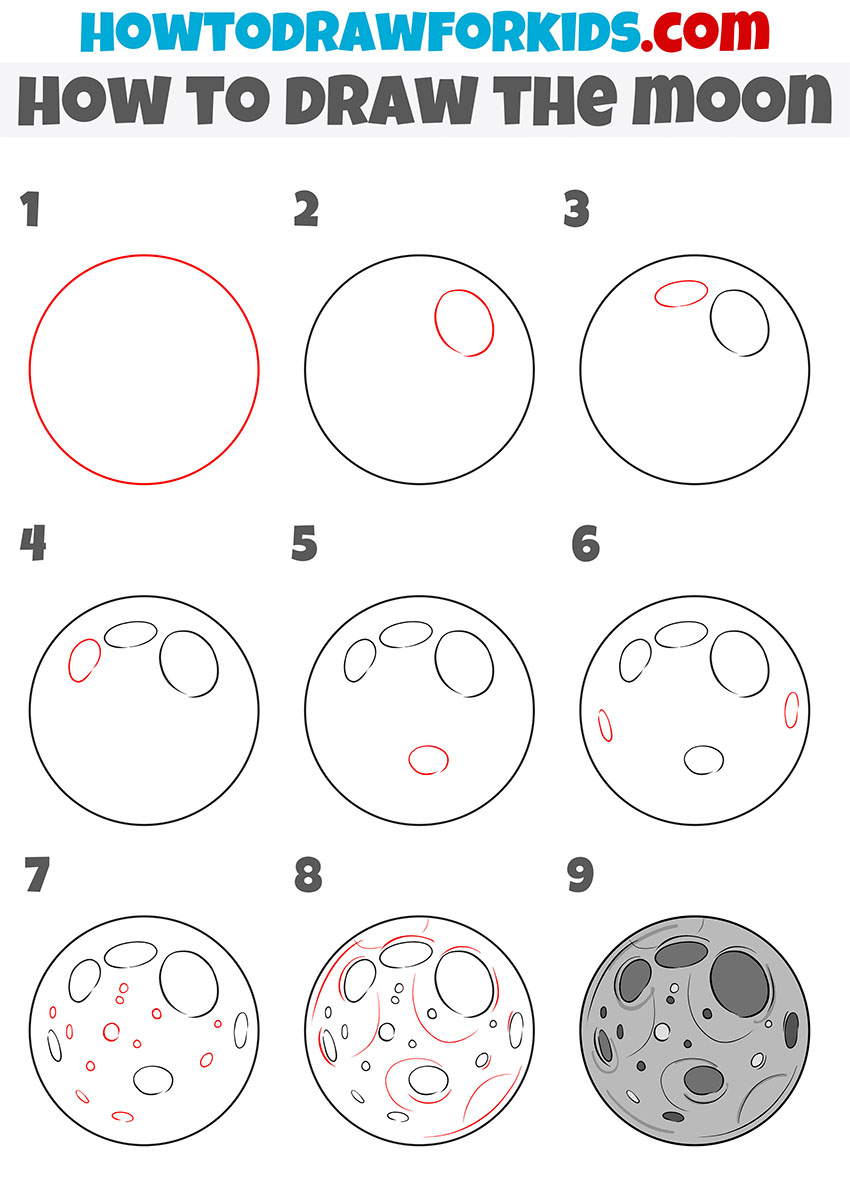
How to Draw a Full Moon
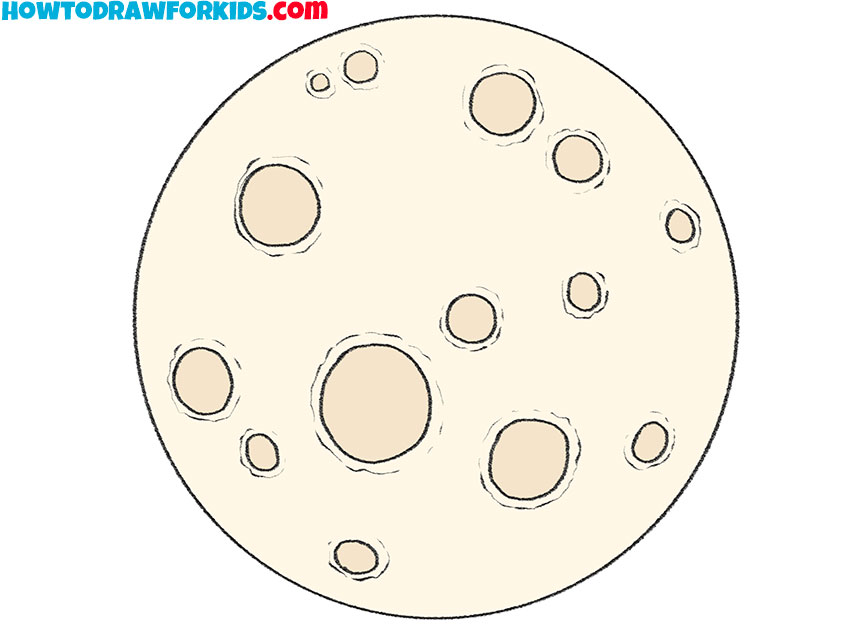
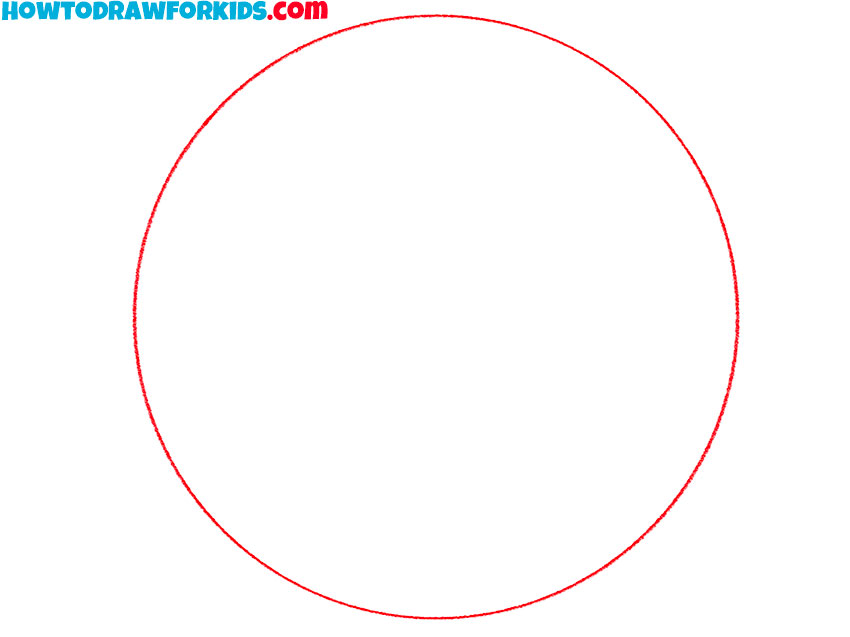
- Draw the outer outline.
The circular shape is key to capturing the essence of a full moon. Steady your hand and try to make the line smooth, avoiding any sharp edges or irregularities.
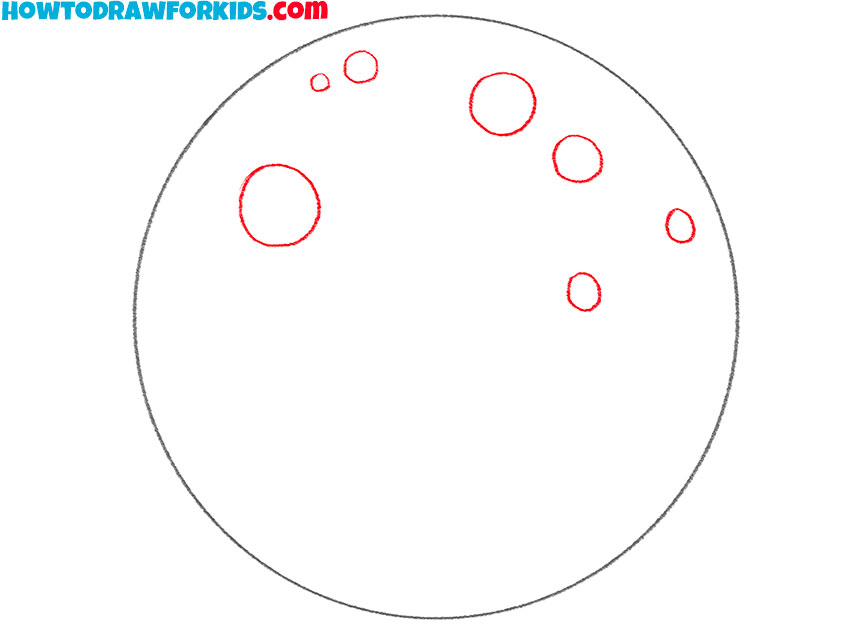
- Add the spots on the top of the Moon.
Inside the circle, lightly sketch smaller circles of various sizes to represent the moon’s craters. These don’t have to be perfectly round; slight irregularities can make the drawing more realistic
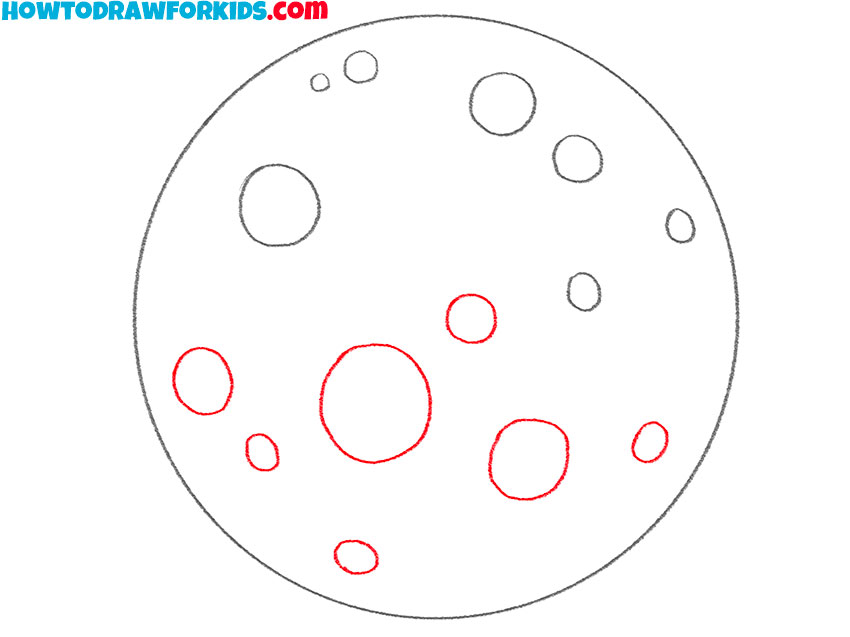
- Depict the spots on the bottom of the Moon.
As you outline the craters, remember that the line weight can help convey depth, with heavier lines suggesting a deeper or more shadowed crater.
- Add details.
With the craters outlined, start shading boundaries around craters. The shading should be darker on one side of each crater, typically the side opposite your imagined light source.
- Color the drawing.
For coloring, you can use different shades of gray or brown. As I said, darker colors give a sense of depth, so use this technique to color the craters of the moon.
Additional Content
I’ve also prepared a free PDF version of this full moon drawing tutorial. It includes the main drawing steps in a simplified format, along with a coloring page, tracing worksheet, and grid drawing worksheet.
You can download it for free and use it anytime, even without an internet connection.
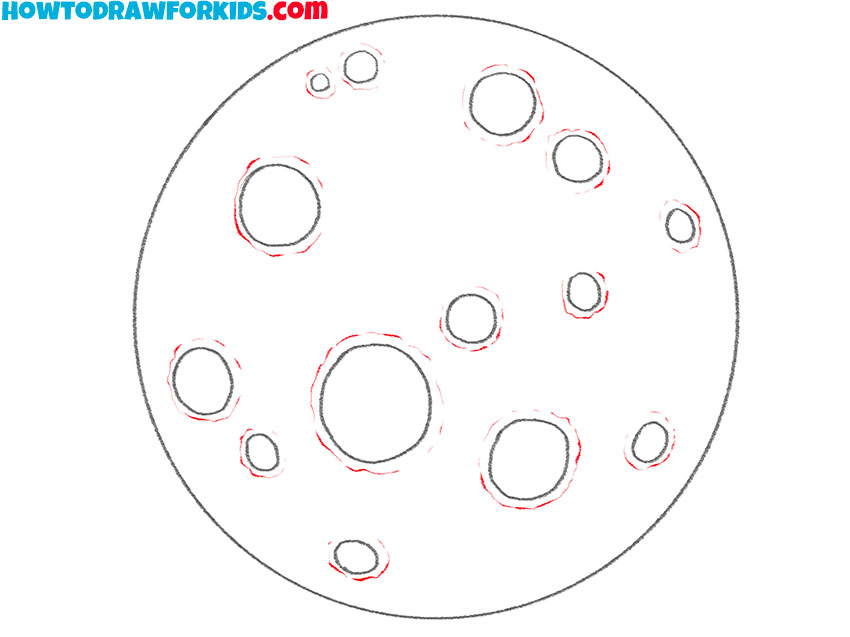
Alternative Full Moon Drawing Method
I’d also like to show you a second way to draw a full moon. This method follows a completely different approach, beginning with the larger surface features before gradually adding the smaller craters and darker areas.
It uses a different sequence of steps and stronger shading. This gives the Moon a different overall appearance.
Once you’ve completed both versions, compare the results and see which method you prefer. You can also experiment with the size, number, and placement of the craters to create your own version of the full moon.
Drawing Tips and Advices
Now that you’ve finished the drawing, take a closer look at the shape of the Moon. A smooth, even circle is the foundation of the entire drawing, so it’s worth correcting the outline before moving on to the details.
The craters don’t all have to be the same size or evenly spaced. Using a mixture of large and small craters will make the surface look much more natural.
You can also shade only some of them to create more variation instead of giving every crater the same amount of detail.
If you want a more realistic result, leave a few areas of the Moon lighter than others. These small changes help the surface look less flat and make the drawing more interesting without making it much more difficult.
Next Steps After Drawing a Full Moon
Now that you’ve finished drawing the full moon, you can use it as part of a larger night scene. Try drawing a night sky with stars and clouds.
Also, try my half moon drawing tutorial to see how different moon phases change the overall look of a scene.
You can also practice drawing the Sun to better understand the differences between these two familiar objects in the sky.
I hope this tutorial helped you learn how to draw a full moon and gave you a few new ideas for your drawings. There are many more step-by-step tutorials on my website, so be sure to check back for new lessons.
If you’d like to draw even more celestial objects, be sure to visit my complete collection of space drawing ideas. You’ll find tutorials covering planets, stars, moons, rockets, and many other space-themed subjects.
If there’s another space object or nature scene you’d like to learn how to draw, feel free to leave a comment below. I always enjoy reading your suggestions for future tutorials.