How to Draw a Wolf Paw
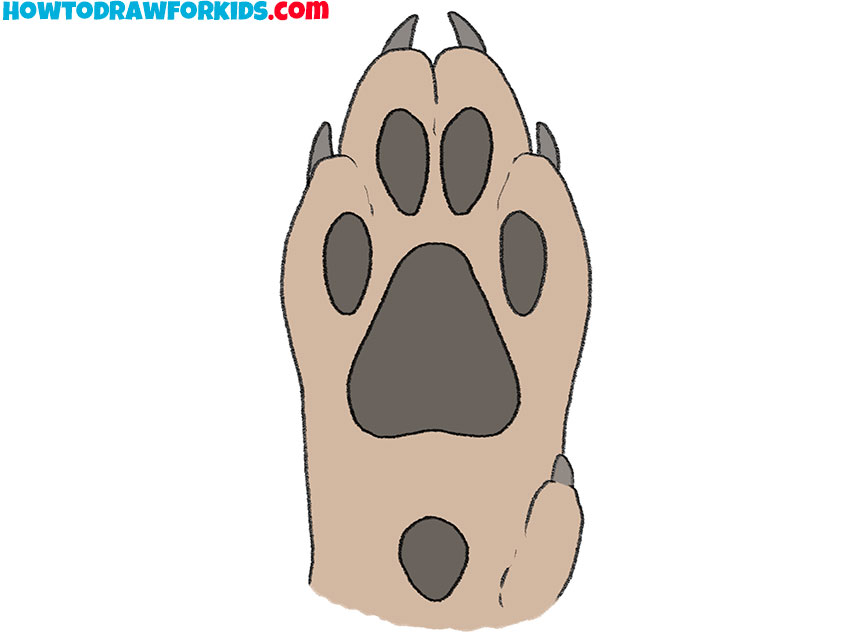
A wolf paw has a clear pad pattern that makes it an interesting animal drawing subject. In this tutorial on how to draw a wolf paw, you will build its outline first and then add the toes, claws, and pads.
Prepare to Draw a Wolf Paw
The outline is wider near the toes and narrower near the wrist. Watch this change in width as you work, since straight parallel sides would make the paw look stiff.
The four main toes form the upper edge of the paw. The two middle toes sit slightly higher, so avoid placing all four tips along one flat line.
The pads do not need to be perfectly identical. Small differences in their shapes can look natural, but they should remain clearly separated inside the outer contour.
Wolf Paw Drawing Tutorial
Materials:
- Pencil
- Paper
- Eraser
- Coloring supplies (brown and dark gray)
Time needed: 30 minutes
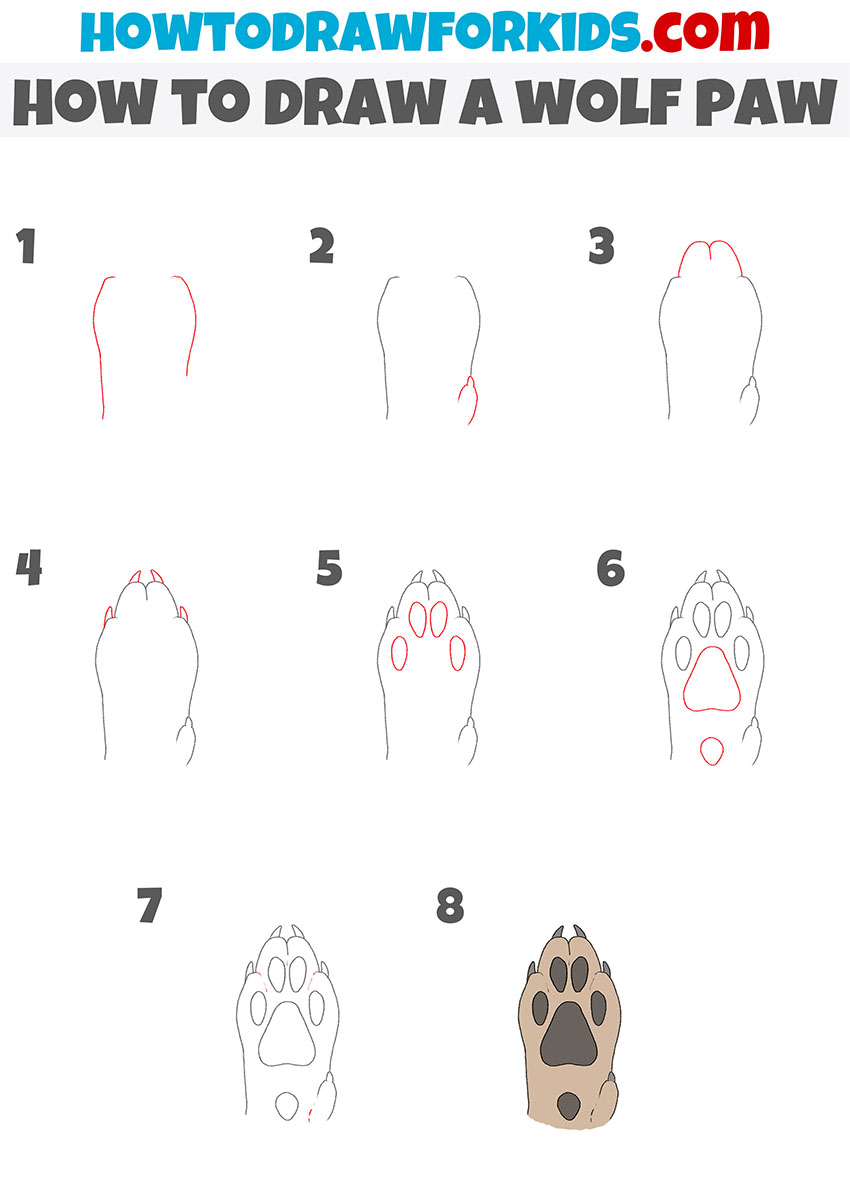
How to draw a wolf paw step by step
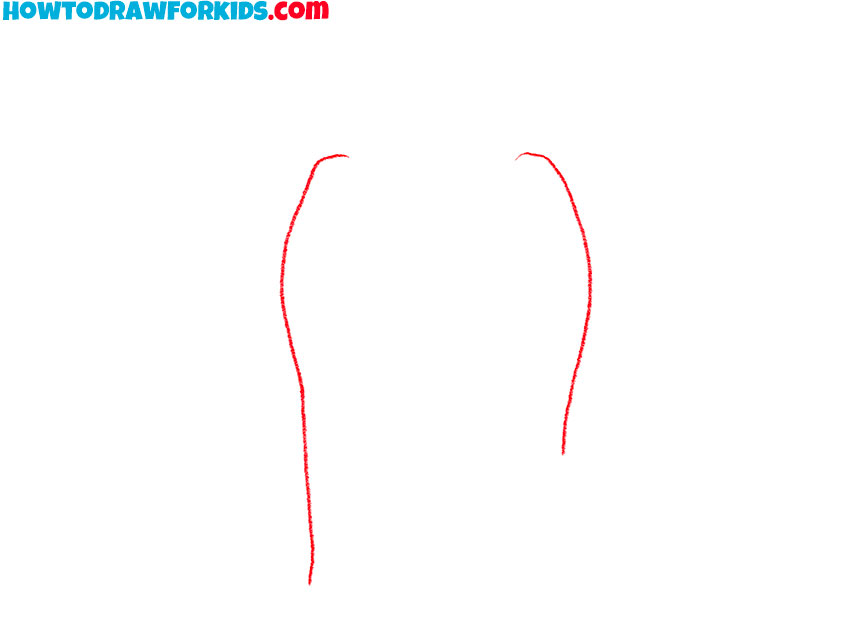
- Outline the sides of the wolf paw.
Sketch two long lines for the outer sides of the wolf paw. Curve them outward near the upper part and bring them slightly closer together toward the lower edge of the drawing.
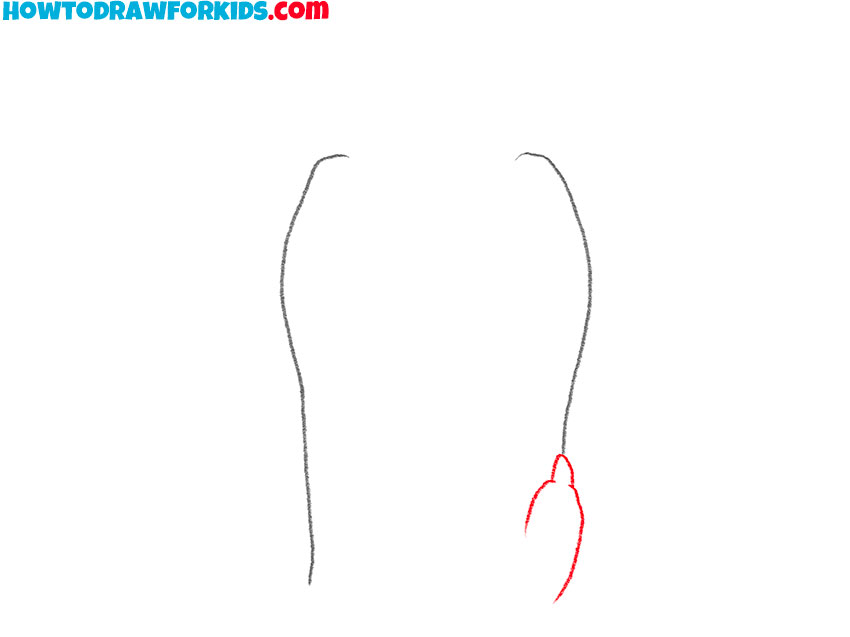
- Add the side toe and claw.
On the lower right side, draw a small toe that projects beyond the main paw outline. Finish its tip with a short pointed claw.
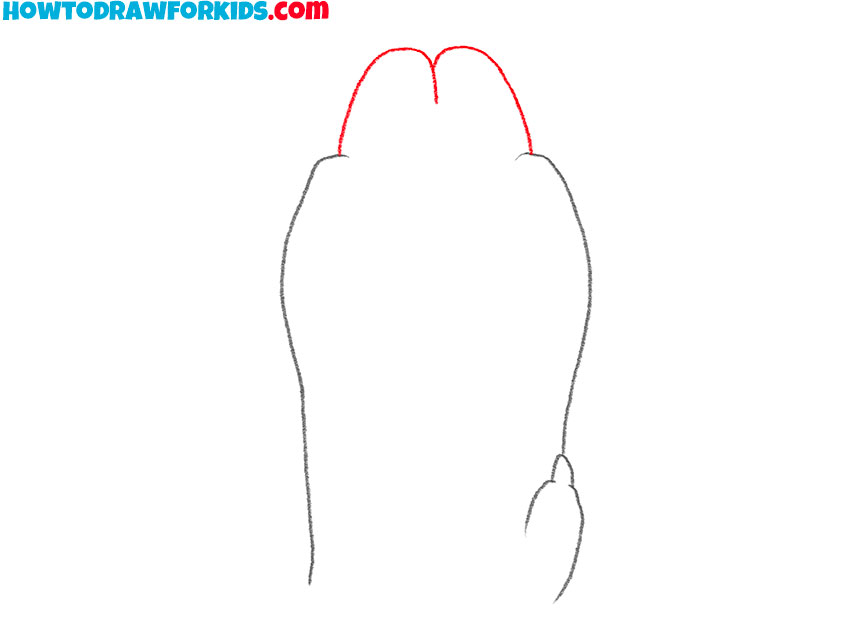
- Draw the two middle toes.
Shape the upper edge of the wolf paw with two connected curves. Place the dividing line near the center and make the middle toes rise a little above the outer sides.
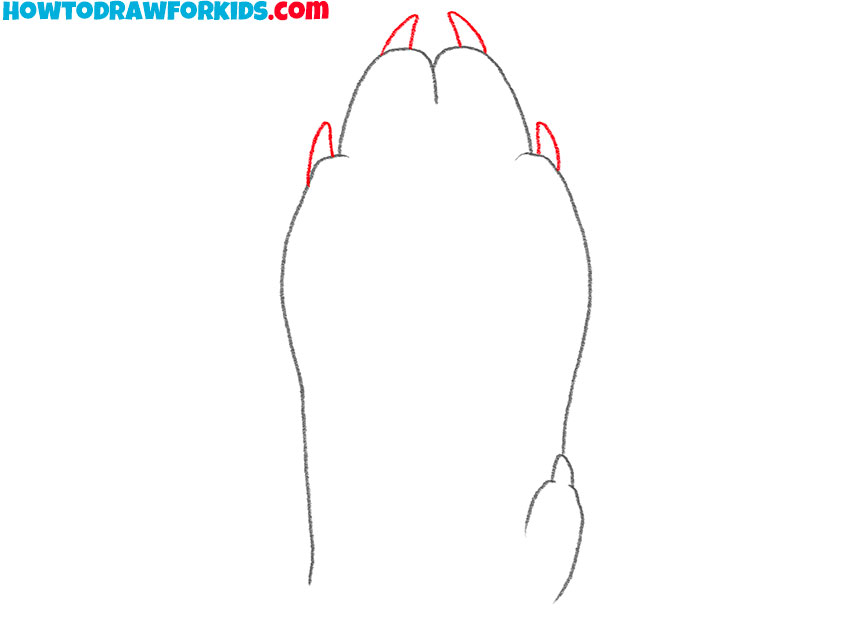
- Sketch the wolf paw claws.
Add one small pointed claw above each of the four main toes. Angle the claws slightly toward the middle and leave a narrow space between the two central claws.
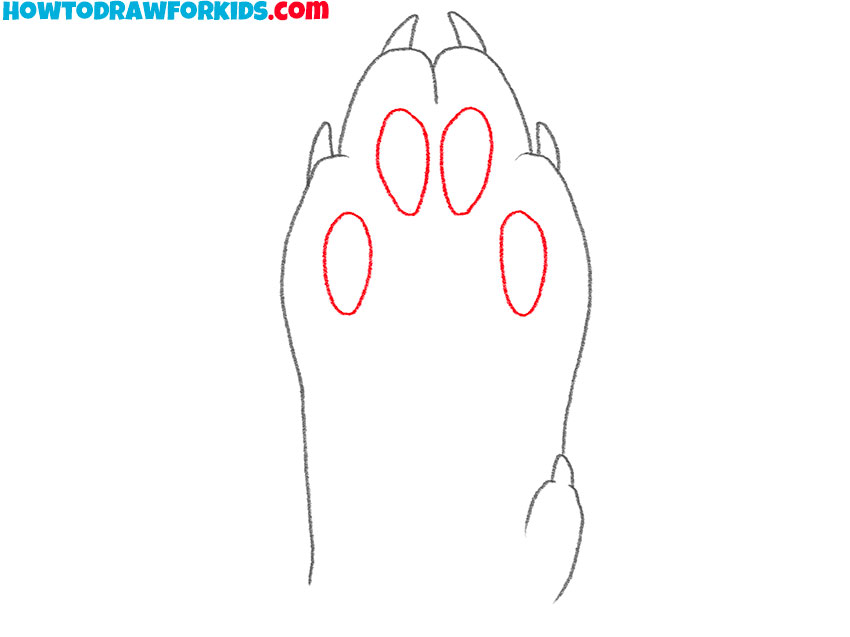
- Outline the four toe pads.
Inside the wolf paw, sketch one narrow pad beneath each toe. Place the two middle pads higher than the side pads and leave clear gaps between all four shapes.
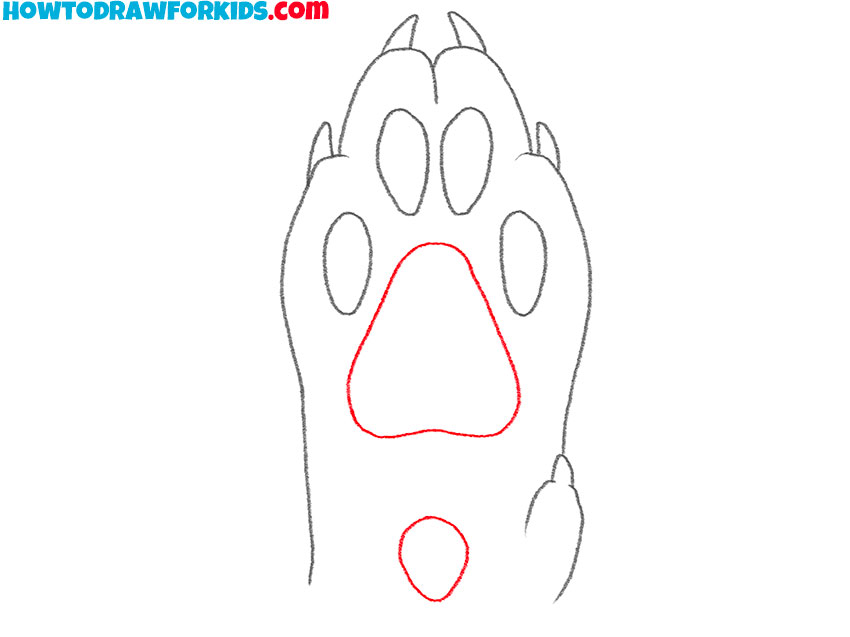
- Add the main wolf paw pads.
Draw the large central pad below the four toe pads. You can also give it three gentle bumps along the lower edge. Then add a smaller oval pad near the wrist at the bottom.
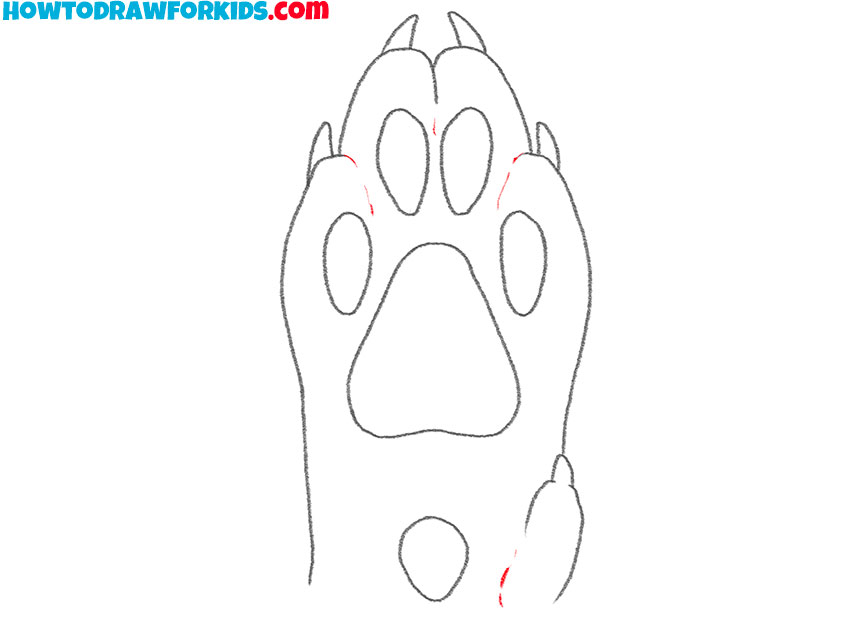
- Complete the paw outline.
Add short dividing lines between the middle toes and near the lower side toe. These small marks separate the parts of the paw without filling the drawing with extra detail.
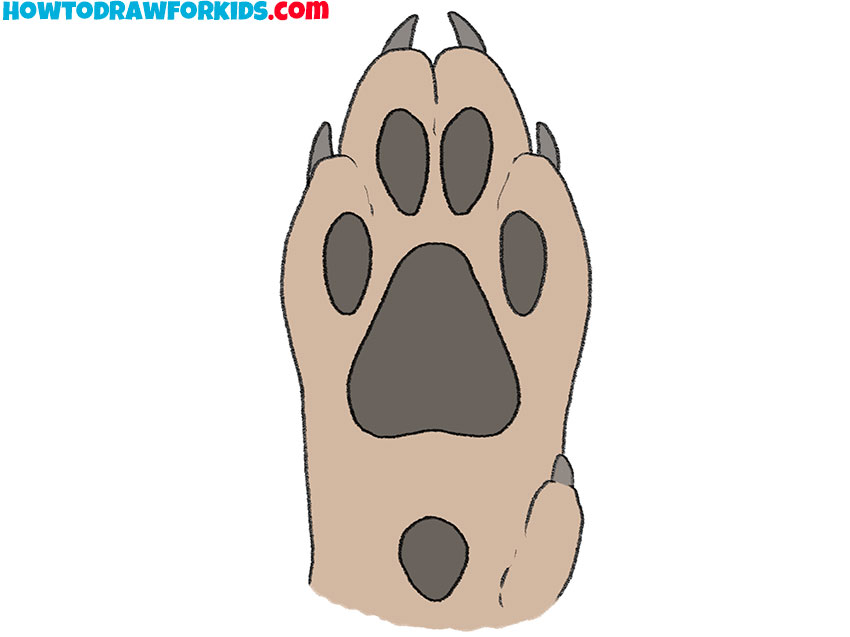
- Color the wolf paw drawing.
Fill the fur area with light brown. Use dark gray for the claws and all six pads, leaving the thin black outlines visible around each part of the wolf paw.
Wolf Paw Drawing Printables
Download the free PDF to use this wolf paw tutorial away from the screen. The printable file includes the drawing steps in a format that is convenient for practice at home or in class.
More Sketching Tips
A few small details can make the paw drawing look more believable without adding complicated texture.
- Make the paw wider near the toes and narrower near the wrist. A straight-sided outline will look more like a sleeve than an animal paw.
- Place the two middle toes slightly higher than the outer toes. This uneven upper edge gives the paw a more natural form.
- Draw the claws as short pointed shapes. Large claws may cover the ends of the toes and change the simple style of the drawing.
Your paw may differ slightly from the example. The toes and pads can vary in size as long as they remain arranged around the larger central pad.
Conclusion
The finished wolf paw is built around a simple outer shape, with the pads arranged clearly inside it. The slight difference in height between the toes keeps the upper edge from looking flat.
Next, try drawing a dog paw. Its shape is close to a wolf paw, so you can compare the placement of the toes, claws, and central pad.
You can also practice drawing a cat paw. The softer outline and hidden claws make it noticeably different from the wolf paw.
For a simpler variation, continue by drawing a puppy paw. Its larger pads and softer shapes work well for a younger animal character.