How to Draw a Heater
In this lesson, you will learn how to draw a heater. This lesson will help all novice artists to train their drawing skills.
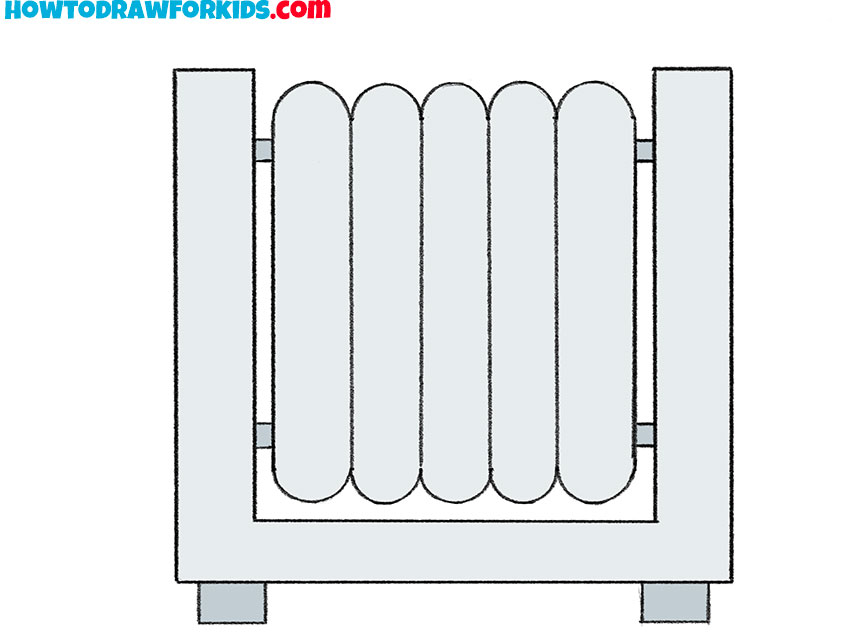
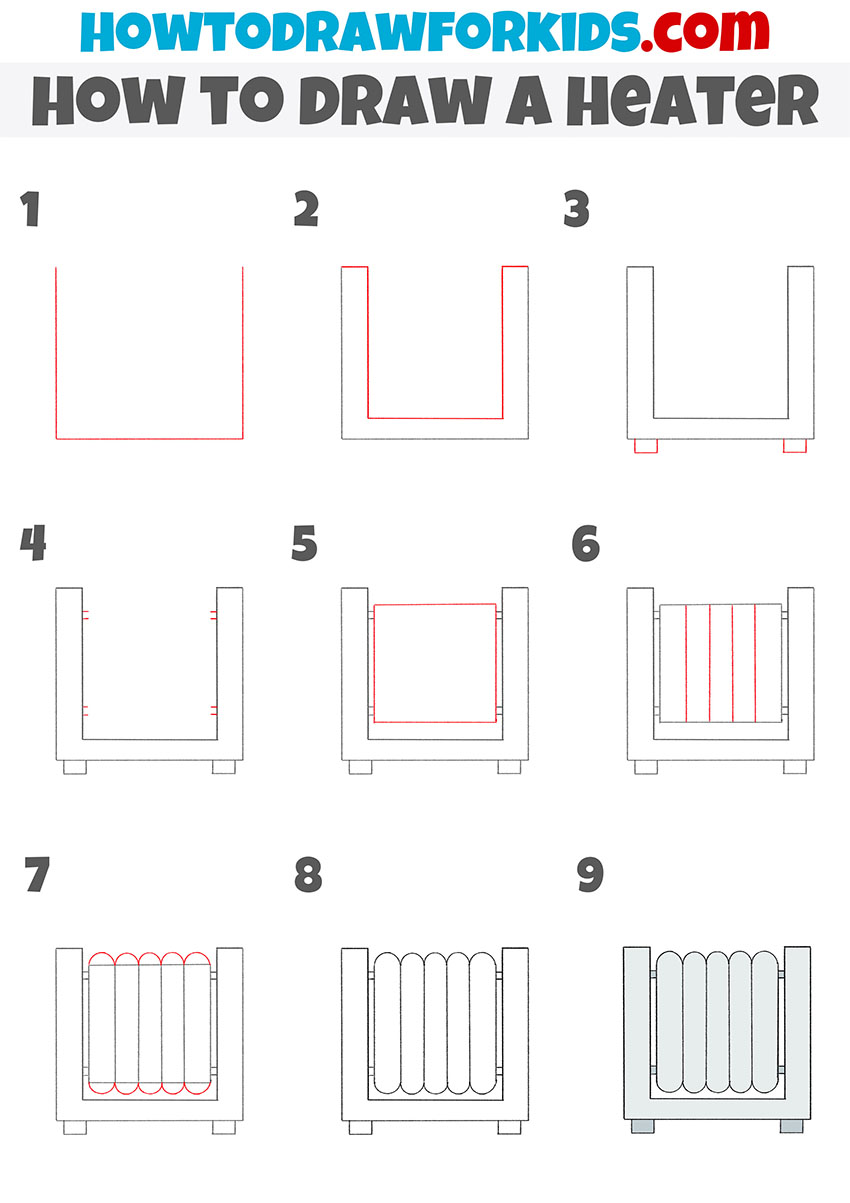
This is a simple instruction, which shows in detail how to draw a heater. This is a useful household appliance with which you can heat the room. Heaters may have different designs.
In most cases, this device has a flat metal case, inside which there is a heating element. The heater has small dimensions and can be installed anywhere. Most often, heaters are electric and oil, but there are other models.
The figure shows a flat heater, which has a rectangular shape and consists of several elements. To successfully complete this lesson, you will need your ability to make even, straight lines.
Materials
- Pencil
- Paper
- Eraser
- Coloring supplies
Time needed: 30 minutes
How to Draw a Heater
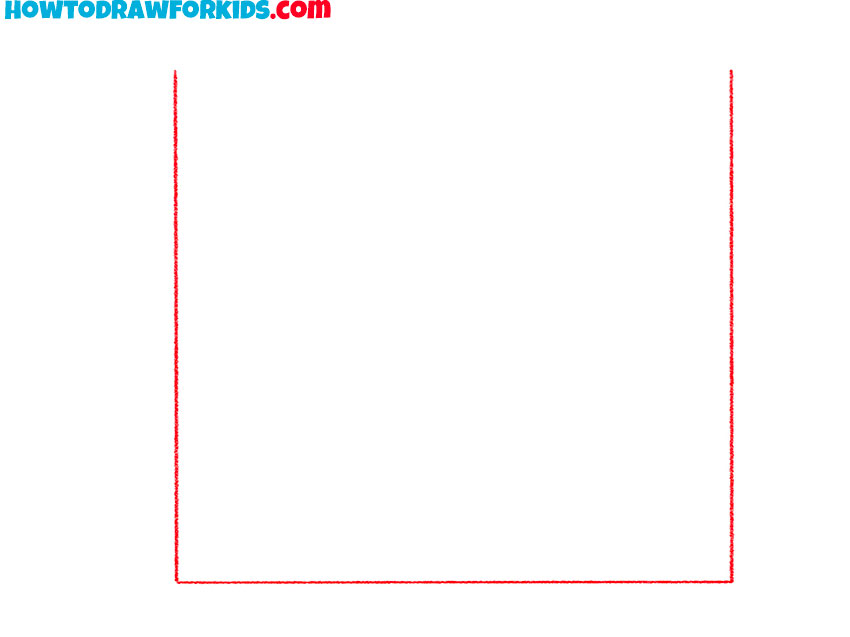
- Draw the sides and bottom outline.
Depict two vertical lines and draw a horizontal line at the bottom.
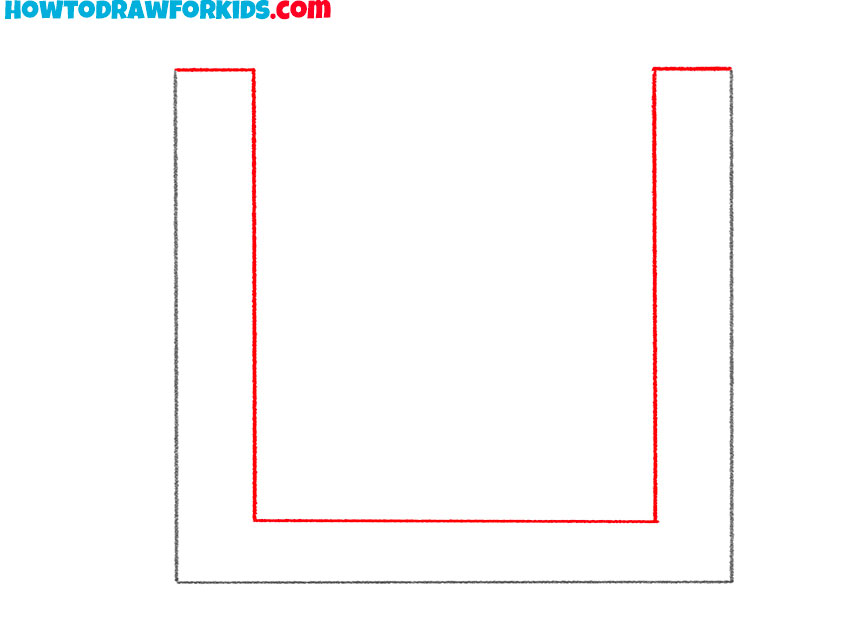
- Add the thickness of the outer contour.
Draw several straight lines, as shown in the example.
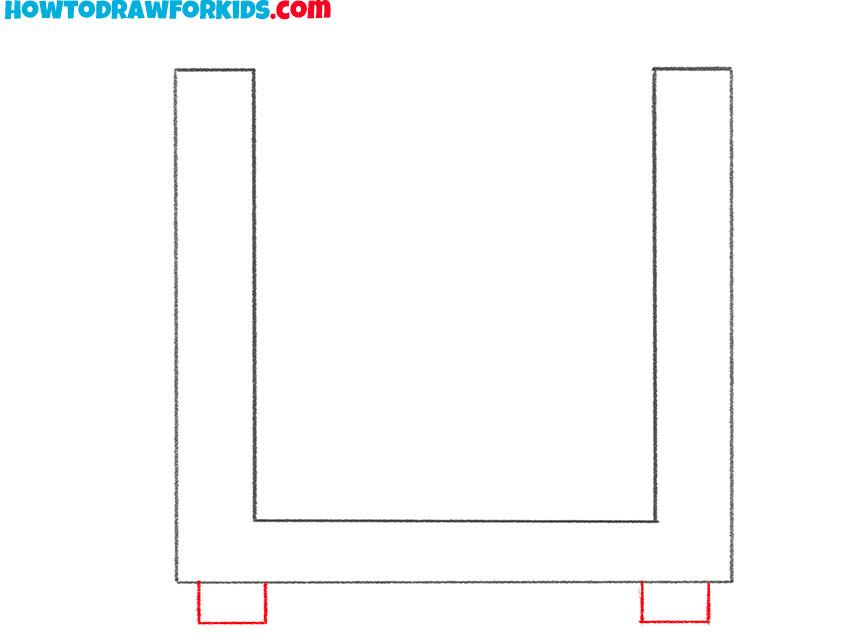
- Sketch out the legs.
On each side, draw small rectangles at the bottom.
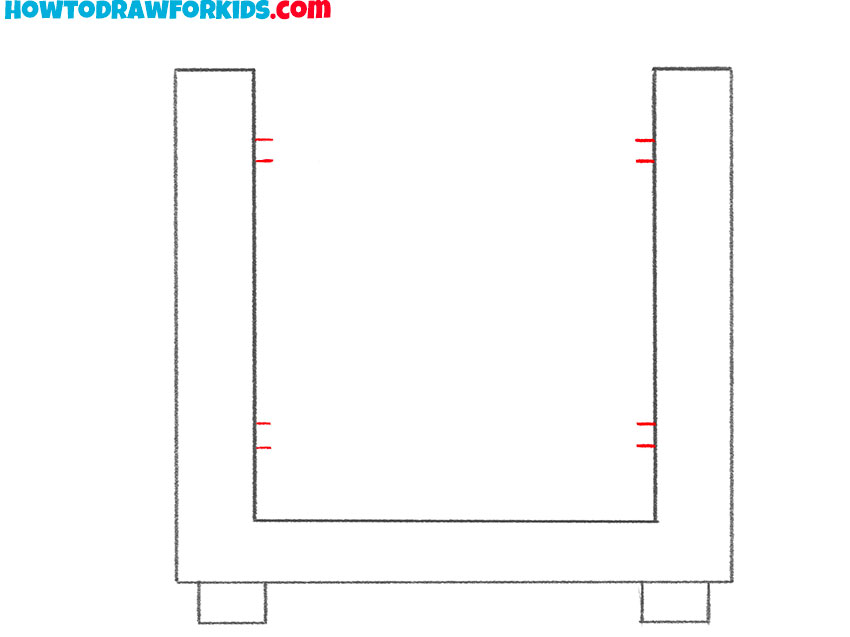
- Draw the side mount.
Depict short horizontal lines on each side.
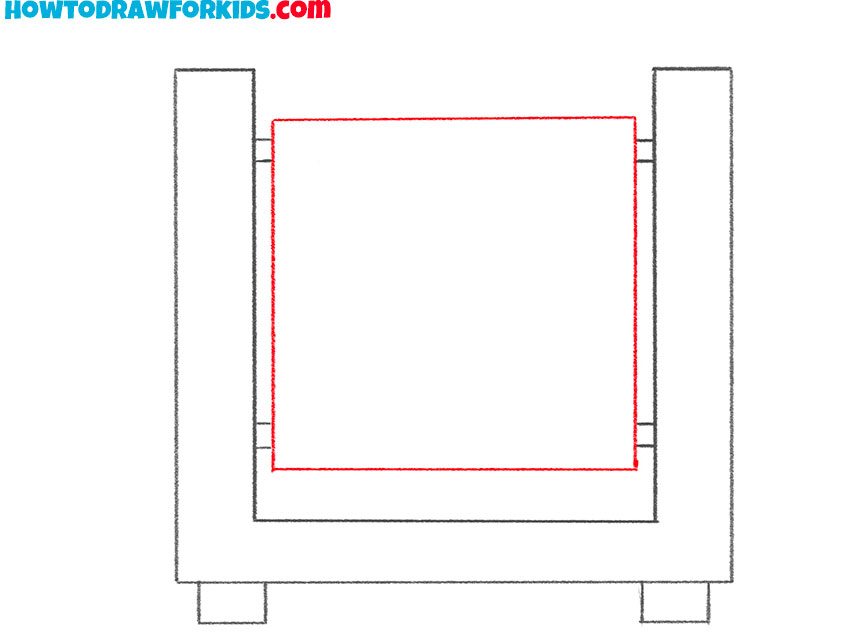
- Add the inside of the heater.
At this stage, draw a square in the middle.
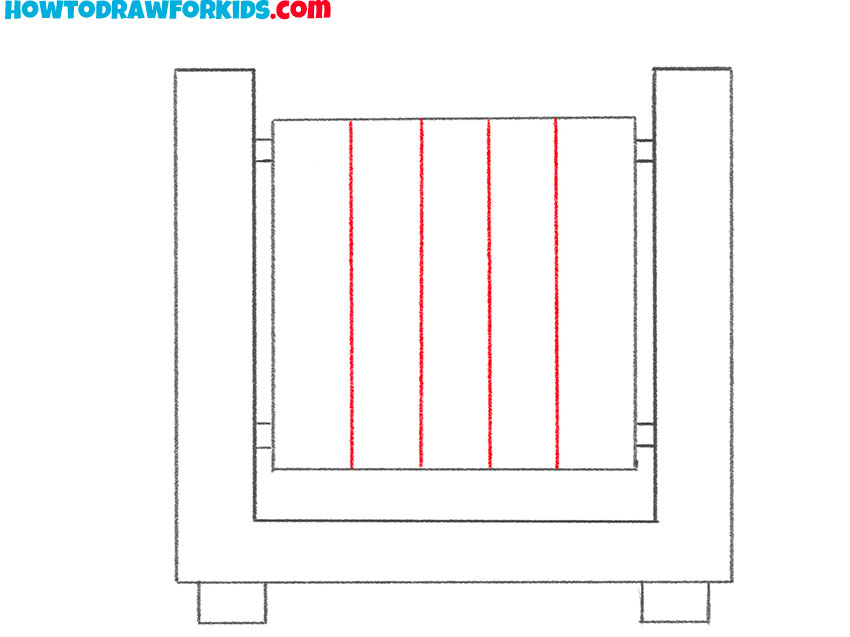
- Depict the rest of the elements.
Sketch out straight vertical lines in the middle of the square.
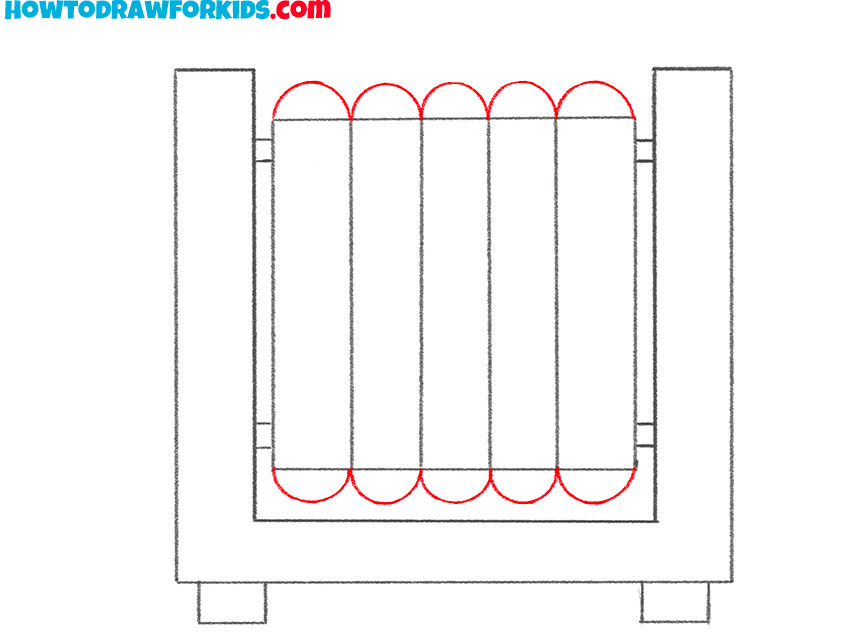
- Draw curly edges of the heating element.
Add semicircular lines at the top and bottom of the square.
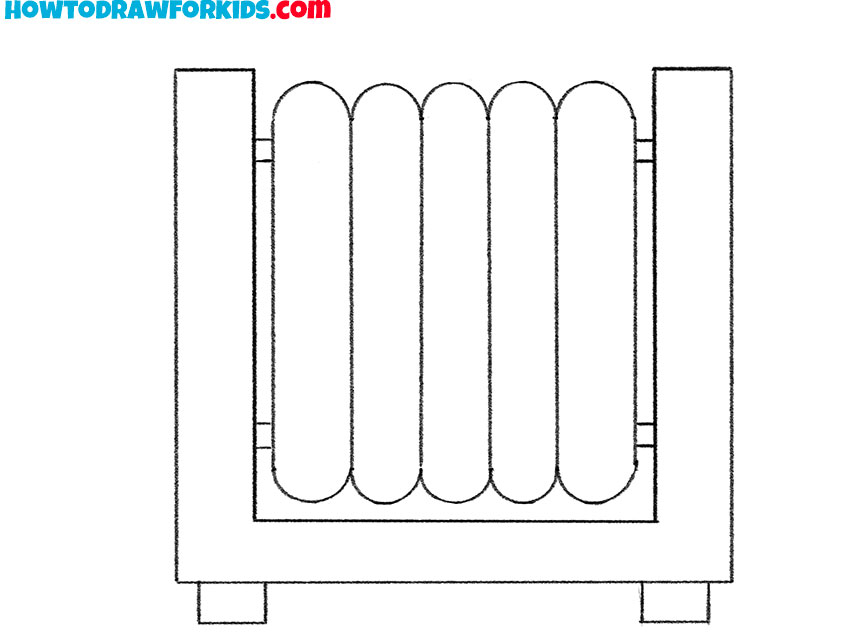
- Correct inaccuracies.
Remove all unnecessary lines in your drawing.
- Color the heater.
You can use light gray.

I remind you that you can download a short version of the lesson in PDF format. Save this file so that you always have access to the lesson, even if you don’t have Internet access.


looks cool