How to Draw a Panther
In this lesson, you will learn how to draw a panther. This instruction will be very easy, so you will quickly complete this task.
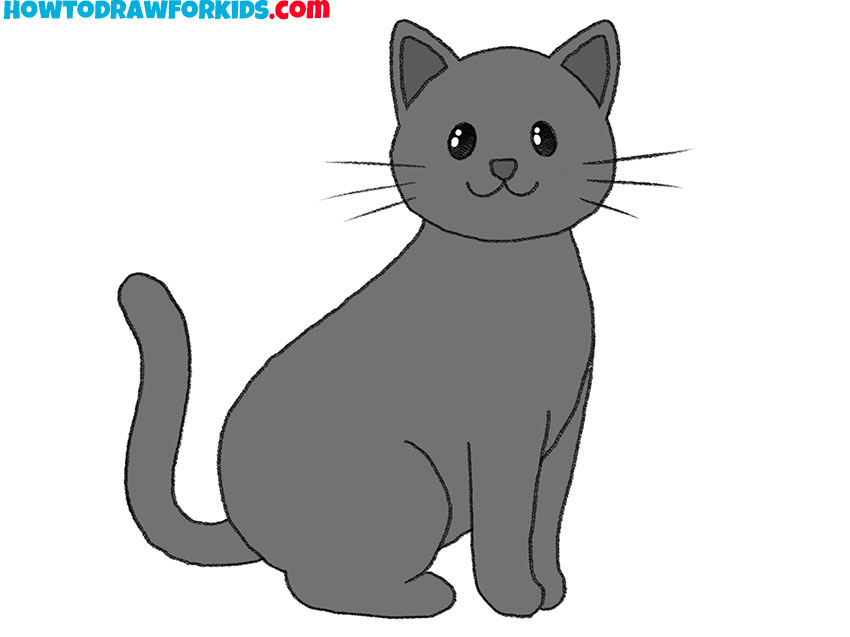
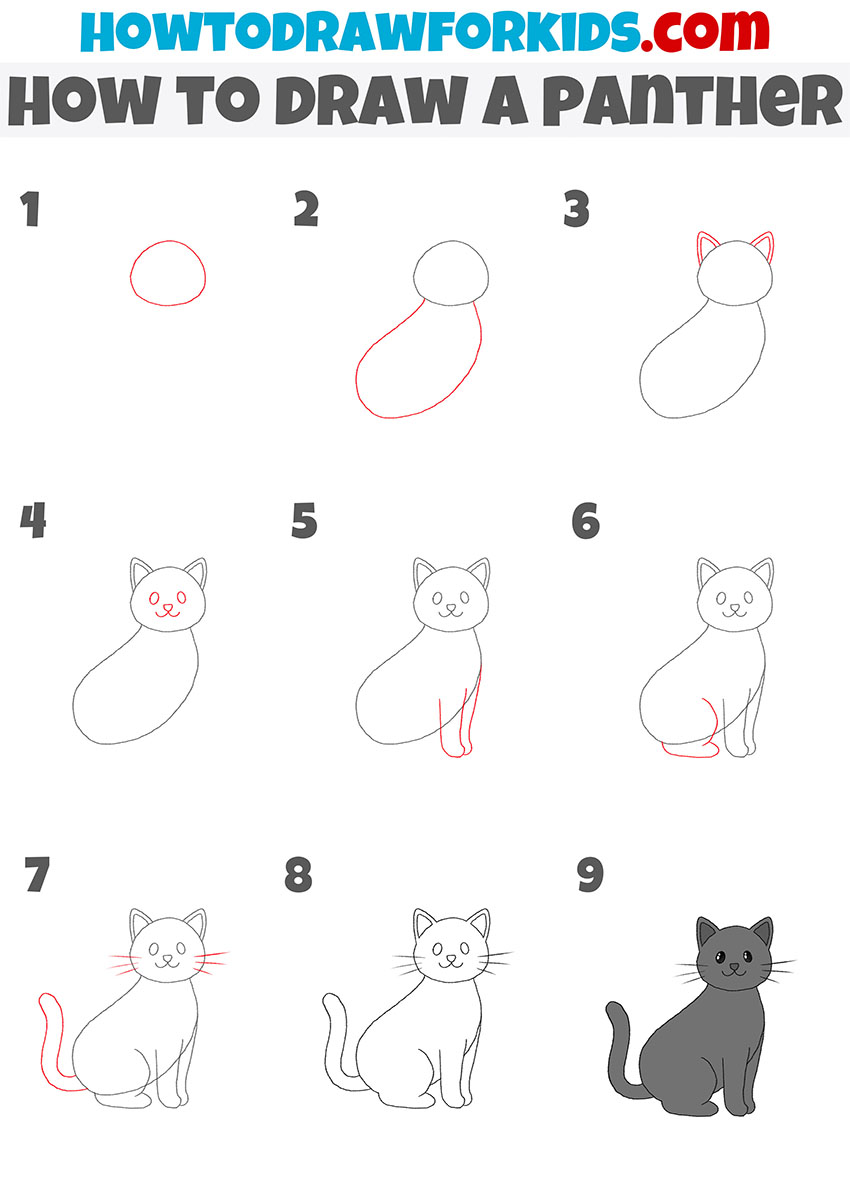
I have prepared this simple instruction, with which you can learn how to draw a panther step by step. Since the panther is a large animal that belongs to the cat family, the way you draw a panther with this lesson will be very similar to the way you draw a cat.
I am sure that you have seen the panther in various films, cartoons or in zoos. Usually, panthers are black. In this drawing lesson, you will first draw the head and torso of the panther, then add it to the facial features of the paws and tail.
The skills learned in this lesson will help you draw a panther in the future if you want to depict any landscape with the addition of a panther. So, now you need to prepare the materials for drawing, and you can start this lesson.
Panther Drawing Tutorial
Materials
- Pencil
- Paper
- Eraser
- Coloring supplies
Time needed: 30 minutes
How to Draw a Panther
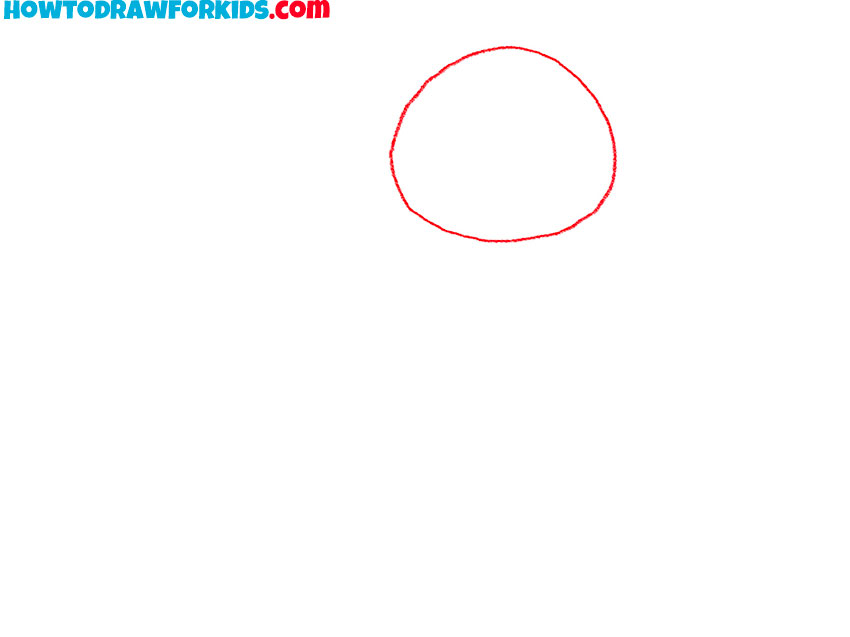
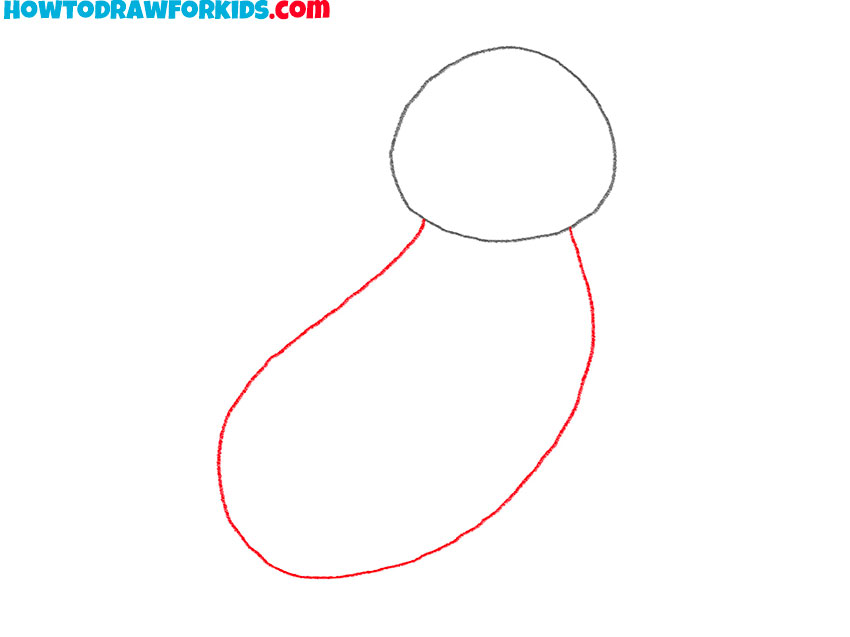
- Draw the outline of the panther’s head.
To depict the head of the panther, you need to draw an arbitrary shape that resembles an oval.
- Add the panther’s body.
Below the previously drawn outline of the head, add a large curved line.
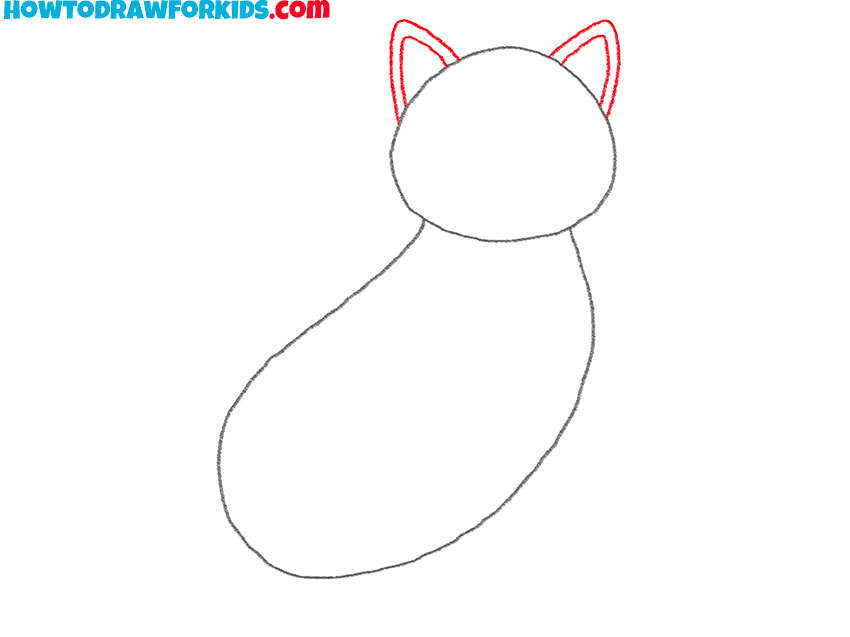
- Depict the ears of the panther.
Now you need to draw symmetrical ears at the top of her head using curved lines.
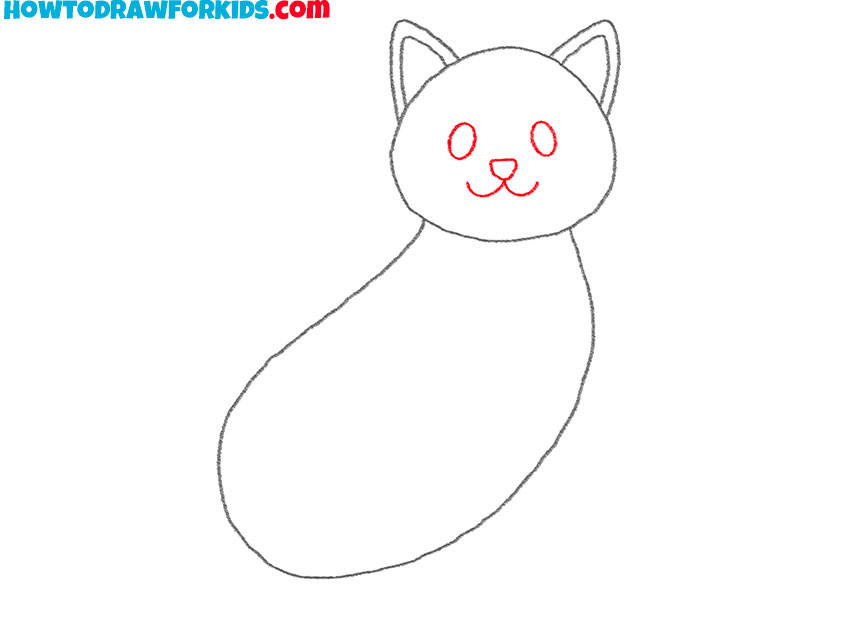
- Add facial features.
Draw two identical ovals inside the outline of the head, and add a curved line and two arcs.
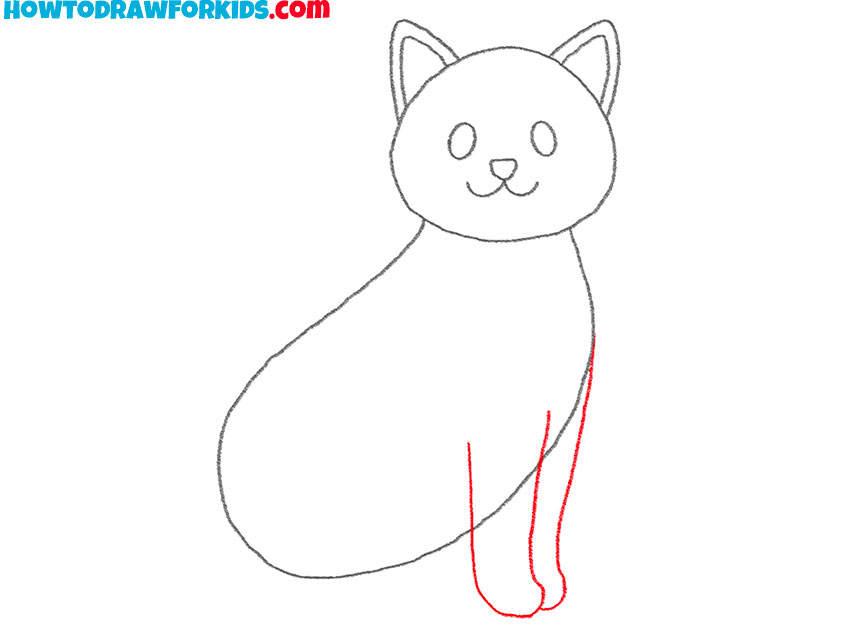
- Sketch out the front paws of the panther.
At the bottom of the panther’s torso, draw two front legs using curved lines.
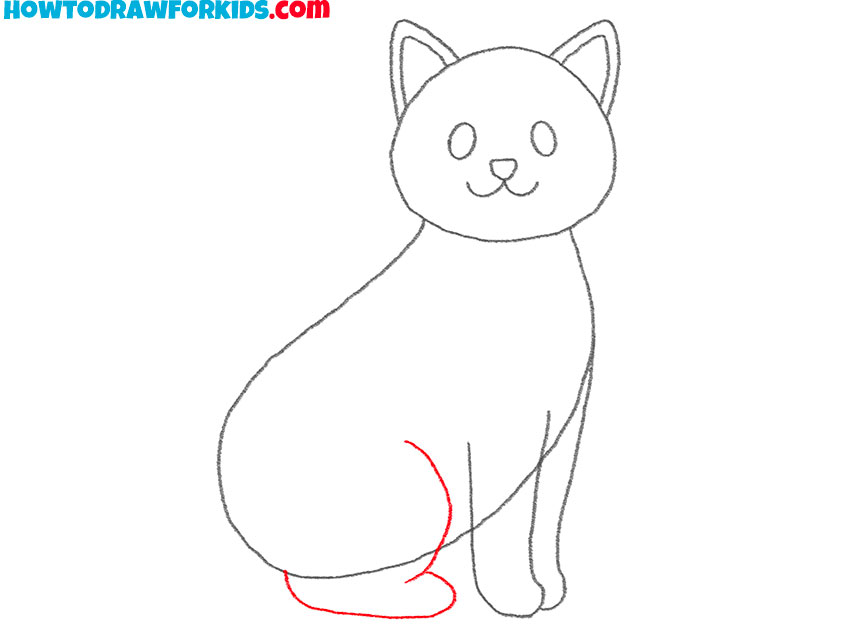
- Depict the back paw of the panther.
You need to draw one arc as well as a curved line to connect this arc to the torso.
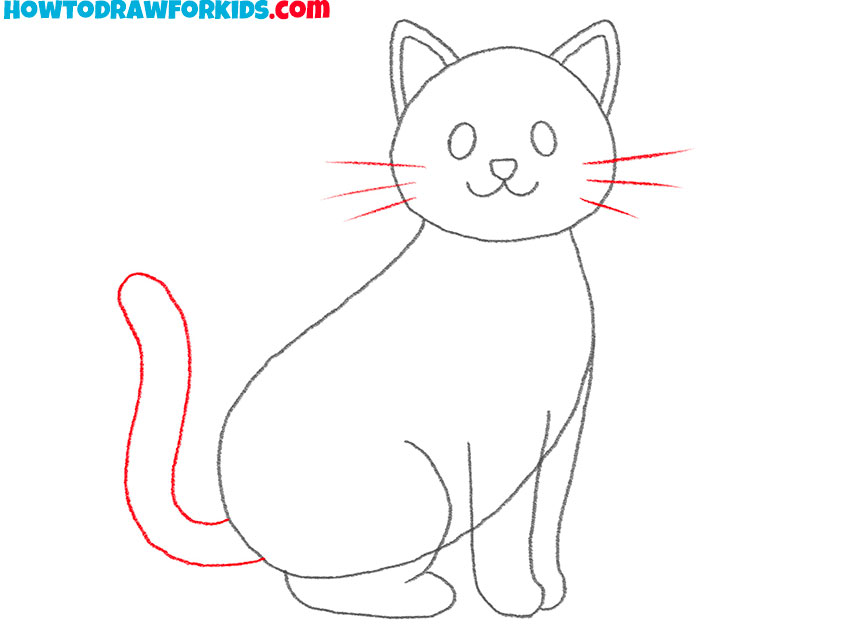
- Add the tail and whiskers.
Draw the panther’s whiskers using straight lines, and add the tail using a long, curved line.
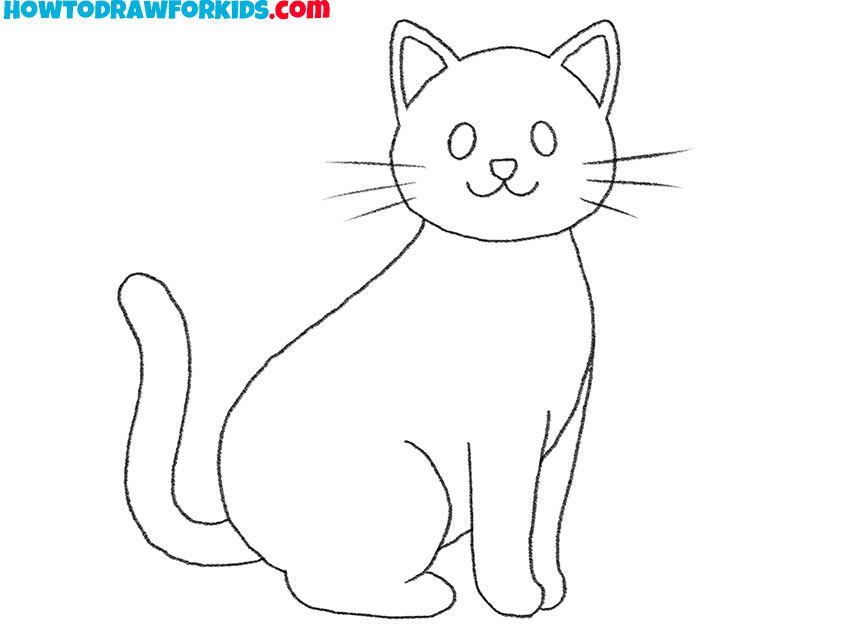
- Correct inaccuracies.
Use the eraser to erase unnecessary auxiliary elements.
- Color the drawing.
To color the panther, you should use shades of gray and black.
You can download a free PDF file with a short version of the lesson and additional useful materials so that you can return to this lesson at any time.