How to Draw 8-BIT Mario
I invite you to a new lesson, in which I will show you how to draw 8-BIT Mario. I promise that you will find an exciting creative activity.
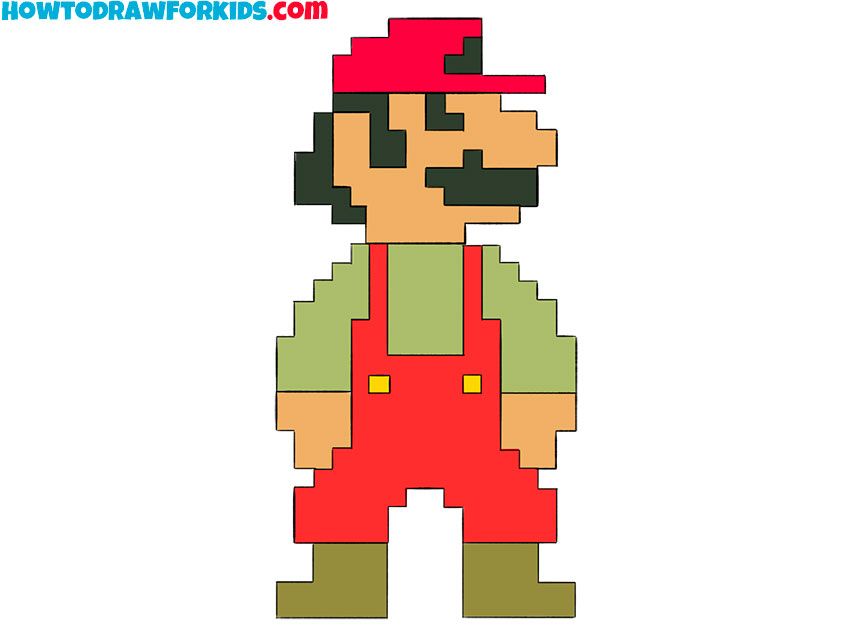
In this tutorial, you will learn how to draw 8-BIT Mario. This is the main character, which has not lost its popularity for many years.
Initially, you could play this game using a game console, but with the development of the Internet, the game has improved and become more accessible. Probably, you also like this computer game, and you enjoyed passing all the levels.
There will be an unusual execution technique here, since the drawing does not contain a single smooth rounded line, but only straight lines will be used. You can see that Mario’s entire body is made up of small squares.
Materials
- Pencil
- Paper
- Eraser
- Coloring supplies
Time needed: 30 minutes
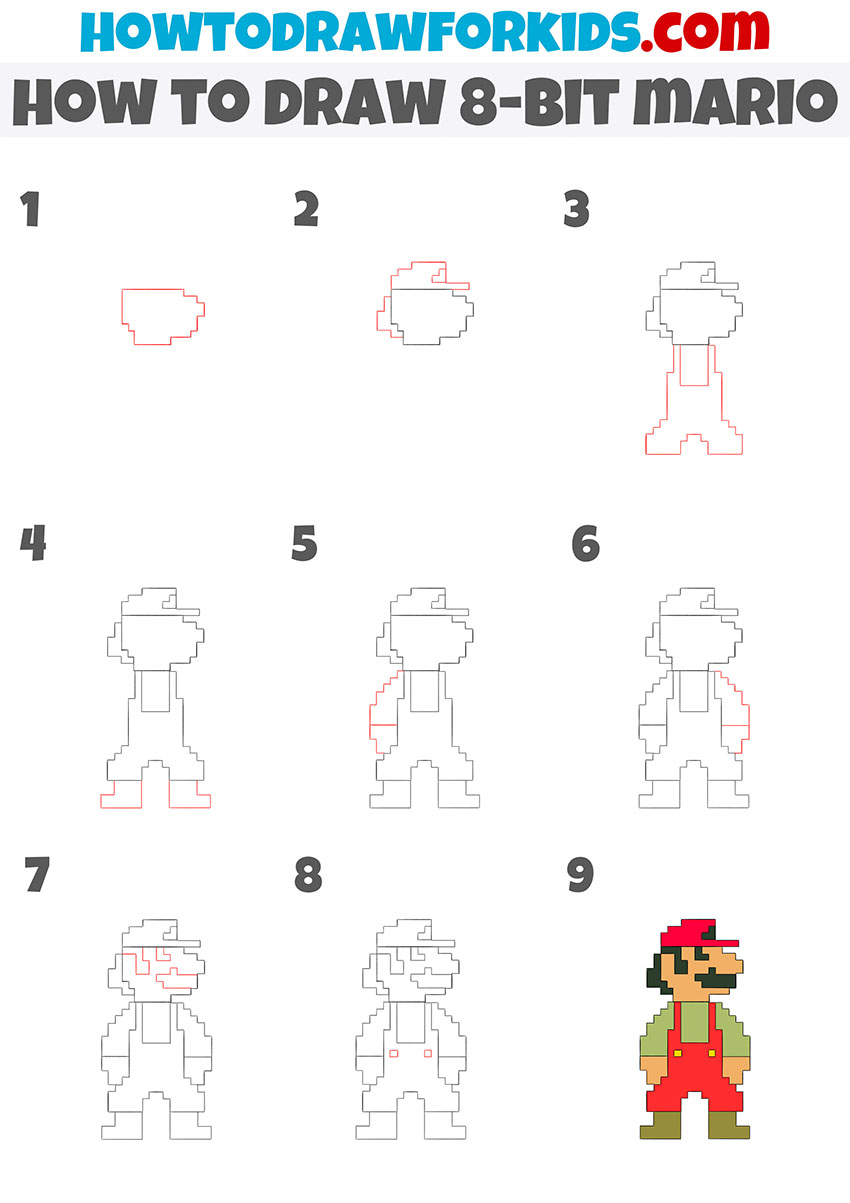
How to Draw 8-BIT Mario
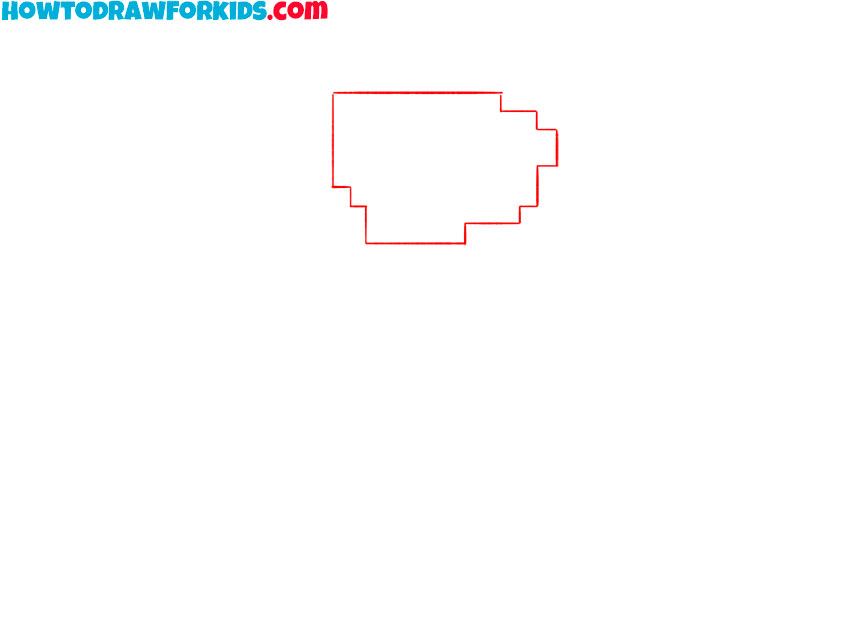
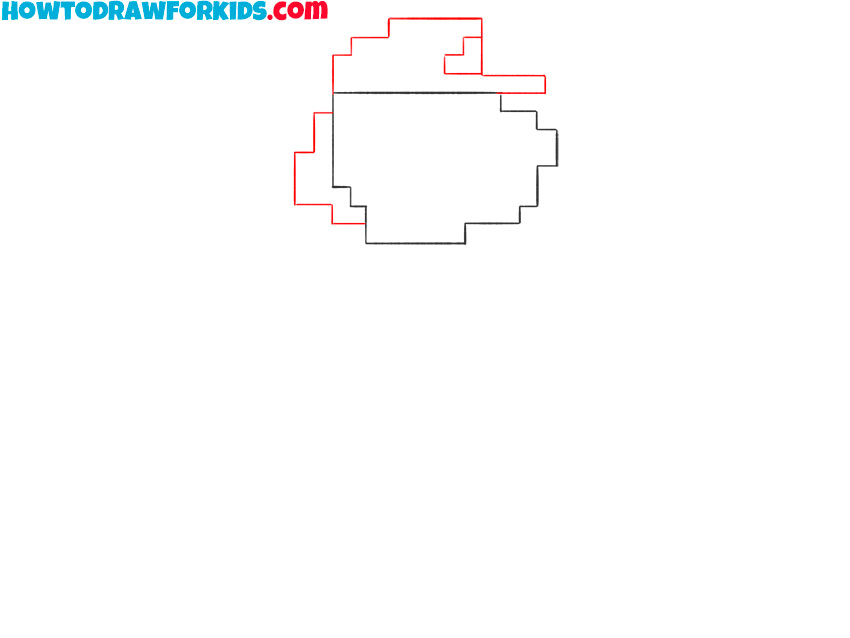
- Draw the head.
The head is turned to one side and has an irregular shape.
- Depict the cap and hair.
At the top add the cap with the visor, on the left side depict the hair.
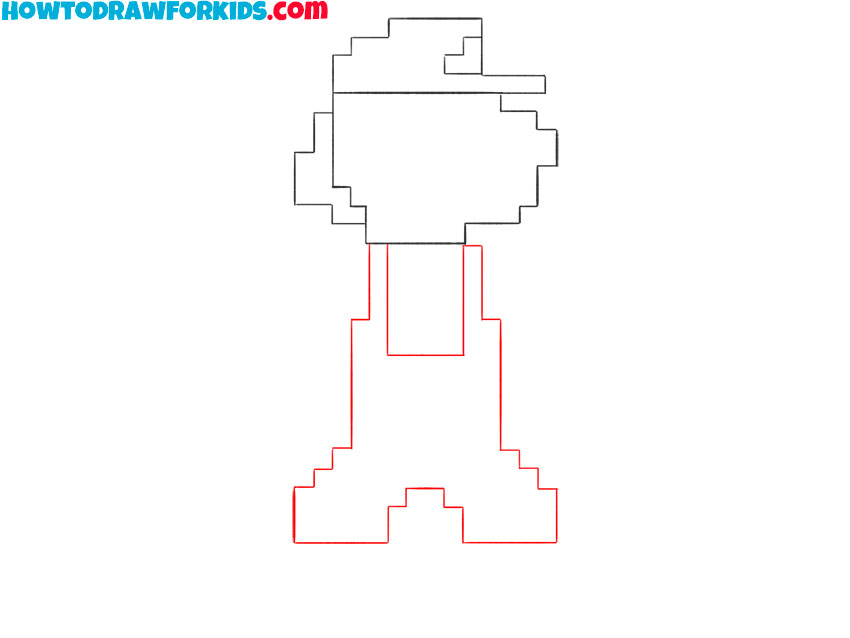
- Add the torso and legs.
Draw lines down and depict the torso, which smoothly passes into the legs.
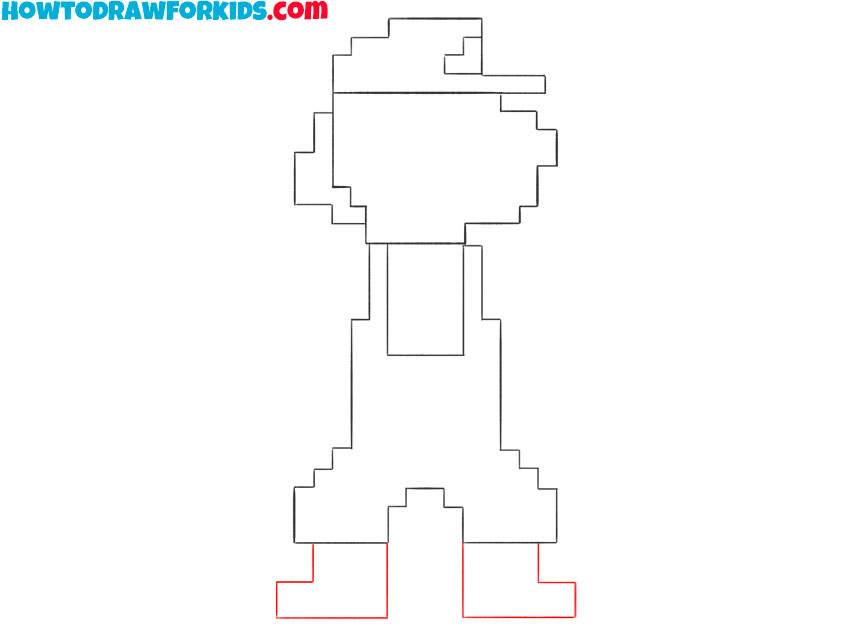
- Sketch out the shoes.
With the help of several straight lines, add the boots, with the feet turned in opposite directions.
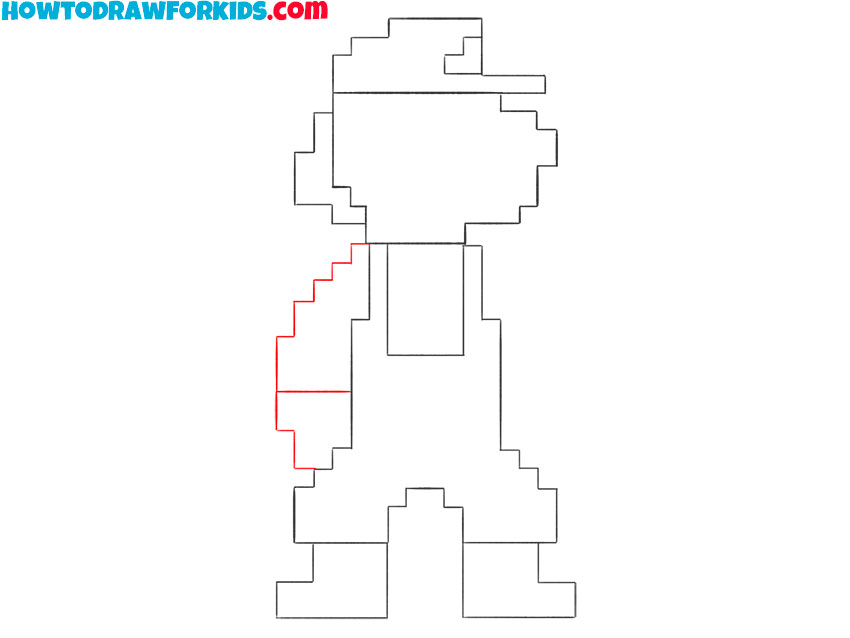
- Draw one arm.
On the left side, add an arm that fits snugly against the torso.
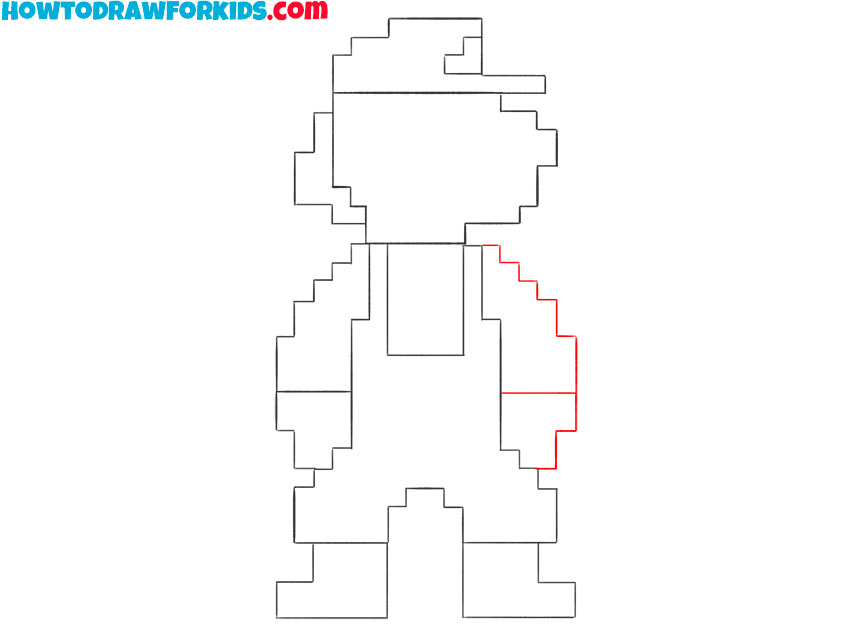
- Depict the second hand.
Repeat the previous step and on the right side draw the second arm.
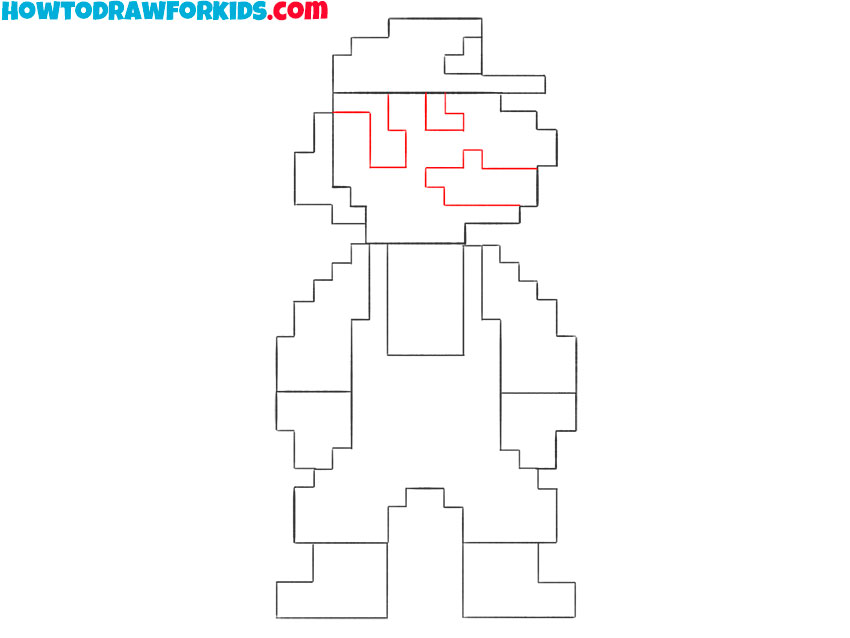
- Add facial features.
Draw a few straight lines to represent the eye, mustache, and hair on the temple.
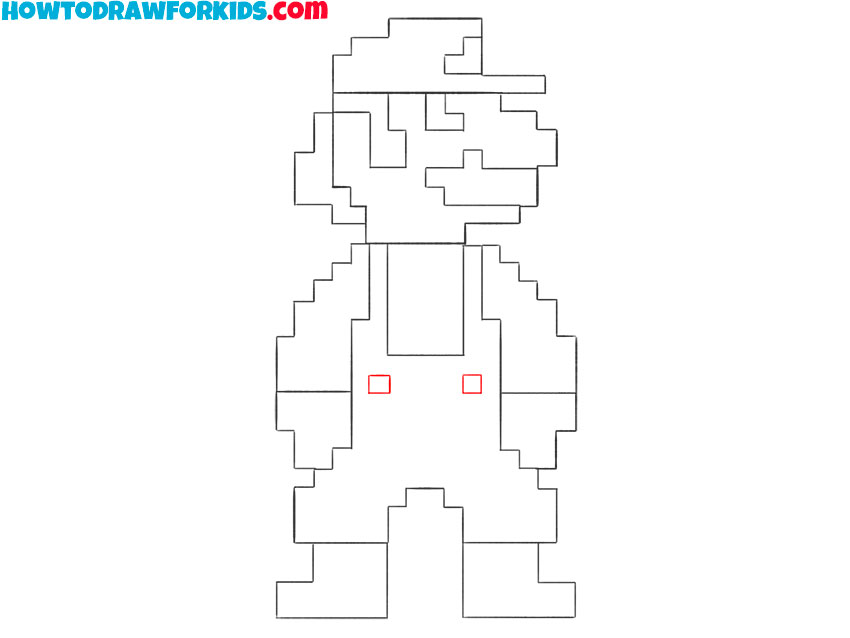
- Sketch out the button on the jumpsuit.
At this stage, depict two small squares on the belly.
- Color the drawing.
Choose natural shades for coloring skin and hair, color clothes in bright colors.

If you want to save this lesson and use it at any time, then download the PDF file that I prepared in advance for your convenience. In this file, you will find a short guide and additional materials to help you improve your artistic skills.

