How to Draw a Shoe
Are you excited to learn something new today? I’ve prepared a special drawing lesson just for you. We’re going to learn how to draw a shoe using four different techniques that are perfect for beginners. You’ll be amazed at how a few simple lines and curves can turn into a sneaker!
Put on your artist’s hat and join me for a delightful sketching session where we’ll explore how to draw a shoe with finesse. With my step-by-step guide, we’ll transform simple lines into a detailed sketch of a shoe, perfect for young artists eager to broaden their drawing horizons.
How to Draw a : Basic Information
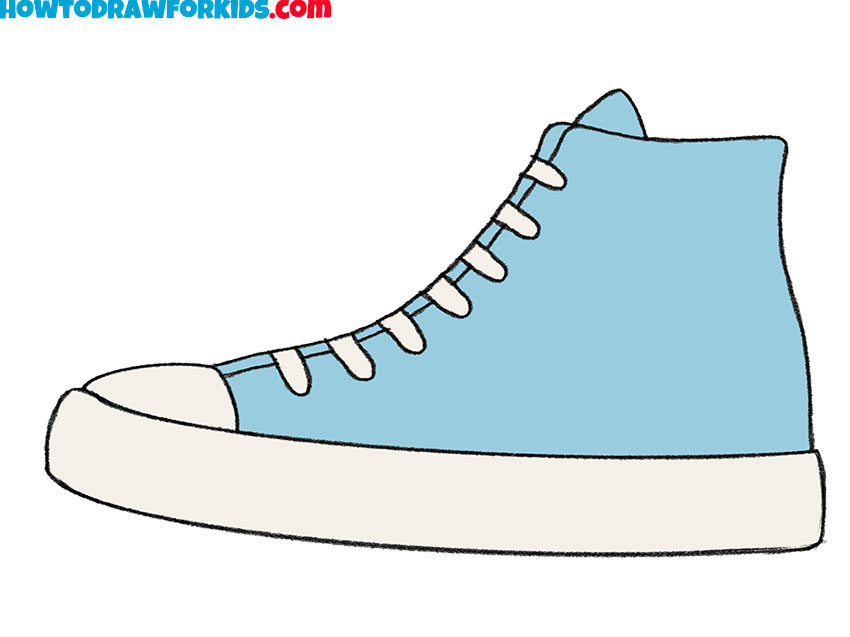
Step right up, young artists, and tie your laces tight because today we’re going to learn how to draw a shoe! This lesson is your ticket to creating footwear that can walk right off the page. We’ll start with a simple line and curve our way up to a sneaker that’s as stylish as anything you can find in a store.
As we sketch, we’ll pay special attention to the shoe’s shape, making sure it’s comfy and roomy, just like a real sneaker. We’ll add the tongue, the ankle padding, and even those cool little eyelets for the laces. It’s all about making your shoe look ready for adventure.
I’ve designed this tutorial so you can draw a shoe with steps as easy as walking in the park. By the end, you’ll be able to draw sneakers that might just jump off your paper. So grab your pencils, and let’s step into the world of drawing with style!
Drawing Tutorial
Materials
- Pencil
- Paper
- Eraser
- Coloring supplies
Time needed: 20 minutes
How to Draw a Shoe
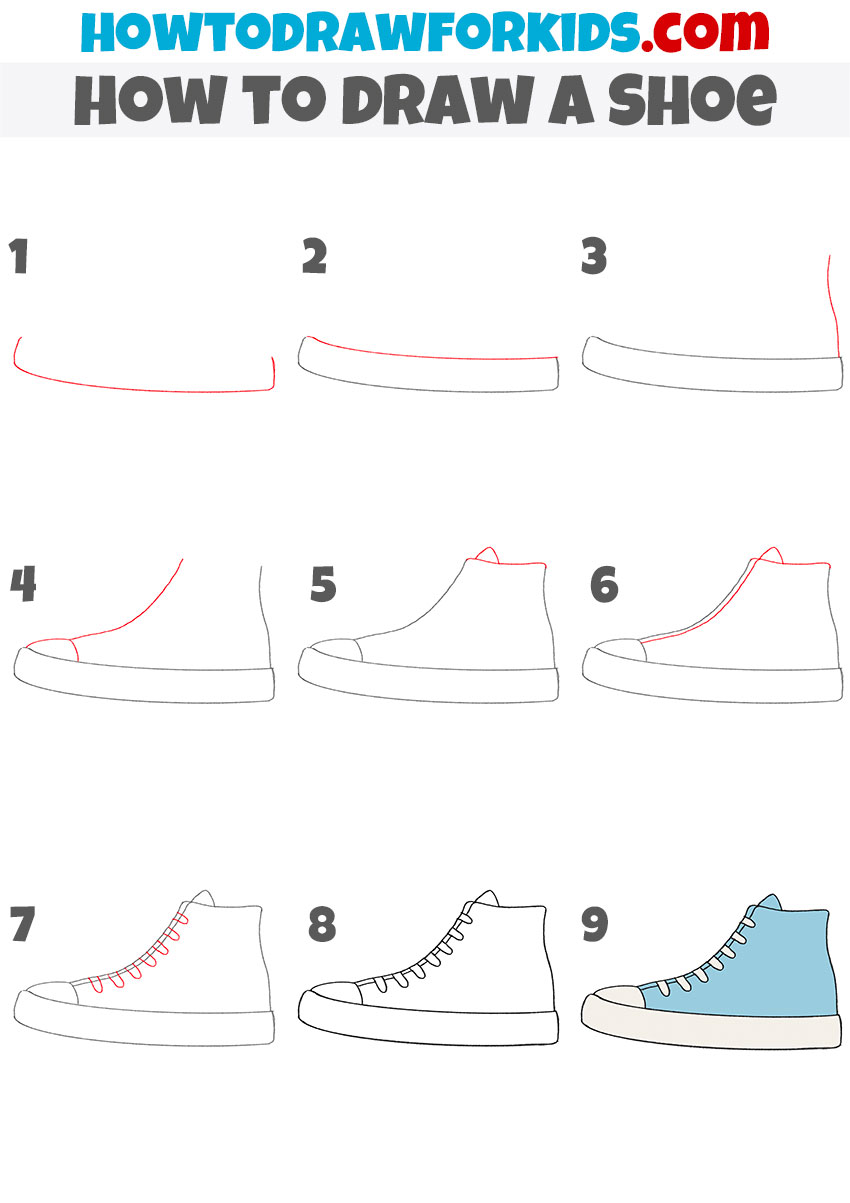
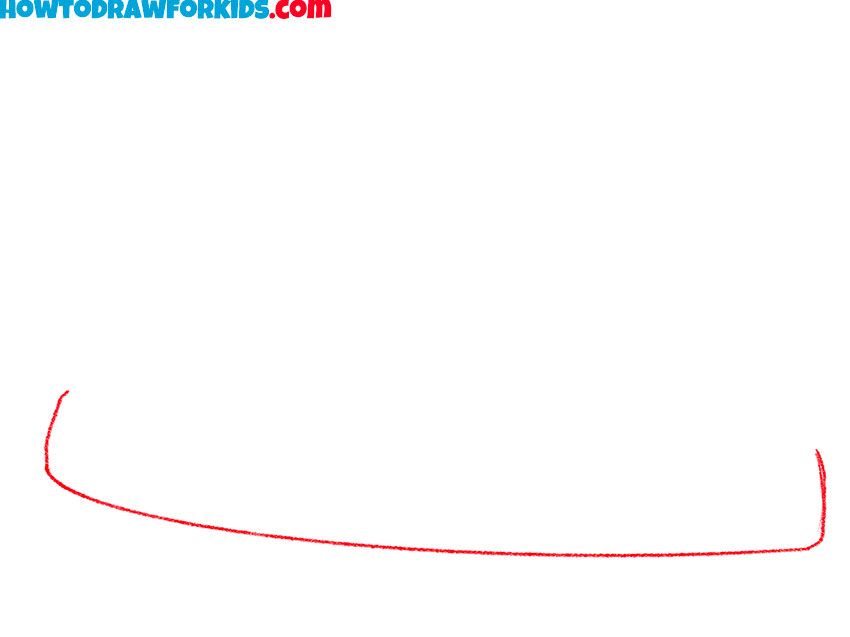
- Draw the bottom of the shoe.
Begin with establishing the shoe’s foundation using a light-handed, smooth stroke to draw a gentle, curved baseline. This represents the shoe’s sole and requires a relaxed grip on the pencil for evenness.
- Complete the drawing of the sole.
Draw the top line of the sole. The top and bottom lines should be almost parallel. Try to do this as evenly as possible, because the side line of the sole should not have any thickening or widening.
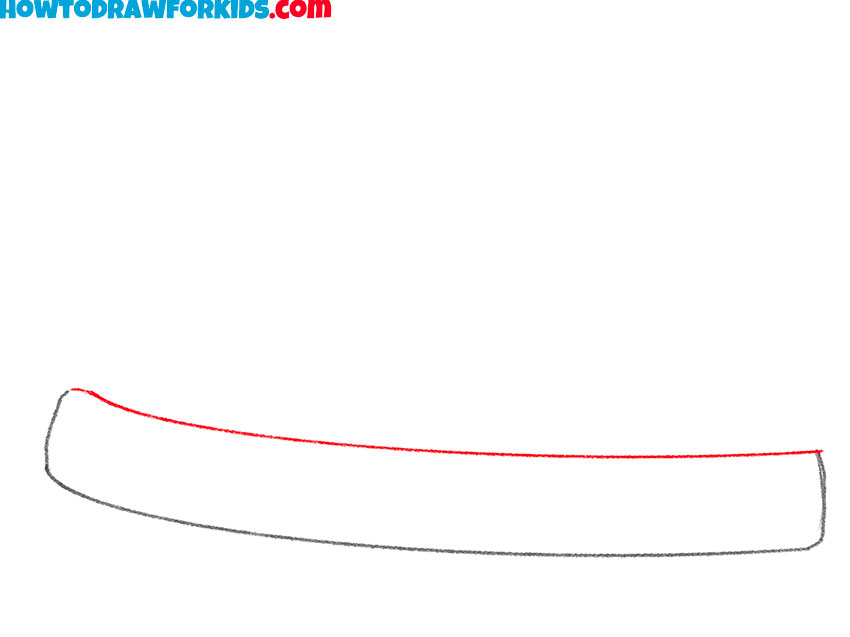
- Outline the back of the shoe.
Form the outline of the back of the boot. There is a noticeable protrusion at the bottom of the line, be sure to draw it that way.
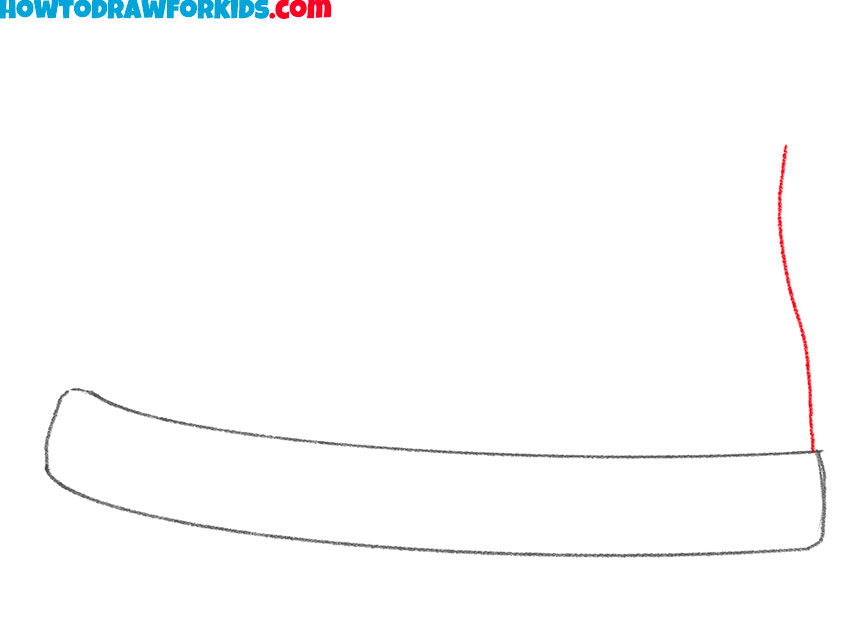
- Draw the front of the shoe.
Sketch the shoe’s upper by drawing a bold, arched line from the heel, symbolizing the shoe’s body. This technique involves a confident, flowing motion to capture the shoe’s contour.
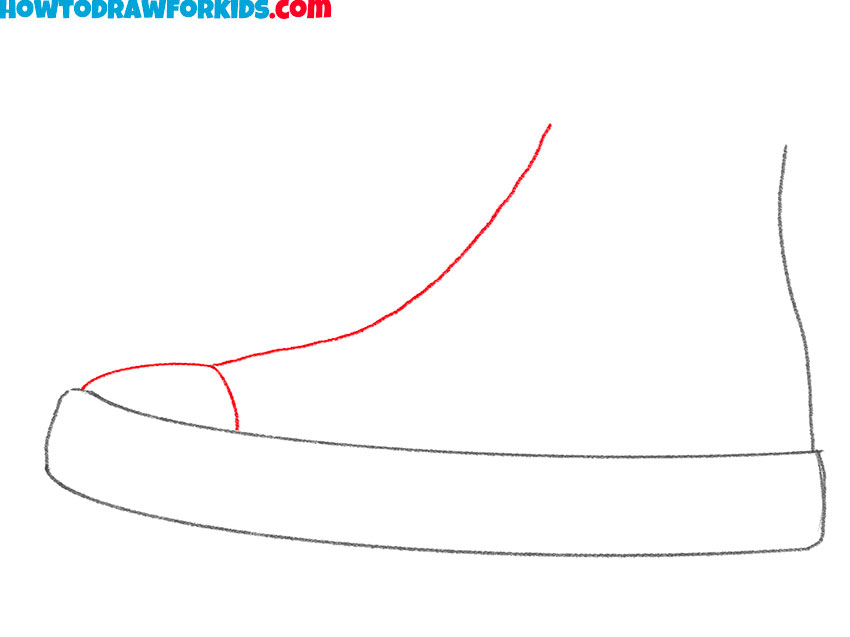
- Add the top of the shoe.
This step will be very easy for you, just draw two curved lines of different sizes. As a result, you will see a completed upper part of the boot, as in my sample
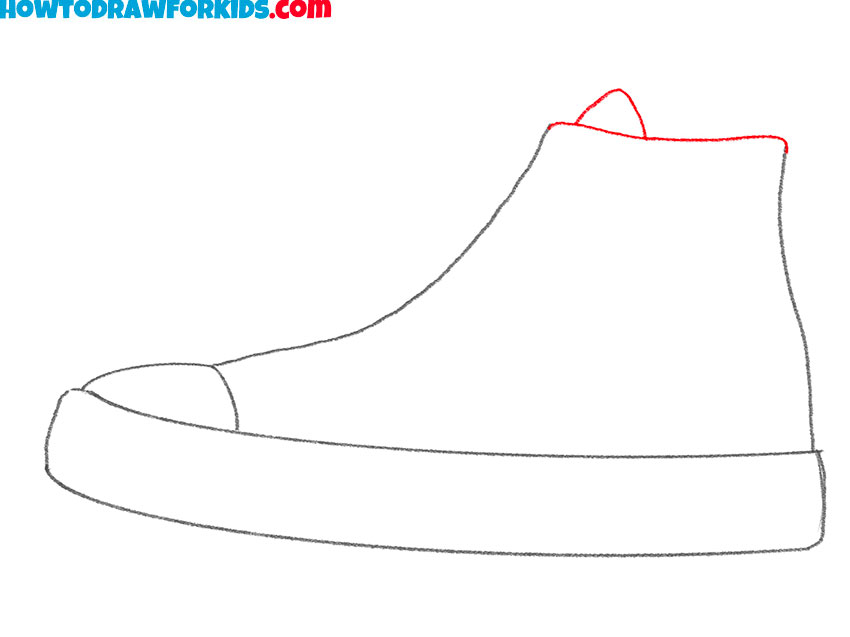
- Add one more element.
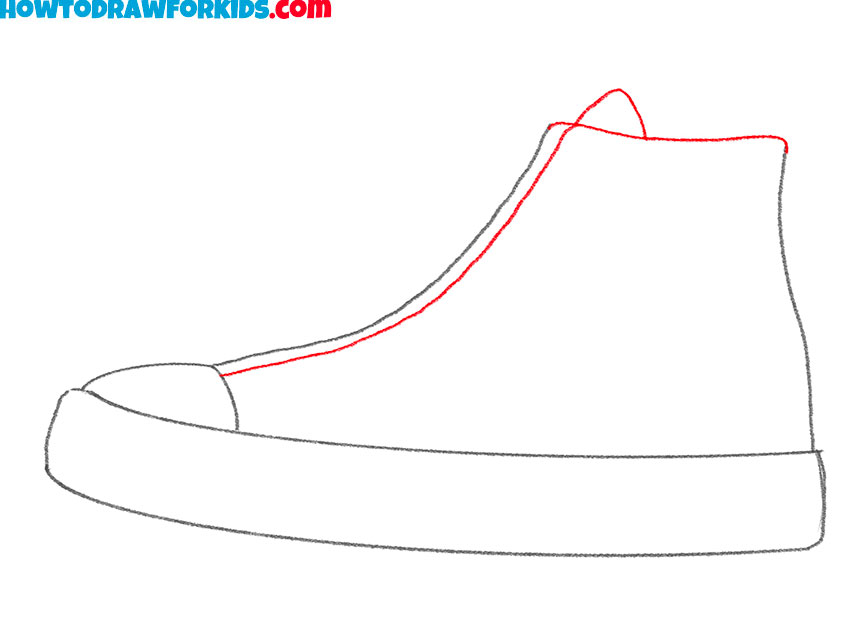
Illustrate the opening by adding a curved line atop the shoe’s body. Utilize a light touch for this softer edge, suggesting where the foot enters, with a slight protrusion for the shoe’s tongue.
- Picture the lacing.
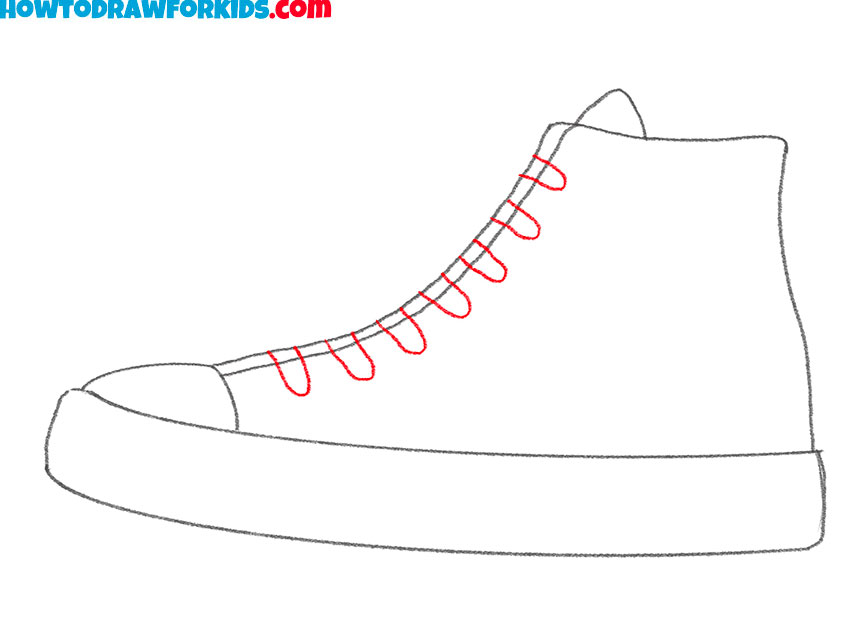
Draw the outlines of the laces, which look like seven elongated flat shapes running from the toe to the top of the shoe. This step needs a symmetrical approach, keeping the lines evenly spaced and straight.
- Erase the auxiliary lines.
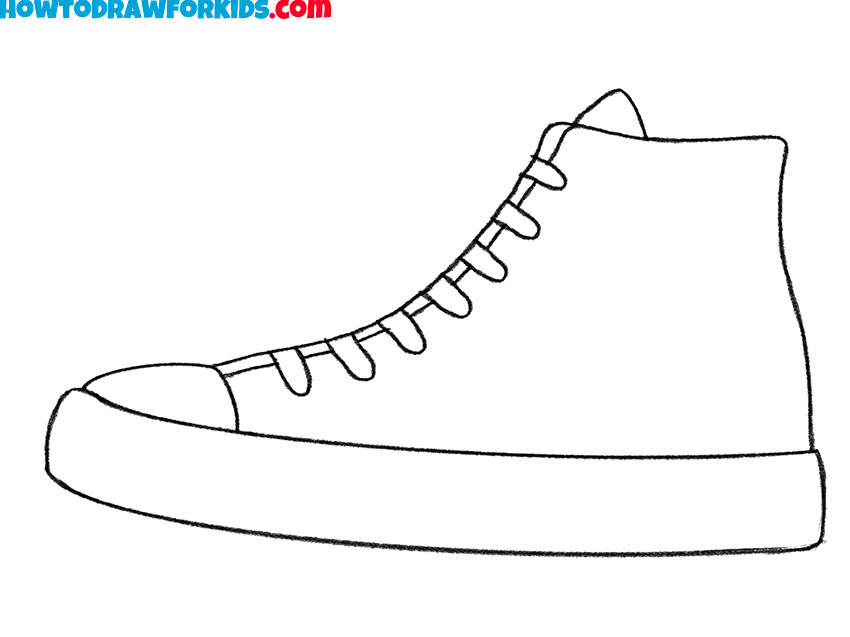
Use an eraser to remove unnecessary lines from the drawing. Correct all mistakes and inaccuracies from the previous steps, evaluate the entire drawing as a whole.
- Color in the drawing.
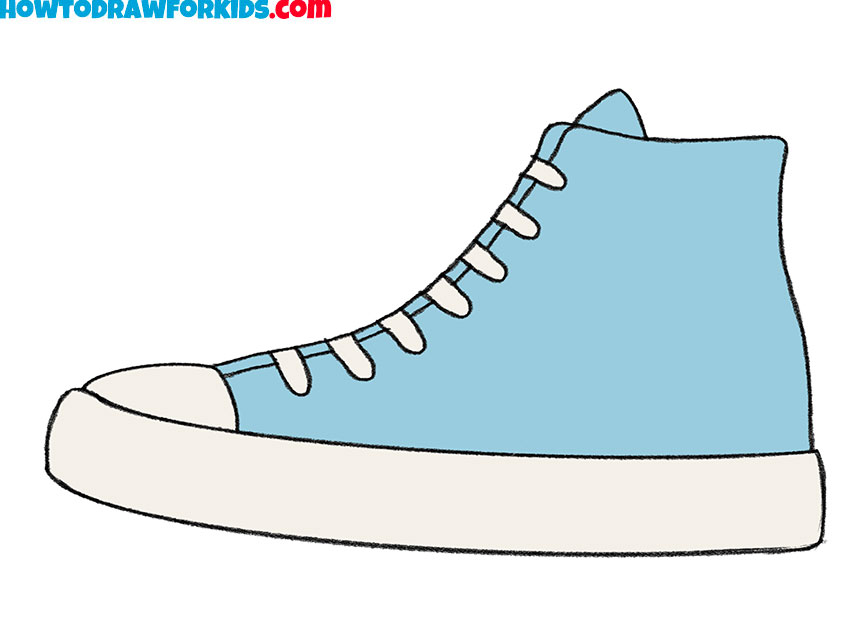
Finalize the drawing with color application, using side strokes for a smooth, even fill. Carefully color within the lines to differentiate between the body (blue), sole (white), and lace details (grey), emphasizing the separate parts of the shoe.
Additional Content
Little artists, I’ve whipped up something special just for you: a free downloadable PDF of our shoe drawing lesson! It’s a shortened version of our online class, perfect for when you’re away from the screen and want to keep practicing.
This handy guide is packed with all the key points, so you can sketch a shoe even if the internet has gone on a walkabout. Print it out, keep it on your favorite device, and never miss a chance to perfect your shoe sketches. Grab your free PDF today and draw wherever your feet take you!
Alternative Drawing Methods
To all my creative friends, I’ve come up with several additional shoe drawing methods for you to try. These will give you plenty of practice and help you improve with every sketch, turning you into a shoe drawing expert in no time!
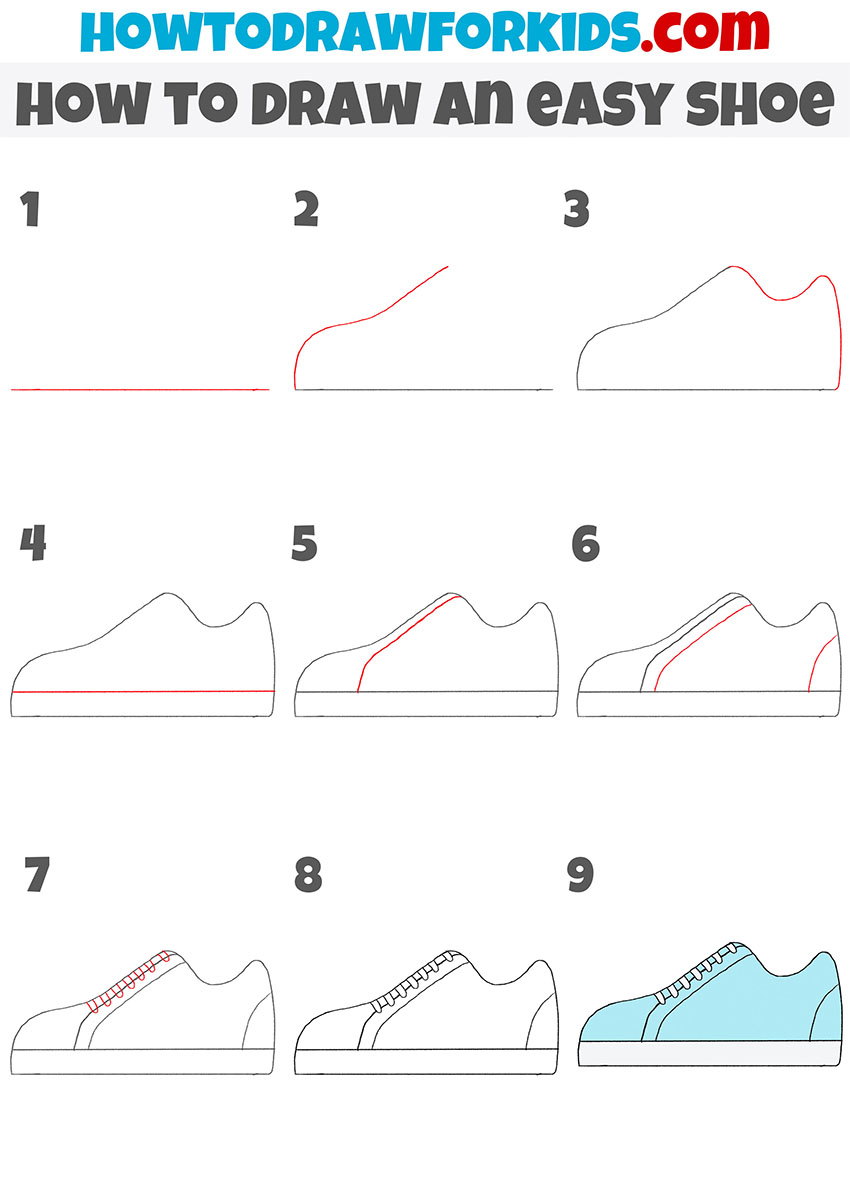
How to Draw an Easy Shoe
This drawing method is indeed similar to the first one, but with a notable difference: here, we focus on a shoe with a low top. In contrast, the previous method featured high-top shoes, which sit above the ankle.
This technique simplifies the process by eliminating the need to draw the extended upper part of the high-tops, making it a bit quicker and easier, especially for our younger artists who are just starting out with their drawing adventures.
Cool Shoe Drawing Guide
Alright, now let’s lace up for the next alternative method, where we’ll learn to draw some really cool shoes. This step-by-step guide is designed to be fun and easy for kids to follow, taking you from a simple line to a snazzy sneaker with its own unique style.
You’ll get to play with different shapes and add a personal touch with your choice of colors, making your shoe drawing one of a kind!

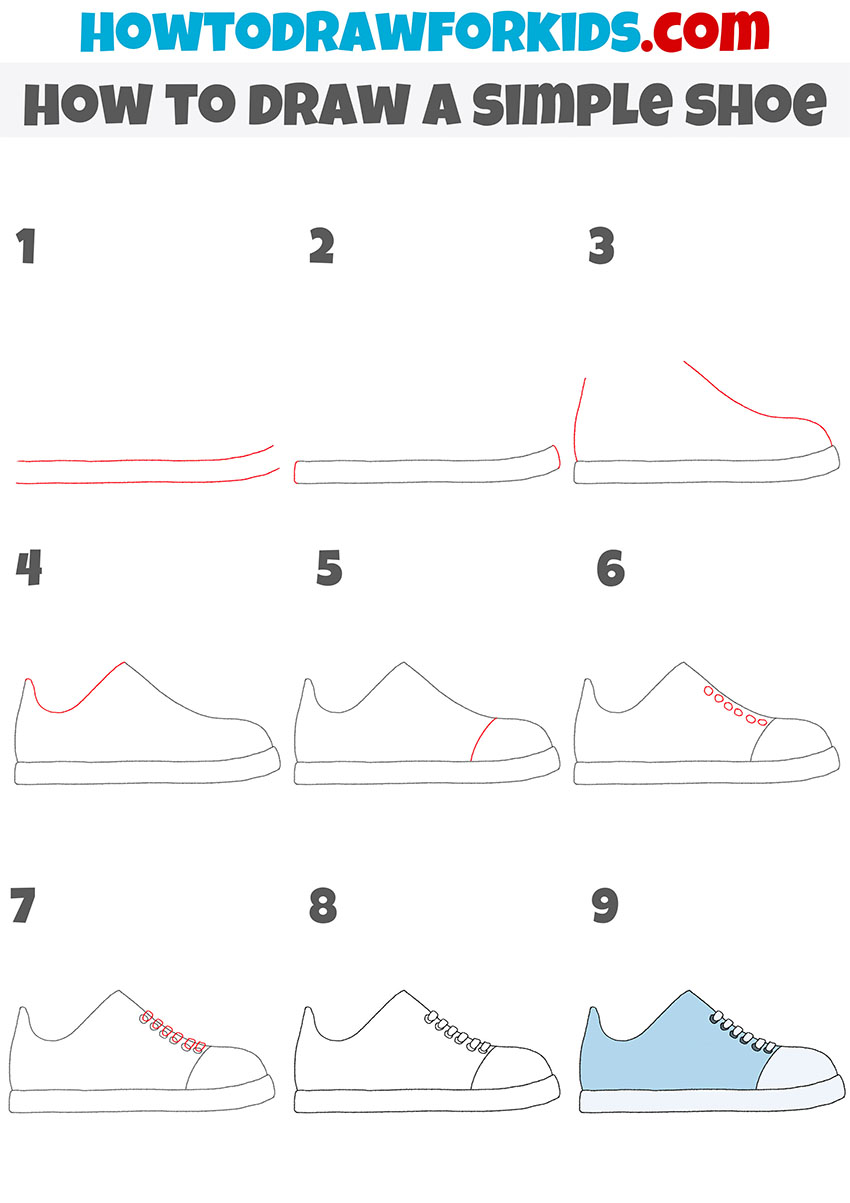
How to Draw a Cartoon Shoe
Now it’s time to switch gears and have fun with a cartoon shoe that’s facing a different direction compared to the previous methods. Flipping the direction is a great way to challenge your brain and improve your drawing skills.
By switching things up, you’ll become more versatile in sketching from different viewpoints. Let’s put our best foot forward and depict a shoe that steps in a new direction!
Conclusion
Congratulations on finishing our shoe drawing! If you’re excited to learn more, my website is brimming with fun drawing lessons. Why not cluck your way through drawing a cheerful chicken, or get wrapped up in creating a detailed spider web? There’s always something new to learn.
For all the latest lessons and creative tips, make sure to follow me on social media. I’m always cooking up new content to keep your pencils busy and your imaginations wild!


