How to Draw a Barn Owl
Now you will learn how to draw a barn owl step by step. I’m sure this simple step-by-step tutorial is suitable for all beginners.
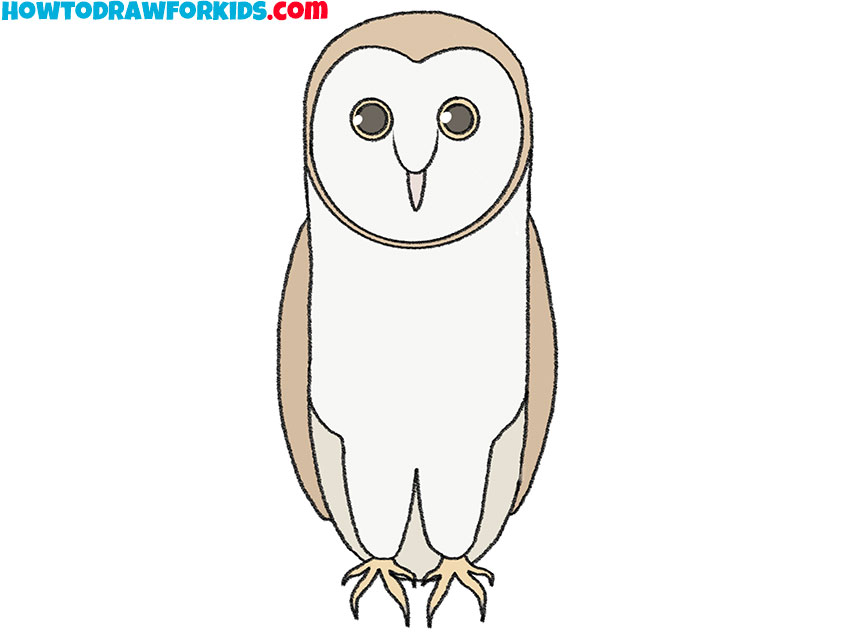
In this lesson I want to show you how to draw a barn owl. If you complete this lesson, you will acquire useful skills that will come in handy when creating new beautiful drawings.
If you want to learn how to draw various birds, then this lesson will be very useful for you, because now you will learn how to draw a barn owl. This is a bird of prey that lives on almost all continents of our planet.
The barn owl is a light-colored, medium-sized owl with elongated wings and a square, short tail. With the help of a clear and accessible instruction, you will quickly draw this bird and get an excellent result.
Materials
- Pencil
- Paper
- Eraser
- Coloring supplies
Time needed: 30 minutes
How to Draw a Barn Owl
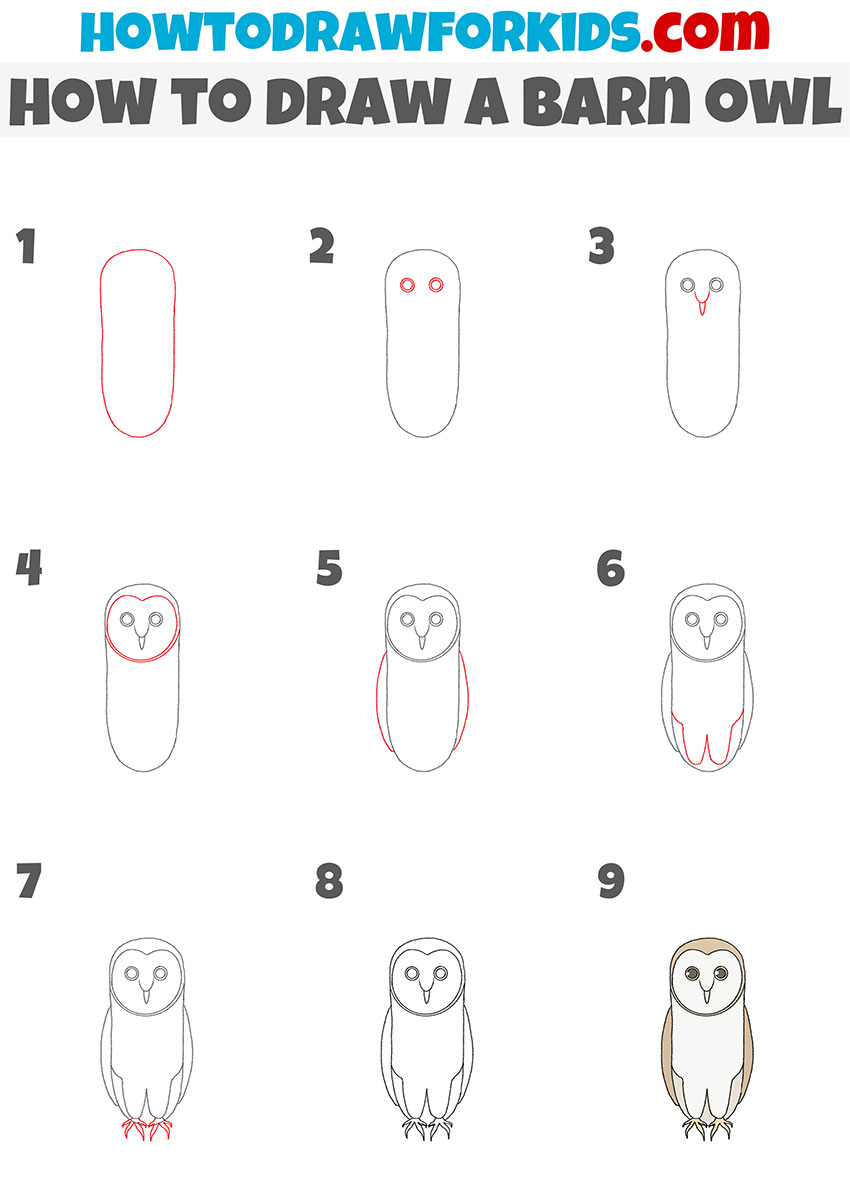
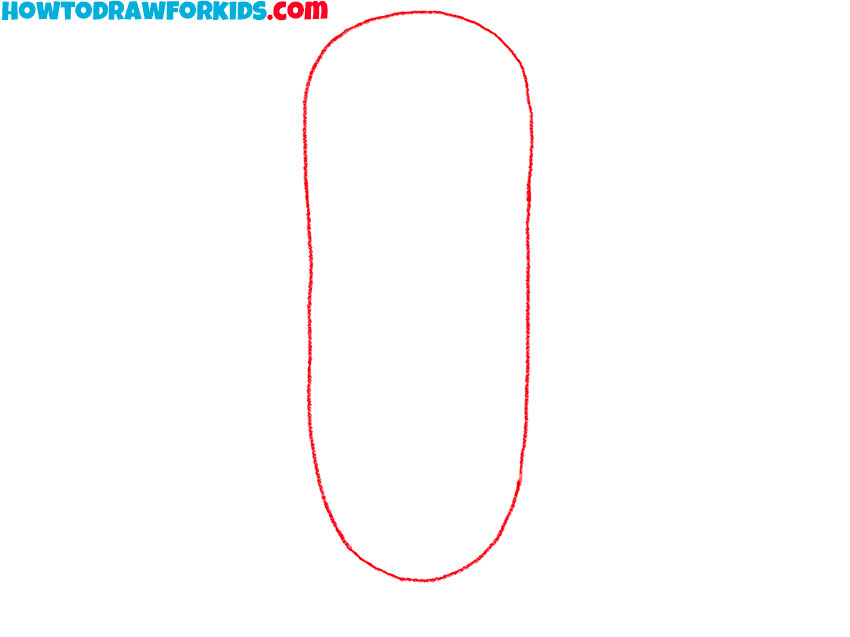
- Draw the torso.
Depict a figure in the form of an elongated oval.
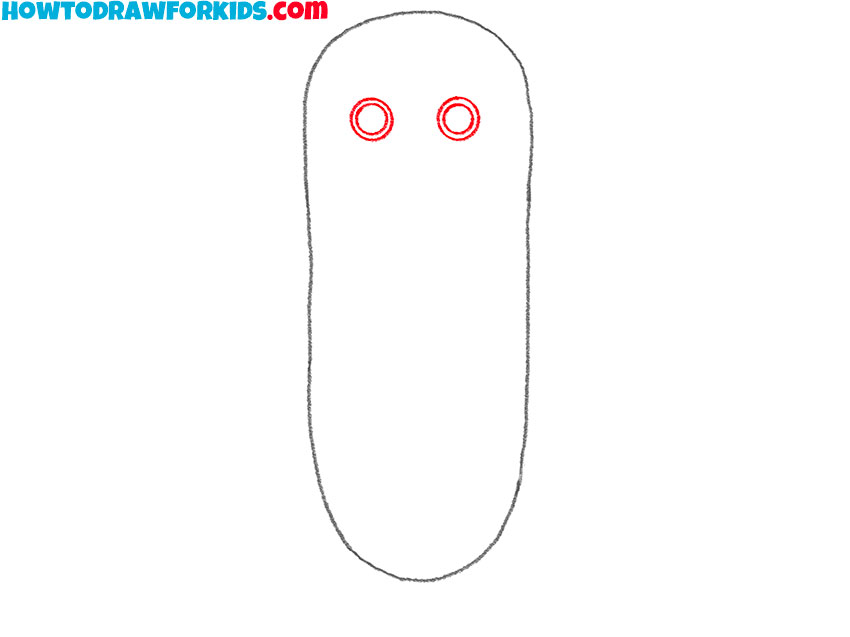
- Depict the eyes.
At the top of the oval, draw two circles of different diameters, while maintaining symmetry.
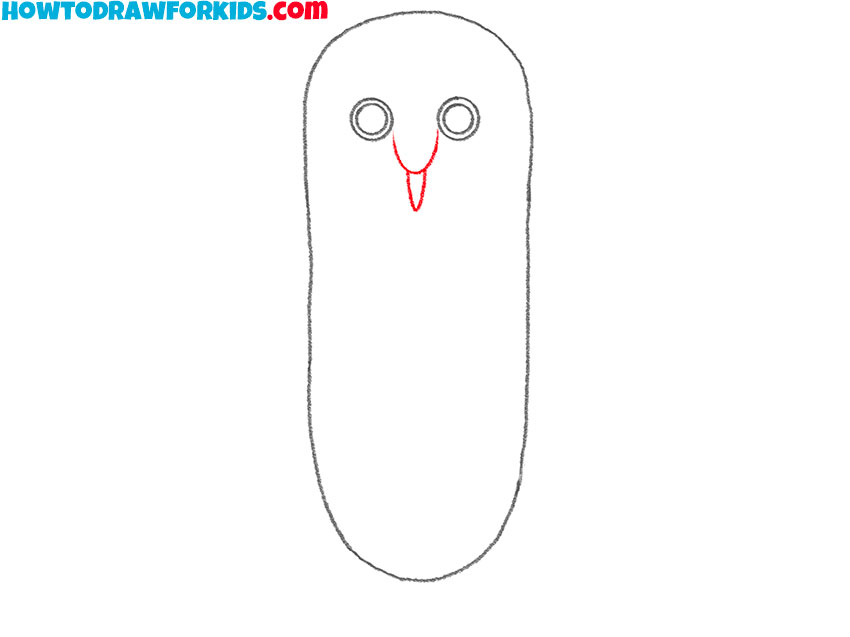
- Sketch out the beak.
Draw the beak below the eyes using curved lines.
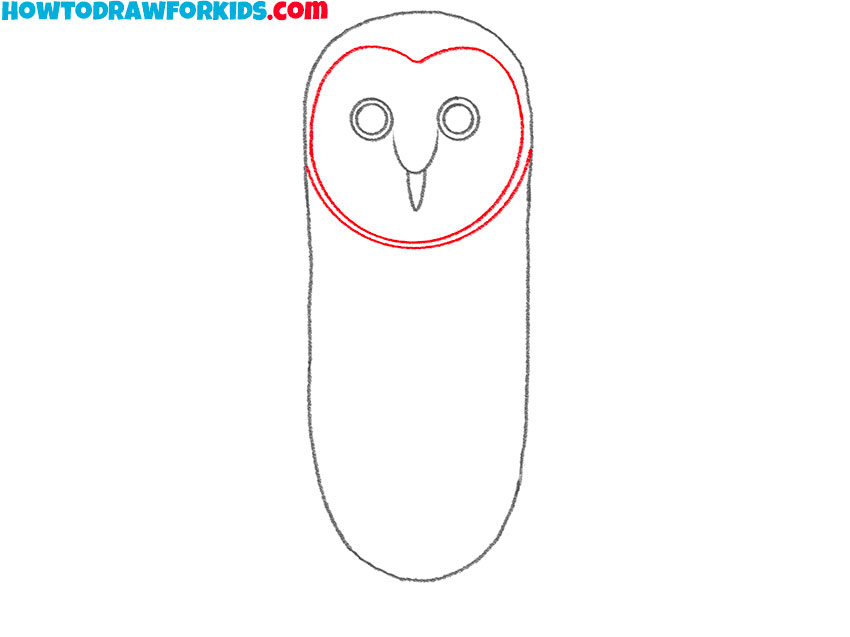
- Detail the color of the head.
Using smooth lines, mark the front of the head, where the color of the plumage will differ.
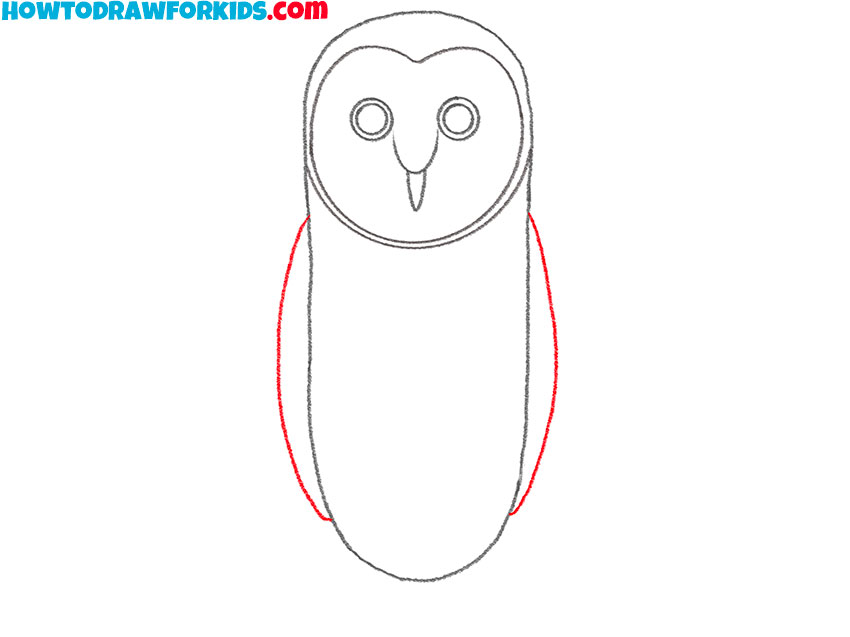
- Draw the wings.
Depict smooth semicircular lines on the sides of the body.
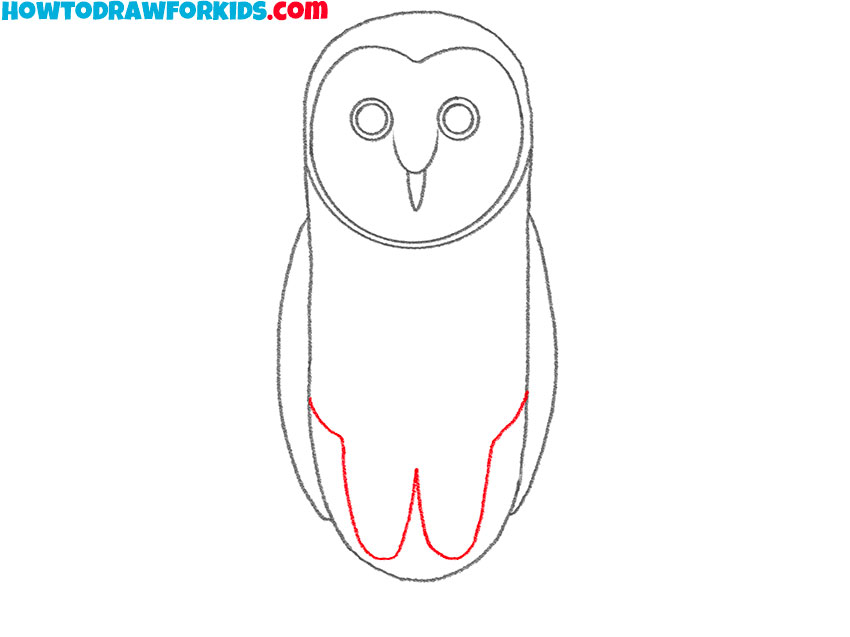
- Depict the paws.
In the lower part of the body, draw two large paws, as shown in the example.
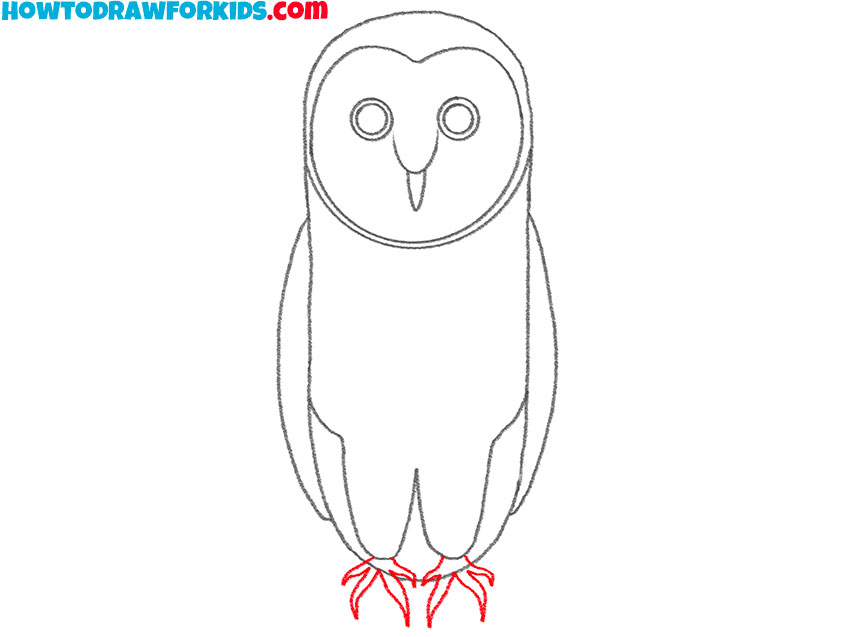
- Add the claws.
At the ends of each paw, successively add the thin sharp claws.
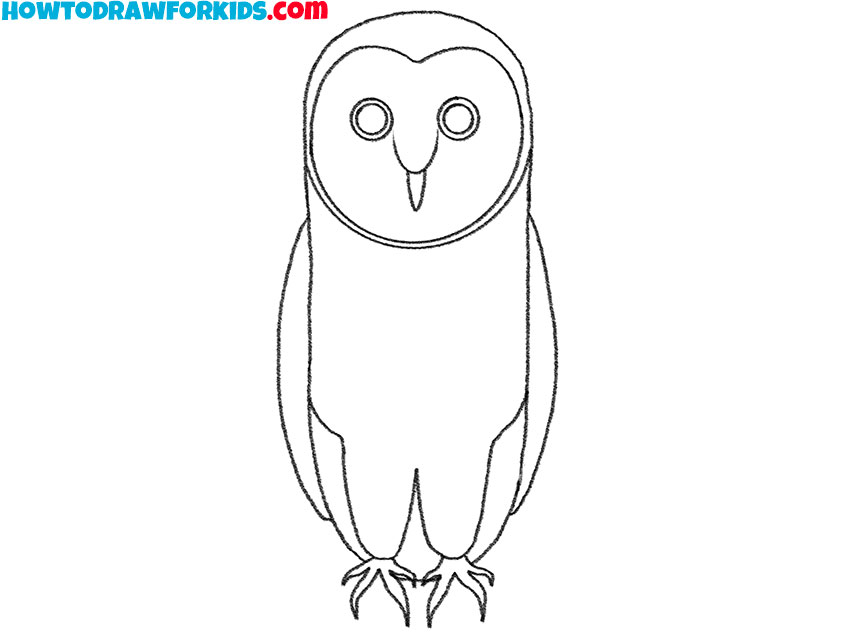
- Correct inaccuracies.
Using the eraser, carefully remove the extra lines and correct the mistakes if necessary.
- Color the drawing.
For coloring, use different shades of gray and brown. Color the eyes and fingers orange.

The barn owl is ready! If you liked this tutorial, then leave a little feedback in the comments. Now you can download a PDF file for free, which contains a brief instruction and additional training materials.

