How to Draw a Bell
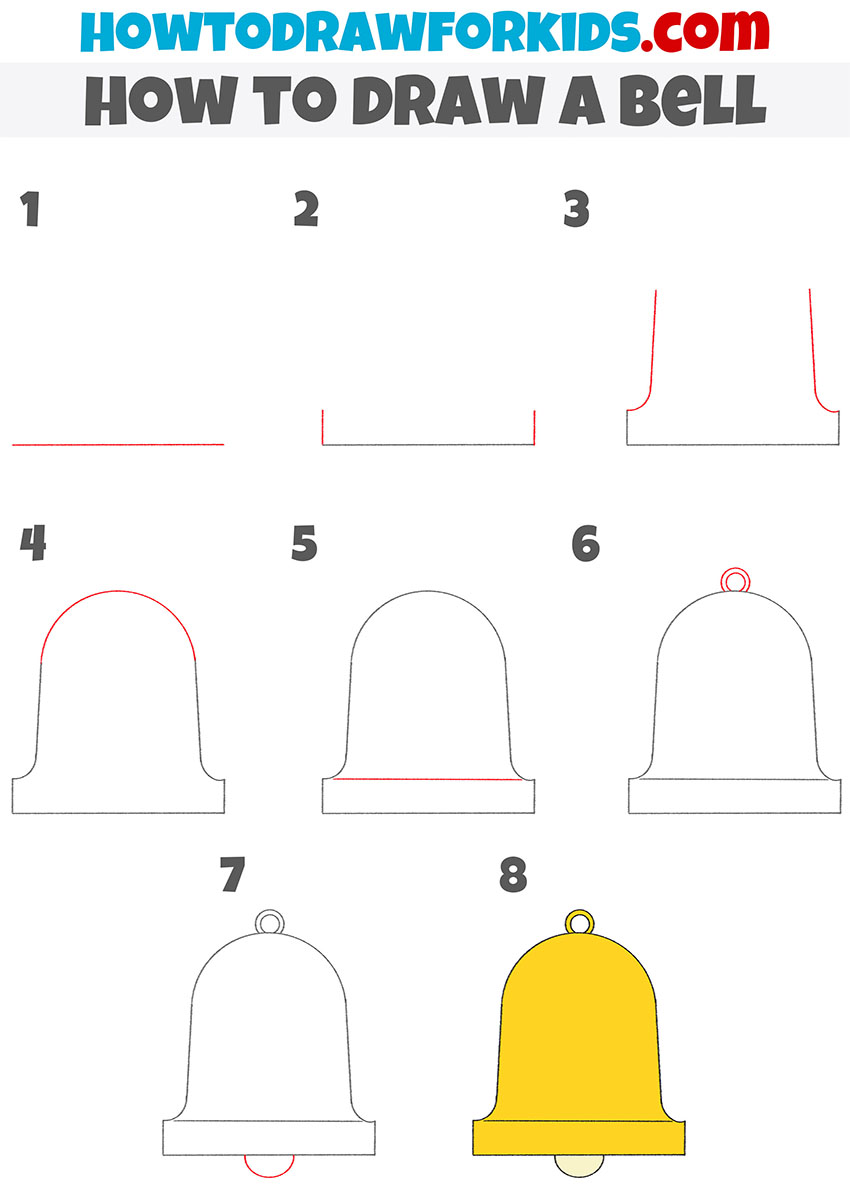
This lesson is about how to draw a bell. With the help of this guide, you will draw a very beautiful bell in just eight easy steps.
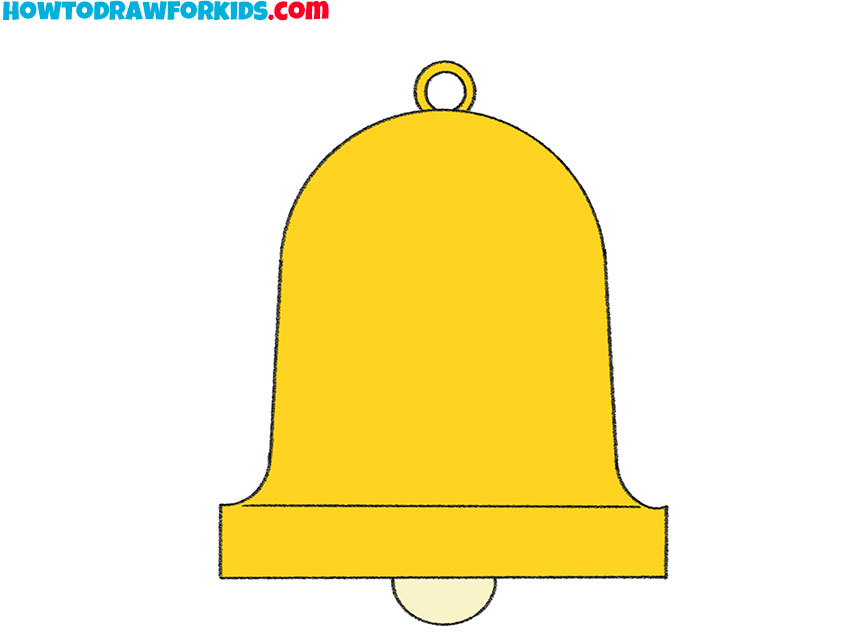
This lesson will be useful to you if you want to know how to draw a bell step by step. The bell is a metal percussion musical and a signal instrument. Most bells have the shape of a hollow cup that when struck vibrates in a single strong strike tone, with its sides forming an efficient resonator.
Nowadays bells are widely used for religious purposes, such as calling the religious faithful to prayer, expressing solemn moments of worship, in music, and as a signaling device in the navy. The use of bells for socio-political purposes, as a bell to summon citizens to a meeting, is known. In medicine, there is a new trend that uses bell ringing for therapeutic purposes.
Follow my instructions to draw this simple and beautiful bell.
Materials
- Pencil
- Paper
- Eraser
- Coloring supplies
Time needed: 20 minutes
How to Draw a Bell
- Draw the bottom base of the bell.
To complete this step, depict one straight horizontal line at the bottom of the drawing.

- Add the sides of the bottom of the bell.
From both ends of the previously drawn straight line draw two short straight vertical lines.
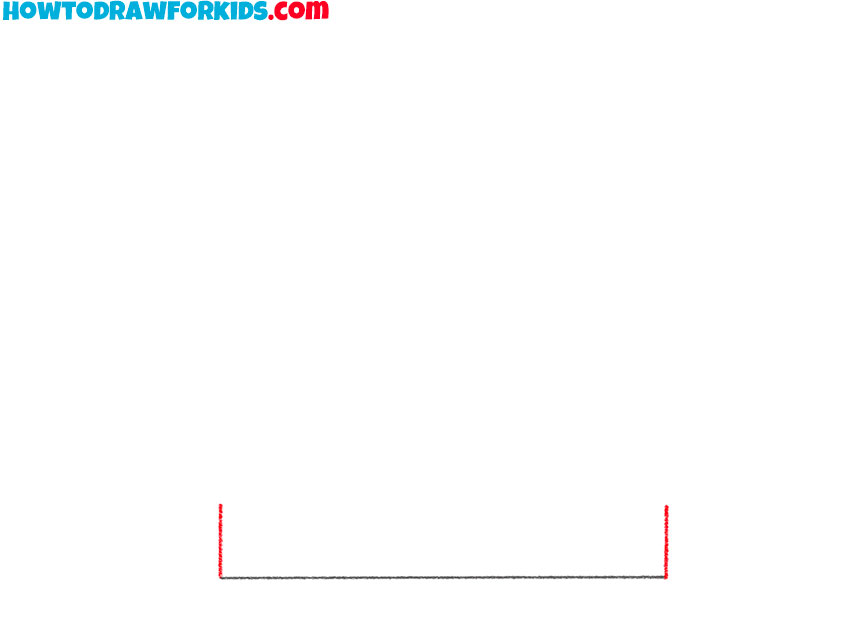
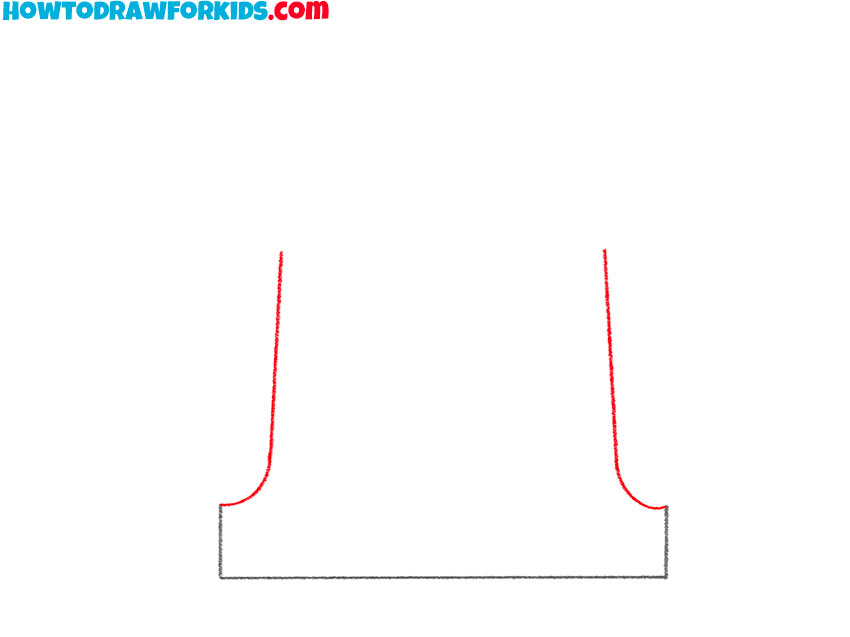
- Outline the middle part of the bell.
Continue the previously drawn straight lines with two symmetrical curved lines.
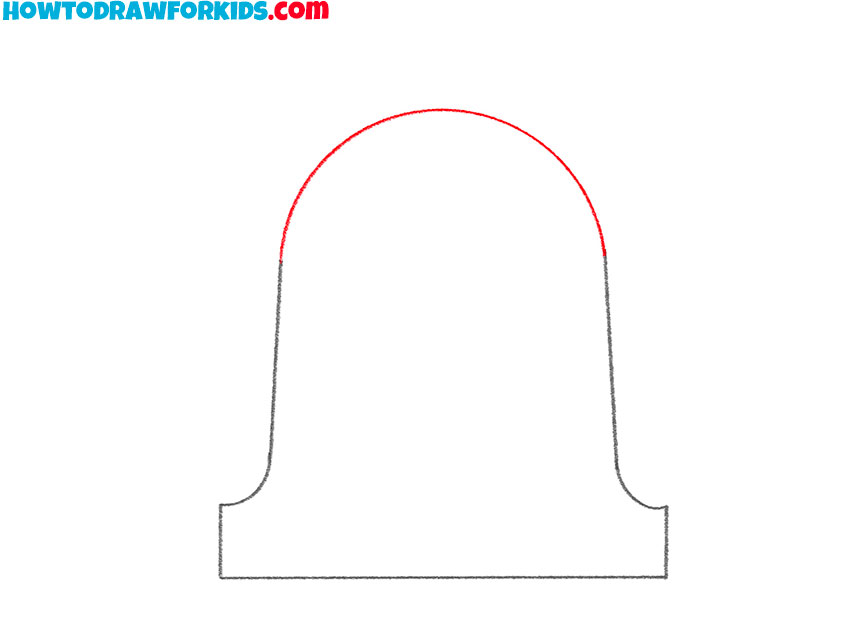
- Draw the top of the bell.
To do this step, you should connect the ends of the two previously drawn lines with an arch.
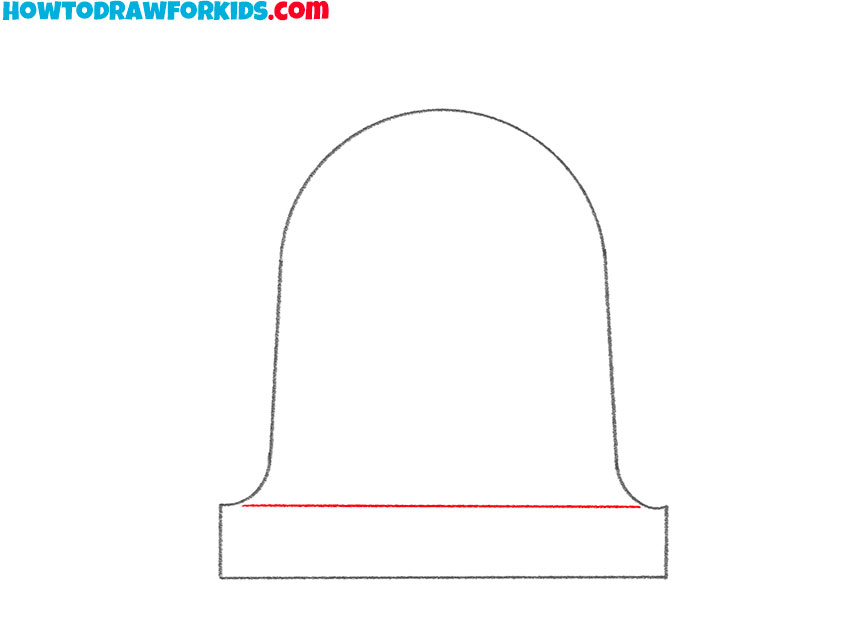
- Separate the bottom part from the middle.
Outline a straight horizontal line parallel to the baseline of the bell.
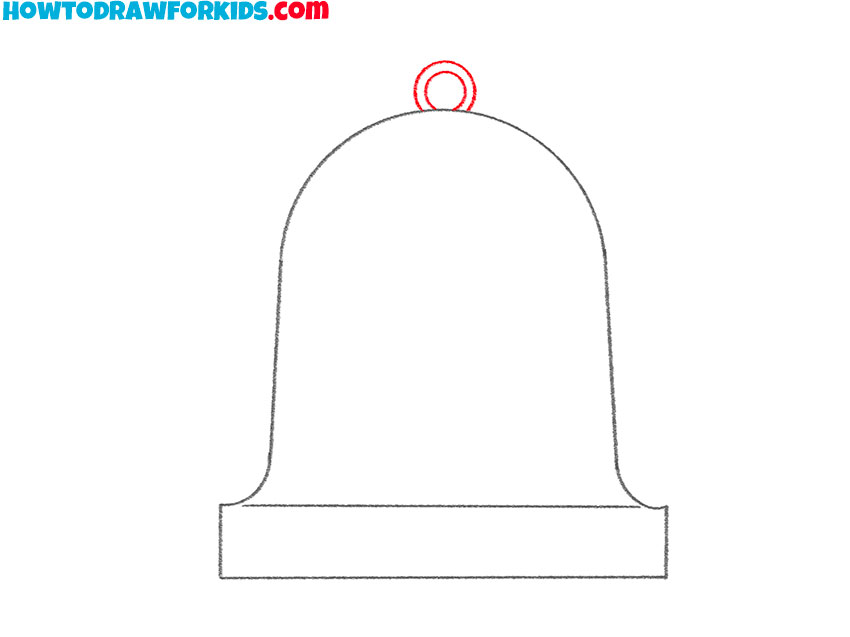
- Add the bell mount element.
At the top of the bell add two incomplete circles of different sizes, one inside the other.
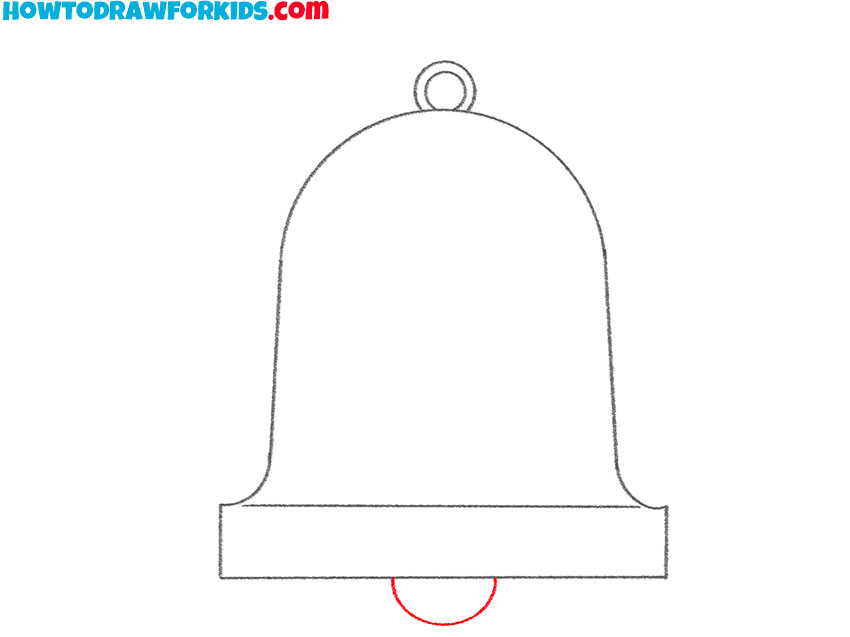
- Picture the clapper of the bell.
Draw a semicircle at the bottom of the bell in the middle of the bell’s bottom base.
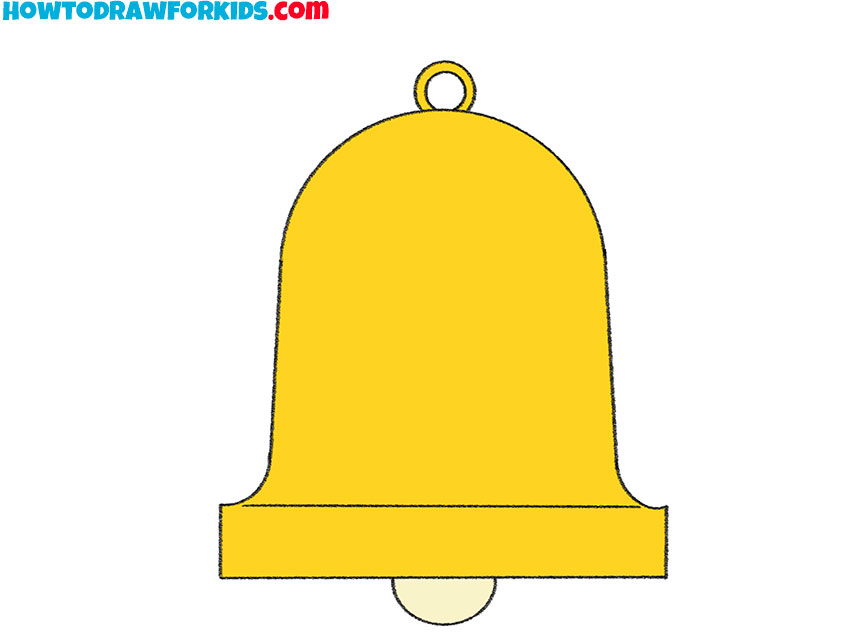
- Color the drawing.
To color the bell you drew, use yellow and light beige.
This concludes our drawing lesson, and I hope you enjoyed it! Don’t forget to download the PDF file which contains a short version of this drawing lesson and some additional useful materials.

