How to Draw a Beret
In this lesson you will learn how to draw a beret. I’m sure you’ll love this guide. In just a few simple steps, you will gain useful skills.
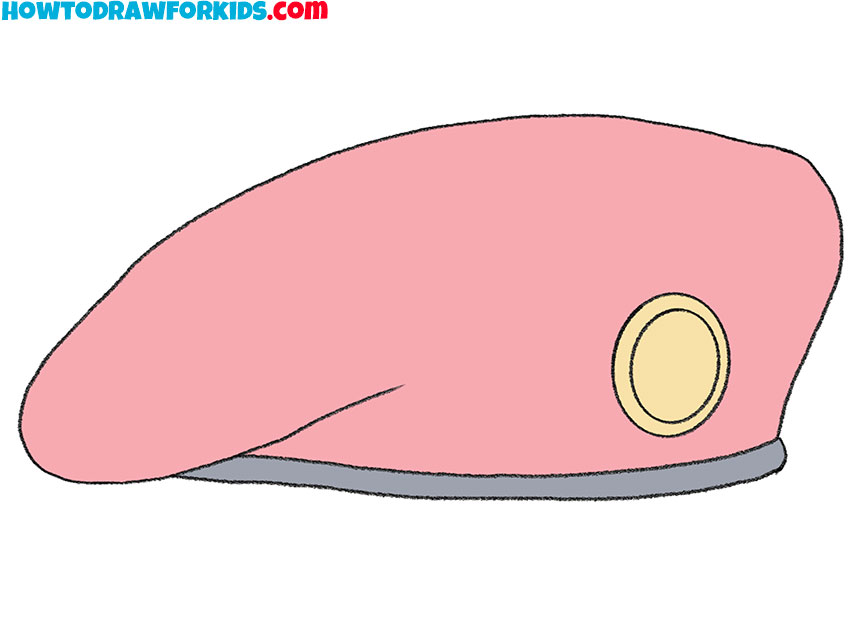
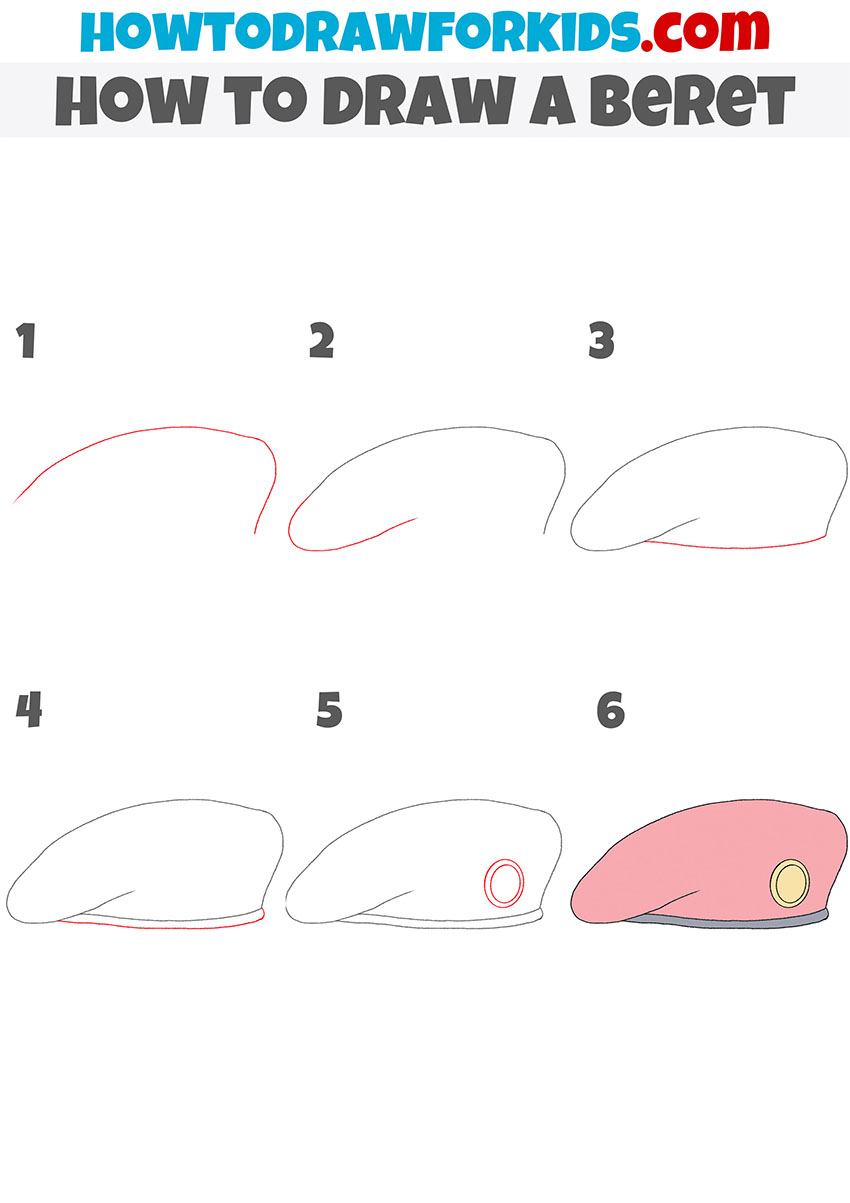
I invite you to a new drawing lesson in which I will show you how to draw a beret. If you complete this lesson, you will acquire useful skills and have a good time. I am sure that you will enjoy this lesson and you will get useful drawing skills.
Especially for beginners, I have prepared a fascinating lesson on how to draw a beret. The beret is a soft round hat without a visor. The berets are worn by both men and women.
In this lesson, you will draw a beret that is decorated with an emblem and has a small trim along the bottom contour. So grab your art supplies and get to work.
Materials
- Pencil
- Paper
- Eraser
- Coloring supplies
Time needed: 25 minutes
How to Draw a Beret
- Draw the top.
Determine the size of your drawing and draw a smooth, curved line.

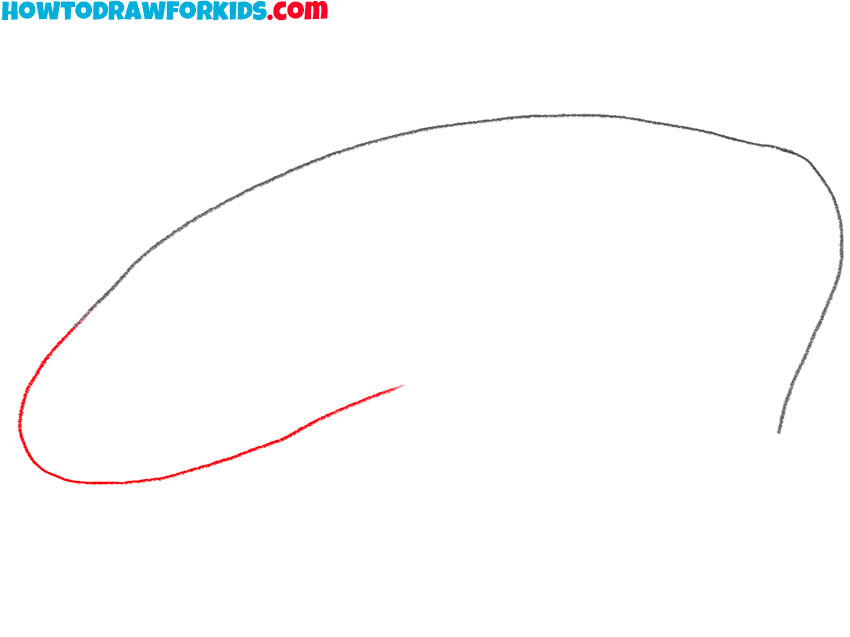
- Depict the side.
On the left side, depict the fold of the fabric using a curved line.
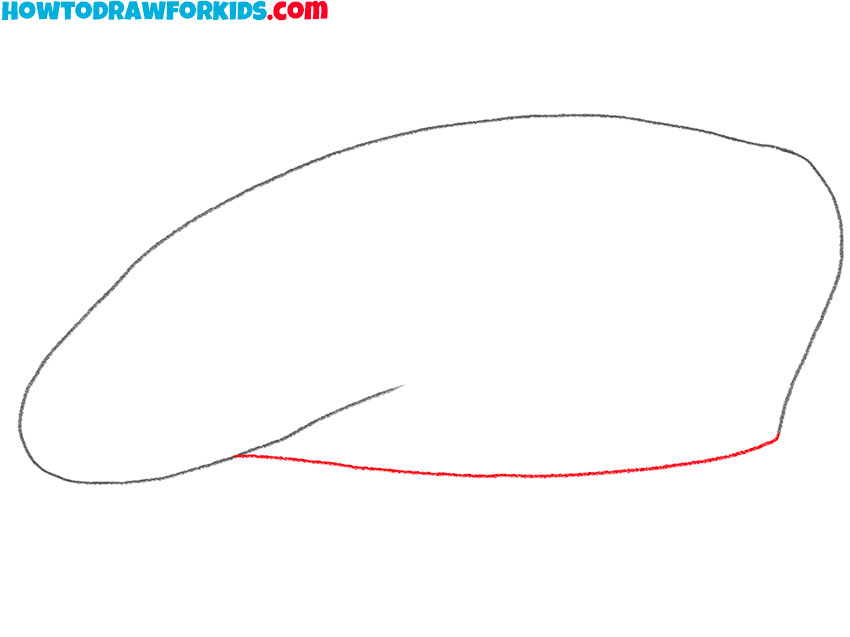
- Add the bottom outline.
Draw a connecting line at the bottom.
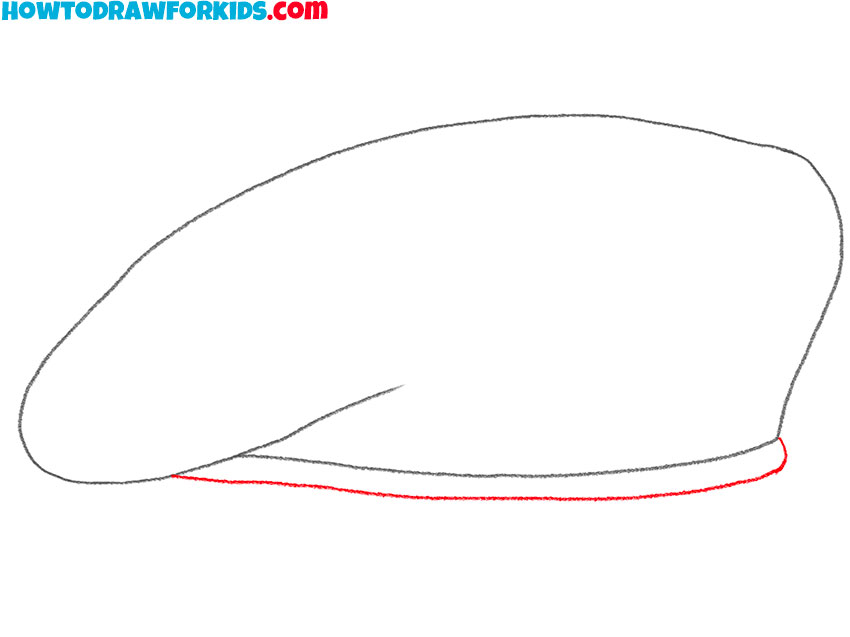
- Sketch out the trim.
Draw another smooth line along the bottom edge.
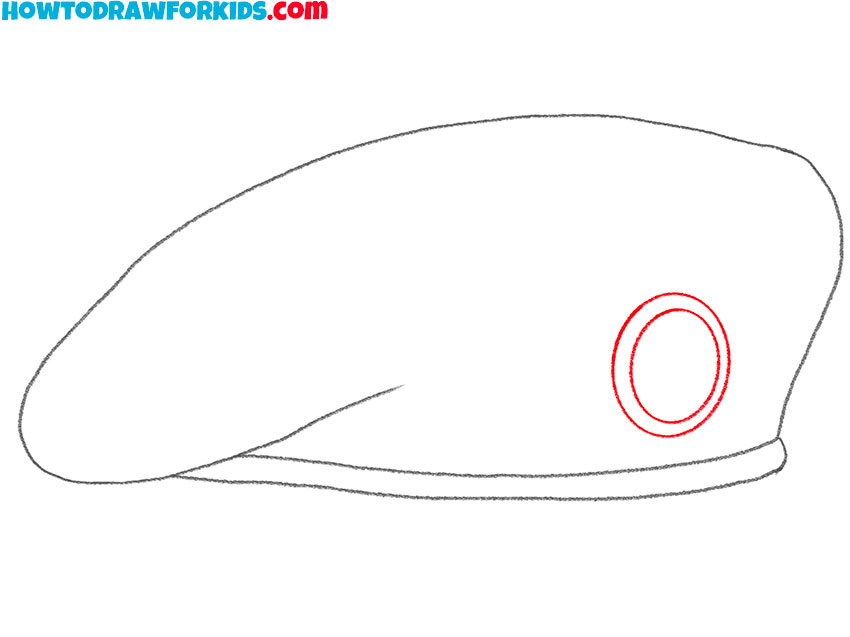
- Depict the emblem.
In front of the beret, draw two ovals of different diameters.
- Color the drawing.
For coloring, you can choose any bright colors of the choice.

The lesson has come to an end, and now you know how to depict a beret step by step. You can use the acquired skills in the future when you want to draw a person in such a headdress. Download the PDF file that contains a short version of this lesson and draw at any convenient time.


