How to Draw a Blue Jay
In this lesson, you will learn how to draw a blue jay. You can use the acquired skills in your next drawings.
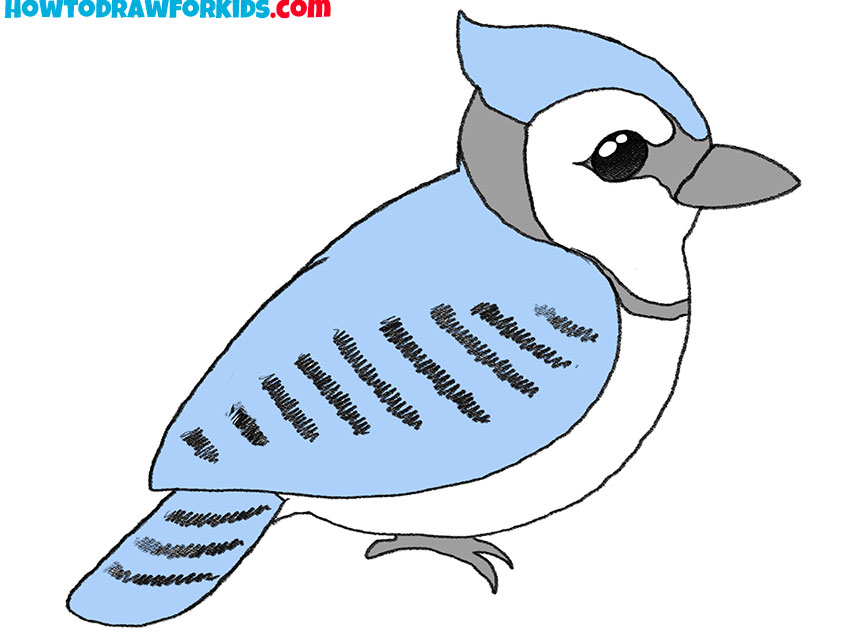
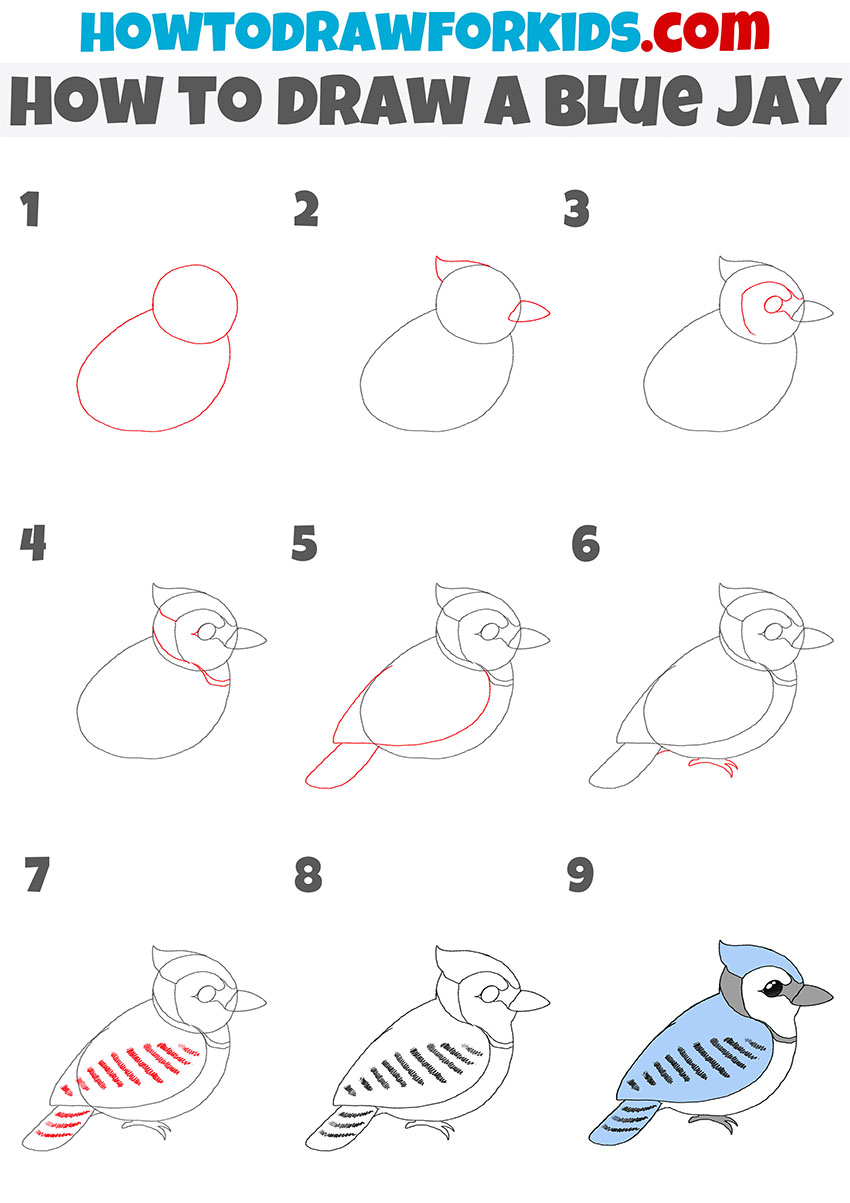
This step-by-step tutorial is specially designed for beginners, and here you will learn how to draw a blue jay step by step. This is a great drawing object.
In this lesson, I will show in detail what elements the drawing consists of, and in the future you can easily draw any other bird, you just need to slightly change the external structure and shape of the beak.
The blue jay is a beautiful songbird. Jay plumage contains white, gray and blue. There is a small tuft on the head. The beak is medium. Try to depict all these features in your drawing.
Materials
- Pencil
- Paper
- Eraser
- Coloring supplies
Time needed: 30 minutes
How to Draw a Blue Jay
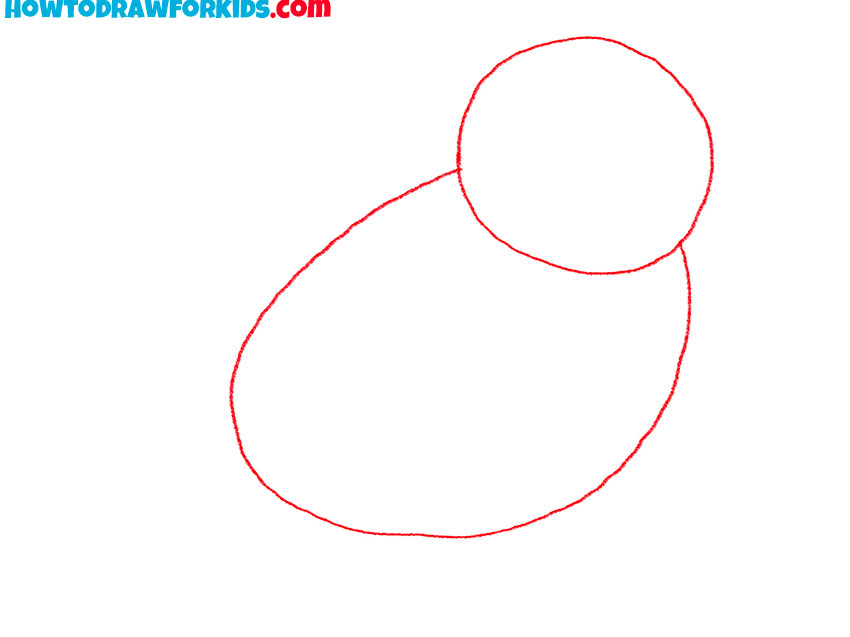
- Draw the head and torso.
First, draw a circle to depict the head. Then add the torso with a smooth line.
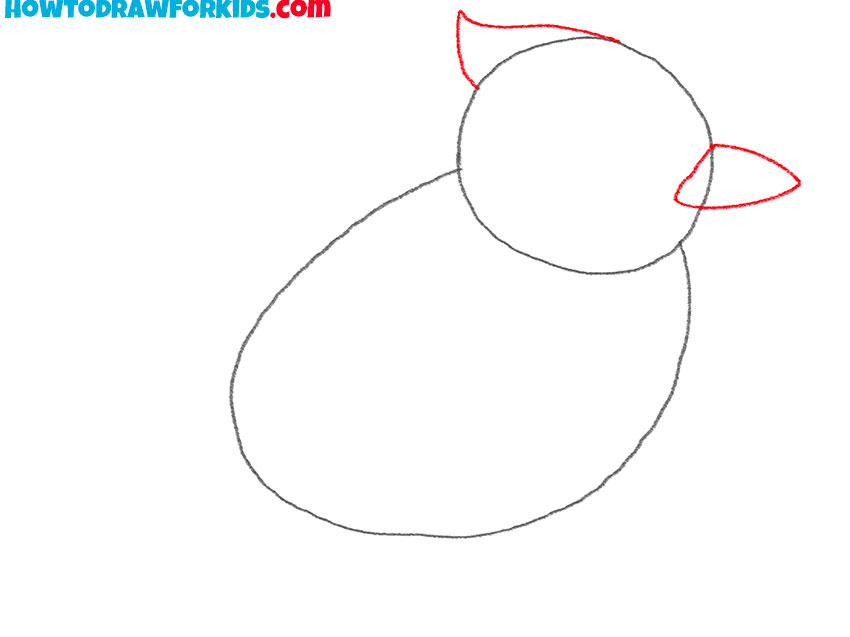
- Depict the crest and beak.
On the head, draw the pointed crest and add the beak that is triangular.
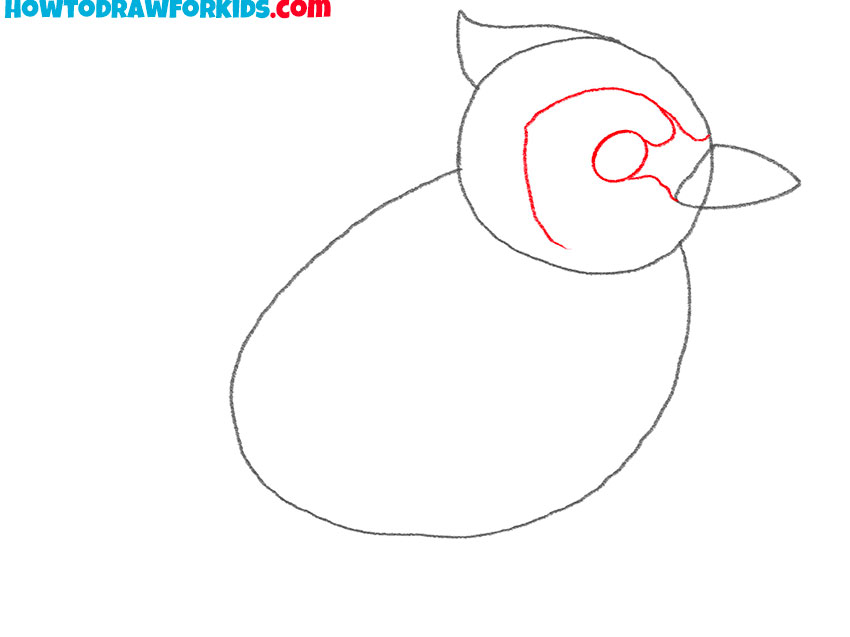
- Add details.
Sketch out the eye and detail the color on the head.
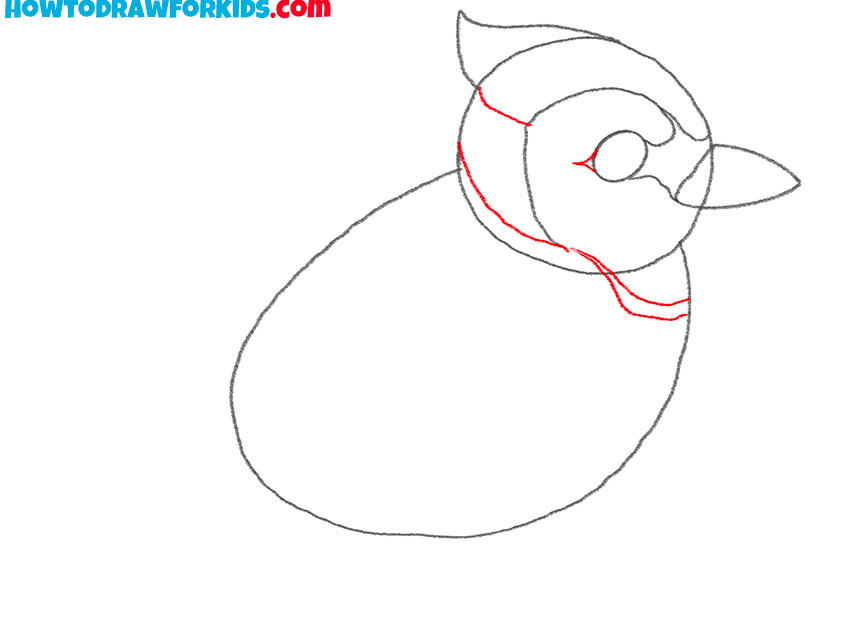
- Detail the color on the neck.
Mark the contour of the neck, where the color of the plumage will be different.
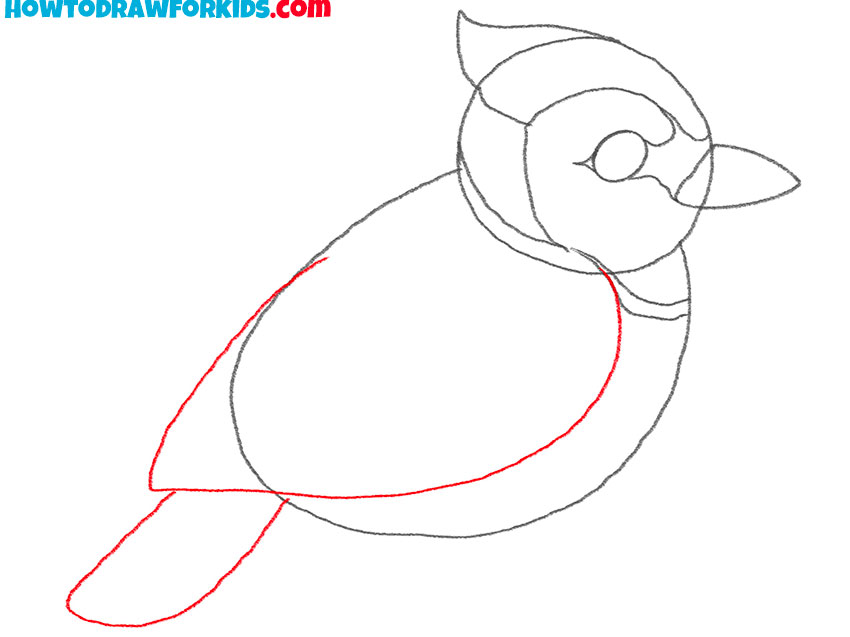
- Draw the wing and tail.
Depict a smooth line to draw the pointed wing. Sketch out the tail at the bottom.
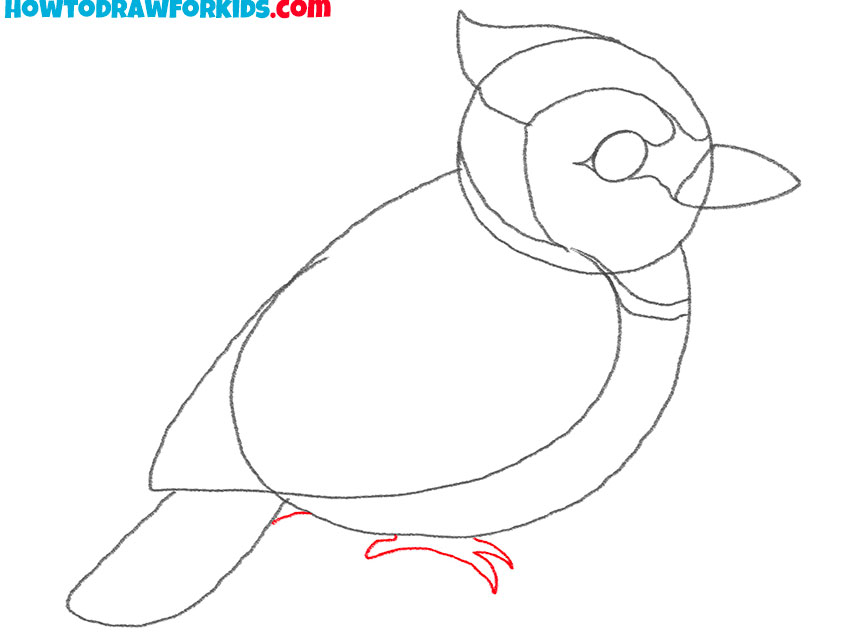
- Depict the paw.
The paw is short and has long pointed toes.
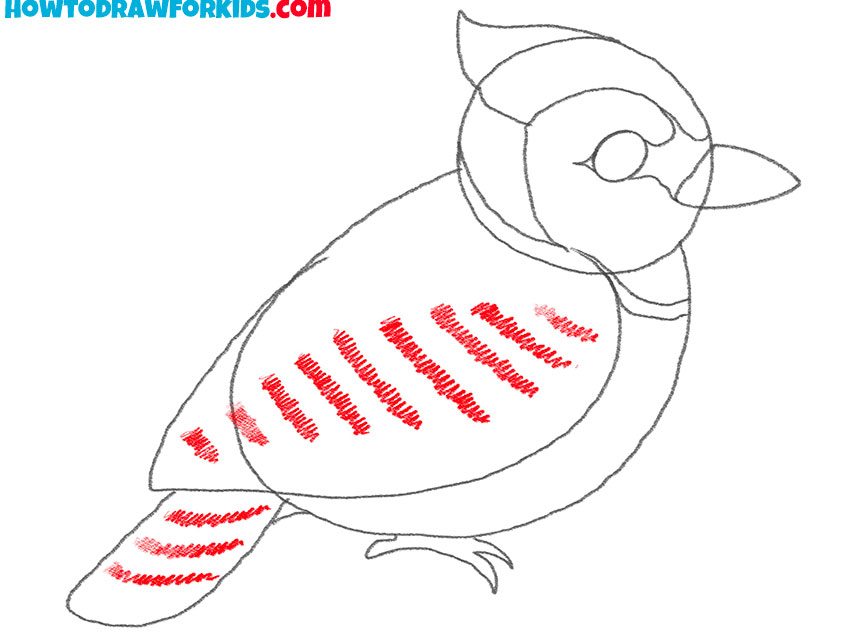
- Add the stripes to the plumage.
Use jagged dashed lines to draw the stripes on the wing and on the tail.
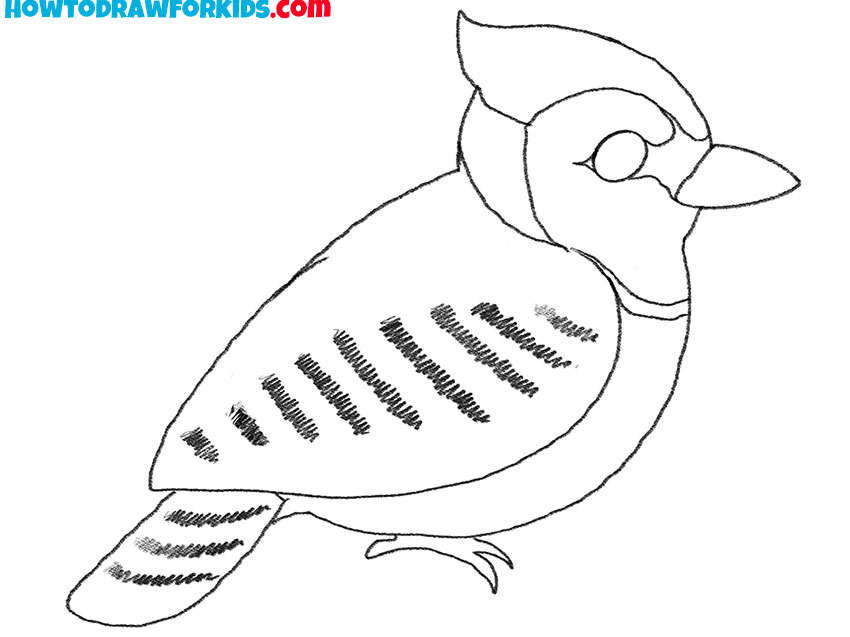
- Correct inaccuracies.
Remove all unnecessary lines in the drawing.
- Color the blue jay.
You will need blue and gray to paint different parts of the body.

By tradition, at the end of the lesson, I have prepared a link for you, which you can now use and download a short version of the lesson in PDF format for free.

this is the best blue jay that I have ever drawn