How to Draw a Cute Turkey
In this drawing lesson, you will learn how to draw a cute turkey. This lesson will be useful for beginner artists and children.
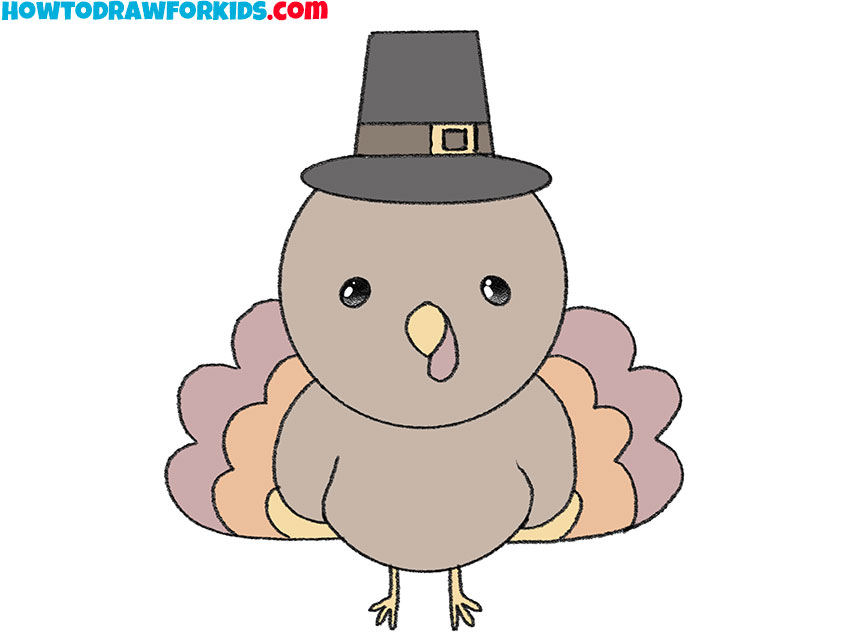
So, I suggest you follow this great drawing lesson, in which I will tell and show you how to draw a cute turkey step by step. By learning how to draw a cute turkey with the help of this instruction, you will be able to depict this bird in the background of any natural landscape in the future.
Don’t worry if you don’t have much drawing experience yet, because this tutorial was created specifically for beginners and does not contain any complicated elements.
The turkey is the largest of the poultry. It has a large body, long neck and legs. The turkey has a bright, lush plumage, consisting of large feathers. The plumage color is very different: white, light brown, with a scarlet tint, bronze-green, the color of coffee with milk. The tail looks like an open fan. He has a large beard with pink growths near his beak.
Now that you know a little more about this interesting bird, you can start drawing a cute turkey right now. The turkey you will draw with these instructions has a hat on its head. Prepare the art supplies you will need to complete this drawing, then follow these instructions carefully and enjoy the creative process.
Cute Turkey Drawing Tutorial
Materials
- Pencil
- Paper
- Eraser
- Coloring supplies
Time needed: 30 minutes
How to Draw a Cute Turkey
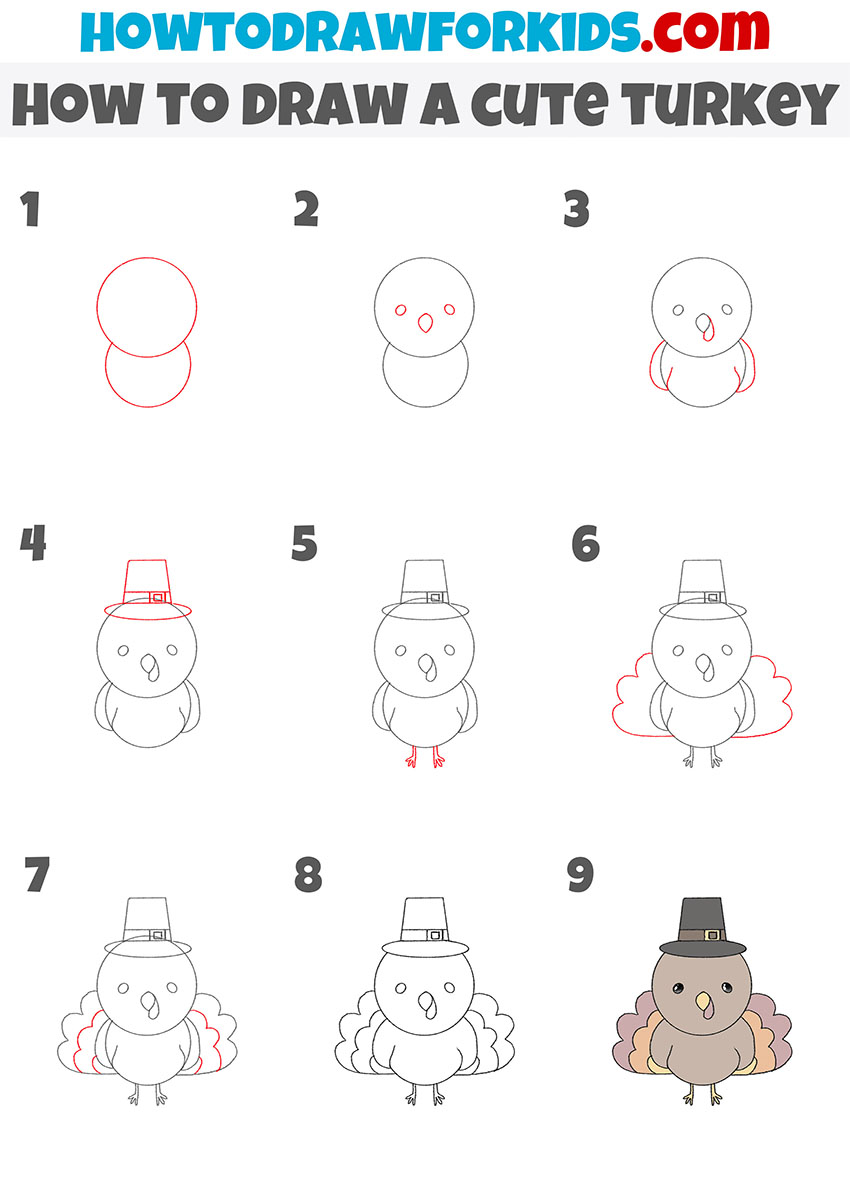
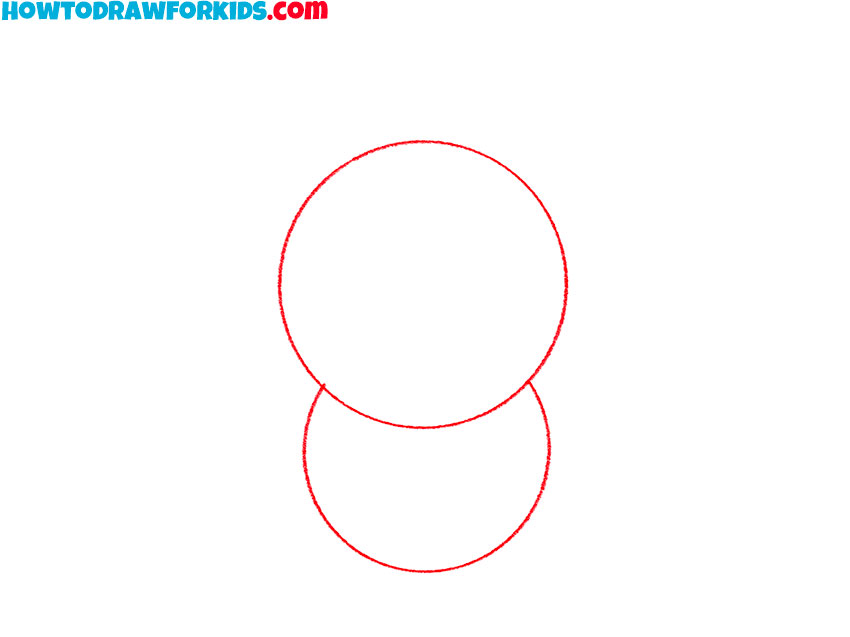
- Draw the outline of the bird’s head and body.
To complete this simple step, draw a circle, as well as an incomplete circle below it.
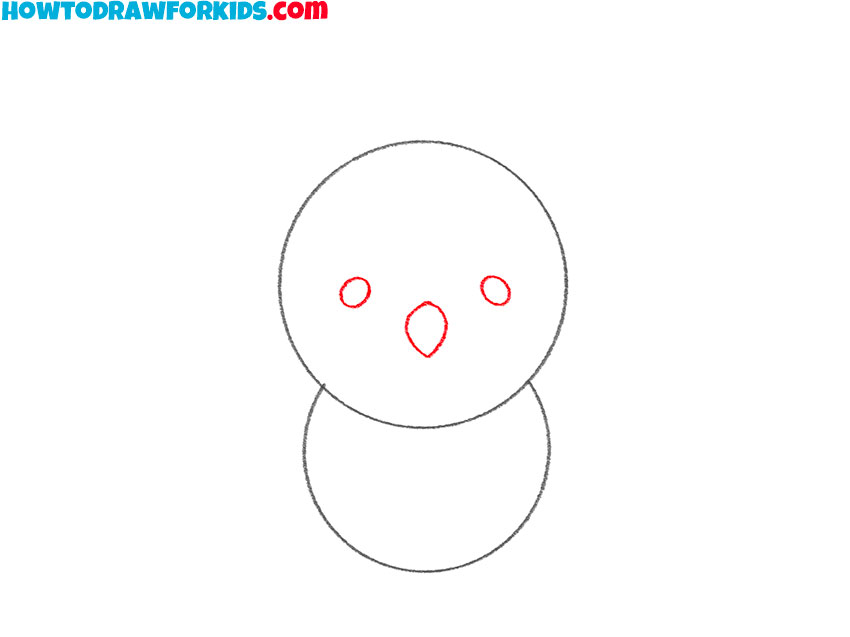
- Add the facial features.
Inside the drawn circle, draw two symmetrical ovals and the pointed figure between them.
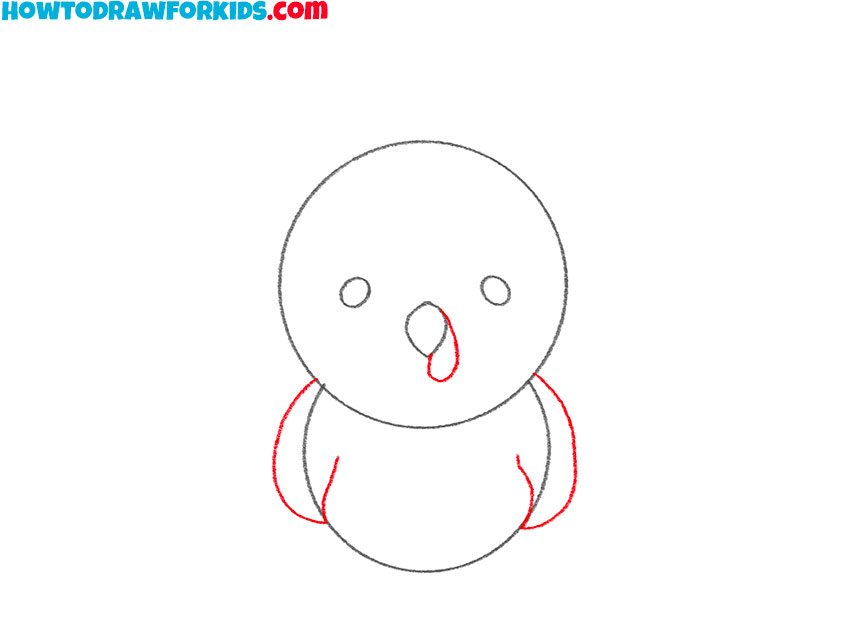
- Depict the element near the beak and upper limbs.
Draw a curved line near the beak of the turkey, add curved lines on the sides of the bird’s body.
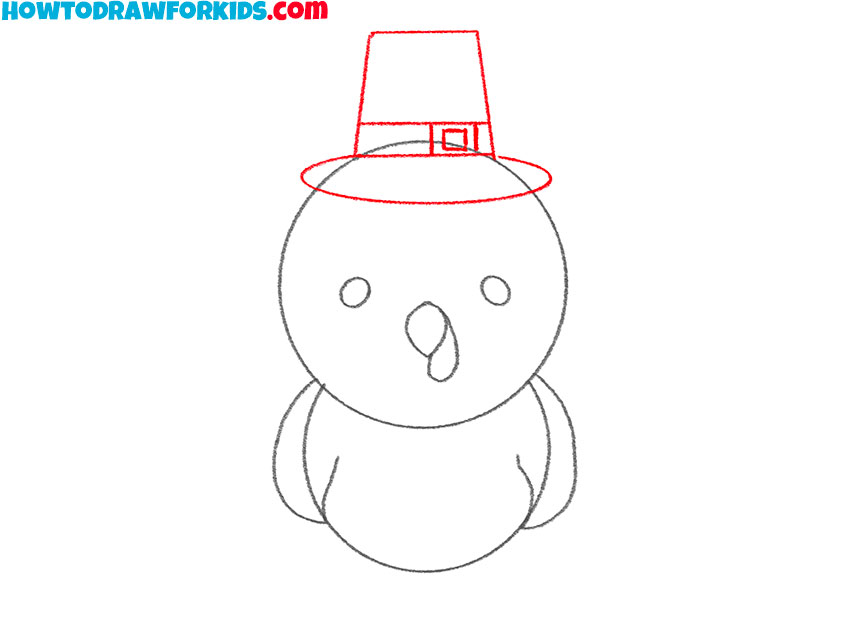
- Sketch out the hat.
Depict the hat at the top of the head using straight lines, rectangles and an incomplete oval.
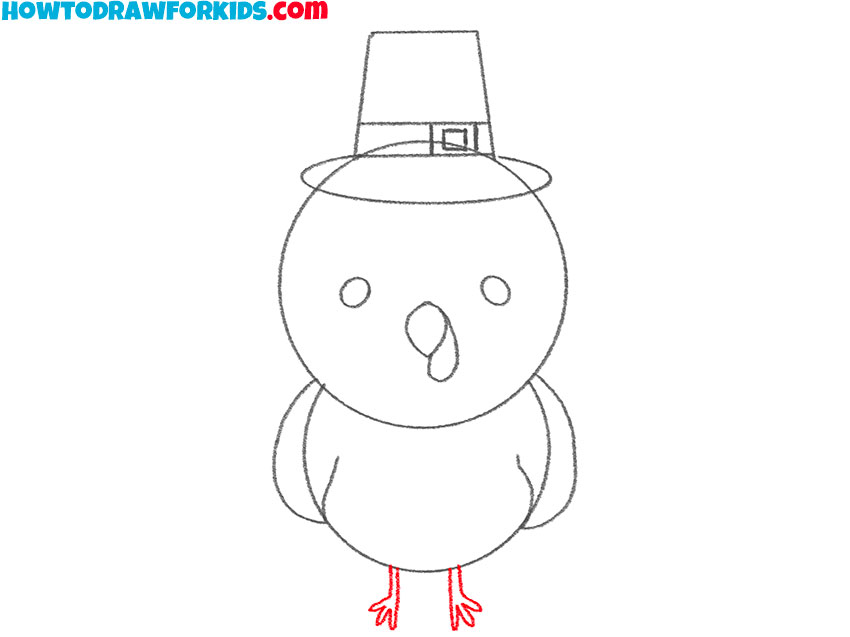
- Draw the paws.
At the bottom of the drawn bird’s torso, draw two symmetrical paws with three fingers on each.
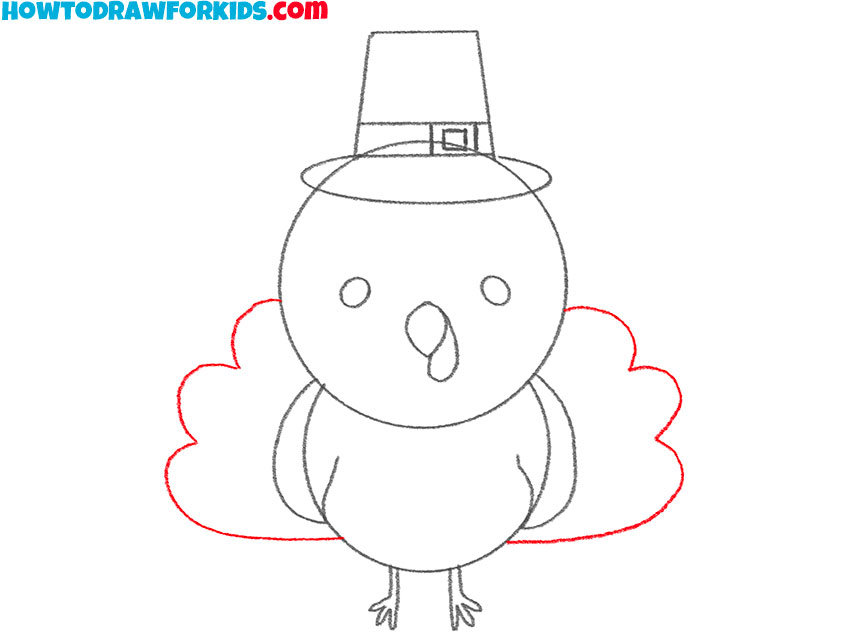
- Depict the tail.
On the right and left sides of the body, draw symmetrical arcs and curved lines.
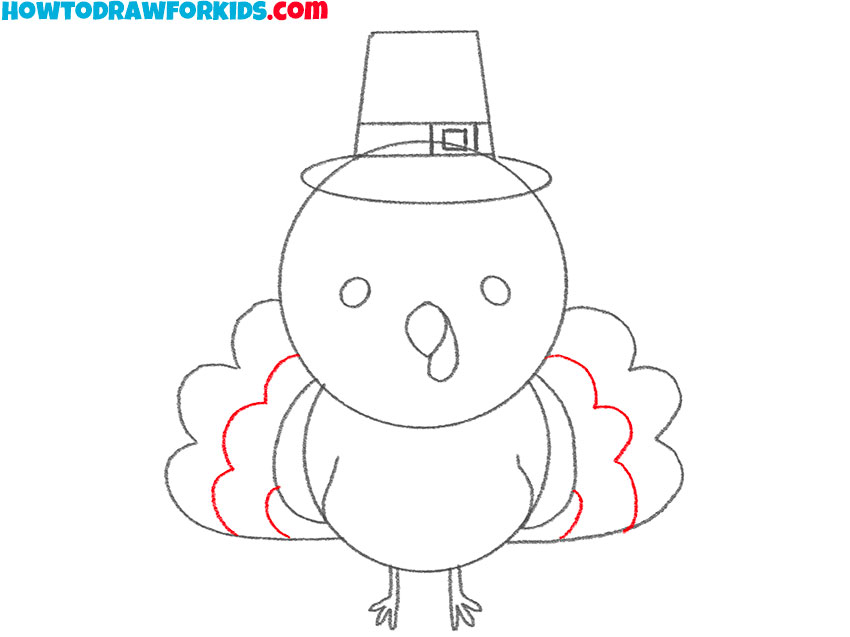
- Add details.
To represent the tail more lush and beautiful, add a few more arcs, as shown in the picture.
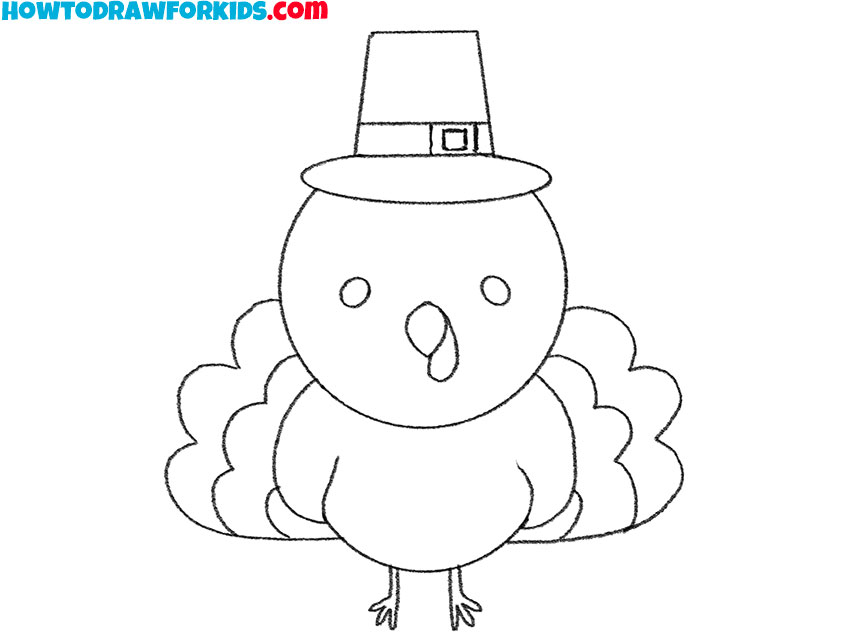
- Correct inaccuracies.
Use the eraser to remove any unnecessary guidelines.
- Color the drawing.
To color the cute turkey, use shades of brown, black, yellow, orange, and taupe.
As usual, I have prepared a PDF file for you, where you can find a short version of this tutorial and additional useful materials that will help you improve your skills as an artist.