

How to Draw a Person from the Side
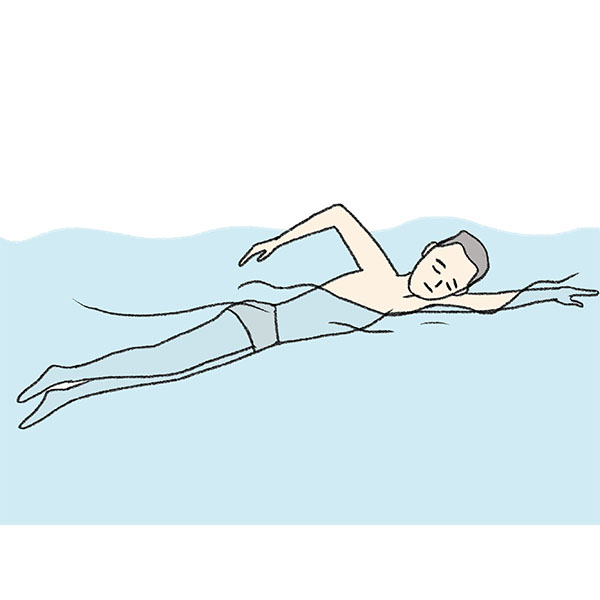
In this tutorial, I will tell you how to draw a person from the side. This lesson will be very useful for each of you.
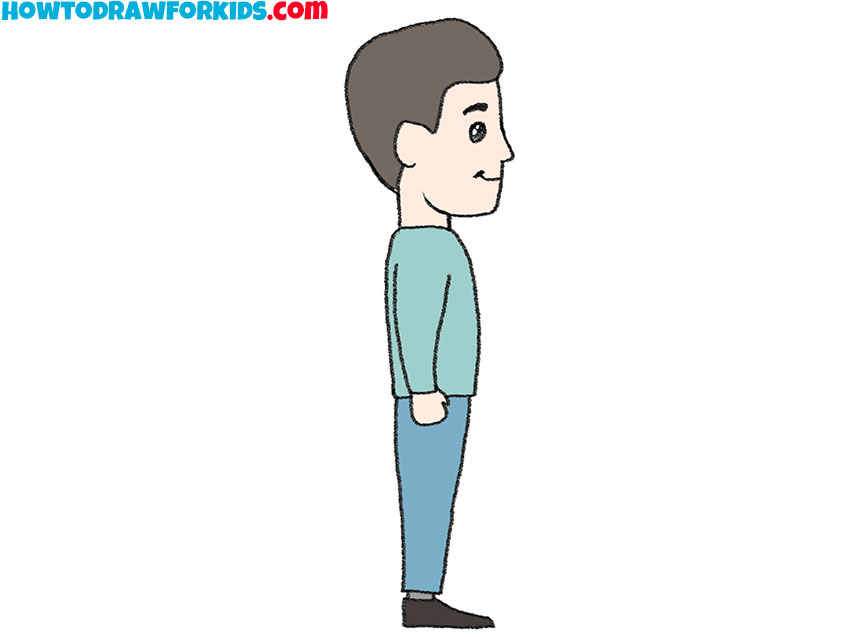
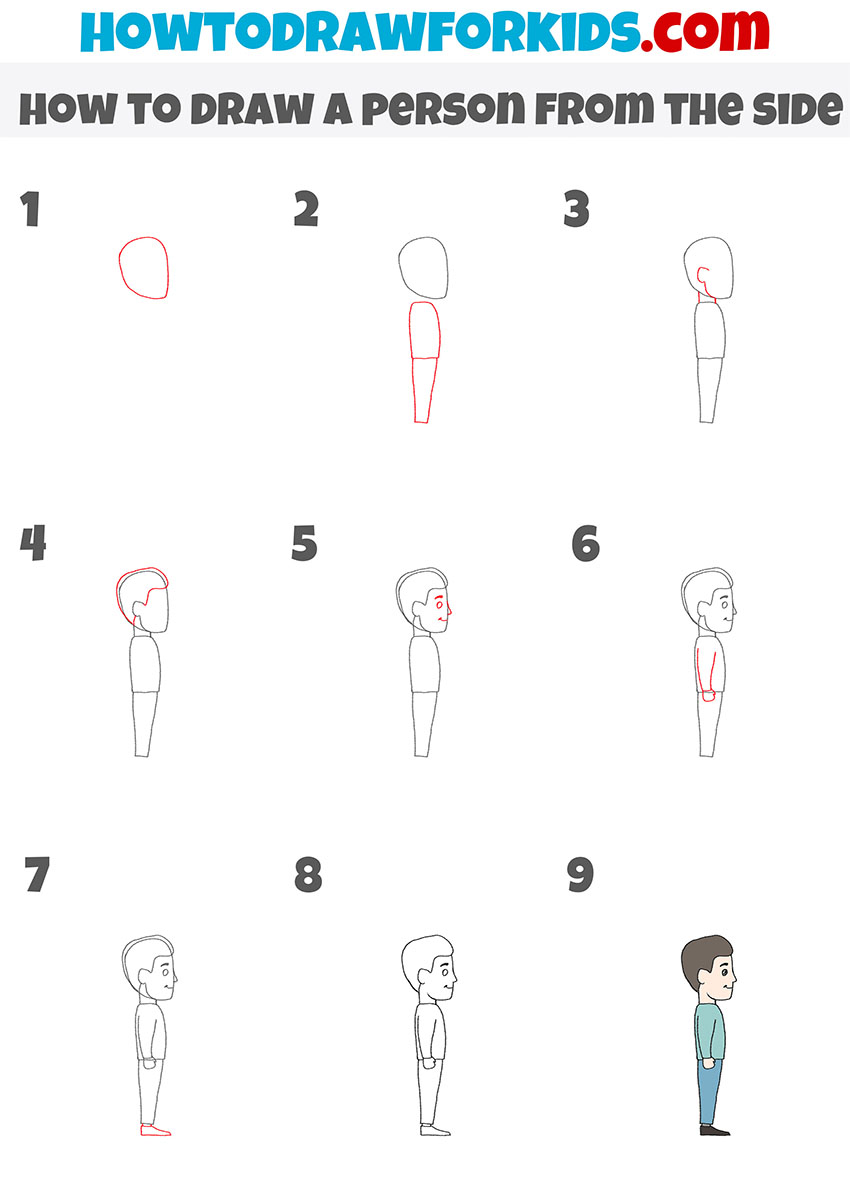
So, I am happy to offer you an instruction with which I will tell you how to draw a person from the side step by step. I am sure that it is important for every artist to be able to draw different people and characters, not only from the front, but also from other different angles.
This skill will help you create more professional and varied drawings. This tutorial does not contain any difficult-to-follow elements, so it will appeal to any aspiring artist or child.
Drawing people is one of the most difficult tasks for artists, however, if you carefully follow the step by step of this instruction, you can easily draw a person from the side.
This lesson will help you better understand the structure and proportions of the human body. In this tutorial, you will draw a man with a short haircut. You can use any color to paint the skin and hair of a person, and you can also use the option I suggested.
Before you start this tutorial, you should prepare all the art supplies that you will need for drawing, and then you can carefully follow these instructions and enjoy the creative process. I am sure that you will easily and quickly cope with this work.
Person from the Side Drawing Tutorial
Materials
- Pencil
- Paper
- Eraser
- Coloring supplies
Time needed: 30 minutes
How to Draw a Person from the Side
- Draw the outline of the human.
To complete this simple step, you should draw a shape that looks like a deformed oval.

- Add the outlines of the person torso.
Below the head, depict the upper and lower parts of the torso using curved and straight lines.

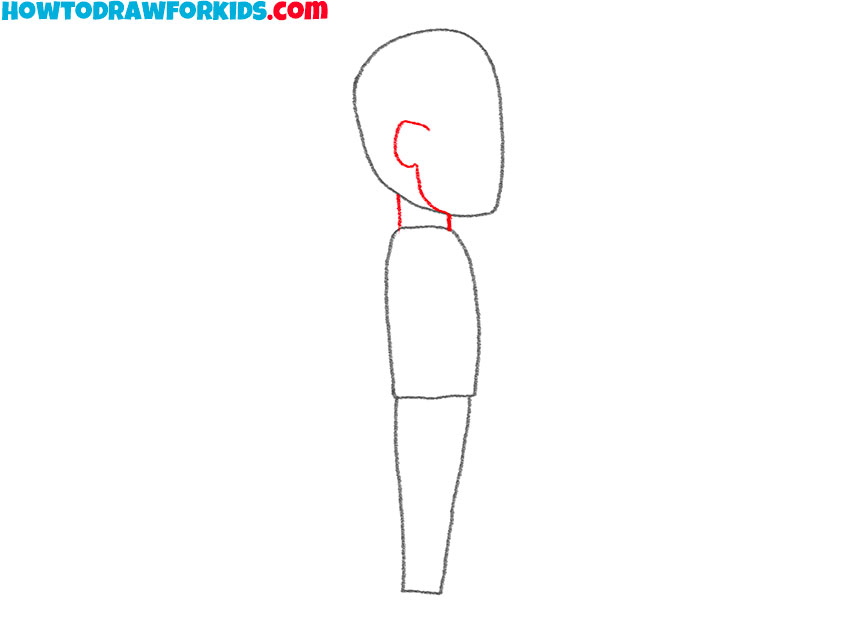
- Depict the neck, ear and lower part of the face.
Add an incomplete oval and an arc inside the outline of the head. Connect the head and torso.
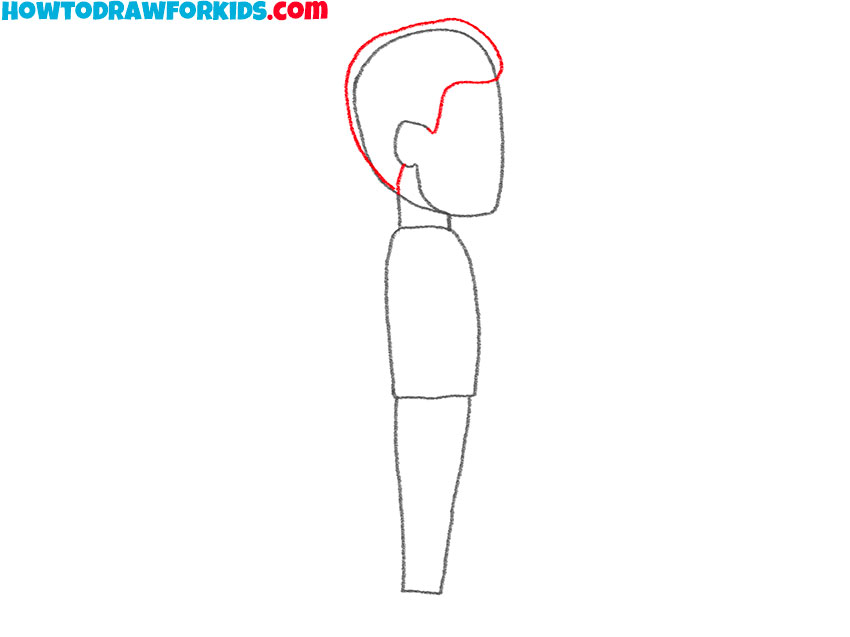
- Sketch out the outline of the hairstyle.
Now you should add curved lines at the top of the person head you have drawn.
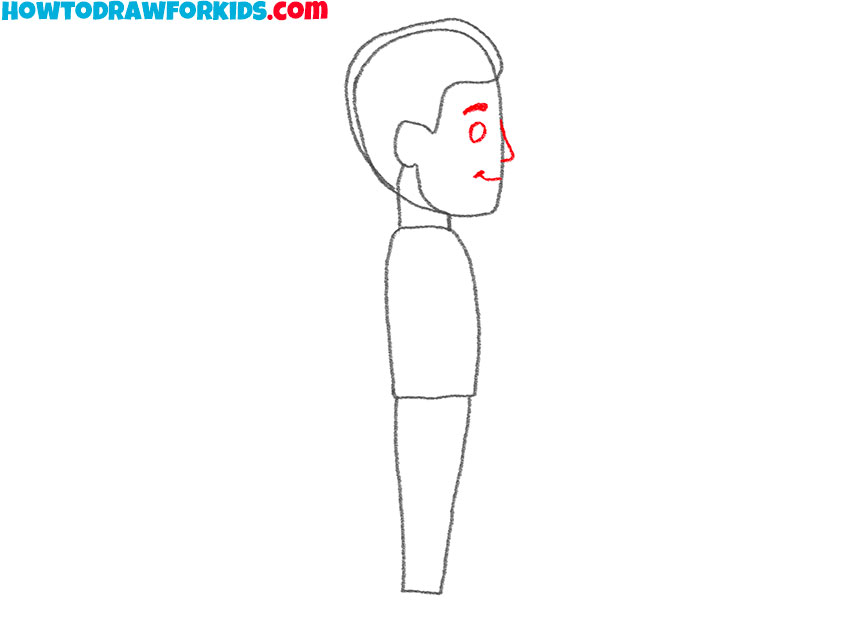
- Draw the facial features.
Depict the nose, mouth, eye, and eyebrow using an oval and curved lines of varying thickness.
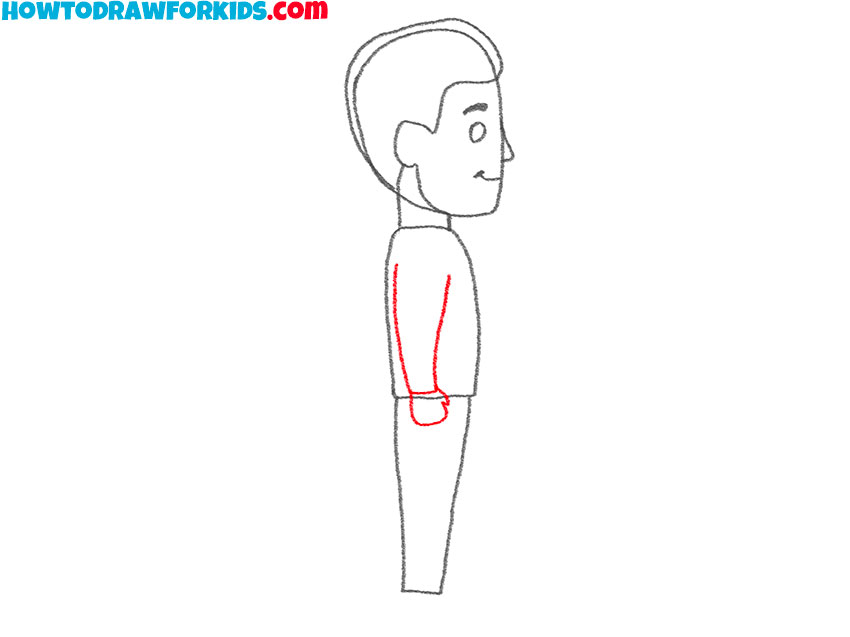
- Add the outline of the person hand.
Draw curved and rounded lines, as shown in the figure, to draw the downward hand.
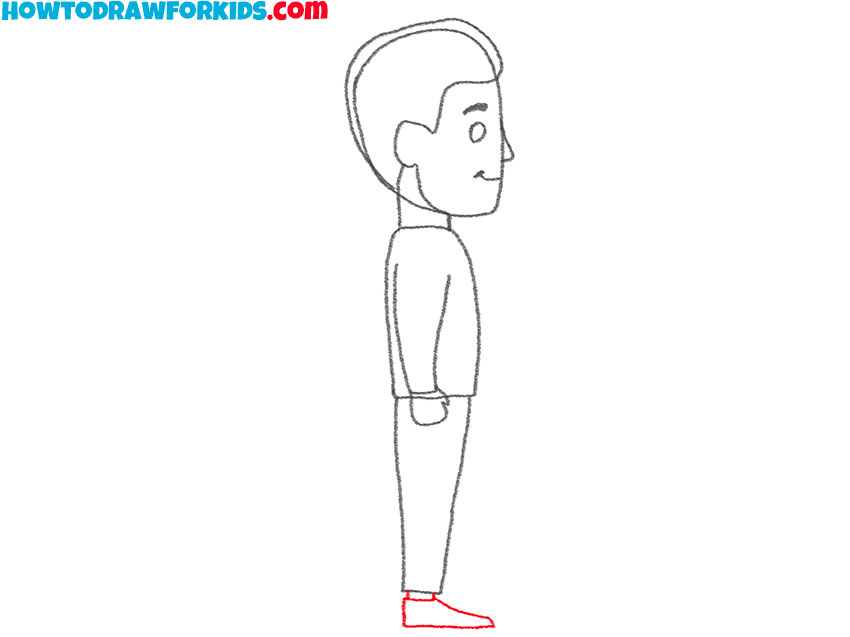
- Depict the bottom of the legs.
At the bottom of the drawing, draw some straight and curved lines as shown.
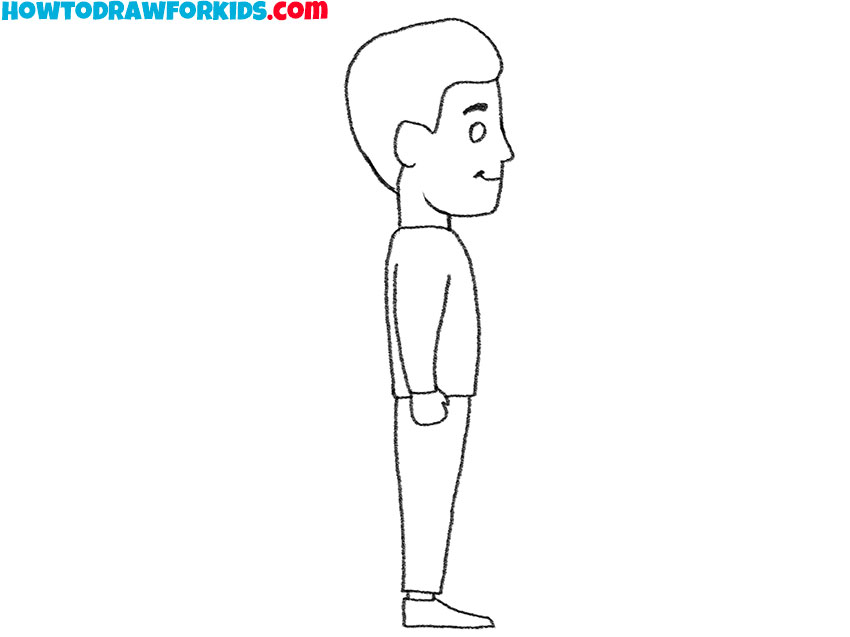
- Correct inaccuracies.
You should use the eraser and erase unnecessary lines.
- Color the drawing.
To color the person on the side, use any colors.
For your convenience, I have prepared a PDF file in which you can find a short version of this tutorial and additional useful materials for completing it. Download this file to return to the lesson at any time.


You need more tutorials to do I neeeeeddd moreee!!!!!
I agree.
AMAZING!!!
This tutorial helped me so, so, SO much!
I agree you need MORE tutorials.😉
Thanks, Stefanie!
It’s very good to see that my tutorial helped you.
Such comments motivate me to create more drawing tutorials.