How to Draw a Turkey
In this step-by-step tutorial, I will show you how to draw a turkey in four different ways, ranging from simple to very simple and cute.

How to Draw Turkey: Introduction
This lesson on how to draw a turkey will traditionally be simple. It consists of nine very simple stages, and at each stage, the young artist will need to draw a small number of simple lines.
For children, the turkey is often seen as a mysterious bird that is rarely encountered. Because of this, they are sometimes are afraid of them. But in my lesson, we will show how to draw these birds in a simple and really cute way.
Additionally, I have created three alternative turkey drawing methods to help you practice and improve your drawing skills. These methods will show that you can draw a turkey in different ways. Each of these alternative methods differs in style, simplicity, and sequence of steps.
As you may have noticed, turkeys are somewhat similar to chickens, so if you have mastered the tutorial on how to draw a chicken, you are almost ready to draw a turkey. However, there are a few important differences to be aware of, such as the turkey’s voluminous tail, long neck, and snood, which give it a unique appearance compared to the chicken.
Turkey Drawing Tutorial
Materials
- Pencil
- Paper
- Eraser
- Coloring supplies
Time needed: 30 minutes
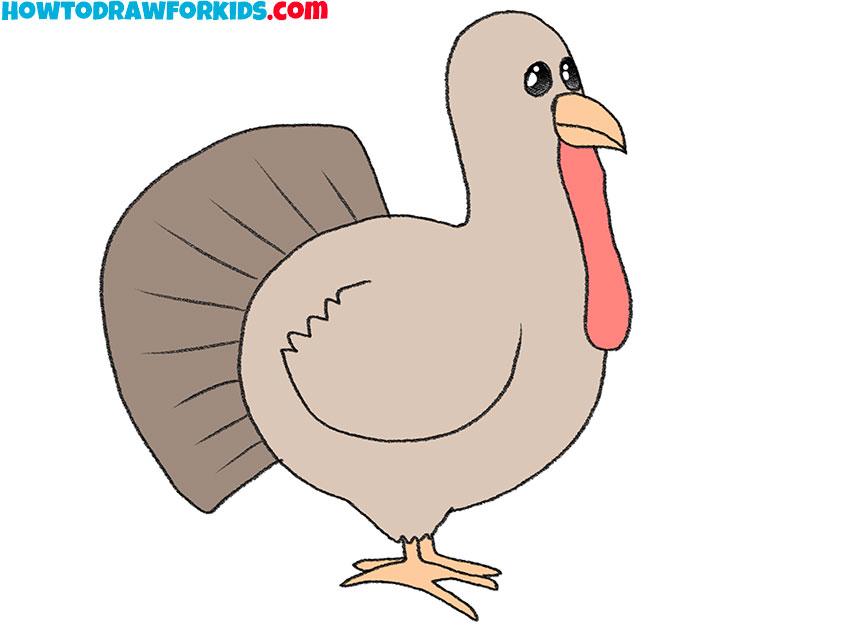
How to Draw a Turkey
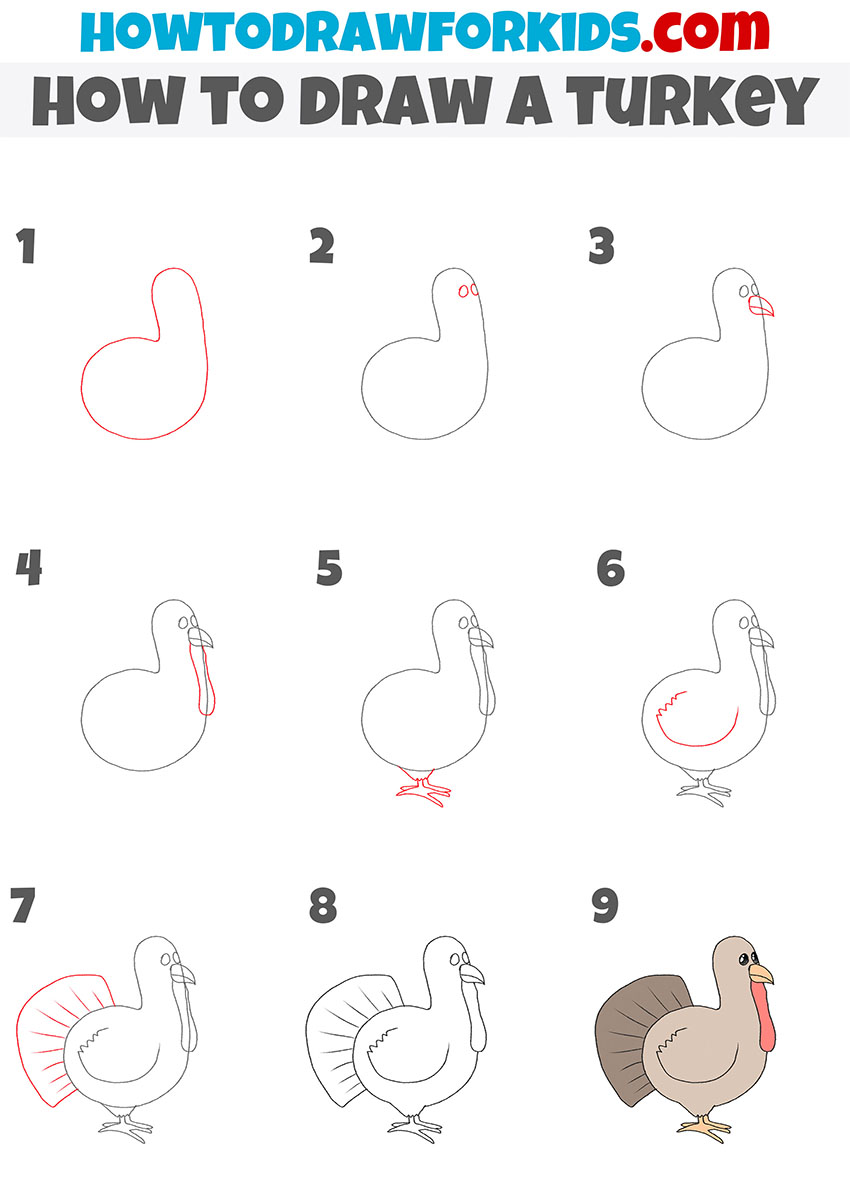
- Draw the body outline.
Use smooth, rounded lines to form a large, oval-like shape for the body. Then, from the top of the oval, add a smaller, curved shape that extends upward for the head and neck. The line connecting the head to the body should be smooth and continuous.
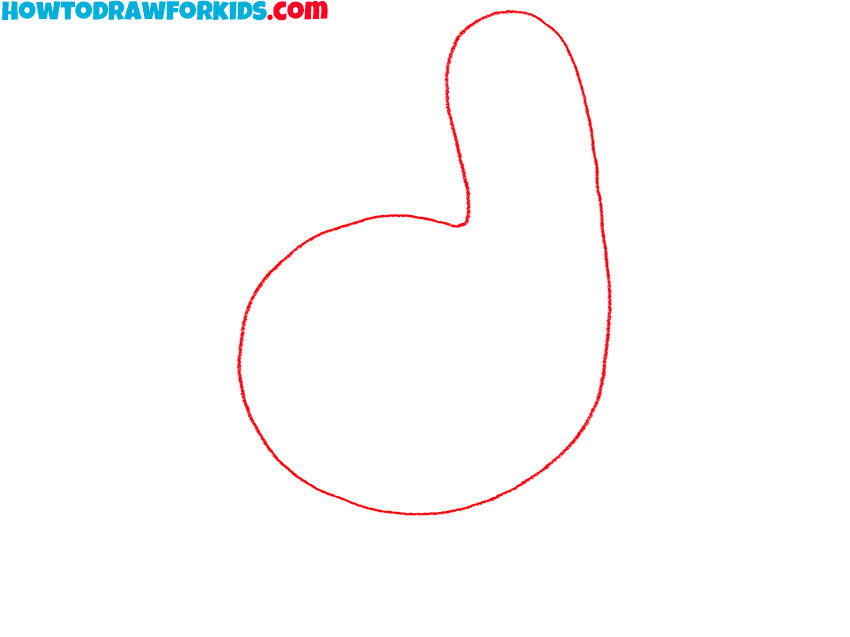
- Add the eyes.
Draw two small circles or ovals for the eyes. These circles should be placed close together at the upper part of the head. You can change your turkey’s facial expression by outlining the eyebrows and adjusting their position to achieve the desired look.
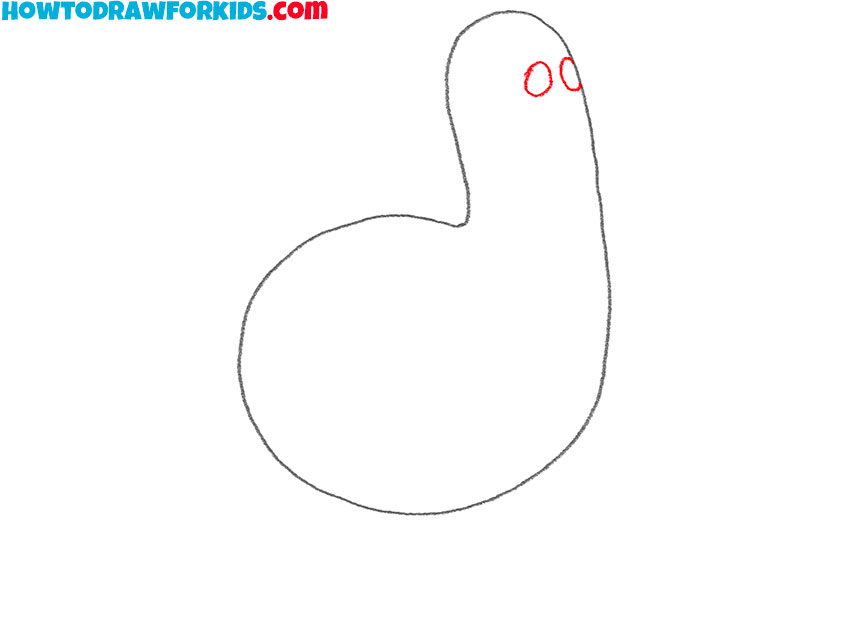
- Draw the beak.
In this step, draw the beak with a small geometric figure resembling a horizontally positioned drop below the eyes. This will be the outline of the beak. Add a short, straight line that will divide the outline of the beak into two parts to create the mouth.

- Add the snood.
Begin at the bottom of the beak and carefully draw a soft, curved line that hangs down. The snood should have a smooth outlines and be wider at the bottom. To make the snood look more natural, you can give the outlines of this part more wavy shape.
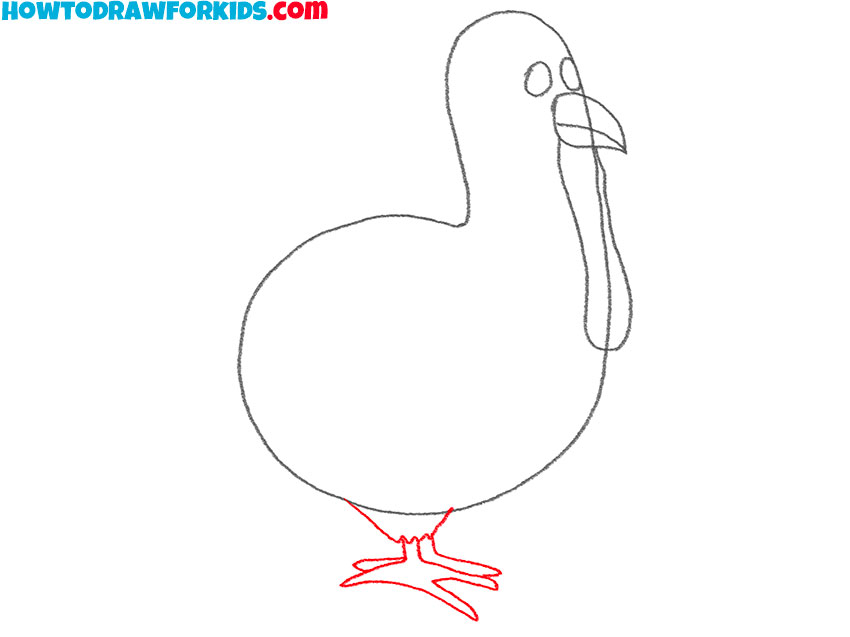
- Draw the feet.
To draw the legs, begin by adding a curved line at the bottom of the torso for the thigh. Then draw short lines extending downward from the thigh for the legs. At the base of each leg, draw three spread-out, pointed lines for the toes, creating a claw-like appearance.
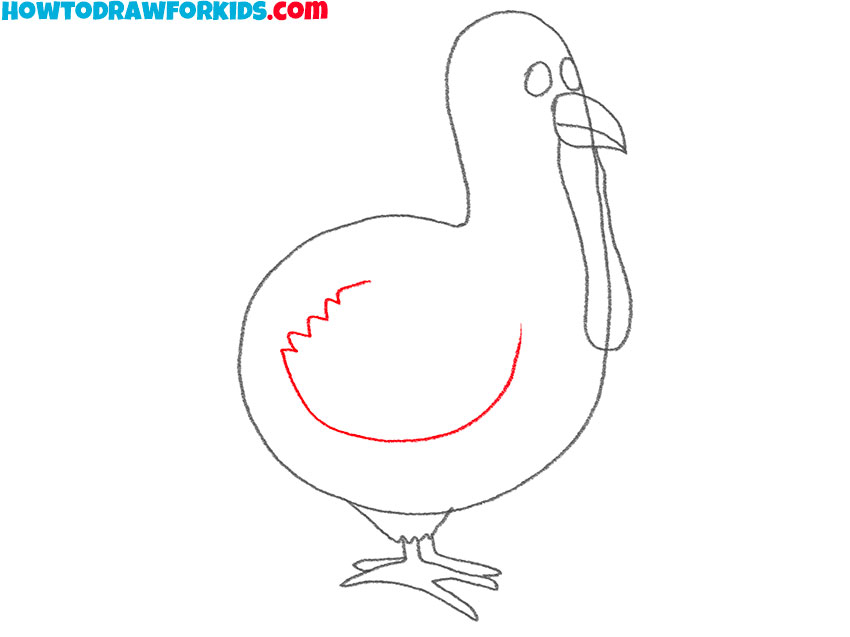
- Add the wing to the turkey.
To draw a wing, sketch a curved line that follows the shape of the body’s contour. This line should start near the middle of the body and curve down and around. To add feather detail, include small, rounded bumps at the top of the wing, mimicking the natural texture of feathers.
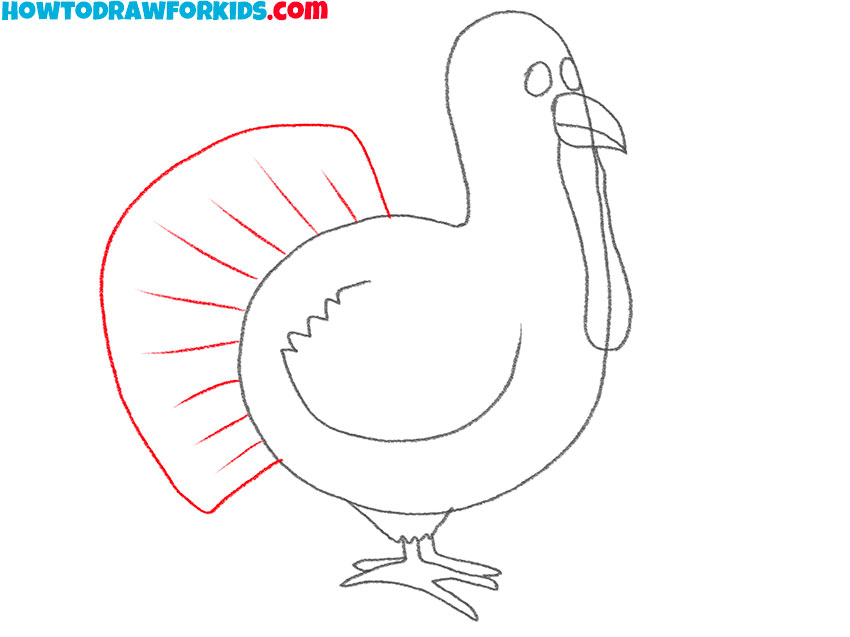
- Draw the tail and feathers.
Next, draw the large tail feathers that extend outward from behind the body. Start by drawing a large shape resembling a fan or a curved trapezoid to represent the tail. Then, add a series of long lines spreading outward from the point where the tail originates to form the feathers.
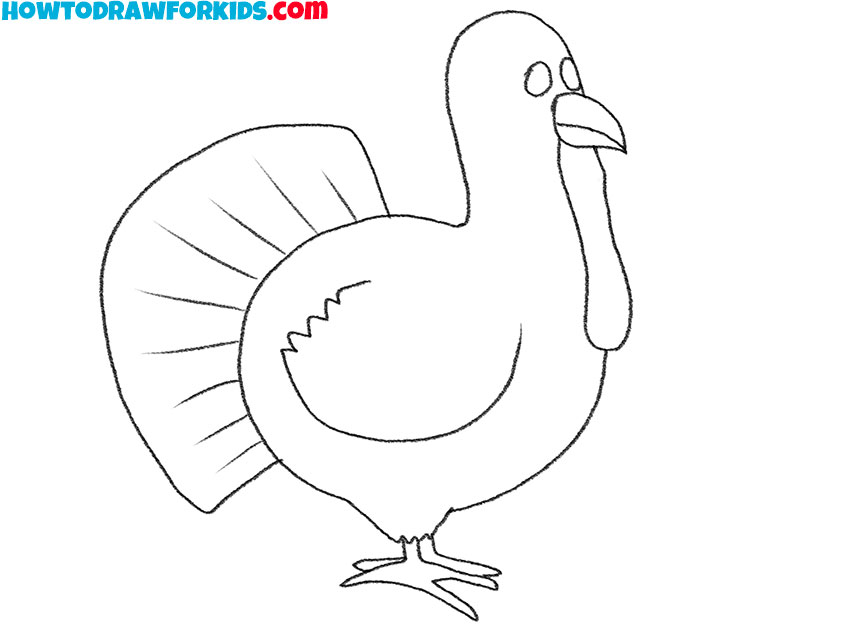
- Erase the guidelines.
Now let’s focus on erasing any guidelines that were drawn earlier to help with the structure. Carefully go over the main lines of the turkey drawing to make them clearer and more polished. This will give your drawing a polished appearance. Now all lines should be smooth and ready for the final step of coloring.
- Color the turkey.
Use a light brown or tan for the body and head, and a darker brown for the tail feathers. Color the snood red to make it look recognizable, and use orange for the feet and beak. After that, you can add shading to the tail and wing areas for more dimension.
Additional Content
We have reached the end of the main turkey drawing tutorial. You can now show your completed drawing to your parents and friends. If your first attempt did not turn out as expected, do not be discouraged and try again.
Additionally, make sure to download the PDF file that includes the steps for this tutorial along with some additional materials.
How to Draw a Turkey: Additional Methods
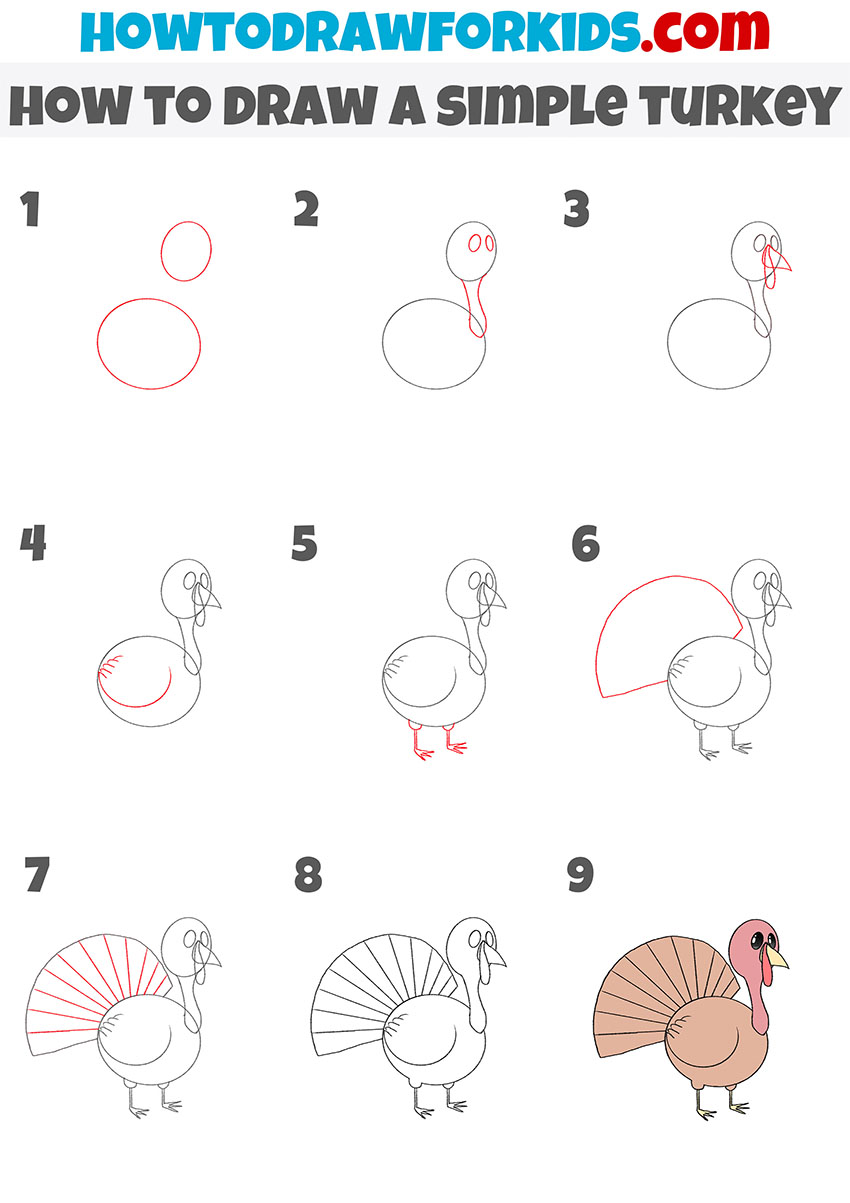
Simple Turkey Drawing Tutorial
To draw a turkey in this simple way, skeet two circles: a smaller one for the head and a larger one for the body. Next, add the turkey’s neck by connecting the two circles with curved lines, and draw two small circles for the eyes. After that, draw the beak as a small triangle on the front of the face and add the snood by drawing a curved line hanging down from the beak.
Move on to the wing by sketching a curved line on the side of the body. Then, add the legs and feet with straight lines and small claws at the end. For the tail, draw a large fan shape behind the body and create the individual feathers by drawing straight lines radiating outward from the base of the tail. Erase unnecessary guidelines and finalize the main lines of the drawing. Finish by coloring the turkey with appropriate colors for the body, feathers, beak, and feet.
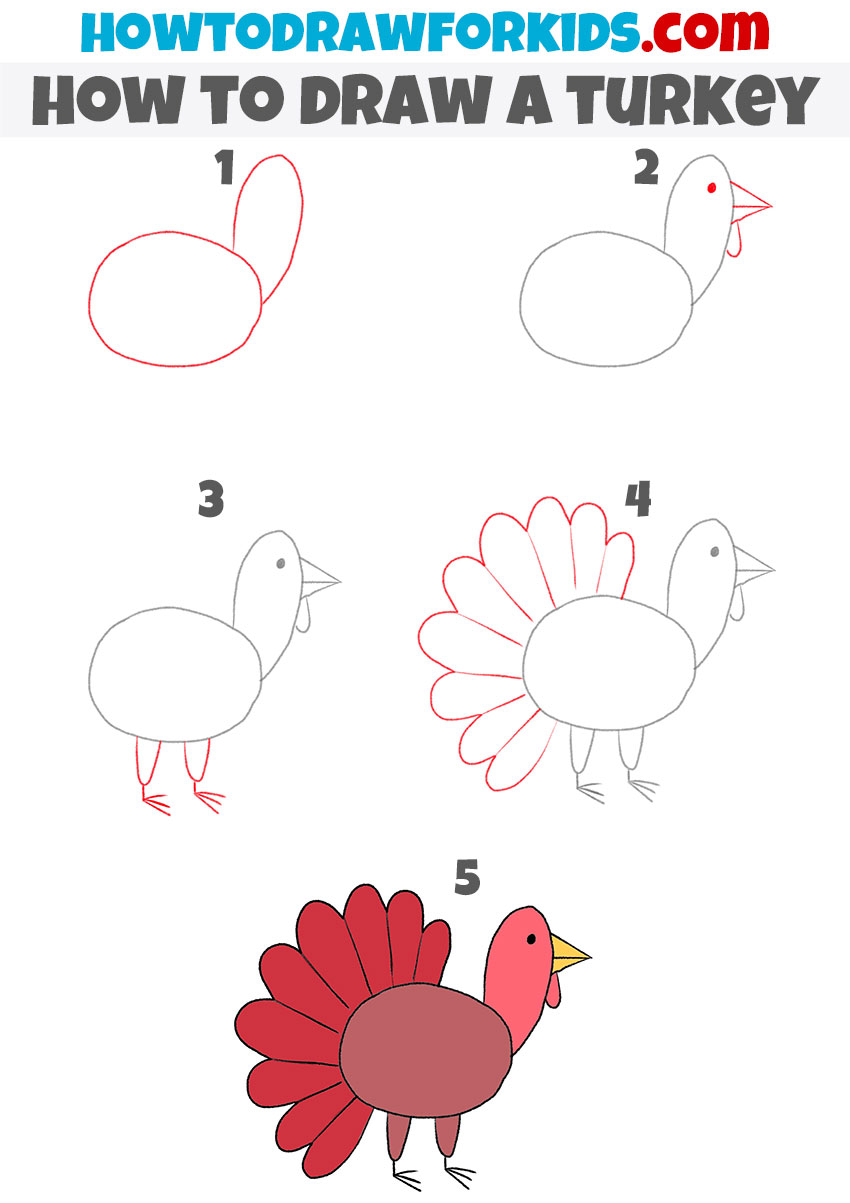
Alternative Turkey Drawing Tutorial
This is another turkey drawing tutorial, and here is an absolutely different style and sequence of steps. To draw a turkey with this method, start by sketching the outline of the turkey’s head and neck in the shape of a number “9”. Next, add the details to the head by drawing the snood hanging down and a rounded shape below the neck to represent feathers.
Then, draw a small circle for the eye and a triangular beak on the head. Add the body by sketching a large, round shape connected to the neck. For the tail of the turkey, draw a fan shape with curved lines for individual feathers extending from the back of the body. Sketch the wing on the side of the body using curved lines to represent the feathers. Draw the legs at the bottom of the body with two simple lines for each leg and rounded feet with claws. Finish by adding the final details and refining the lines. Complete the turkey drawing by coloring the bird with brown, red, yellow, and other suitable colors.

How to Draw a Turkey for Preschoolers
I don’t think you will encounter any problems while working through the first tutorials. I’ve tried to keep the lines and proportions as simple as possible, especially for the very beginning artists. Nevertheless, if you suddenly encounter difficulties, I’ve created another turkey drawing tutorial specifically for preschoolers.
To start, sketch two overlapping oval shapes, one for the body and a smaller one for the head. Then, add a small triangle for the beak at the front of the head and a circle for the eye near the top of the head. Next, add two simple lines beneath the body to represent the legs, and draw small triangles for the feet. Afterward, draw the snood hanging down from the beak.
For the tail, draw several large, rounded shapes extending from the back of the body to represent the feathers. Ensure the feathers are fan out behind the body. Refine the lines of the body, head, and legs to make the shape clearer. Once the turkey drawing is complete, color the bird. Use brown for the body, red for the head and tail feathers, and yellow for the beak and feet to finish the drawing.


Hey this really helped me to draw a turkey thanks!!!!!!!!