How to Draw a Bush
I suggest you complete a new, interesting and useful lesson in which you will learn how to draw a bush. The lesson includes six easy steps.
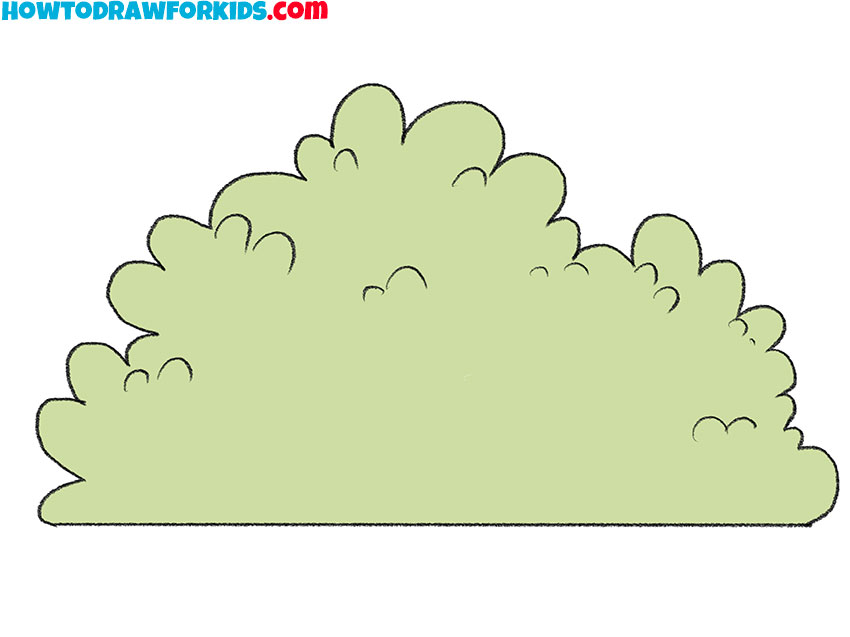
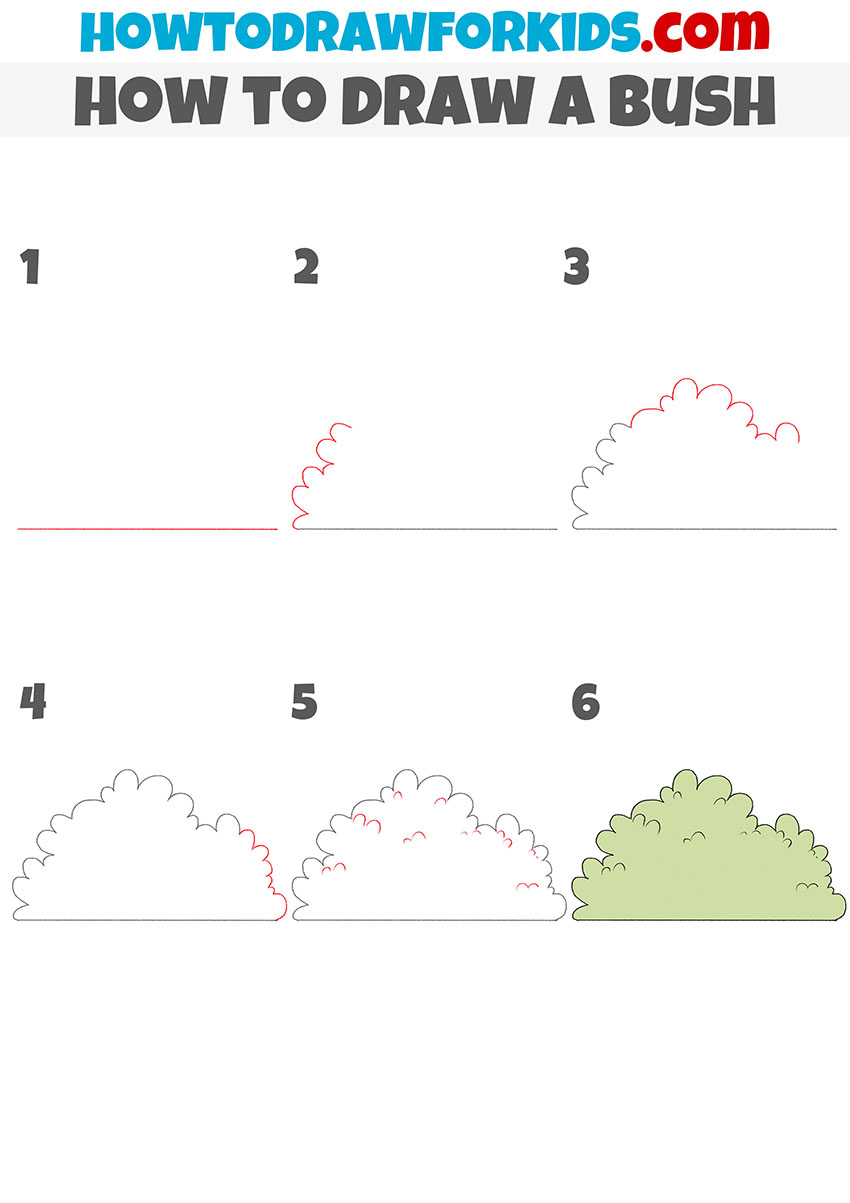
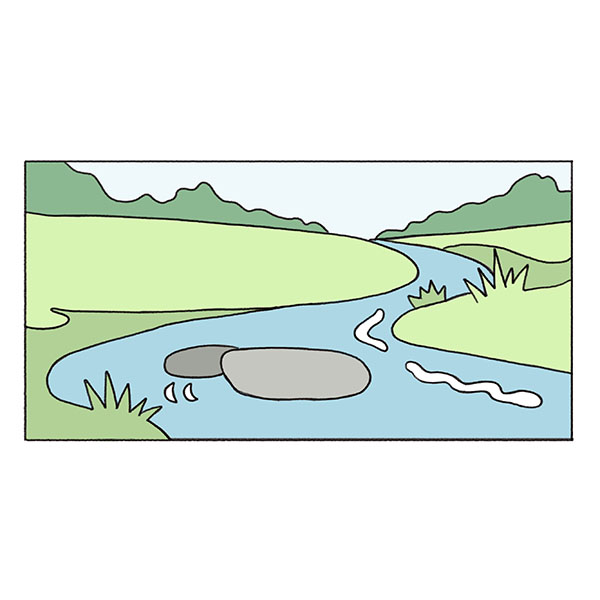
I welcome you to a new drawing lesson in which you will learn how to draw a bush step by step. This lesson will be very useful for you and you can use the acquired skills when you want to draw any landscape. Bushes come in different shapes and sizes.
In this lesson, you will draw a few simple elements. Even a beginner can easily master this drawing method. Arbitrary lines are allowed here, so the outer contour of the bush may differ slightly from my example.
The main thing is to remember the sequence of steps and carefully draw all the lines that are marked in red in each step. I am sure that you will get a beautiful bush, even the first time.
Materials
- Pencil
- Paper
- Eraser
- Coloring supplies
Time needed: 30 minutes
How to Draw a Bush
- Draw the bottom outline.
Determine the size of your drawing and draw a straight horizontal line.

- Add the side of the bush.
On the left side, draw an uneven wavy line, as shown in the example.

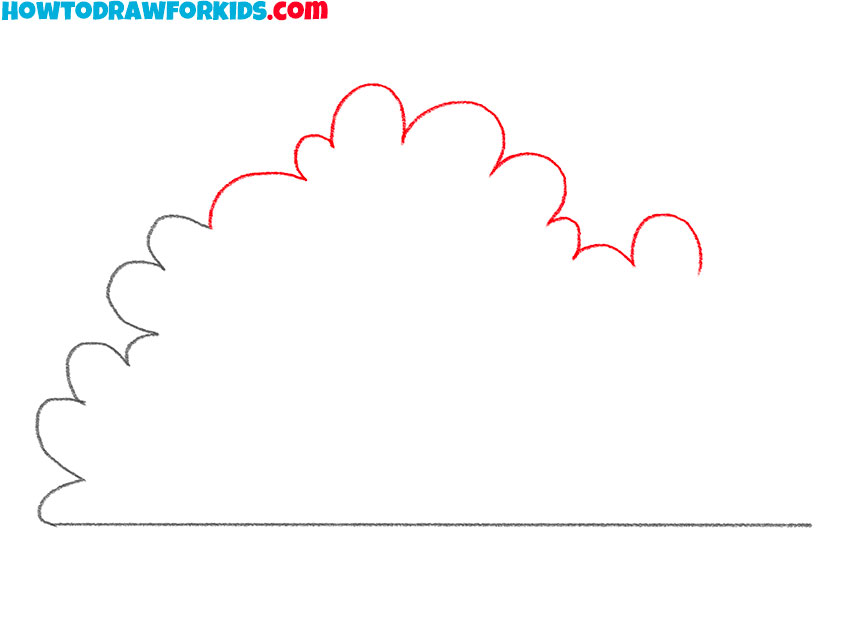
- Depict the top of the bush.
Continue drawing the outer outline and draw a wavy line at the top.
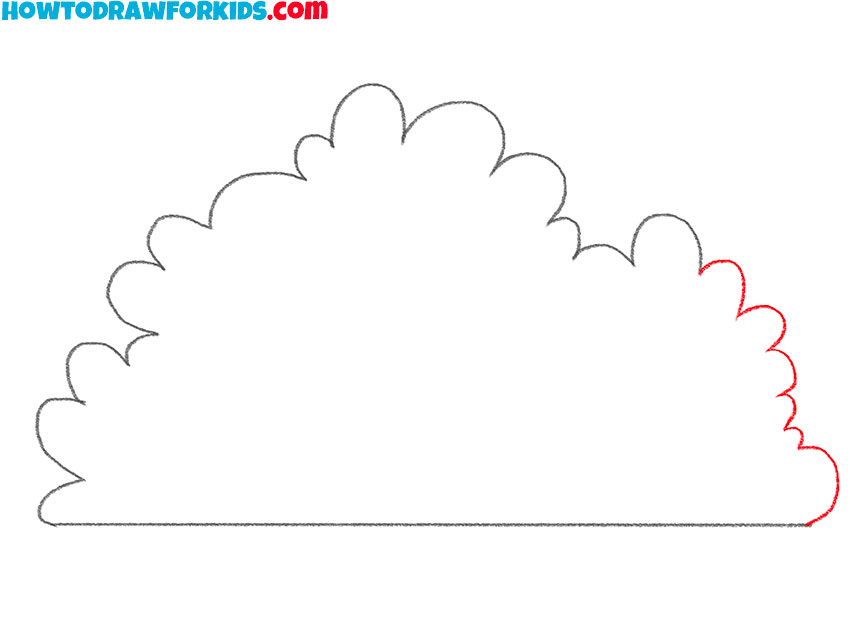
- Sketch out the other side.
On the right, draw a wavy line, just as you did in the previous steps.
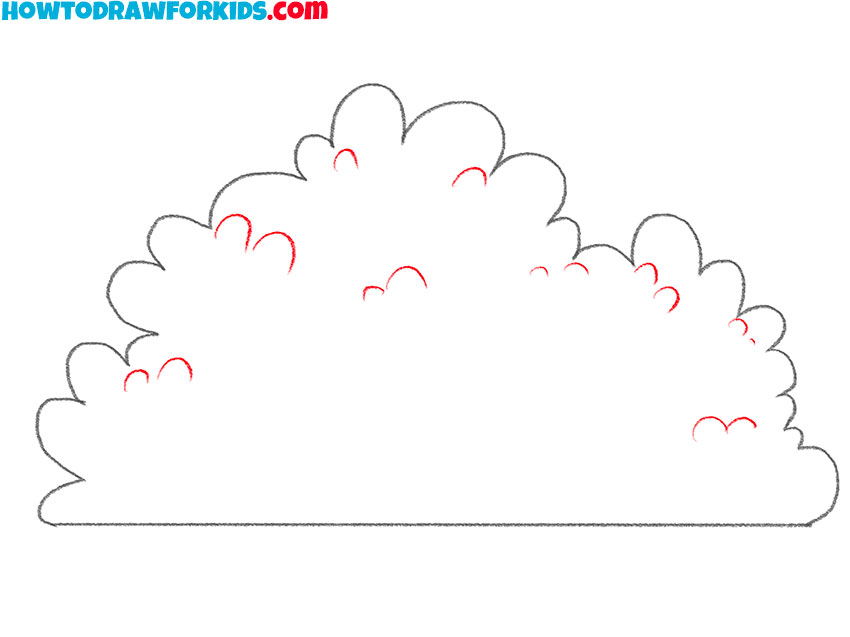
- Detail the bush.
With the help of small curved strokes, depict individual branches.
- Color the bush.
For coloring, use any shades of green.

Don’t forget to download the short version of the lesson as a PDF file. If you save this file, you can return to the lesson at any convenient time when you want to get creative.


