How to Draw a Cap
Today, in this lesson, you will learn how to draw a cap step-by-step. The lesson is designed for beginners.
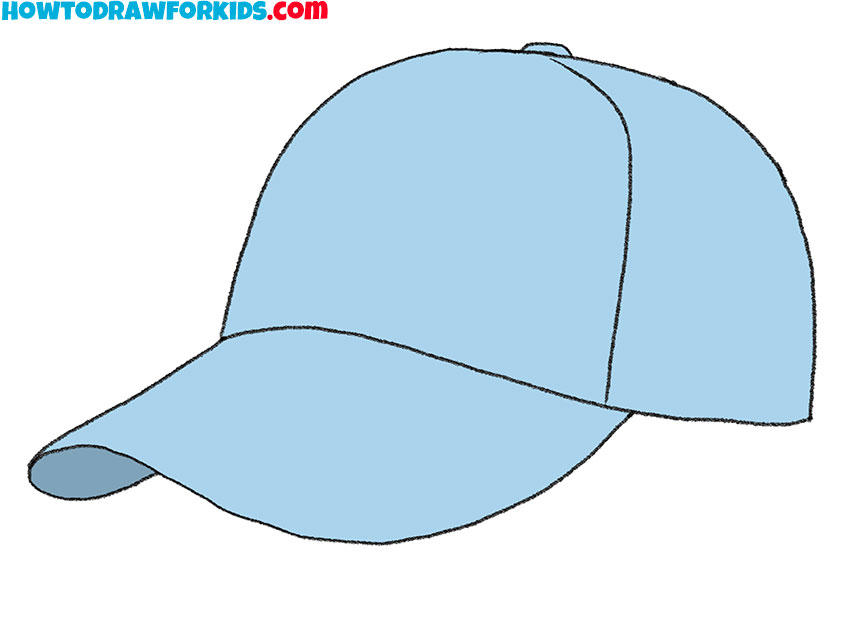
If you want to learn new useful drawing skills, then you can follow an interesting lesson in which I will show you how to draw a cap.
This is a good object for drawing and with the help of a simple instruction you will once again train your creativity. In this lesson, you will draw smooth curved lines and thereby improve your skills.
Pictured here is an ordinary fabric cap that reliably protects your head from direct sunlight on a hot summer day. This cap can be worn for outdoor sports or for casual walks.
The cap has a main part and a wide visor. At the top, at the junction of all the wedges, there is a small round button. The color of the cap can be any, company logos or any inscriptions and images can also be present.
Materials
- Pencil
- Paper
- Eraser
- Coloring supplies
Time needed: 20 minutes
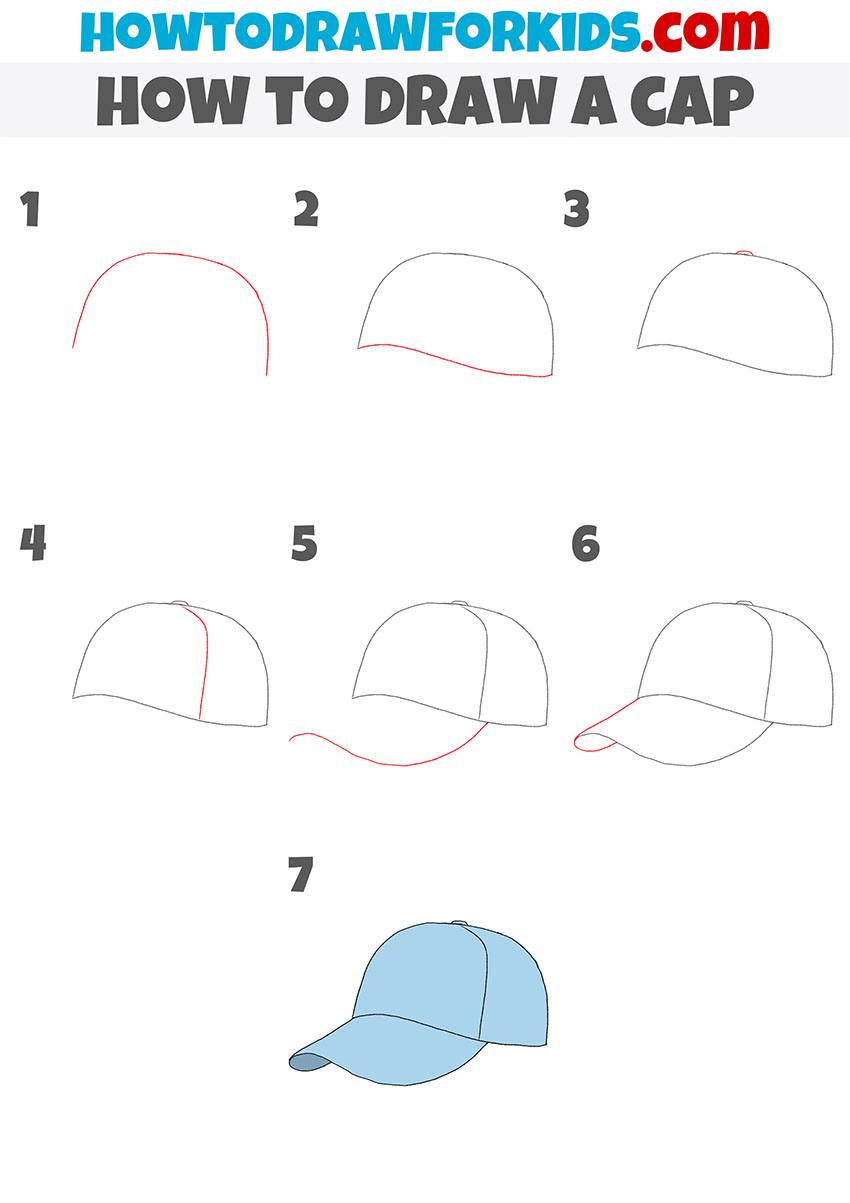
How to Draw a Cap
- Draw the top of the cap.
Depict a smooth curved line of the same shape as in the example.

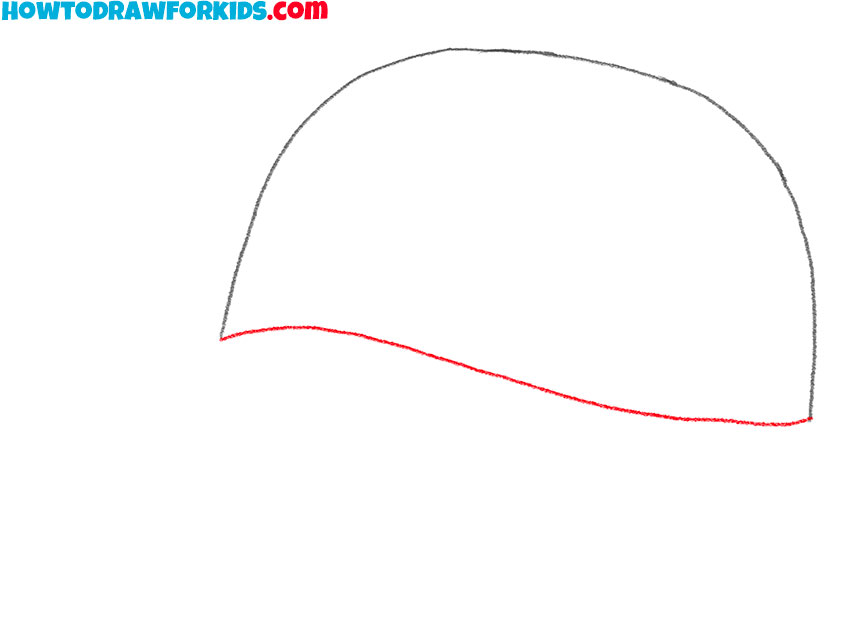
- Add the bottom outline.
Draw a smooth connecting line at the bottom.
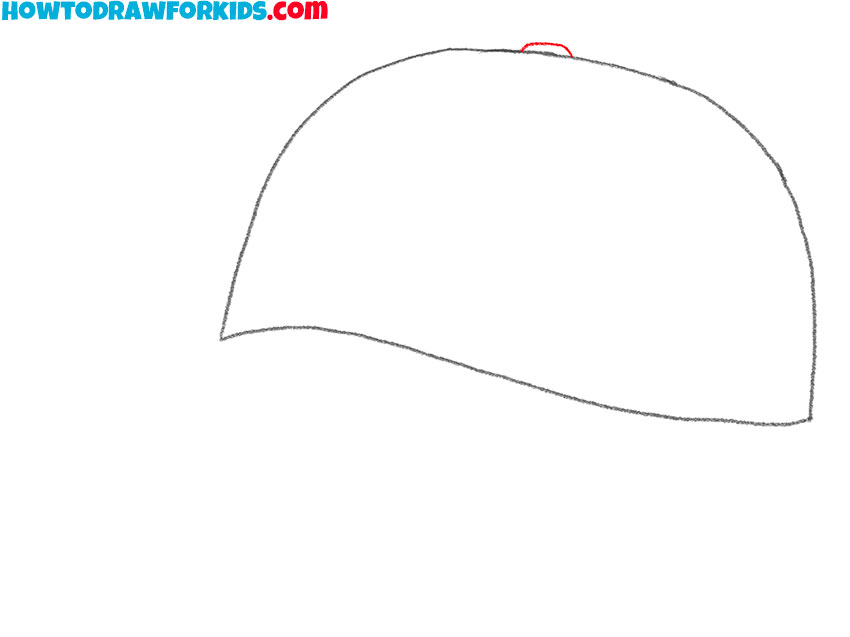
- Sketch out the button.
At the top of the cap, add a small line to depict the button.
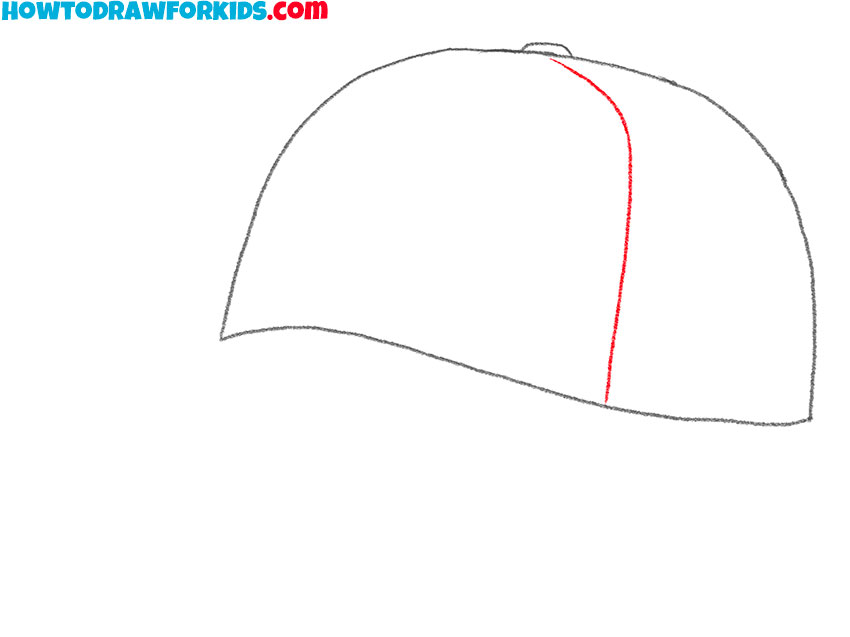
- Detail the cap.
Draw a smooth transverse line on the cap.
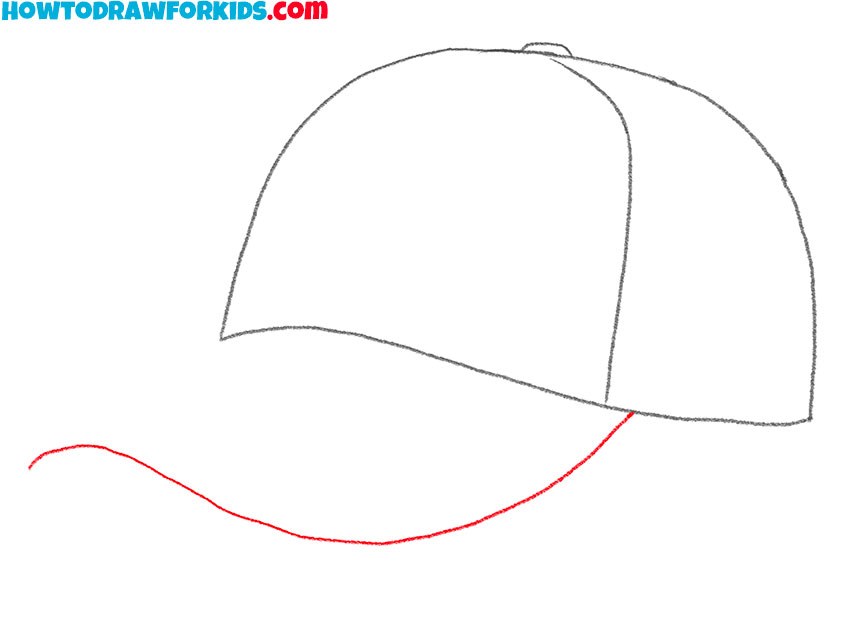
- Draw the bottom outline of the visor.
Sketch out a smooth curved line at the bottom of the cap.
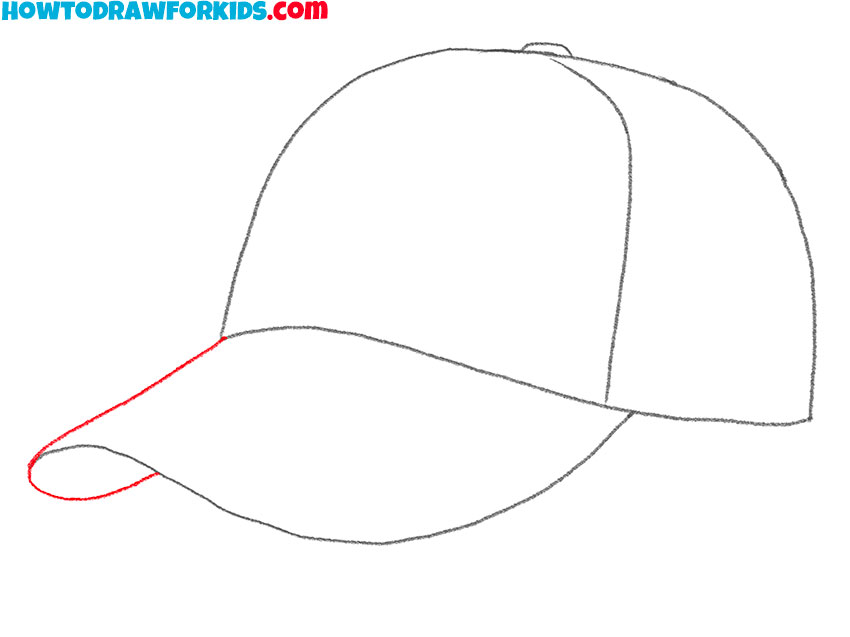
- Add the rest of the visor outline.
Depict the rest of the lines to complete the cap.
- Color the cap.
Use two shades of blue.

Now you can download a short version of the lesson in PDF format and use this file at any convenient time.

