How to Draw a Cat Tail
With this lesson you will learn how to draw a cat tail. Start this step by step guide and get very useful drawing skills.

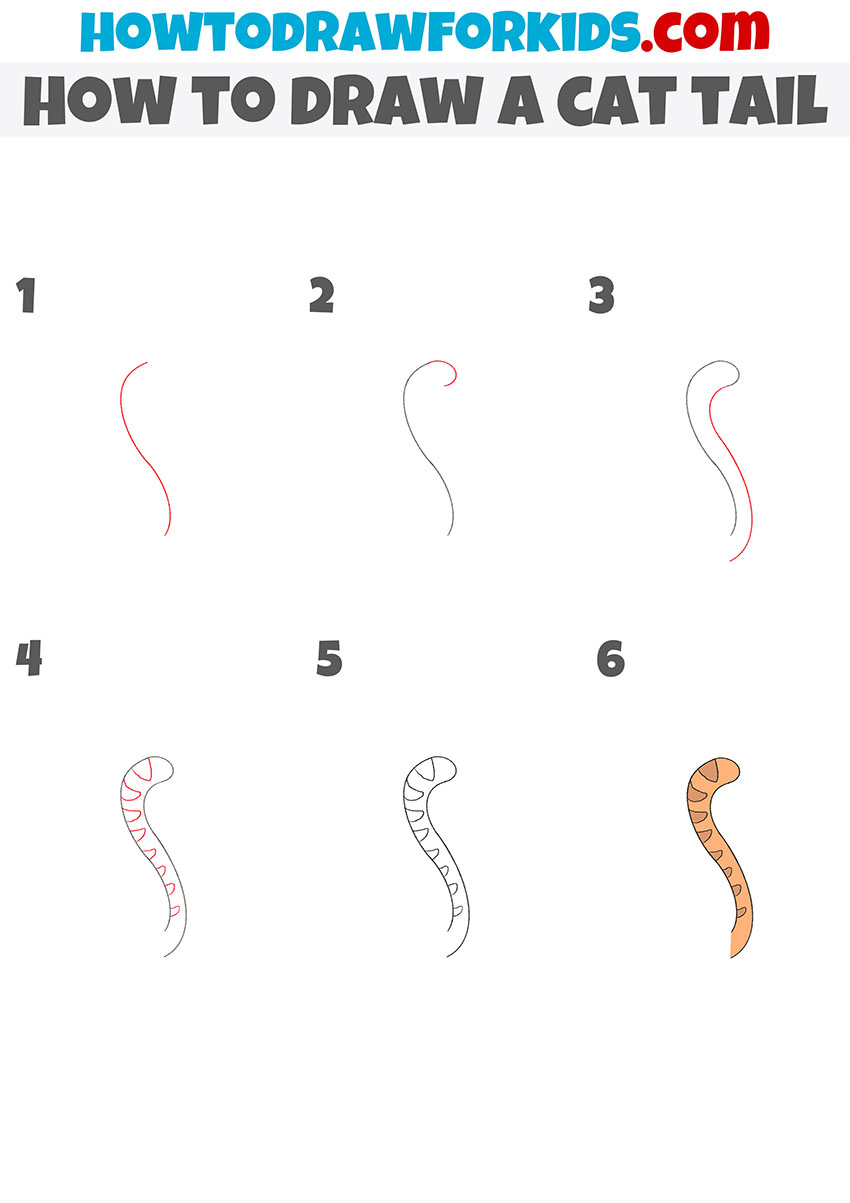
In this tutorial, I will show you how to draw a cat tail. This will be a very simple lesson, and at the end of the work, you will see for yourself. The tutorial includes a few simple steps.
In the picture, you see a cat tail, which has a curved shape and is raised up. The cat tail can have a different color. Shown here is a tail that has transverse stripes. It looks beautiful! Surely you have seen a cat with such a tail in the drawings or in real life.
You can use the same shades or you can show your imagination and color the tail in a different color. In this lesson, arbitrary lines are allowed, you can slightly change the shape of the tail or the size of the stripes. If you want the tail to look more realistic, then add the texture of the fur with thin, short strokes.
Materials
- Pencil
- Paper
- Eraser
- Coloring supplies
Time needed: 20 minutes
How to Draw a Cat Tail
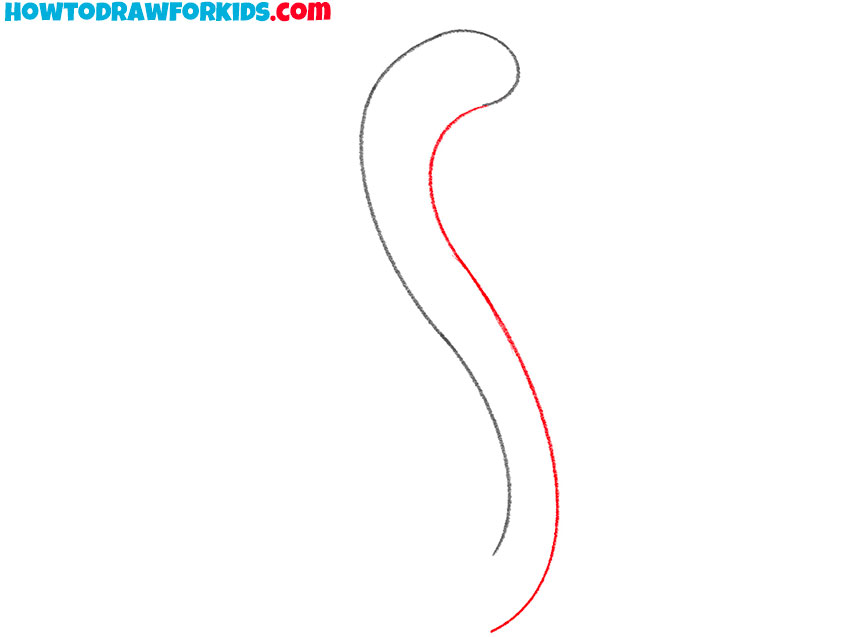
- Draw the outline of the tail on one side.
Determine the size of the tail and depict a smooth, curved line.

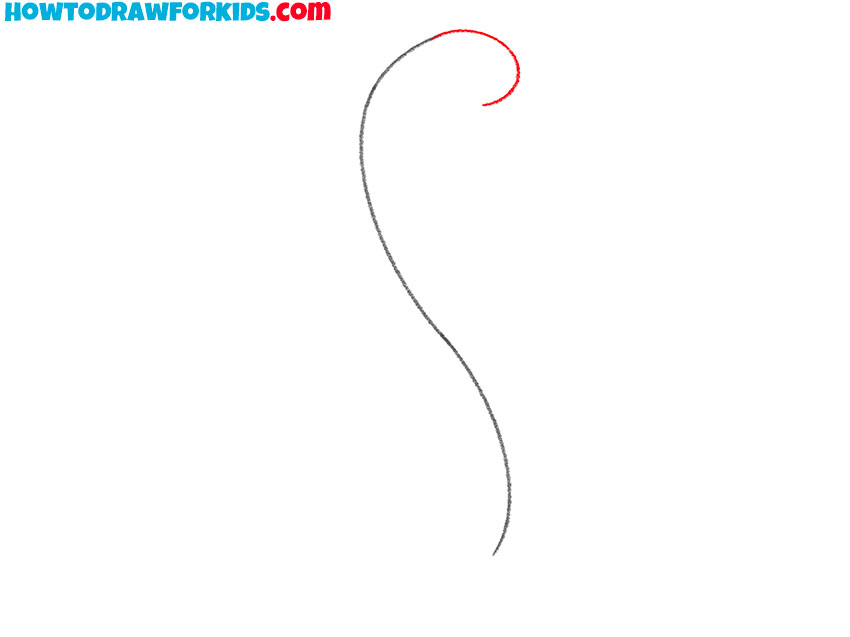
- Depict the tip of the tail.
Sketch out a rounded line at the top.
- Add details.
Draw the outline of the tail on the other side.
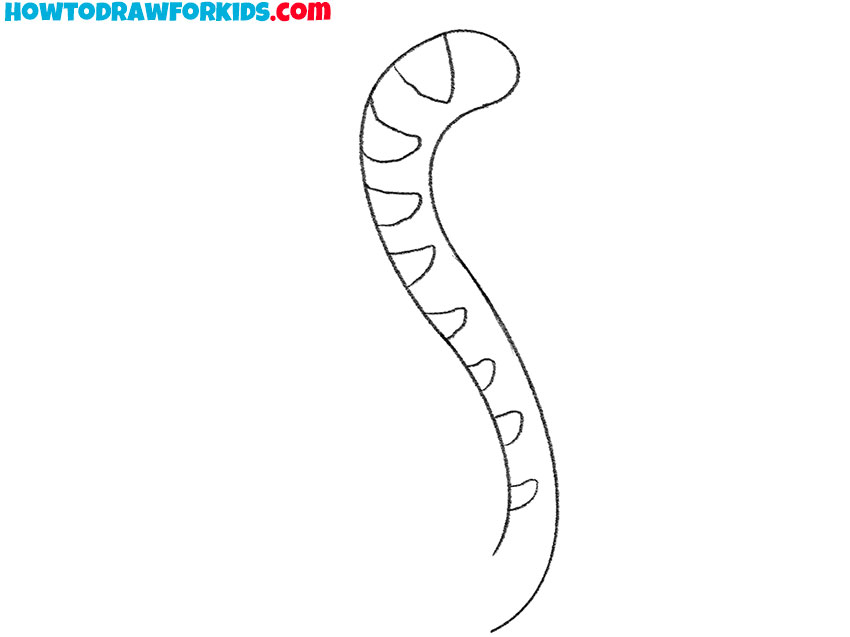
- Add more details.
With smooth lines, draw stripes that are small at the bottom and larger at the top of the tail.

- Make the outline clearer.
Carefully trace the outline of the drawing.
- Color the cat tail.
Use a light brown color for the tail and a darker shade for the stripes.

The cat’s tail is ready! I hope you are satisfied with the result of your work. If this lesson was interesting and useful for you, then you can share it with your friends and offer to do drawing lessons together.
At the end of the lesson, I prepared a PDF file for you, which contains a short version of the lesson and additional useful materials. You can download this file for free and complete the lesson at any convenient time, even if there is no Internet.

