How to Draw a Cookie
This tutorial on how to draw a cookie will be as simple as the treat itself, because it consists of only four very easy steps.


How to Draw a Cookie: Introduction
I have prepared this drawing lesson to share with you how to draw a cookie. This delicacy is very easy to prepare and is drawn in an equally simple way.
A chocolate chip cookie is a drop cookie that features chocolate chips or chocolate morsels as its distinguishing ingredient. Chocolate chip cookies originated in the United States around 1938. This type of cookie is considered to be the most popular in the USA.
Chocolate chip cookies are commonly made with sugar, flour, salt, eggs, baking soda, butter, vanilla extract, and chocolate pieces. Some recipes also include milk or nuts in the dough. Depending on the ratio of ingredients and mixing and cooking times, some recipes produce a soft, chewy cookie while others will produce a crunchy, crispy cookie.
I have specially created this cookie drawing lesson simple enough to be handled by children and beginners. So now you can start drawing this beautiful cookie!
Cookie Drawing Tutorial
Materials
- Pencil
- Paper
- Eraser
- Coloring supplies
Time needed: 15 minutes
How to Draw a Cookie
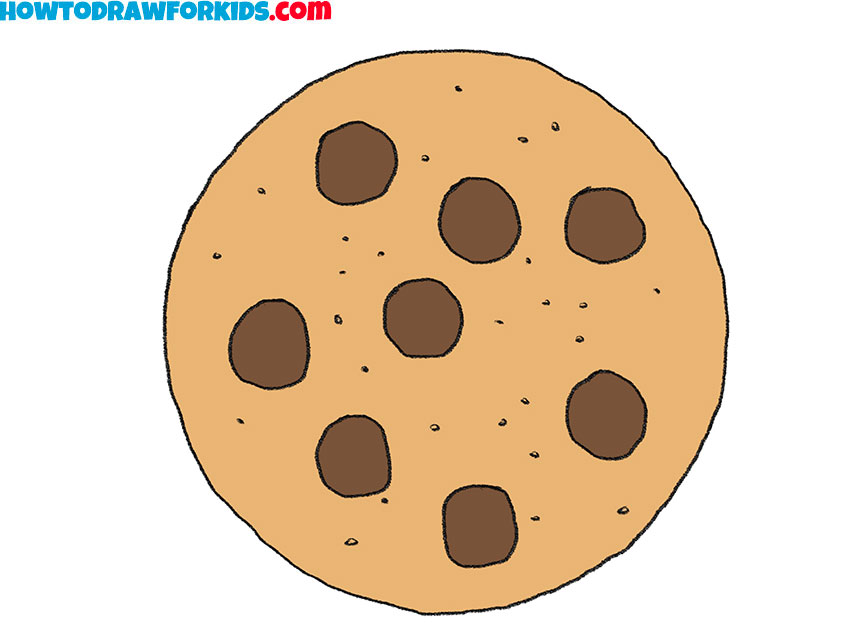
- Shape the cookie’s basIc shape.
To start, create a large circle in the center of your paper. It doesn’t need to be a perfect circle, in fact, letting it look slightly uneven will make your cookie drawing appear more realistic. When you draw a cookie, you want to avoid stiff shapes that look too unnatural.

- Fill the surface with chips.
Now begin filling in the cookie with several small circular shapes that represent chocolate chips. When you draw chocolate chips, don’t make them all exactly the same, some can be round, some slightly oval, and others a bit irregular. Sketch these shapes scattered across the cookie surface.

- Sketch the surface texture.
Once the main chips are in place, it’s time to create texture. A cookie surface isn’t smooth; it usually has little marks, bumps, and tiny baked spots. To show this in your drawing, sketch small dots and very short lines between the larger chips. Keep them random and subtle, but fill enough space.

- Shade the cookie and chips.
To make your cookie drawing look finished, you should add some colors. Fill the base of the cookie with a light brown or tan shade, which represents the baked dough. Then, color each chocolate chip a darker brown. Color the cookie base unevenly, since real baked goods have slightly darker and lighter patches.
Additional Content
Did you enjoy this lesson? I hope you had a great time with this work! Share your feedback on this tutorial in the comments. Also, you can ask your questions and suggest your ideas for new drawing lessons there. For your convenience, I’ve created a PDF file where you can find a short version of this guide. Download and print this file so that you don’t lose this drawing lesson and return to it any time you like.