How to Draw a Dog Paw
This is a super simple tutorial on how to draw a dog paw. The instructions include only seven steps, where each step is one easy action.
The skills acquired in this drawing lesson will be useful to you if you want to draw any other animal, because the structure of the paws of many animals is similar.
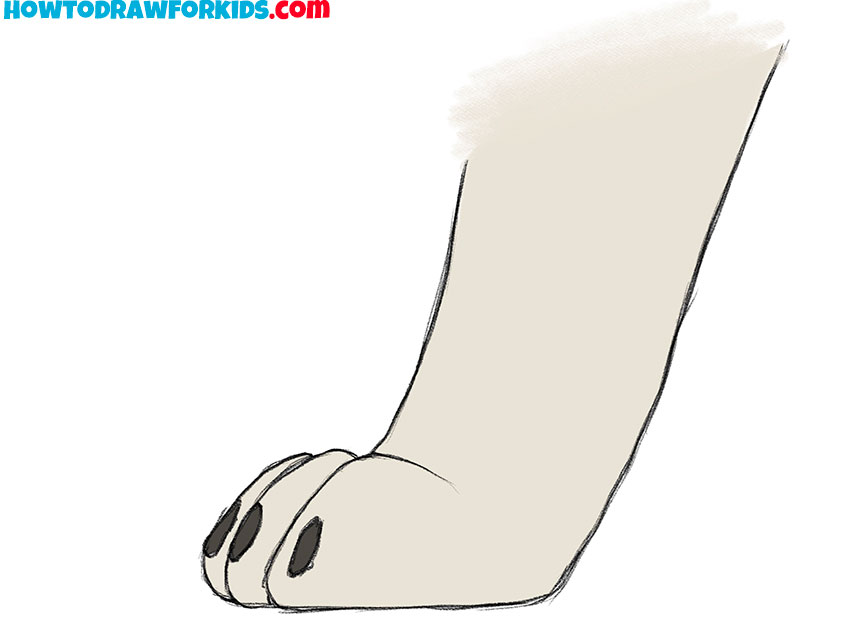
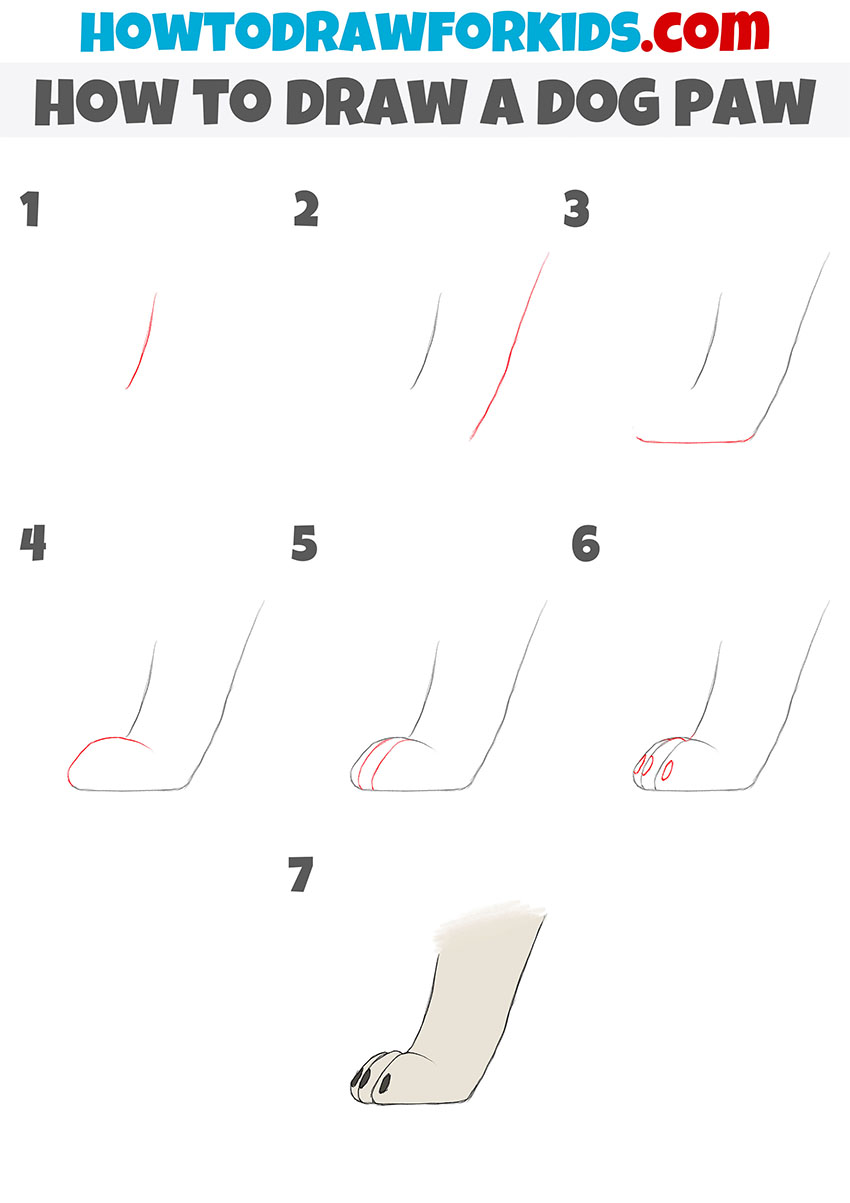
Table of Contents
- Basic information
- Steps on how to draw a dog paw
- Additional content
- Improve your dog paw drawing
- Conclusion
Basic Information on How to Draw a Dog Paw
A lesson on how to draw a dog paw will be very useful for you. The better you become at drawing individual body parts, the easier it will be for you to draw the whole animal.
The picture shows a dog’s paw from the side. From this angle, you see that the foot is slightly extended forward, the side of one toe is clearly visible, and the remaining toes are partially visible.
Try to depict this position of the paw correctly. Carefully draw all the lines that are marked in red. When creating this step-by-step guide, I had very young artists in mind, so I used simple elements that can be easily repeated.
Materials
- Pencil
- Paper
- Eraser
- Coloring supplies
Steps on How to Draw a Dog Paw
Time needed: 15 minutes
How to Draw a Dog Paw
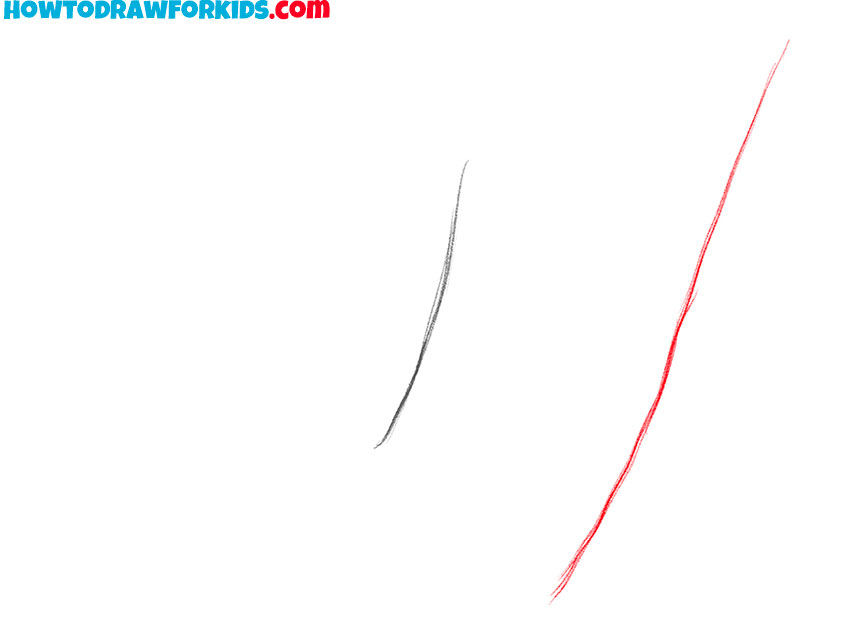
- Draw the front upper outline of the paw.
Begin by sketching a slight, gentle curve upwards on your page; this is the foundation for the dog’s leg. The line should be soft and not too steep. Don’t try to draw it in a perfectly similar way.

- Add the back top outline of the paw.
Add a complementary curved line across from the first, mirroring its trajectory. This line should be parallel but not identical, offering a natural leg width.
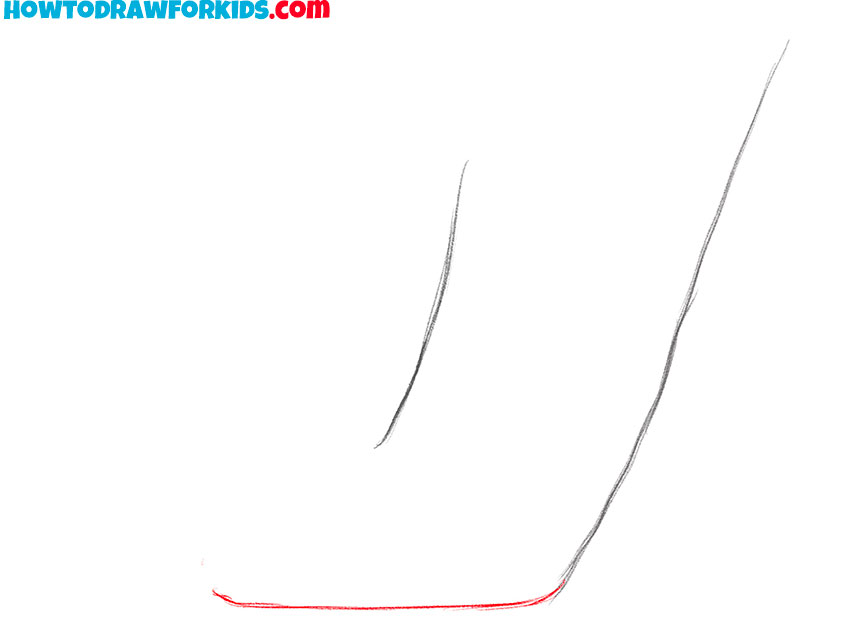
- Draw the bottom outline of the paw.
Connect the two lines at the lower end with a subtle, rounded curve that will act as the base of the paw. This should be slightly flat but with a soft bump in the middle to indicate the padding of the paw.
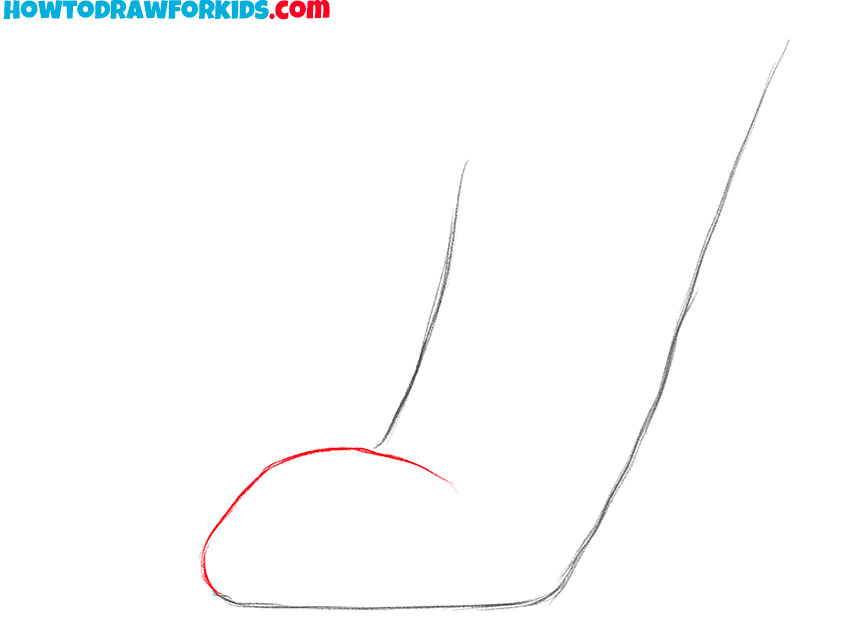
- Add the rounded top of the paw.
Draw the top of the paw, which looks like a horizontal arc. This is the top of the fingers that we will draw in the next steps.
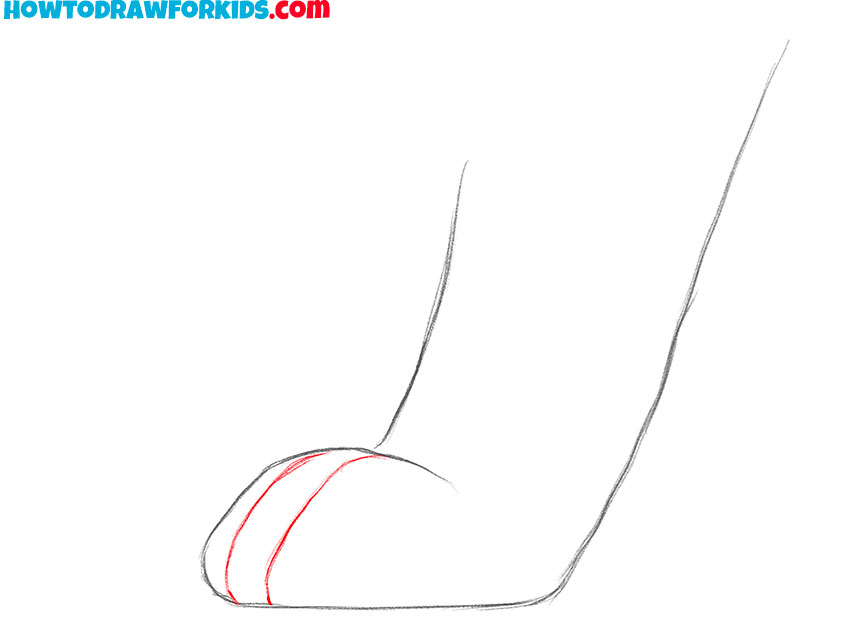
- Sketch out the fingers.
Inside the large pad, sketch a curved line towards the top. This creates the contours of the fingers and their approximate boundaries within the general contour of the limb.
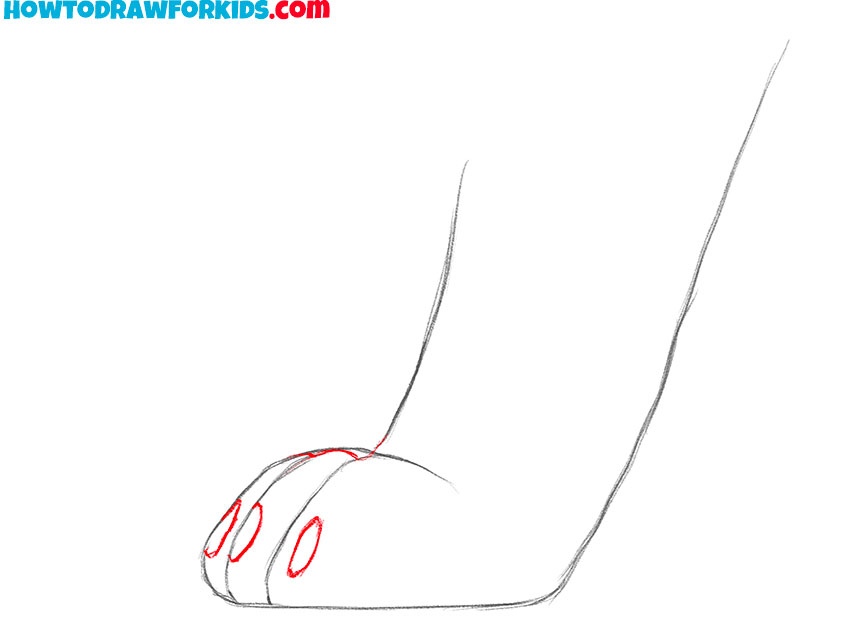
- Add details.
This is almost the end of our drawing lesson. In this step we will add the outlines of the claws that correspond to each toe.
- Color the dog paw.
Choose any colors for this cute dog’s fur. It would be ideal if the claws colors were a little darker. The texture of the wool will make your drawing more complex and realistic.

Additional Content
As is tradition, I have prepared a PDF file for you in advance, in which I have collected all the useful information about that lesson. This file contains quick instructions, a coloring sheet, a tracing worksheet, and a grid drawing worksheet. All materials are free for you and are convenient to use at any time, even if the Internet is unavailable.
Improve Your Dog Paw Drawing
If you wish, you can improve your artwork. If you want the dog paw in the drawing to look more natural and realistic, then use these tips:
- Using thin, short strokes, depict the fur on the dog paw. When doing this, take into account the direction of fur growth.
- Highlight dark areas using darker shades.
Thanks to these simple steps you will make your drawing much more expressive.
Conclusion
When you learn how to perfectly draw a dog paw, then try to draw the whole dog. Other useful lessons that are presented on the pages of this site will help you.
I am sure that my simple instructions will greatly help you on your creative path and as a result you will gain valuable experience. Practice as often as possible and improve your artistic skills with my fun lessons.

I dont understand