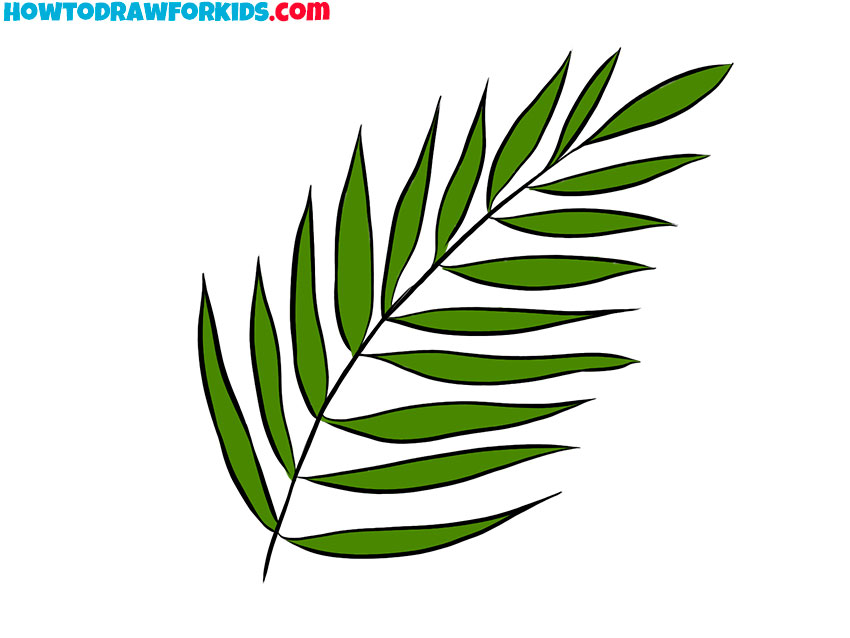
How to Draw a Fern
In this tutorial, I’ll show you how to draw a fern and explain how it can be used in more complex drawings and compositions.

I am glad to present you a new exciting drawing lesson on how to draw a fern. This lesson will surely be useful for you. I promise you that this tutorial will be easy for you to complete, as it was created specifically for children and beginners artists.
The fern is a beautiful plant that is considered one of the most ancient plants. Ferns appeared on earth about 400 million years ago, when it was still inhabited by dinosaurs. These plants can reach 15-20 meters in height. There are many different types of this plant.
This lesson will be a great addition if you are drawing a forest or want to draw dinosaurs with a beautiful background.
So, to draw a fern, you will first need to draw the stem of this plant, and then draw its leaves. Now is the time to prepare the materials you need for drawing, and then you can start this lesson.
Materials
- Pencil
- Paper
- Eraser
- Coloring supplies
Time needed: 15 minutes
How to draw a fern step by step
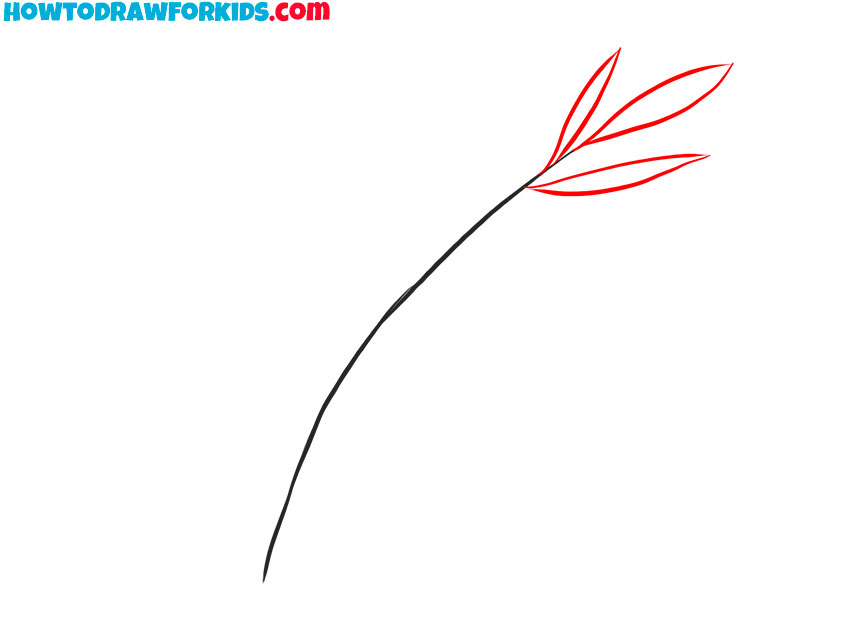
- Sketch the smooth central stem for the fern.
Begin by sketching a long, slightly curved line – this will serve as the stem or midrib of your fern. Try to convey the shape as in my illustration, as fern leaves usually grow in a soft arch rather than a straight line. Keep the line light so you can adjust its direction later if needed. It should start thicker at the bottom and gently narrow upward.

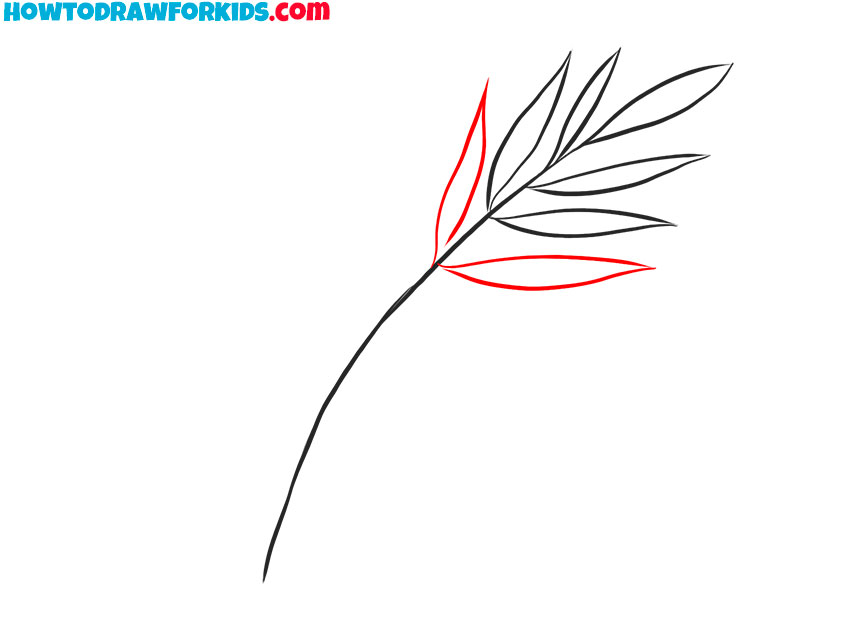
- Add the first small leaves at the top.
At the top of the stem, draw three narrow, pointed leaves. Each leaflet should have a smooth outline with a slightly curved shape. Keep all the leaflets of this first cluster similar in size and proportion. It’s better to make them simple now and refine their contours in later steps.
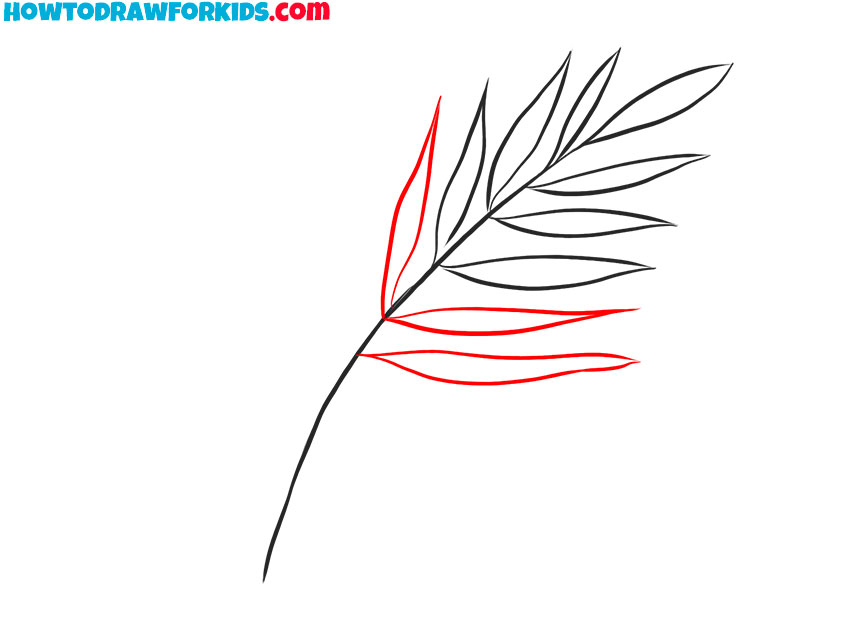
- Continue adding leaves along the stem.
Move a little lower along the stem and sketch two more pairs of leaves on each side. Keep each leaf similar in shape to the top ones – long and thin with a pointed tip. The leaves should get slightly larger as they move away from the top to represent natural growth.

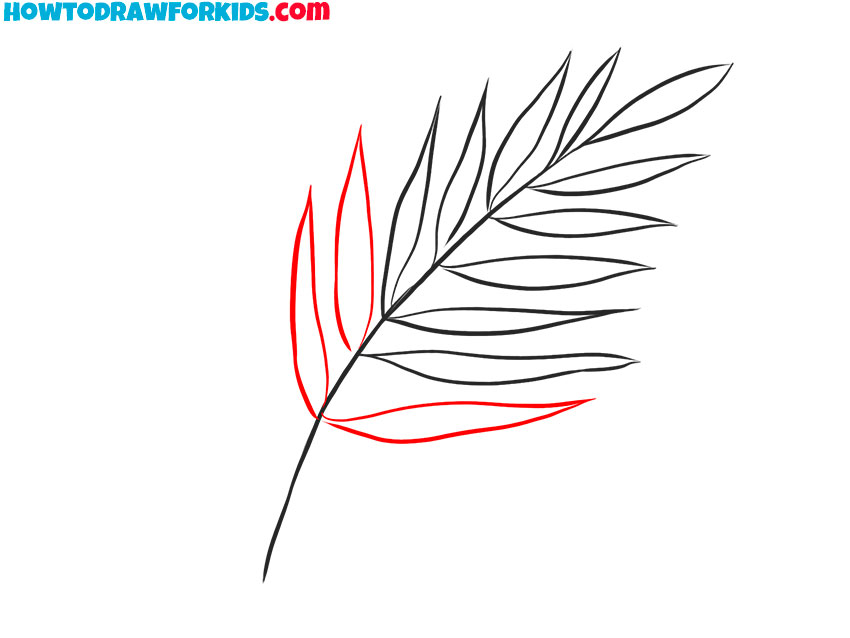
- Sketch more fern leaves.
Add two or three more leaves below the existing ones, continuing to alternate them on opposite sides of the stem. Each leaf should be drawn at a gentle upward angle, following the same overall curve. You can vary their length slightly to make the drawing feel more natural.
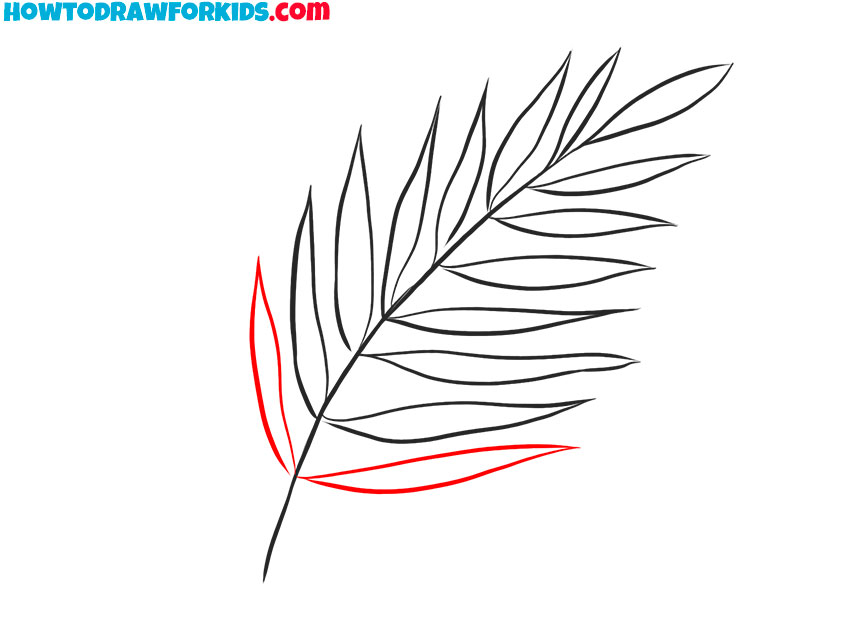
- Draw the middle part of the fern.
Keep extending the series of leaves along the stem, drawing them larger as they approach the middle. This creates a realistic tapering effect where the fern appears wider in the center and narrower near the tip. Make sure both sides mirror each other loosely but not perfectly.
- Continue filling the lower section.
Draw several more leaves closer to the bottom, making them slightly longer and broader than the upper ones. The leaves should fan out naturally but still follow the same curved line. Check that the overall shape remains symmetrical from left to right.
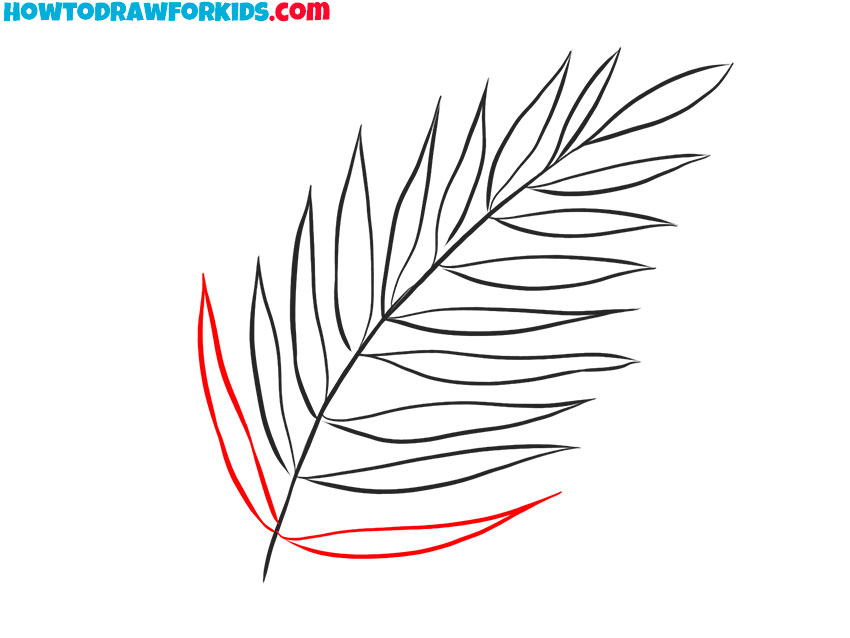
- Sketch the bottom leaves.
Now, add a few leaves near the base of the stem to continue the structure. These bottom leaves should be slightly wider and more curved.
- Add the final bottom leaves.
Now, draw the leaves on the base of the stem. Use a soft eraser to remove any unnecessary guidelines or overlapping pencil marks, especially along the stem and where the leaves connect. Be careful not to erase the main structure of the fern.
- Color the sketch with natural green tones.
Paint each leaf with shades of green. You can use a single tone for all leaves or use lighter at the tips and slightly darker near the stem. For extra realism, you can leave small white highlights to represent light reflecting off the smooth surface of the leaves.

Now you can download the PDF file that I have prepared especially for your convenience. This file contains a short version of this drawing lesson and some more useful additional materials. You can use this file at any time, even if you are not connected to the Internet.