How to Draw a Flute
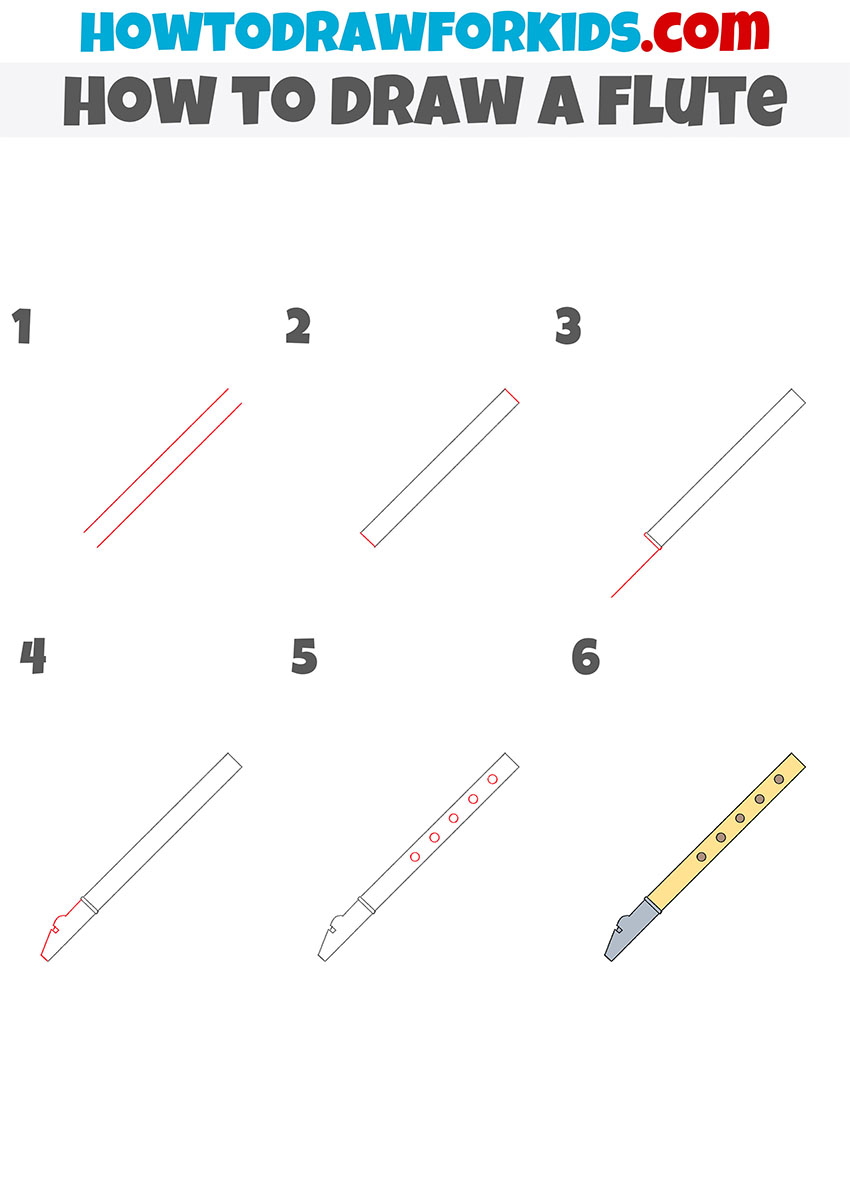
In this lesson, I want to show you how to draw a flute. The lesson will be very simple and contains only six steps.
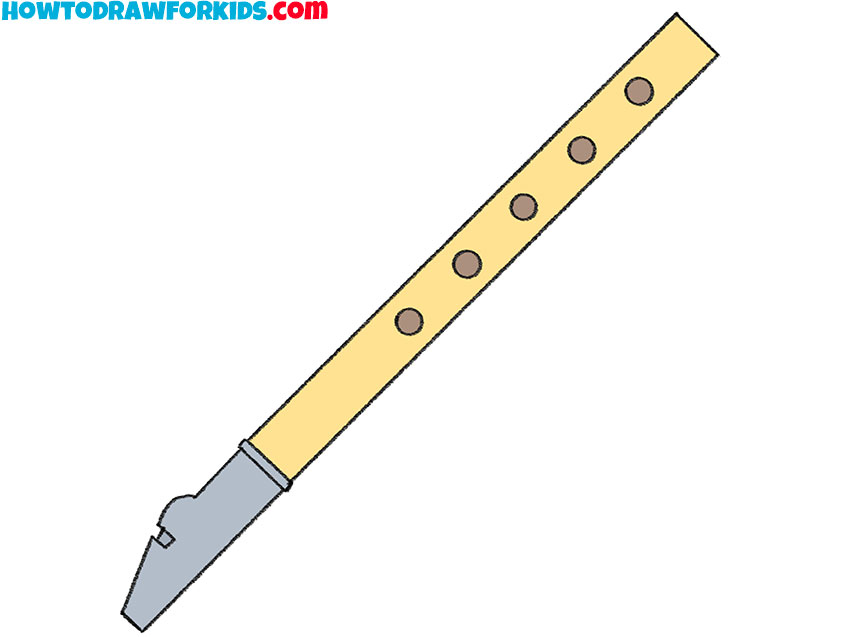
I suggest you complete a new lesson on musical instruments, and now you will learn how to draw a flute step by step. The flute is a popular wind musical instrument that looks like a tube with holes and valves.
The sound is created due to the vibrations of the air, which scatters through the walls of the instrument and the holes on the top. It is a very popular musical instrument all over the world and has been used for a very long time. Nowadays, flutes are widely used in symphony and brass bands.
In this drawing, you see a simple flute that even a beginner can easily draw. The flute has several holes and a tip with a hole for the musician’s lips. To successfully complete this lesson, you will need your ability to draw even, straight lines. To do this, you can use any tools at hand, but I recommend that you draw all the lines yourself.
Materials
- Pencil
- Paper
- Eraser
- Coloring supplies
Time needed: 30 minutes
How to Draw a Flute
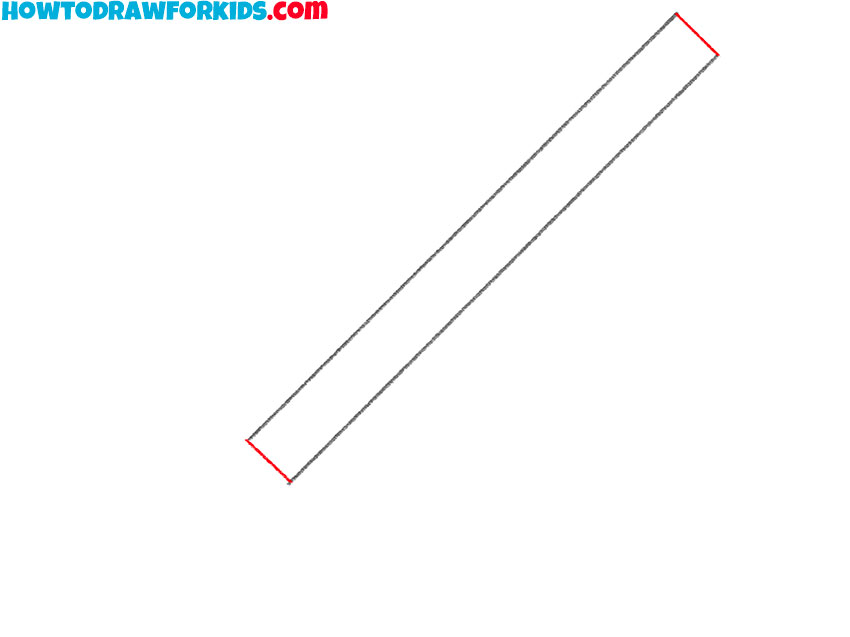
- Draw the main outline of the flute.
Sketch out two straight lines in parallel.

- Add the sides of the flute.
Depict short connecting lines at each end.
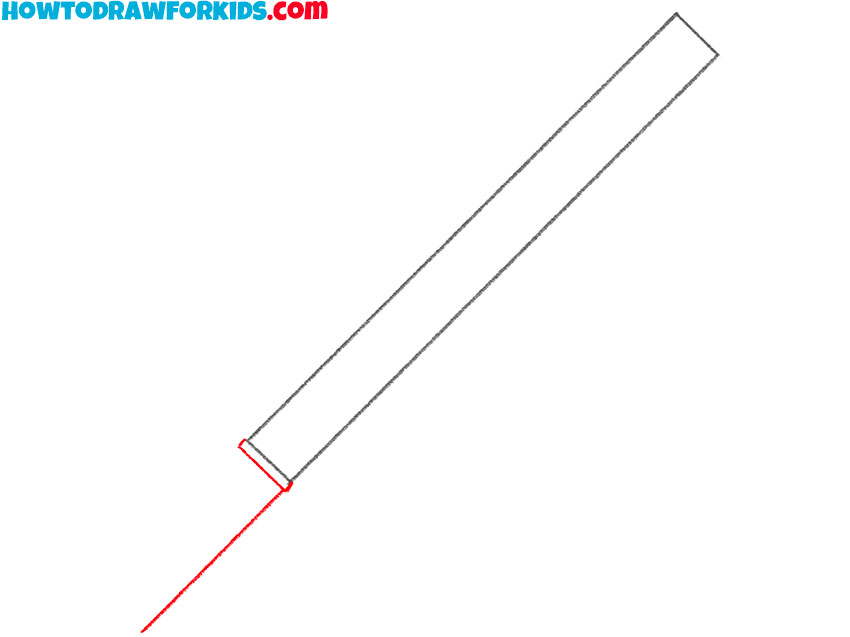
- Depict the bottom of the tip.
Add a few straight lines across the bottom of the flute.
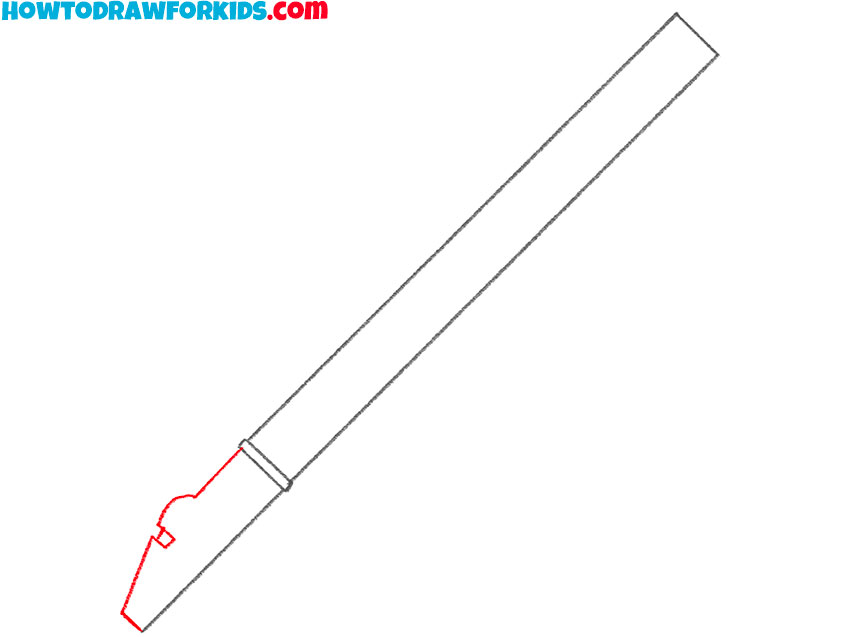
- Sketch out the rest.
Using lines of various shapes, draw the upper outline of the tip.
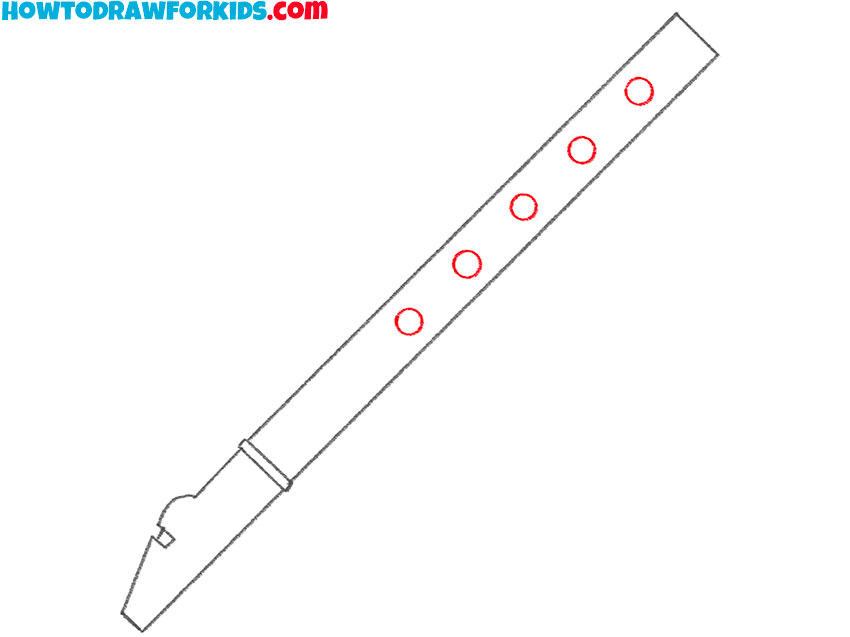
- Add the holes.
On the surface of the flute, draw five identical circles in succession.
- Color the flute.
For coloring, you will need yellow, gray, and brown.

Traditionally, for your convenience, I have prepared a PDF file in advance, which contains a short version of the lesson. Download the file so that you can always return to this lesson if necessary, even if there is no Internet access.

