How to Draw a Tennis Racket
In this lesson, you will learn how to draw a tennis racket. This simple step-by-step guide will help you practice your artistic skills.
Especially for children of beginner artists, I have prepared a simple instruction in which I will show you how to draw a tennis racket. This is a popular sports equipment that is used in the game of tennis and other team sports.
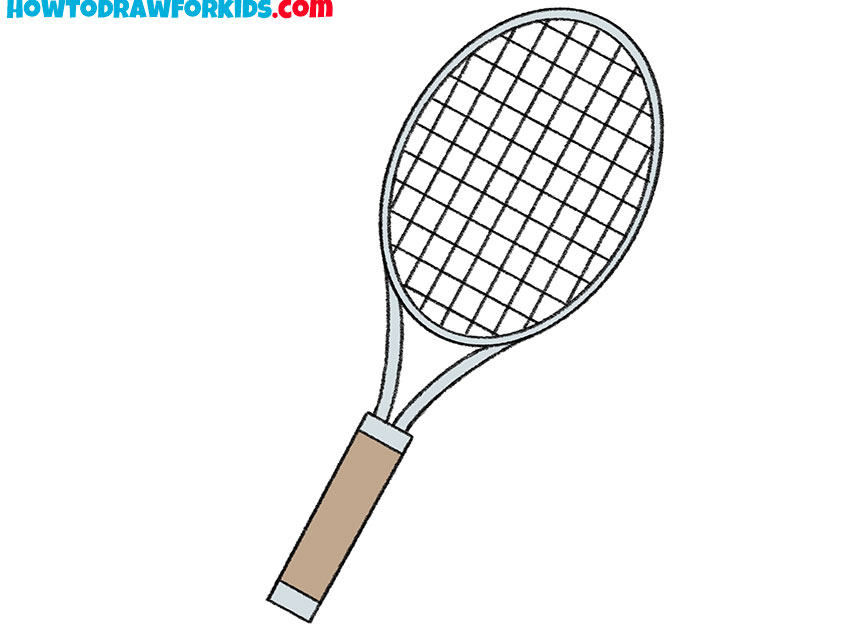
A tennis racket consists of two parts – a long handle and a rounded hitting surface. Inside the racket are stretched strings. Tennis rackets can be made from a variety of materials.
For sports competitions, very high quality rackets are used, which withstand the strongest blows and are easy to handle.
In this lesson, straight and rounded lines will be used. First you have to draw the outer outline, then you will add elements inside the racket. If you are careful and careful, you will get a great drawing.
Materials
- Pencil
- Paper
- Eraser
- Coloring supplies
Time needed: 30 minutes
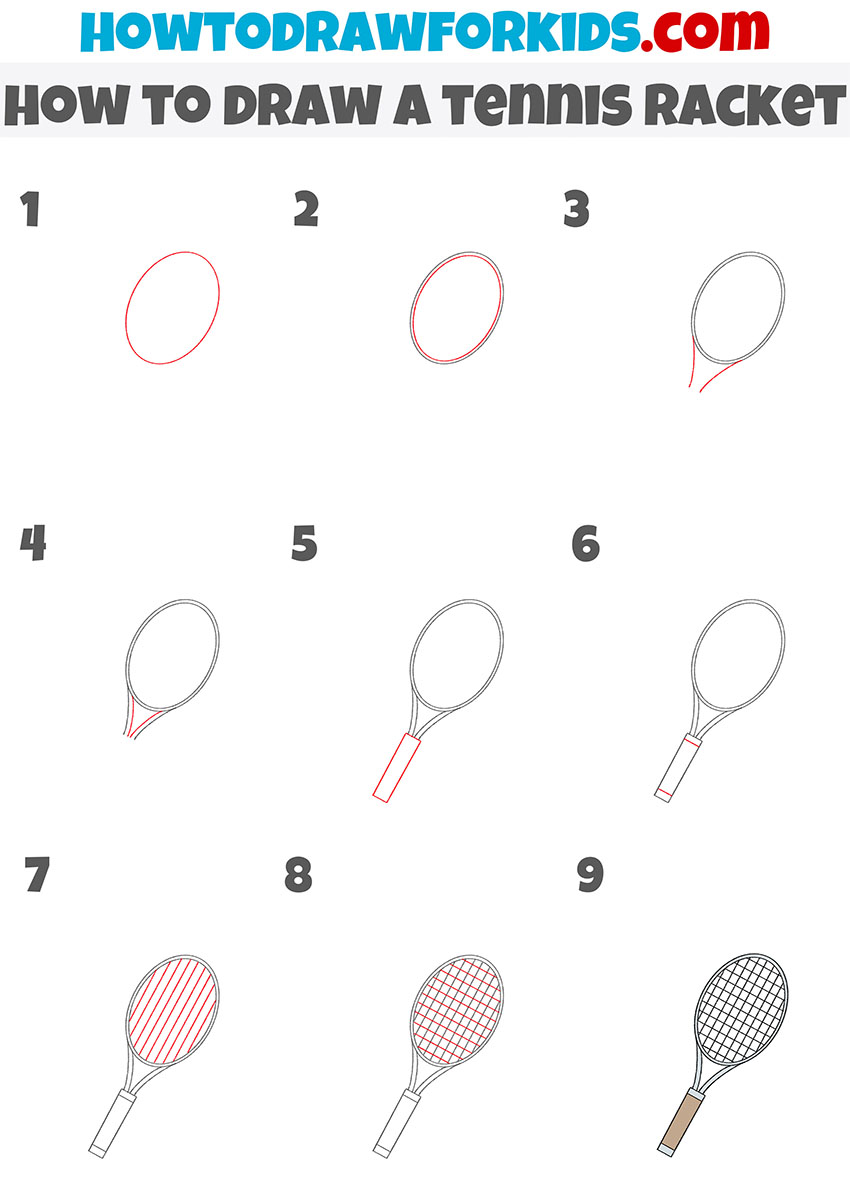
How to Draw a Tennis Racket
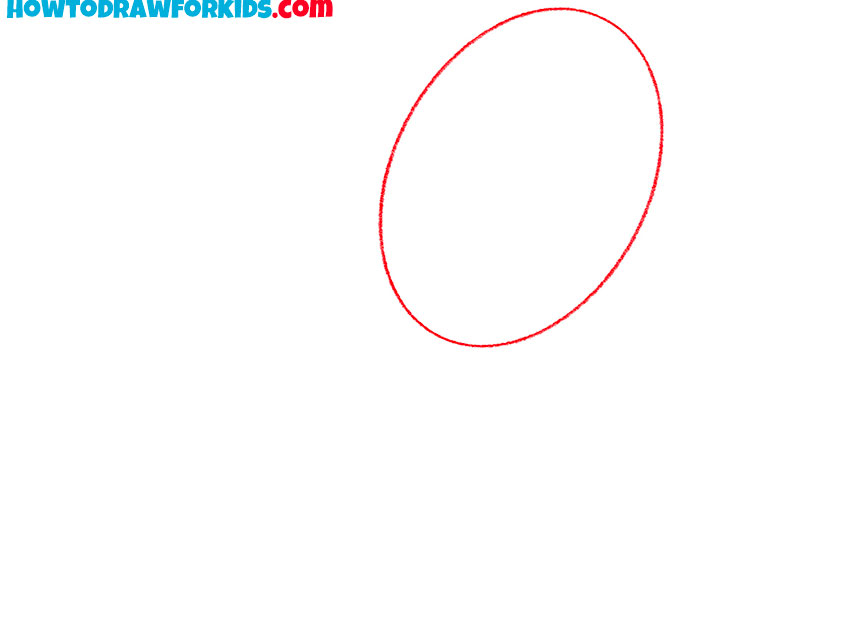
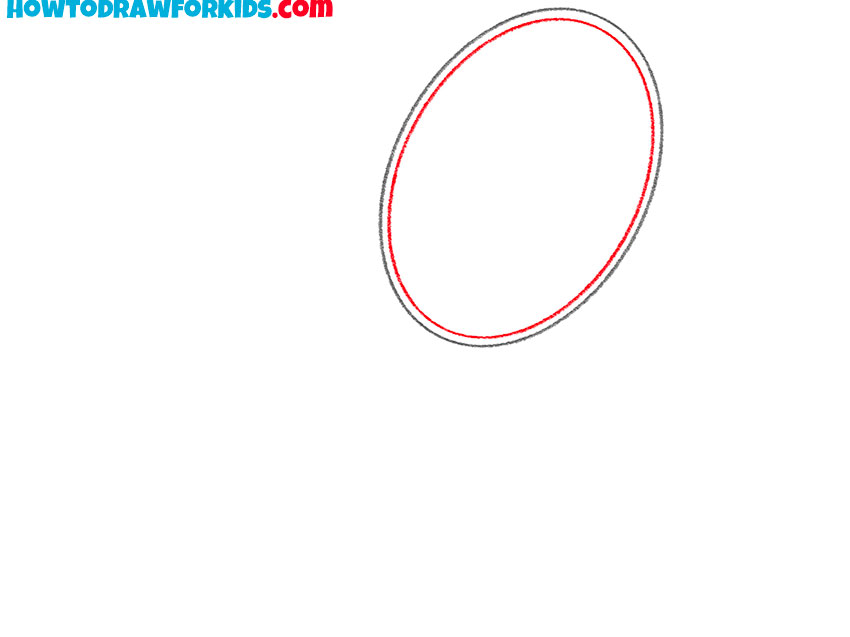
- Draw the hitting surface.
To do this, depict an even oval.
- Add the thickness of the main contour.
Depict another oval, which is located inside.
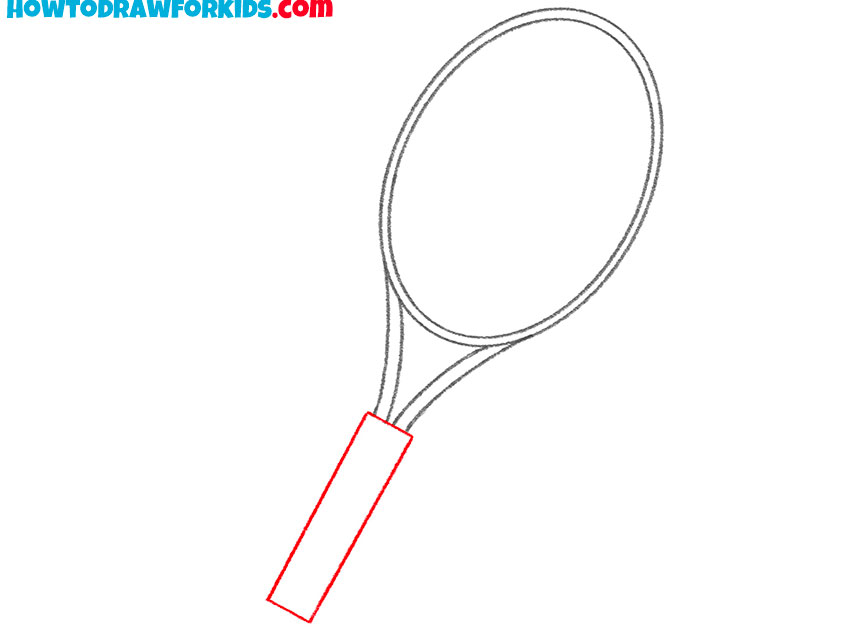
- Start drawing the bottom of the racket.
Draw two smooth lines to depict a smooth transition to the handle.

- Sketch out the inner outline.
Depict two parallel smooth lines, the result should be the figure that looks like a triangle.

- Draw the handle.
The handle has the shape of an elongated rectangle.
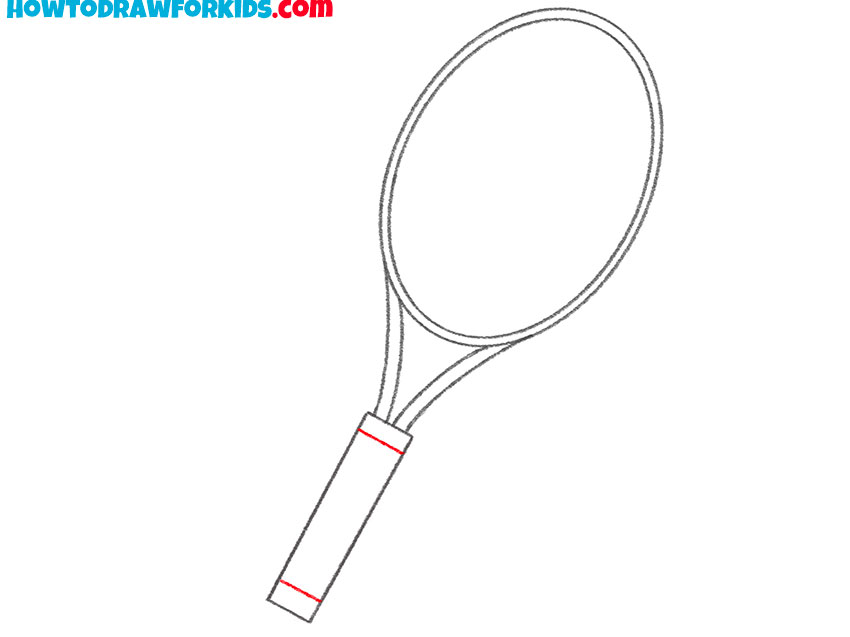
- Add the rest of the elements on the handle.
Depict two transverse lines at the top and bottom of the handle.
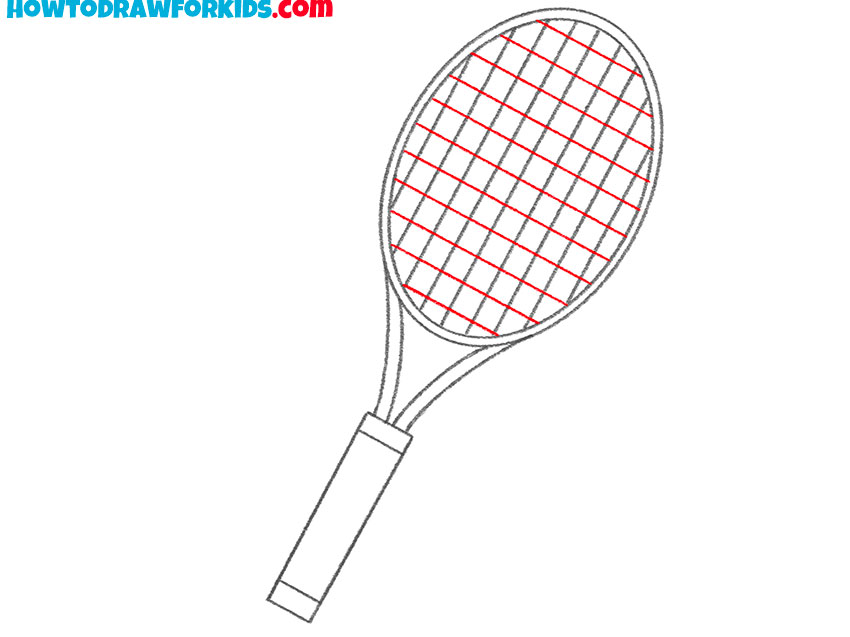
- Draw the stretched strings.
Sequentially, draw even straight lines.
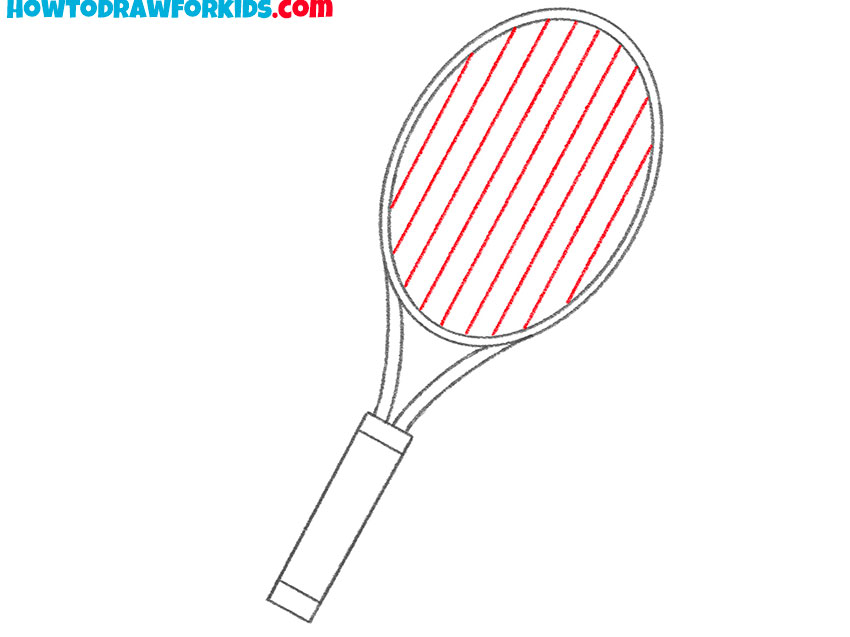
- Add the rest of the strings.
Carefully draw transverse lines on the hitting surface.
- Color the tennis racket.
You will need light blue and light brown.
The lesson is over, and now you have learned how to draw a tennis racket. I hope that you have correctly completed each step of the drawing and be proud of yourself. Show the result of your work to your friends and share information about drawing lessons. Do the lessons together, have a good time and improve your artistic skills.
As a reminder, you can now download the short version of the lesson as a PDF file for free. Use this file when you want to do the lesson again.