How to Draw a Child’s Face
In this tutorial, I will explain how to draw a child’s face and provide detailed instructions on depicting youthful facial features on paper.

How to Draw a Child’s Face: Introduction
We are all different, and our faces vary in shape, details, and features. To provide you with a better understanding of portrait drawing, this lesson will show you how to draw a child’s face in several different ways.
However, it is important to note that this lesson and the instructions it contains are not a comprehensive guide for drawing a child’s face or anyone else’s.
Essentially, this lesson provides a framework that you can build on to add the necessary details, giving the child’s face in your drawing the desired appearance. You can adjust facial features, hairstyle, skin tone, and eye color as needed. All of these elements are flexible, but the basic principles of drawing a face remain the same.
Additionally, you have the option to include glasses or other accessories to make your child’s face drawing more distinctive. These changes allow for a more personalized and unique representation of the face while still adhering to the foundational steps.
Child’s Face Drawing Tutorial
Materials
- Pencil
- Paper
- Eraser
- Coloring supplies
Time needed: 35 minutes
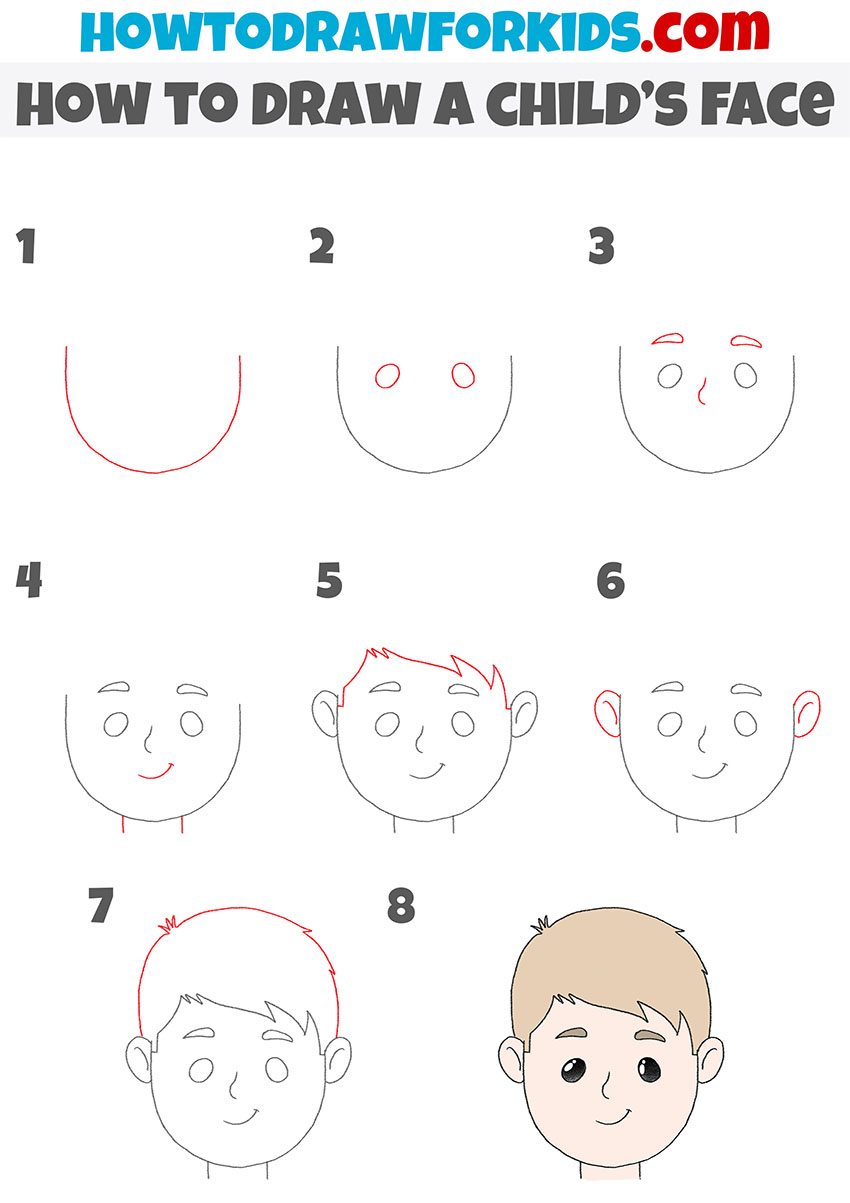
How to Draw a Child’s Face
- Draw the bottom of the child face.
Begin drawing a child’s face by sketching a large U-shape to create the outline of the jawline. This step establishes the base for the lower face. Keep the lines smooth and slightly rounded to illustrate the youthful features of the child’s face.

- Draw the eyes on the child’s face.
Now, draw the eyes of the child as two oval shapes inside the outline of the face. The size of the eyes should be slightly larger to highlight the youthful appearance typical of a child’s face. You can position the eyes either closer together or farther apart to achieve the desired appearance for the face.

- Sketch the nose and eyebrows.
Next, draw the nose of the child as a small, curved line just below the eyes. The nose should be simple and minimalistic to keep the face looking young. Next, draw two curved lines above each eye to represent the eyebrows. Keep the eyebrows simple and slightly curved.

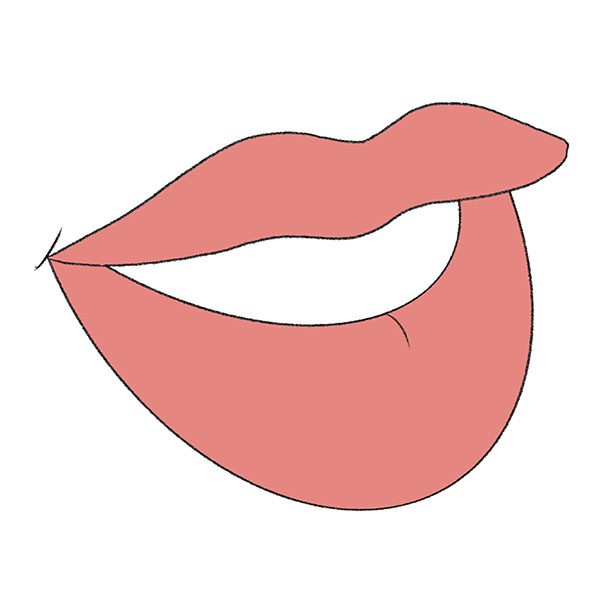
- Draw the mouth and neck.
Sketch a small curved line for the mouth below the nose. You can give the mouth any expression by slightly adjusting the curve. Next, add two vertical lines below the face to outline the neck. The neck should be narrow to match the proportions of the child’s head.

- Draw the ears of the child.
Add two oval shapes on either side of the head to draw the ears. Position the ears at the same horizontal level as the eyes and nose. Keep the shape of the ears rounded and very simple. Use a couple of simple short lines to detail the ears.

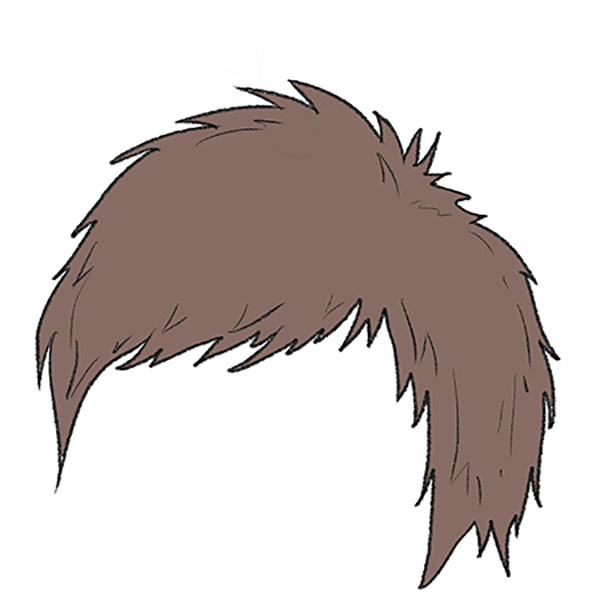
- Start drawing the child’s haircut.
Then draw the haircut of the child at the top of the head. First, draw the bangs using jagged lines. Then draw the contours of the temples using smooth lines. Make the hair slightly messy or with a few strands to reflect a natural look. The hairstyle can be adjusted to your preference, but keep the design simple and childlike.

- Finalize the haircut.
Extend the hairstyle further, drawing the top portion of the hair. Using long, jagged lines, draw the side parts that smoothly flow into the top part. You can include additional strands or texture to make the hair of the child look more finished.

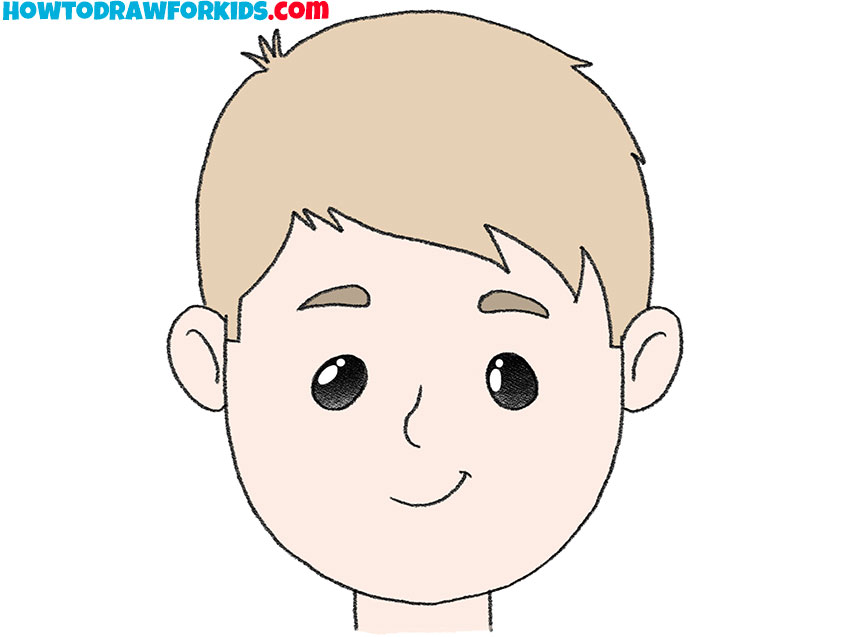
- Complete the drawing and add color.
For example, you can use soft peach or light beige tones for the skin, brown or blue for the eyes, and a light pink for the lips. For the hair, consider shades like blonde, brown, or black, depending on the look you prefer. This is just an example, and you can choose any color scheme that suits your vision.
Additional Content
This PDF is a convenient guide for practicing drawing a child’s face anywhere without internet access. It includes exercises to improve skills, focusing on proportions and youthful features, and helps refine techniques learned in the tutorial.
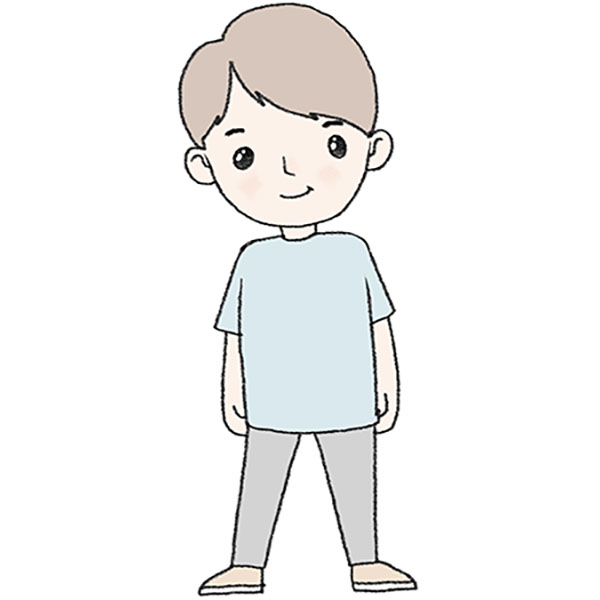
Alternative Child’s Face Drawing Tutorial
This is another tutorial on how to draw a child’s face, and the main differences between this guide and the first are the style and details of the drawing. This tutorial features a more stylized, cartoon-like representation of a child’s face, with larger eyes and a more pronounced hair design. The overall shape of the face is more rounded, and the features, such as the ears and hair, include additional details.
Start by drawing the outline of the child’s face, shaping it into a simple rounded form. Add the ears on both sides of the face, keeping them simple and rounded. Draw the hairline at the top of the head, using smooth, curved lines to outline a simple, youthful hairstyle. Continue by adding details to the hair with a few strands and texture to make it look natural.
Next, sketch two large, rounded shapes for the eyes, placing them symmetrically in the face. Inside the eyes, draw smaller shapes for the pupils and add details. Add the eyebrows above the eyes and draw a small, curved line for the nose. Finally, sketch a smile for the mouth and erase unnecessary guidelines. Color the drawing, using any skin tones, natural hair colors, and some tones for the eyes.

Conclusion
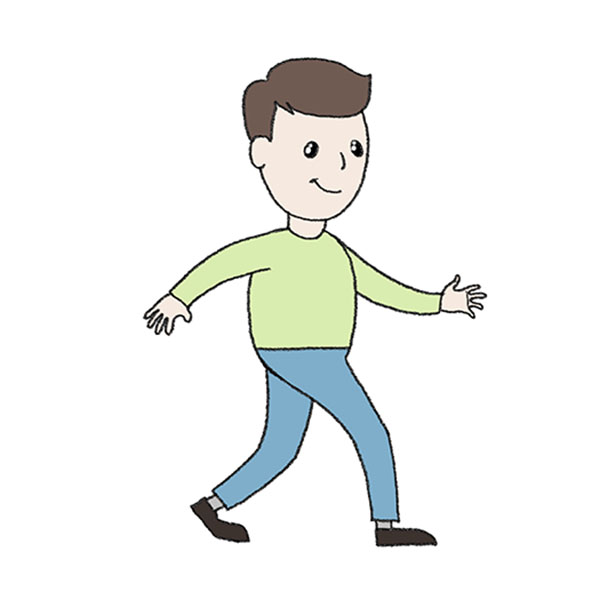
This tutorial on drawing a child’s face has ended, but you can continue improving your skills with other lessons available on my site, such as how to draw a child or my basic tutorial on how to draw a person. Each tutorial provides detailed steps to help you improve.
Follow me on social media for updates on new content. Your feedback is important, so leave a comment with suggestions for lessons you would like to see. Your input helps shape future tutorials to meet your interests.