How to Draw a Baby
In this lesson, I will show you and show you in detail how to draw a baby. I’m sure you’ll get a great drawing.
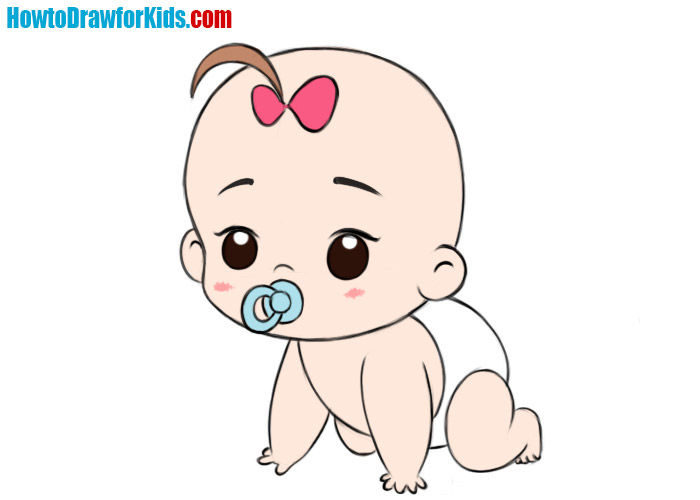
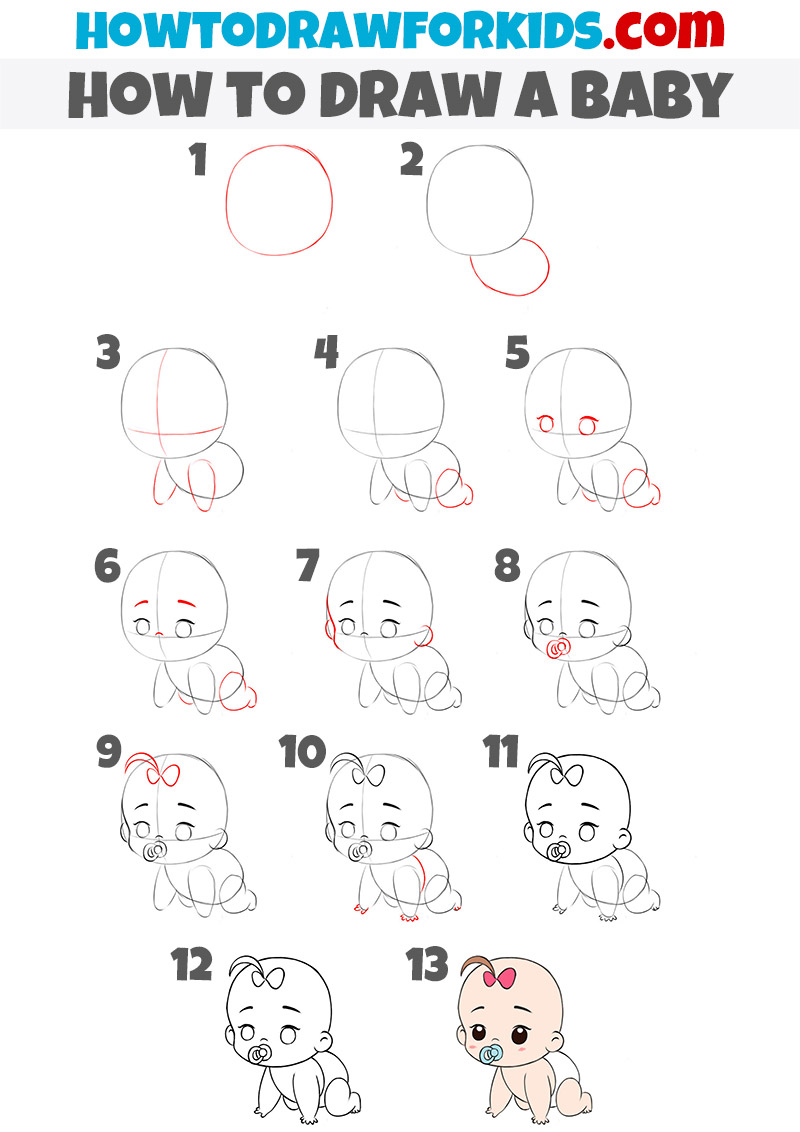
I invite you to a new drawing lesson in which you will learn how to draw a baby step by step. The baby looks very cute and evokes pleasant emotions. The kid has already learned to crawl and explores the world with interest.
Here is a very simple way to quickly and easily draw a baby. The drawing does not contain complex elements and additional lines. All elements are very easy to perform, and soon you will see for yourself.
So, check if you have all the art supplies at hand, and you can start the lesson.
Baby Drawing Tutorial
Materials
- Pencil
- Paper
- Eraser
- Coloring supplies
Time needed: 30 minutes
How to Draw a Baby
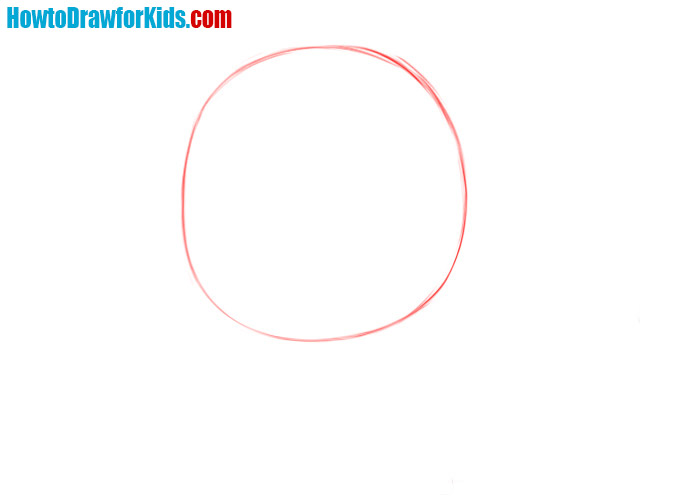
- Draw circle for the face.
First of all, draw the head in the form of a large circle, as in the first stage of the instruction about an apple.
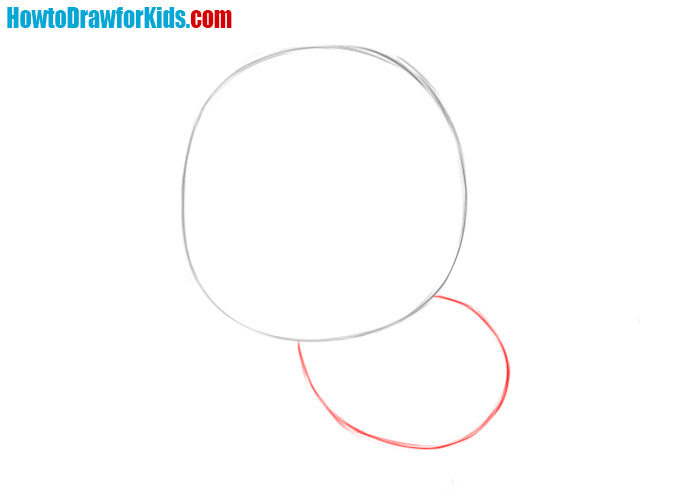
- Sketch out the torso.
Now depict the torso, which, unlike the adult torso, should be smaller than the head.
- Sketch the facial guidelines and add the arms.
Draw two light lines connecting in the center of the face. Draw the arms as ovals.
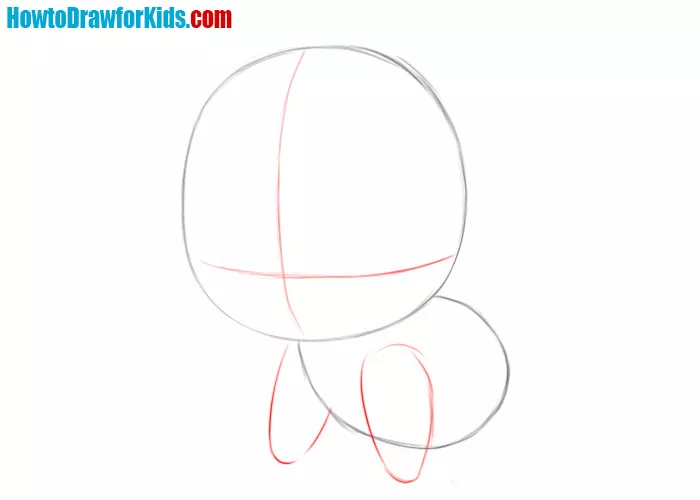
- Sketch out the legs.
Now draw the legs at the back of the torso. They should be slightly larger than the arms.
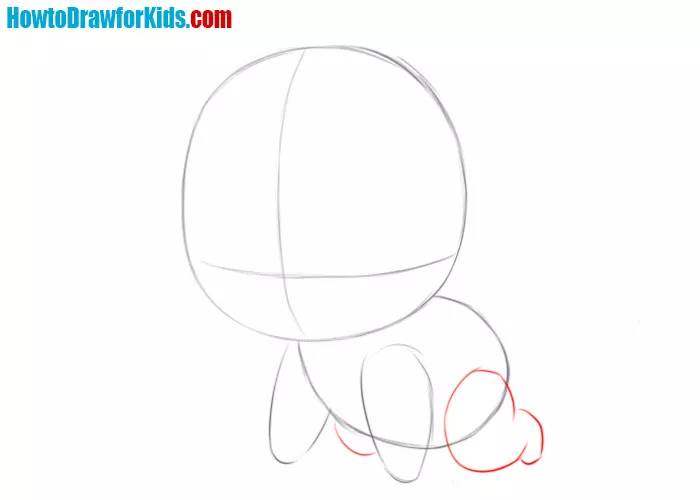
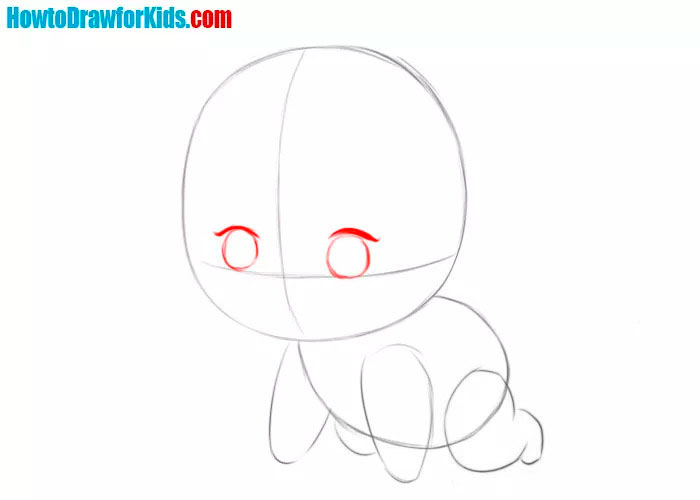
- Draw the eyes of the baby.
Now on the horizontal line depict two eyes in the form of large balls. Draw thick eyelashes above them.
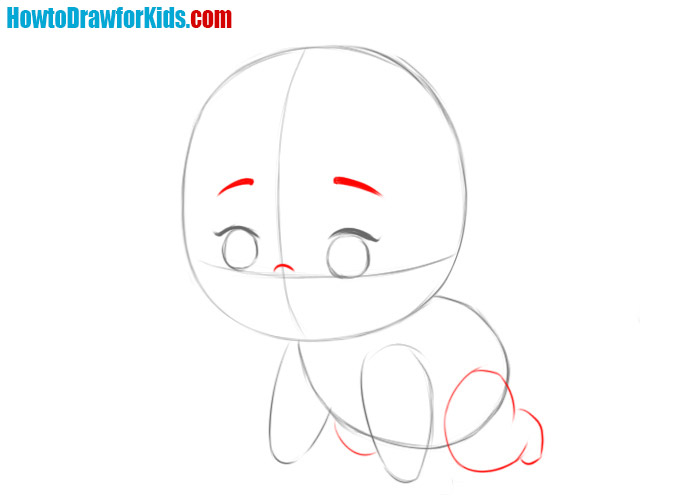
- Add the nose.
Draw the nose just above the intersection of the lines. Depict the eyebrows above the eyes.
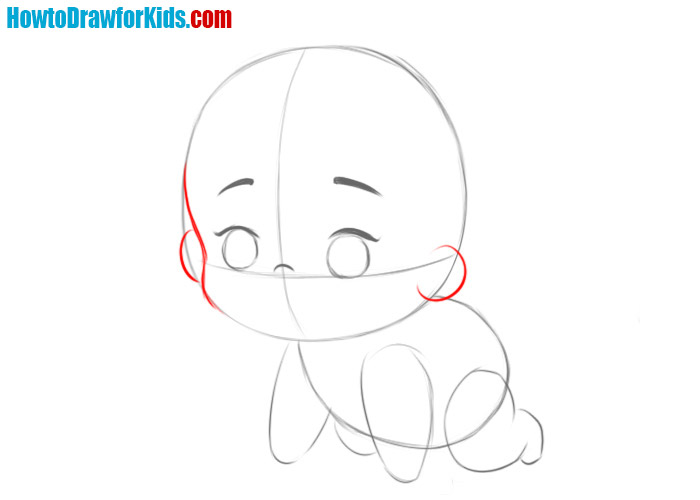
- Add the cheeks and ears.
Use a curved line to depict the cheek. Sketch the ears in the shape of semicircles.
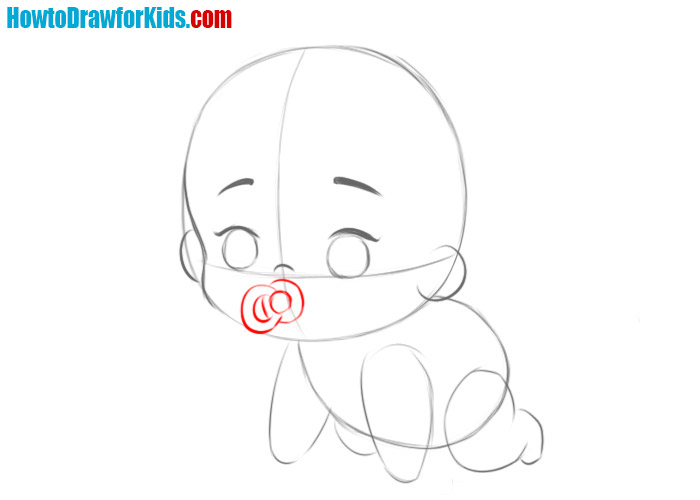
- Sketch out the mouth.
Just below the nose, depict the pacifier that covers the mouth.
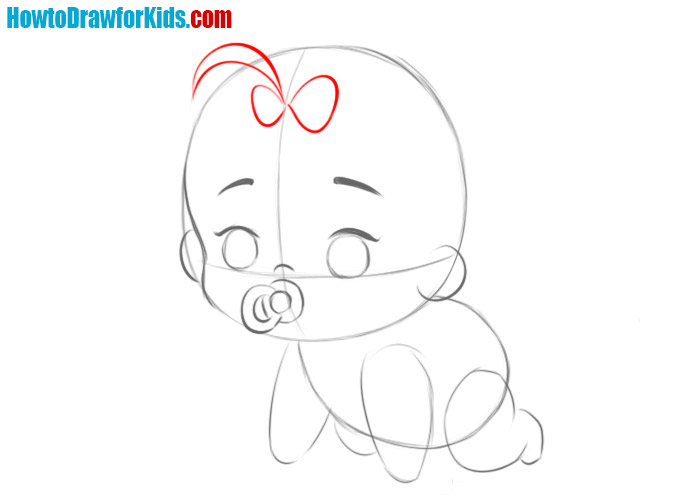
- Add some hair.
At the top of the head, draw the bow in the form of a butterfly and a bun of protruding hair.
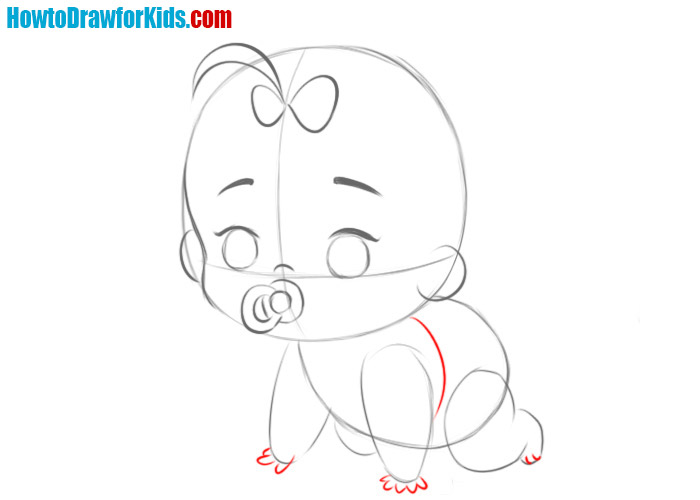
- Add some more details.
Draw the top edge of the diapers. Next, draw the fingers and toes using short lines.
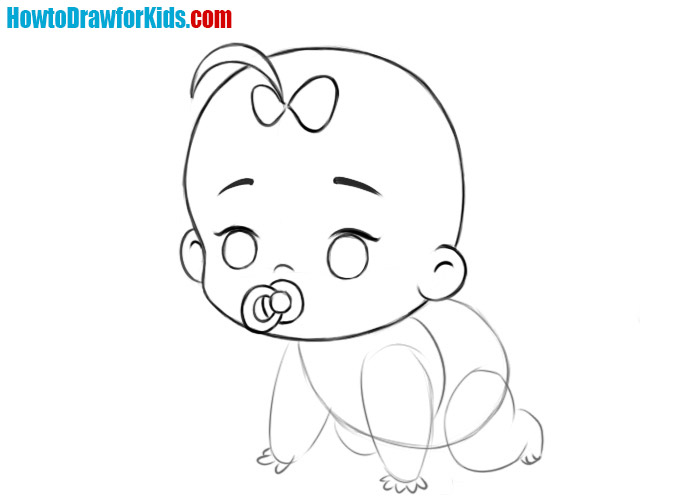
- Erase the guidelines from the head.
Erase all unnecessary lines from the head and make it darker and cleaner.
- Erase the guidelines from the body.
Now get rid of all the remaining construction lines and trace the lines of the baby drawing with a darker color.
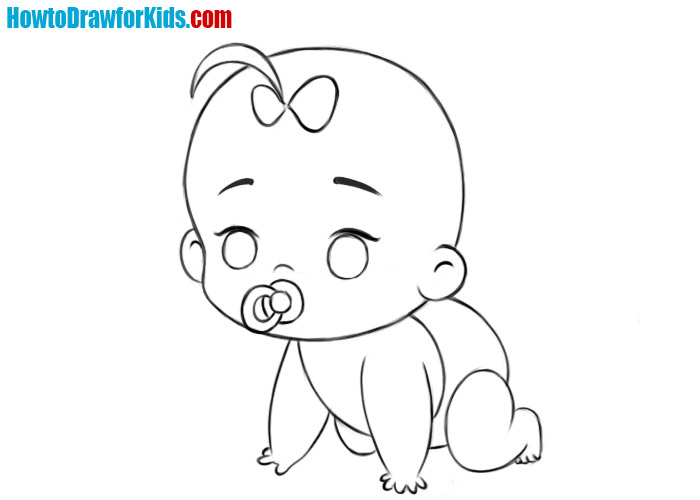
- Color the baby drawing.
Now it’s time to paint the baby. You can use any color for any part of the artwork.
As you have already seen, this instruction on how to draw a baby for kids was really simple. To take your skills to a higher level and learn how to draw something different, visit other tutorials on Howtodrawforkids.com.