How to Draw a Wrestler
In this lesson I will show you how to draw a wrestler. If you complete this lesson, then once again practice drawing a human figure.
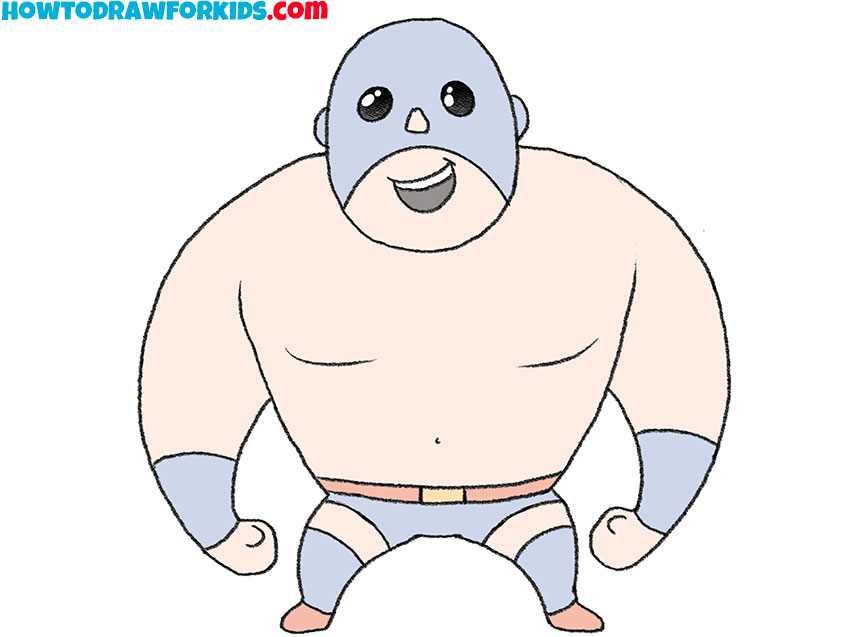
I bring to your attention a simple instruction on how to draw a wrestler. In the picture you see a man of strong build, who takes a fighting position. Pay attention to the proportions of the body, the upper torso is much wider than the lower. The wrestler has broad shoulders and short lower limbs.
Try to correctly portray the position of the body. The legs are widely spaced, so the wrestler takes a stable position. The wrestler’s hands are clenched into fists, and he is ready to start the fight at any moment.
I hope that you will enjoy this lesson and remember all the drawing steps so that in the future it will be easy to depict such an athlete if necessary. So grab all your art supplies and get started with the tutorial.
Wrestler Drawing Tutorial
Materials
- Pencil
- Paper
- Eraser
- Coloring supplies
Time needed: 30 minutes
How to Draw a Wrestler
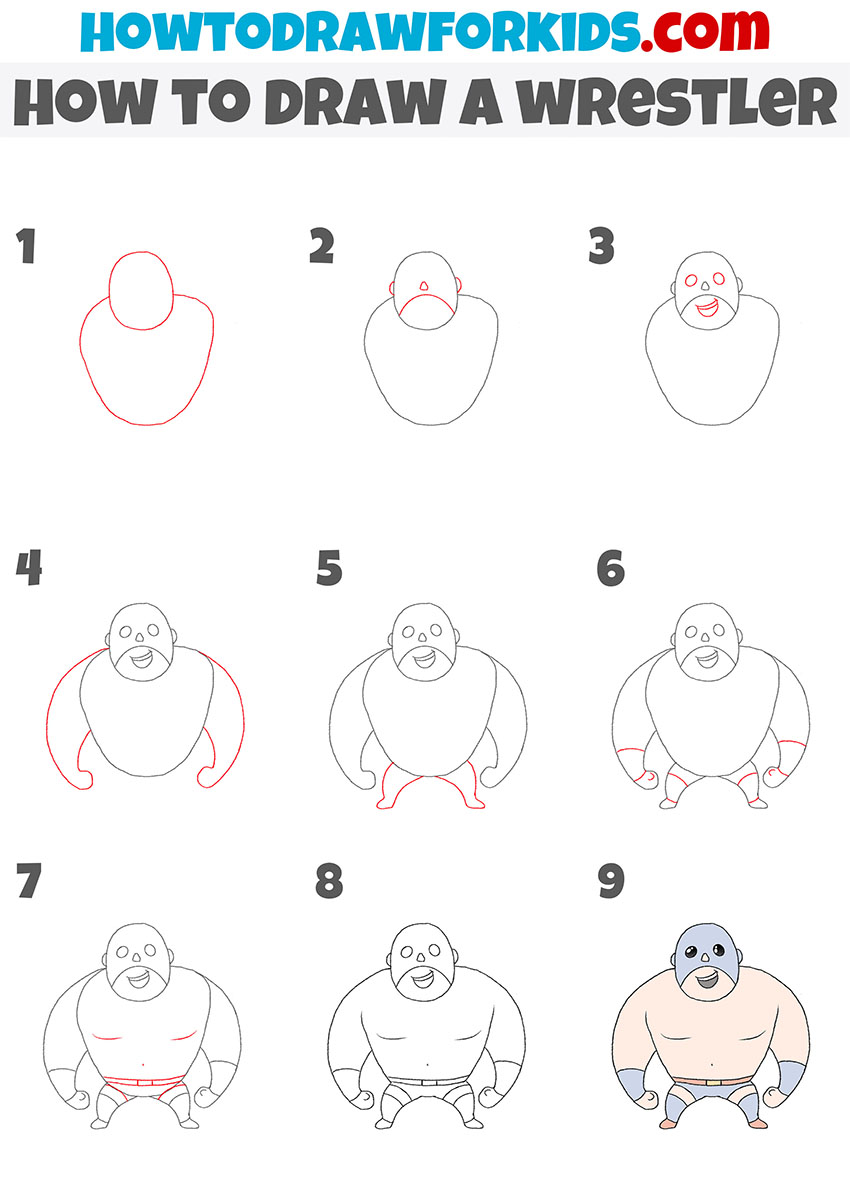
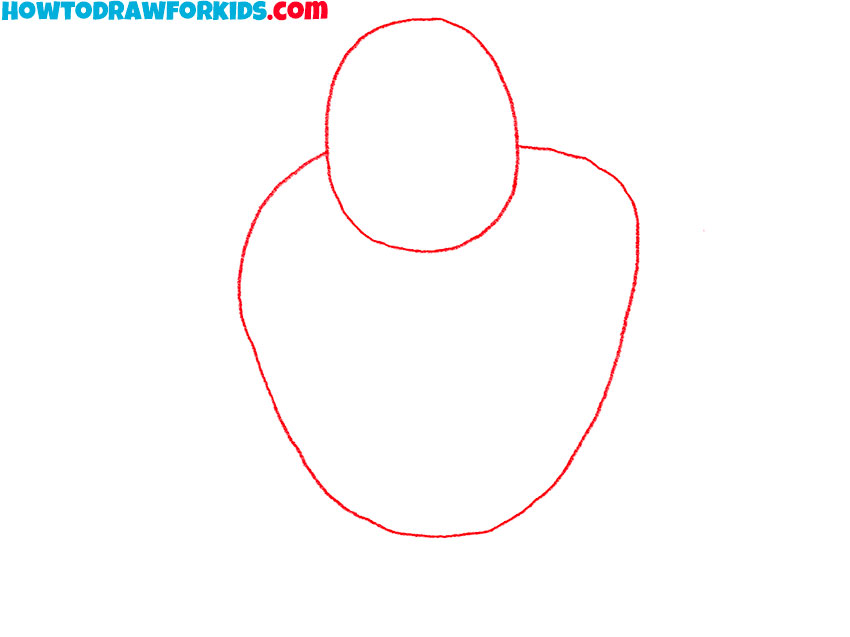
- Draw the head and torso.
Depict an oval-shaped head and then draw the torso where the top is wider than the bottom.
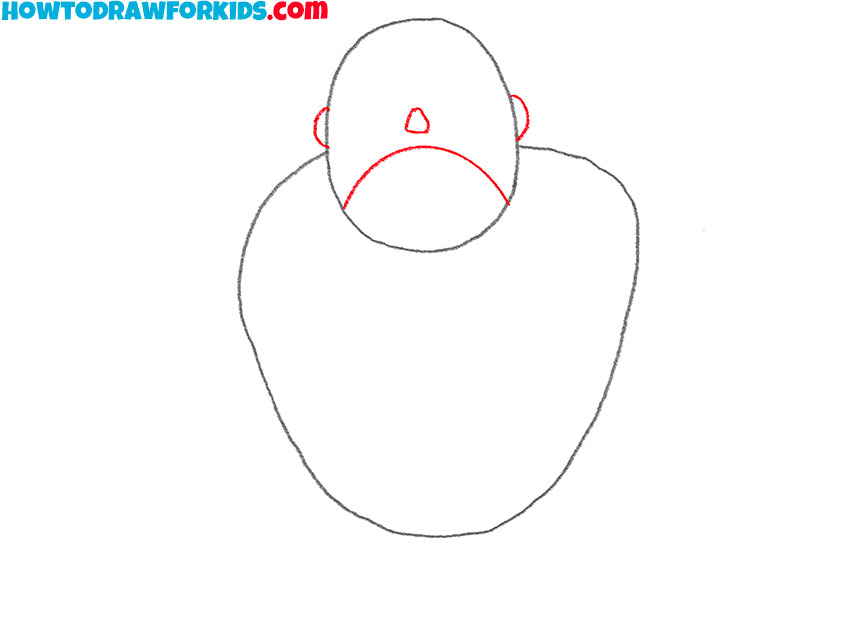
- Detail the head.
Draw a smooth, curved line to define the lower part of the face. Depict the nose and ears.
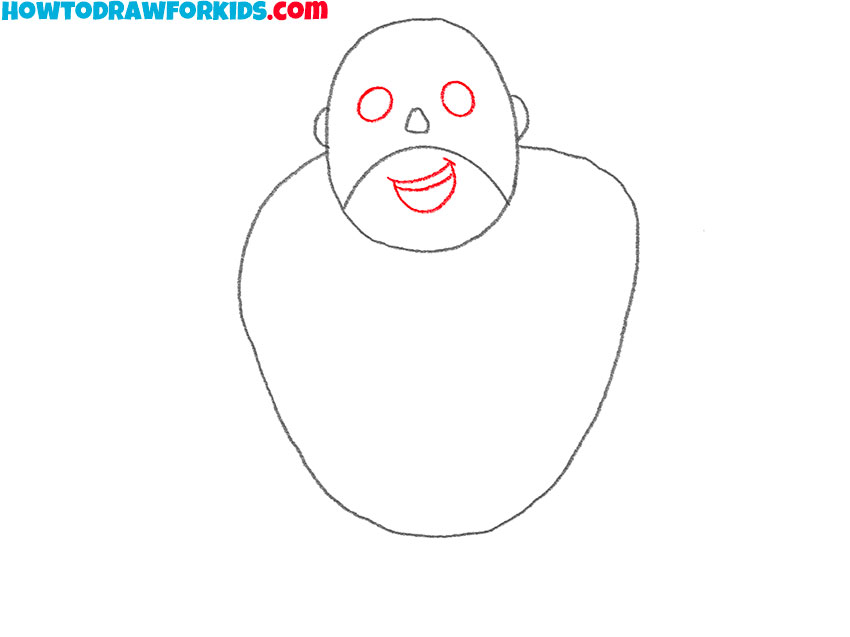
- Add the rest of the facial features.
Sketch out oval-shaped eyes and the wide open mouth.
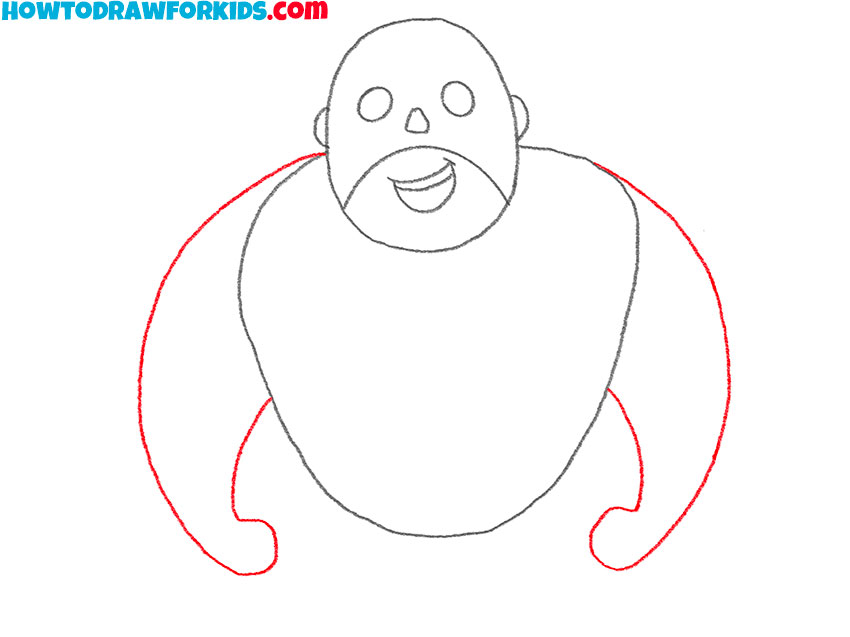
- Draw the arms.
On the sides of the body, draw two arms that have a wide base and taper downwards.
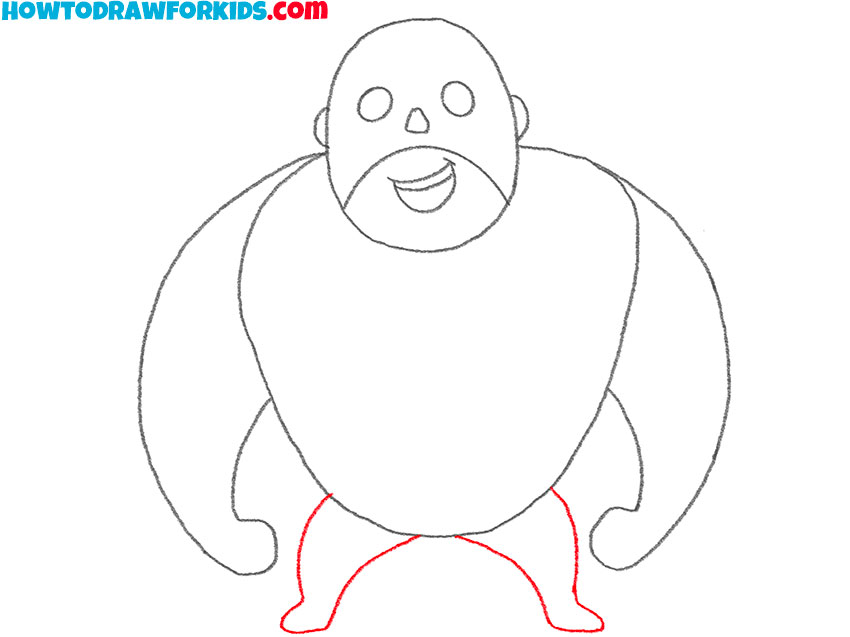
- Depict the legs.
At the bottom, add two short legs, in which the feet are turned in opposite directions.
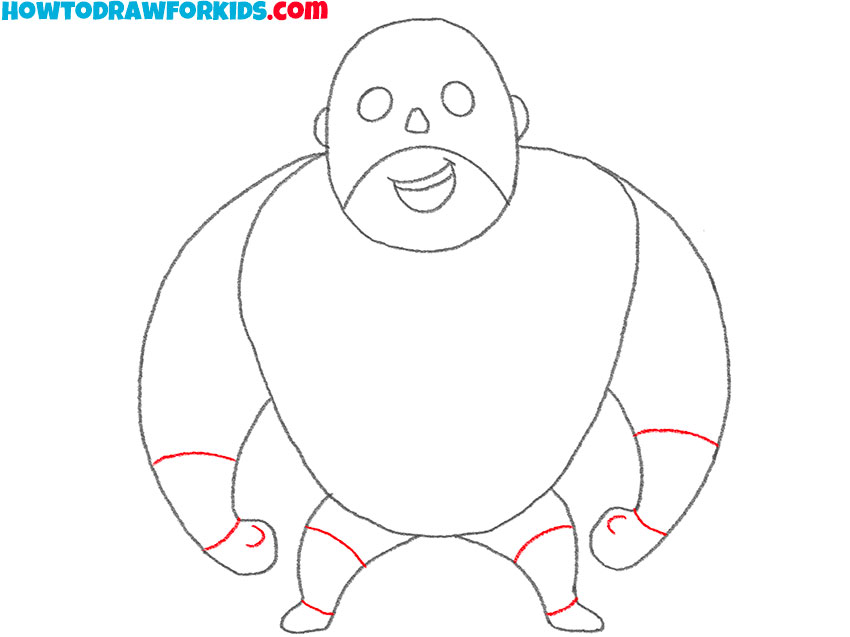
- Add details.
With the help of transverse lines depict the armlets and bandages on the legs.
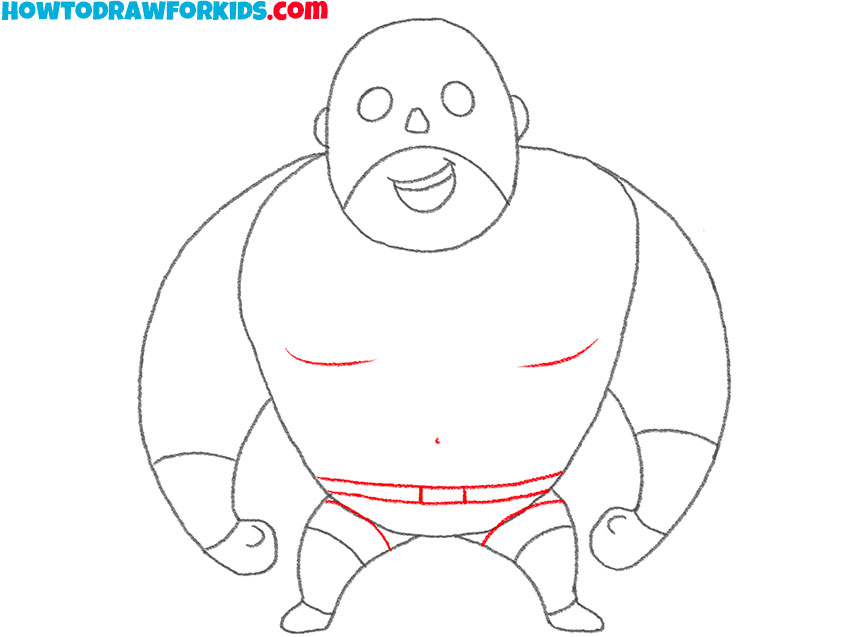
- Draw the rest of the elements.
Depict the outline of the sports shorts, add the belt and draw two thin lines on the chest.
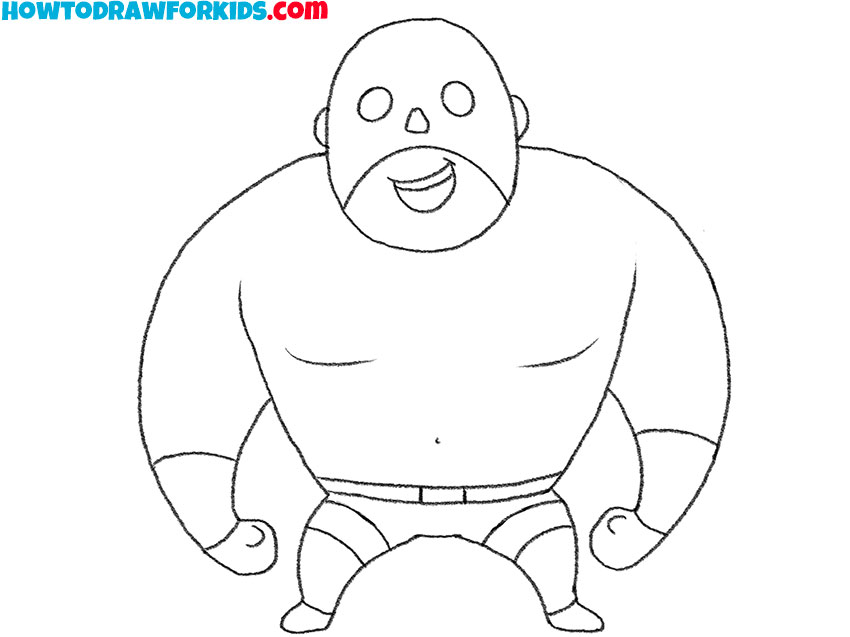
- Correct inaccuracies.
If you notice errors, correct them at this stage. Carefully remove extra lines.
- Color the drawing.
You will need light beige, light blue, black and pink.
Especially for your convenience, I have prepared a PDF file that contains a brief instruction and additional useful materials. This way you can always go back to the lesson and do it again if necessary.